Swifty & Thurcroft Flyer - Thanks chaps.

Whilst this build has certainly be a challenge, I do feel more confident tackling it now.
It had taken a very long time for all the parts of the jigsaw to fall in place, but I am getting there.
- - - - - - - - - - - - - - - - - - - - - - - - - - - - - - -
Slowly Taking Shape - Part 1:
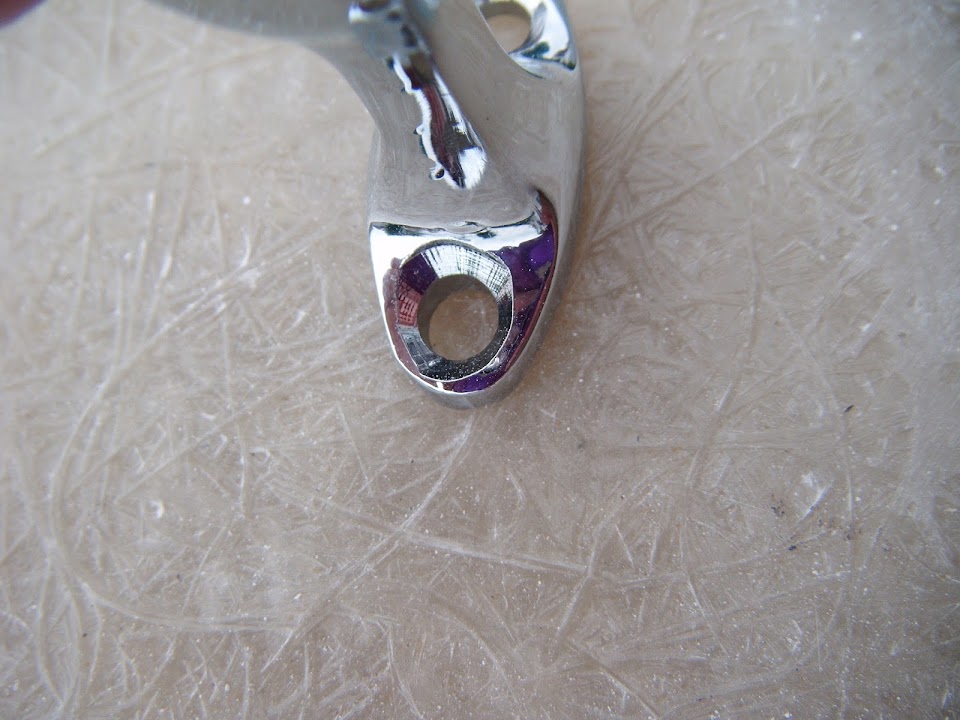
The M5 bolts I ordered initially looked like a perfect fit for the aero screen brackets.
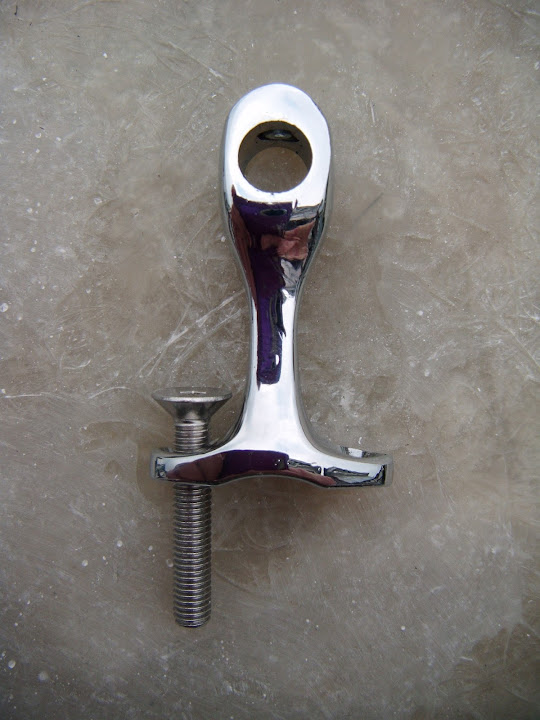
But the countersinking in the bracket doesn't match the bolt, which stopped it sitting straight.

So somewhere along the line I need to take a file to this area.
Still, the bolts are certainly good enough for the next round of mocking up.
I really took my time to ensure that I would only need to drill each hole once.
So I didn't mark up the second bracket hole until the first one had been drilled & the bolt pushed into place.
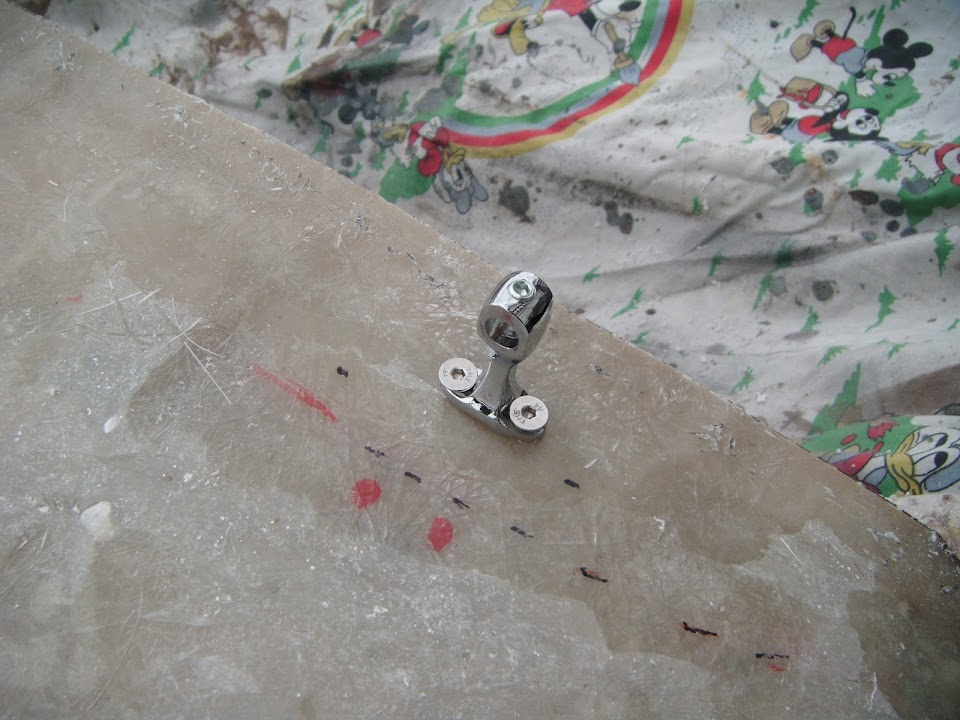
Then I fitted the screen to ensure the second bracket was in the correct position relative to the first.

Note:
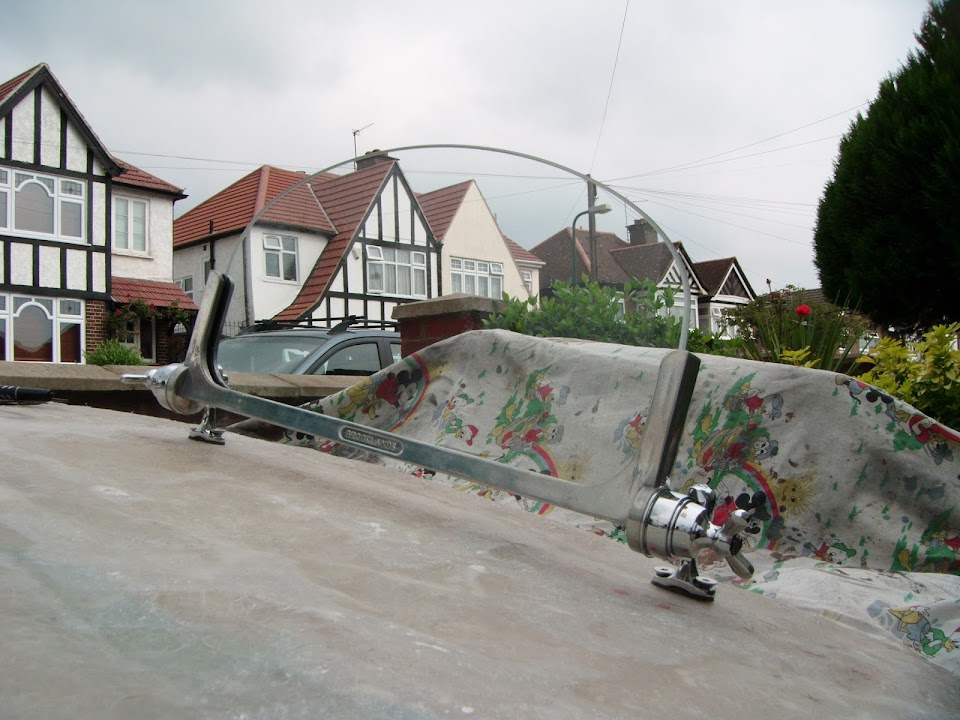
The "inside" bracket is half an inch further away from the scuttle lip compared to the "outside" one for a subtle screen angle.
Obviously I repeated the exercise on the driver's side, but ran into a small problem, that was thankfully easy to fix.
I want to fit the screens so that the "Brooklands" stamp faces forward & the "Made in England" faces backwards.
But the two screens had the fitting brackets fitting in different ways, so I had to swap the "ends" over.

That way, the "flatter" section of the bracket was in the same orientation on both screens.

As always, the sloping drive doesn't help the "head on" view.

Next it was the turn of the rear view mirror to be fitted & I just had to enlarge the holes ever so slightly to take the M5 bolts.


After I had temporarily fixed all these things in place, the M5 "Penny" washers arrived.

So I will be using these when the time comes to finally fix everything into place.
Then I put my well used former back into service to help me line up the wind deflector.

I trimmed the metal former to allow the bottom edges to be curved nicely.
But in addition to curving "forward to back", I also needed the former to curve "downwards" too.

So I had to make some slits in the vertical face.

End of Part 1...