Swifty - Thanks for the detailed explanation and encouragement.

Unfortunately, I have now abandoned the rolled edge idea completely (see below).
Which is a bit of a shame, as I really do like the way your cockpit edge looks.
- - - - - - - - - - - - - - - - - - - - - - - - - - - - - - -
Chasing My Tail...
There have been many parts of this build where I have gone around in circles before getting back on track.
Sorting out the cockpit opening has certainly turned into one of those sagas.
As no matter which way I looked at it, I couldn't see how to blend a rolled edge on one side with a lip on another without it looking rubbish.
So I have decided to stick with KISS principles and build a lip all the way round.
- - - - - - - - - - - - - - - - - - - - - - - - - - - - - - -
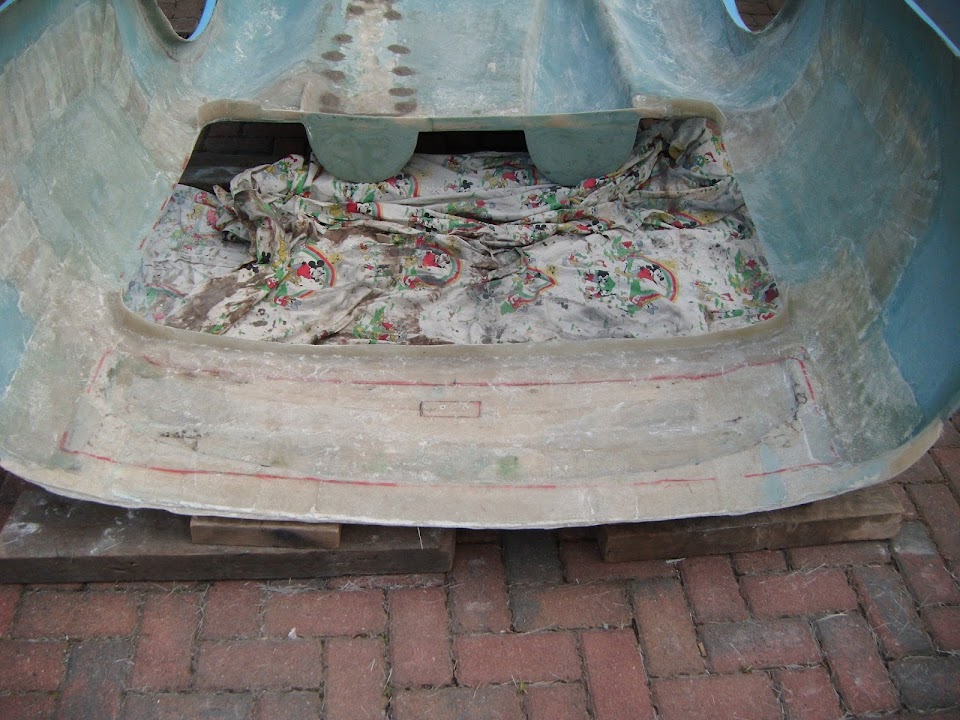
My wife helped me lift the body shell, turn it upside down & place in on some wood to protect the wind break lip.

I cut up some of the cardboard packing "corners" so I could cover most of width of the scuttle.
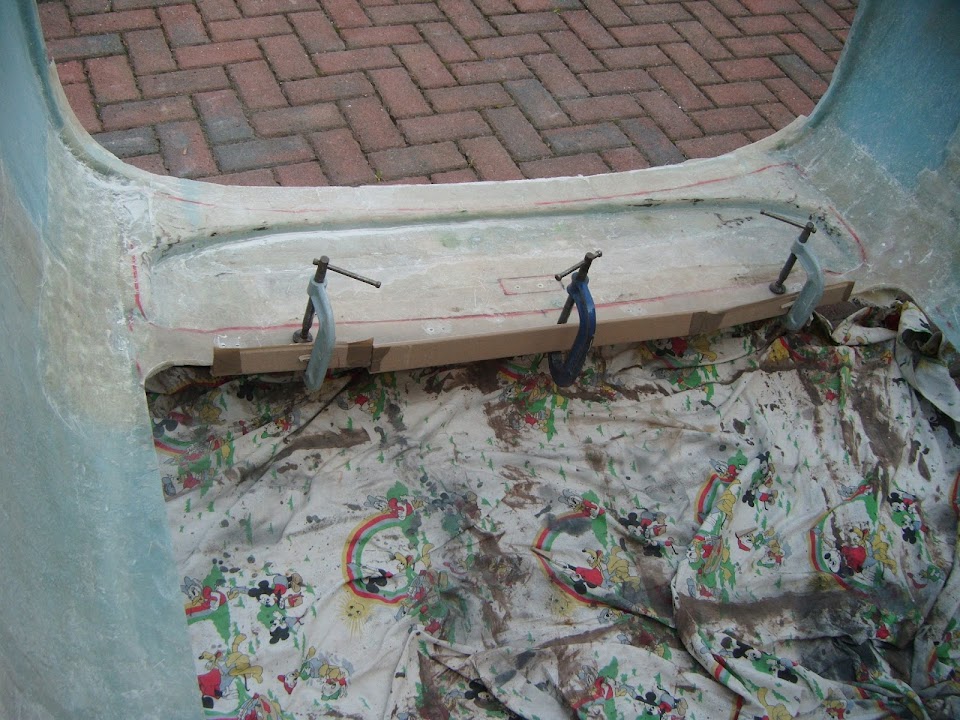

Then I used my last clamp to work on the driver's corner on the rear cockpit lip.

The first fibre glassing session got the lip construction underway.


- - - - - - - - - - - - - - - - - - - - - - - - - - - - - - -
During my next session, I removed the former from the rear cockpit lip corner & gave the edges a quick trim.
After removing one set of formers from the scuttle lip, I set up the next set to finish the job.

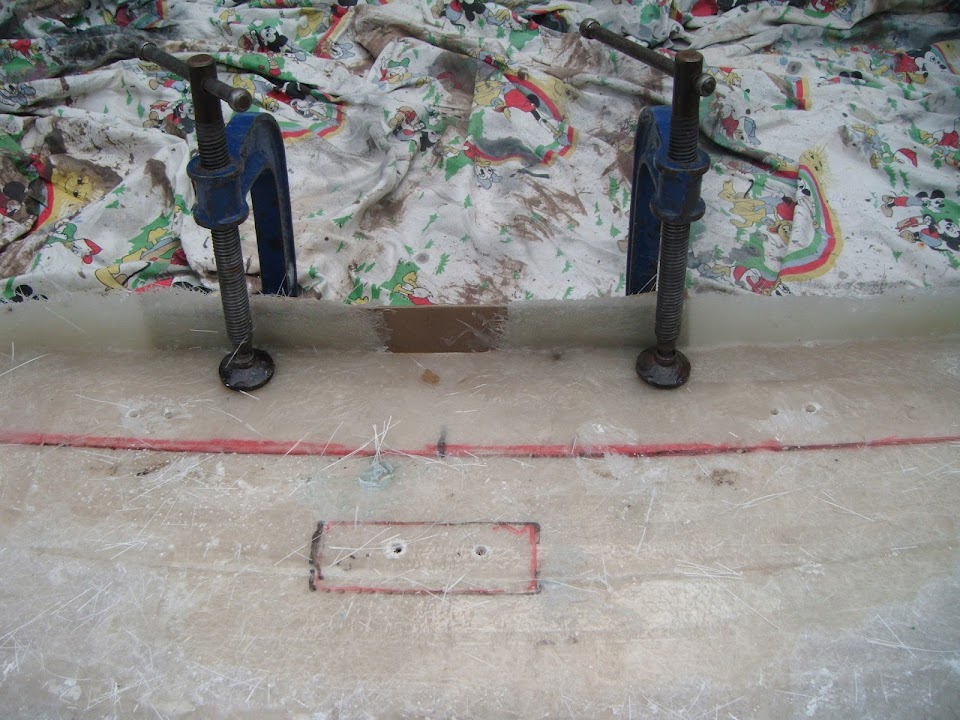

After the second round of fibre glassing.

I also added some fibreglass filler to the rivets (& extra rivet holes) holding the passenger hump in place.
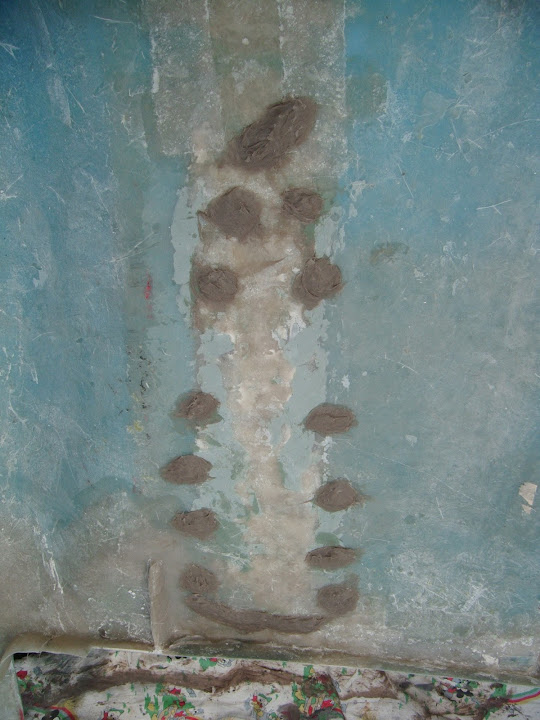
Hopefully this will keep the hump water tight if I need to leave it under a leaky tarpaulin again.
- - - - - - - - - - - - - - - - - - - - - - - - - - - - - - -
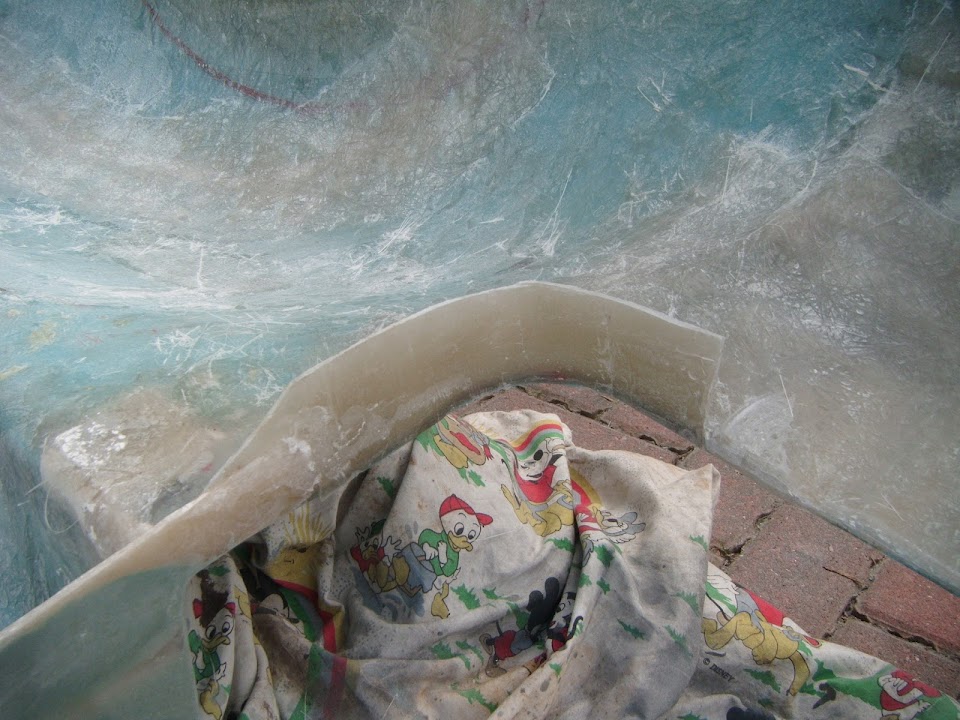
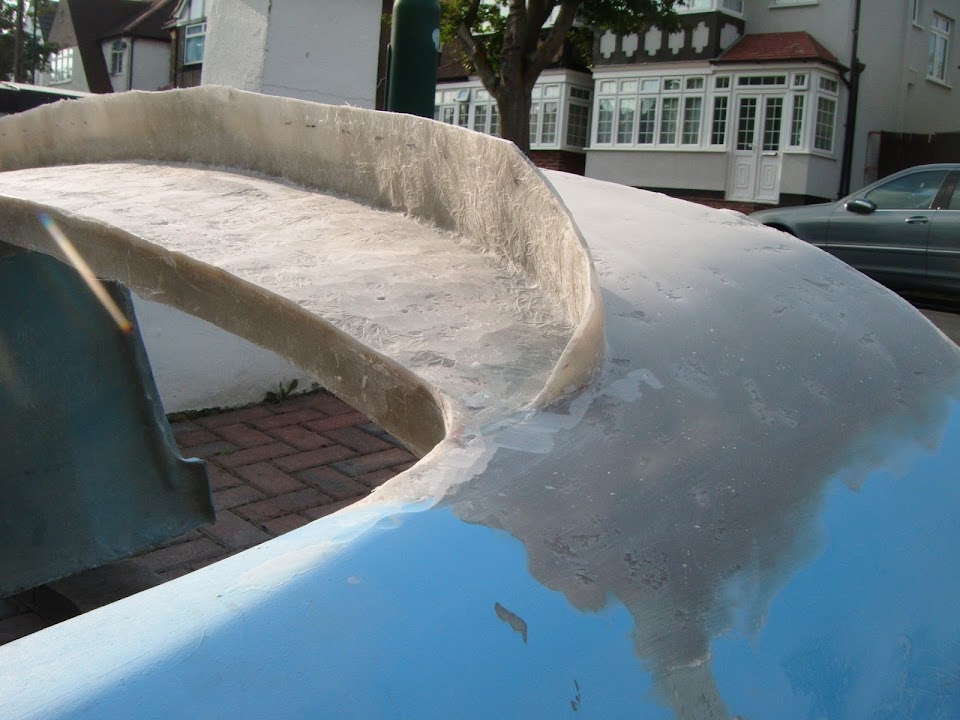
My final session of the day saw the scuttle formers removed completely to leave the lip looking like this.

Note: It is now quite hard work for me to "flip" the body shell over by myself due to all the extra fibreglass I've added.
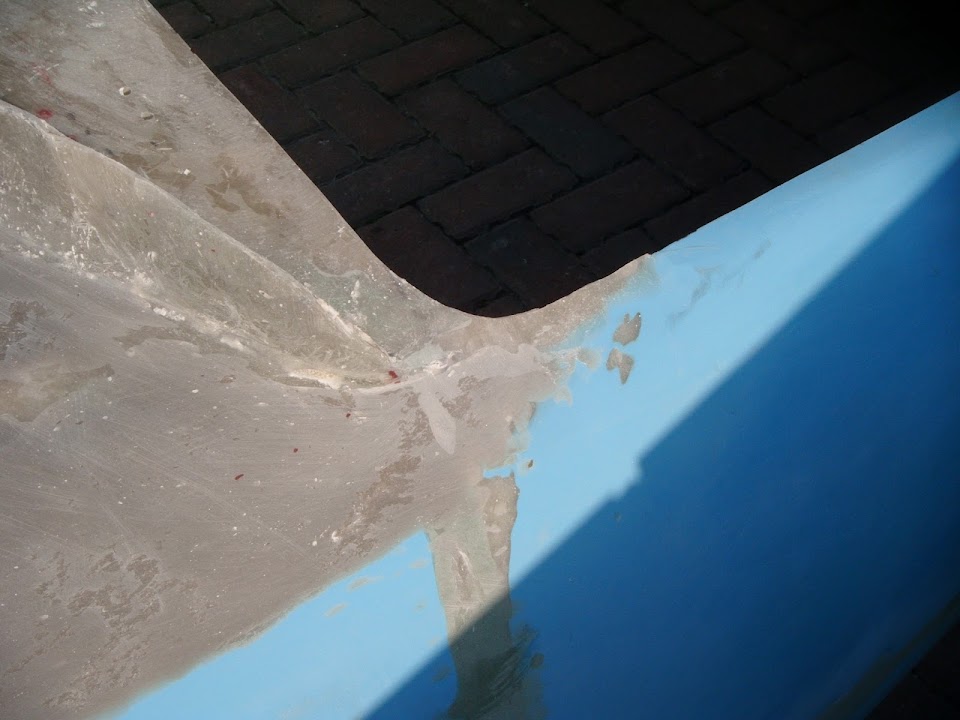
Next job was to give the corners of the wind break lip an initial trim.
Although I should have known better than to bring a tape measure along to check what I was doing.
Let's just say that if I did have a radio in the car, it would be permanently tuned into to
Banjo FM.

With the final trim of the wind break lip still to come, this is what the body shell looks like now.

Hopefully I will get a chance to start adding some fibreglass filler to the scuttle area
inside the lip tomorrow.
Until then, the body shell is tucked away on the drive, so I don't need to move it again.

Cheers, Paul.