Jones - Unfortunately, there is nowhere to attach a over drive stalk on my steering column.
I guess I would be able to mount a switch on the dash board, something like this.

That would certainly allow me to fit a gear knob that didn't shout out "Triumph overdrive".
( My mate's old Dolomite 1850 was the first car I saw/drove with this type of gear knob switch. )
Although my car will actually have a number of Triumph touches (steering wheel centre, wheel centres, etc.).
I was even thinking of adding the Triumph motorcycle logo from the bike in my avatar, like
AndyP57.

So I might as well leave the gear knob alone, especially given how long my current "To Do" list is.

PS
Good luck with your new business.

- - - - - - - - - - - - - - - - - - - - - - - - - - - - - - -
Plodding Along:
I just couldn't get my free time & the dry weather to line up today, but I still managed to get a few little jobs done, both inside & out...
Sanded down the fibreglass filler I had used to "fill in" the wiper lever hole in the steering column cover.
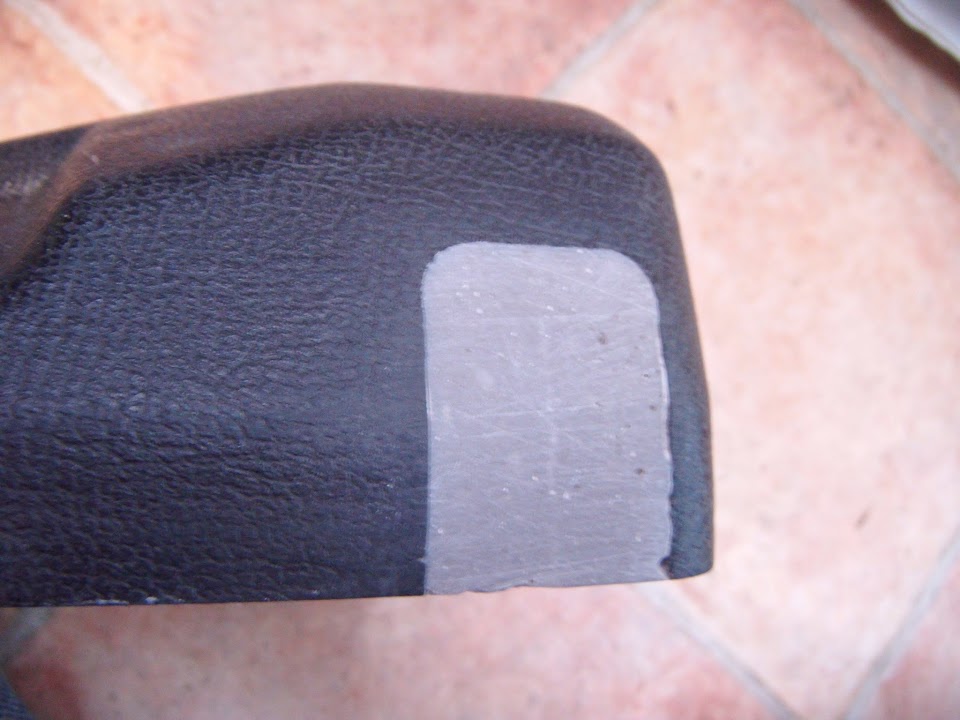
Then masked the whole thing off so I could spray some etch primer over the filler.
Made another cardboard template for the two holes required for the headlight adjustment screws.

Because I had to "fill in" the original ones I drilled many moons ago after the "cut & shut" work on the drivers wing / bonnet.
In order to ensure that my
Moon Rover is working OK, I will be temporarily fitting the front headlights & indicators to the bonnet.
This will also allow me to double check the routing of the wiring loom around the front of the chassis too.
Talking of lighting, I put a coat of stone guard on one side of the rear number plate bracket, although it isn't a great photo.

Later in the day I got a coat on the other side too.

I wired up the temporary lighting board in the boot.

Note: I still need to modify the loom to switch from 3 x LED number plate lights I was planning to fit, to the 1 x bulb lighting I will be using.
Marked up when the headlight adjustment holes needed to be and drilled them out.


Note: I still need to work out the best way of actually fixing the headlights (& the front indicators) to the bonnet.
- - - - - - - - - - - - - - - - - - - - - - - - - - - - - - -
The last of the Mascots:
I am not 100% sure why I became convinced that a bonnet mascot would make a great finishing touch to this build.
I think it was the fact that so many of the people who passed by asked me if it was a Jaguar, that I looked into buying one of these.

Then Ebay being the kind of place it is, I ended up with a small collection of mascots, that need to return to Ebay at some point.

Well today I had a play around with my final mascot option...

Deep down, even though part of me still likes the idea in principle, I know it would be a big mistake to fit one in practise.
Especially after watching those cars racing at the Goodwood revival, as they all looked the part without one.
So I will just go with the plan of painting a yellow band around the nose, and sticking a racing roundel on the bonnet.
- - - - - - - - - - - - - - - - - - - - - - - - - - - - - - -
Until next time, take care, Paul.
