Mister Towed - Hopefully now is the Winter of my body shell finally being bonded into place.
Although admittedly that doesn't have quite the same ring about it.

Jokes aside, thanks for the encouragement.

As I've been re-reading your build thread a lot recently to remind myself how you joined your body to the frame.
- - - - - - - - - - - - - - - - - - - - - - - - - - - - - - -
Monday - Part 1:
I've made a lot of progress in "non car" areas recently, so I wanted to make the most of the current fine weather.
( Then I can switch back to other stuff when the rain arrives towards the end of the week. )
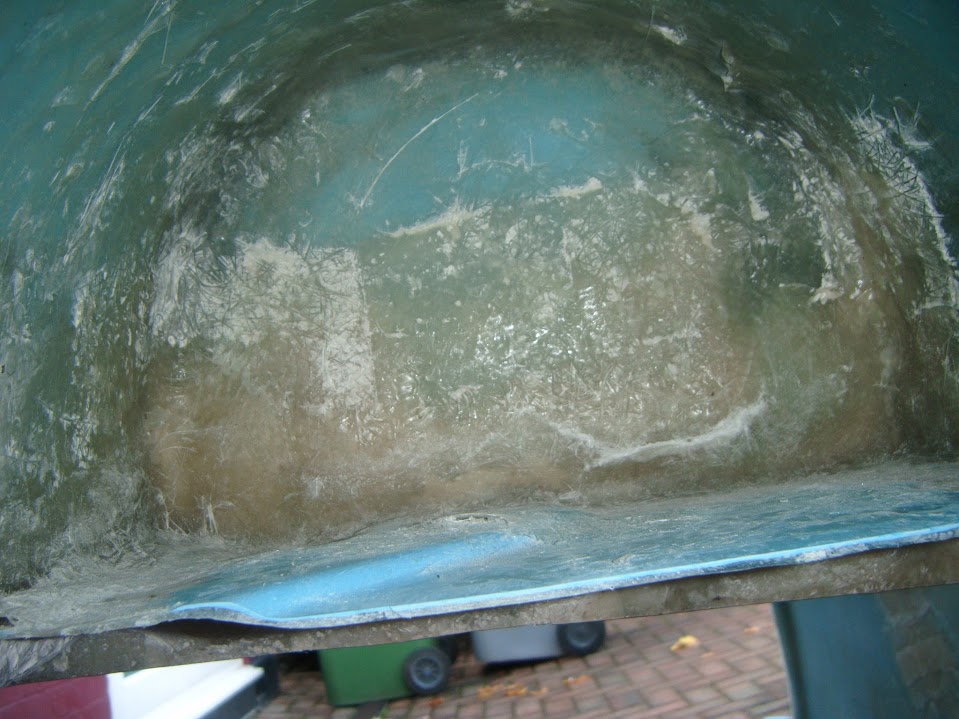
Yesterday's work on the driver's hump "bridge" had set and was strong enough to hold everything in place.
So I removed all the tape from the outside.
( Sorry the photo is so blurred. )

Then cleaned up the fibreglass matting applied to the inside edges.
Note:
This could only be done "blind" which resulted in my hands picking up a lot of fibreglass splinters.

Then I added a final layer of matting on the inside and made another mess.


Then I added some matting along the outside edges of the bridge panel too.
- - - - - - - - - - - - - - - - - - - - - - - - - - - - - - -
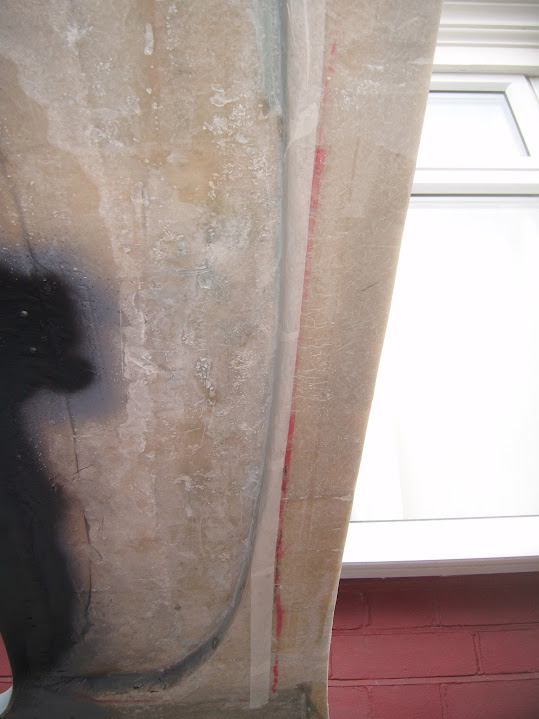
I applied a thin coat of Tetroseal to the underside of the body shell around the rear lights.

Plus the inside of the wheel arches, as my Spitfire arches will be lower than these.

I also remembered something
Mr T said a long time ago and left "gaps" where any joins need to be made.
E.g. This is where the Spitfire arches will be extended out to meet the body shell.

- - - - - - - - - - - - - - - - - - - - - - - - - - - - - - -
Used some masking tape to mark out the front "over hang" area.
Then sprayed some etch primer on it.

- - - - - - - - - - - - - - - - - - - - - - - - - - - - - - -
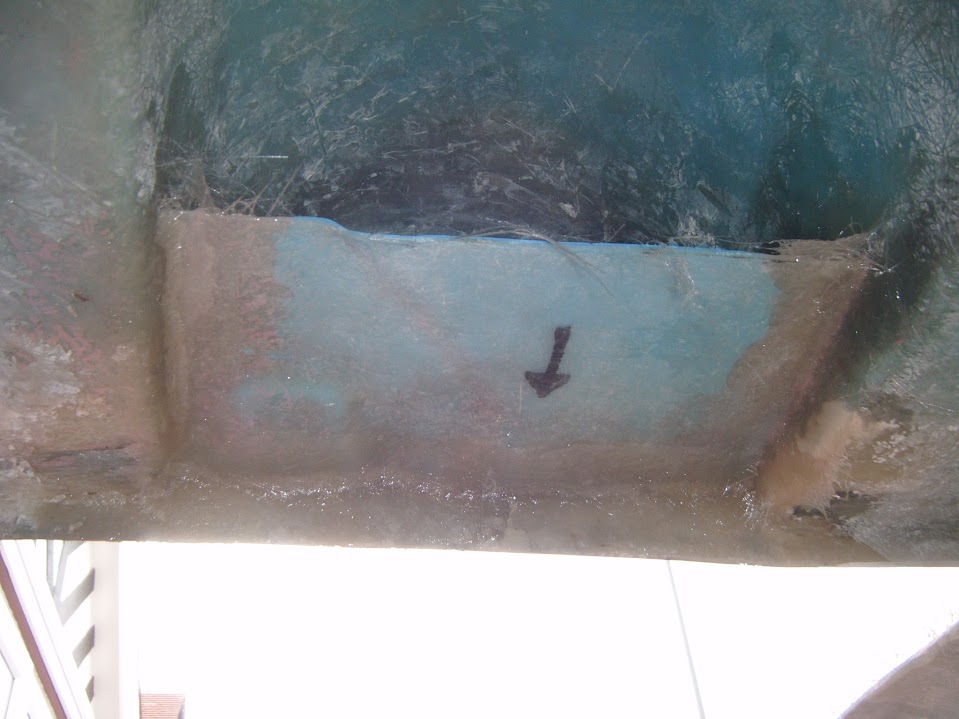
When the matting I added this morning was set, I sanded down the outside edges of the driver's hump bridge panel.

Also cleaned up the inside edges a bit before covering the inside with Tetroseal.

I also did the other side of the hump that was cut off for the boot lid.

So now the area that will be bonded to the
Moon Rover looks like this.

Again, the untreated fibreglass is where the bonding paste will be applied.
- - - - - - - - - - - - - - - - - - - - - - - - - - - - - - -
End of Part 1...