Pops - Well I can now empathise with the worries other builders have at this stage (see below).
And I never wanted to knock
Mister Towed off the top spot, as his inspirational build really deserved to be there.
- - - - - - - - - - - - - - - - - - - - - - - - - - - - - - -
"Bond... Body Shell Bond"
Badap ba daa ba da daa ba daa da deda daa...
I started the day by looking at how the tie down straps could be used to hold the body shell in place.
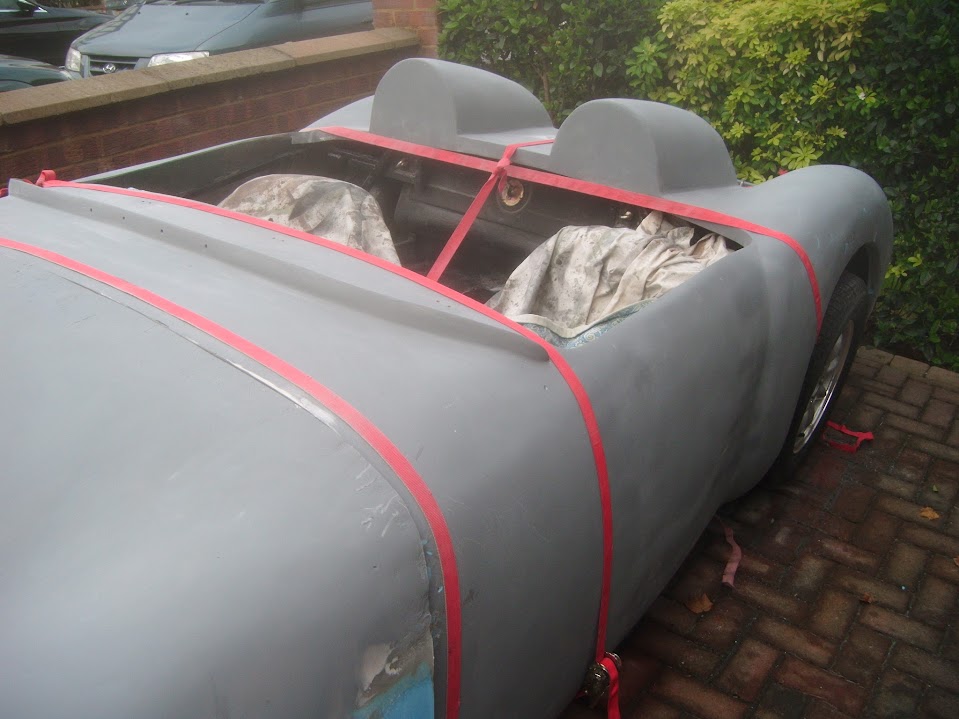
Including how the rear passenger corner could be pulled into position.

I added some masking tape to the painted "over hang" sections on either side of the bulkhead.
( Sorry the photos I took of this were rubbish.

)
The boot opening allows me to reach my hand in between the metal support plate and the body shell.
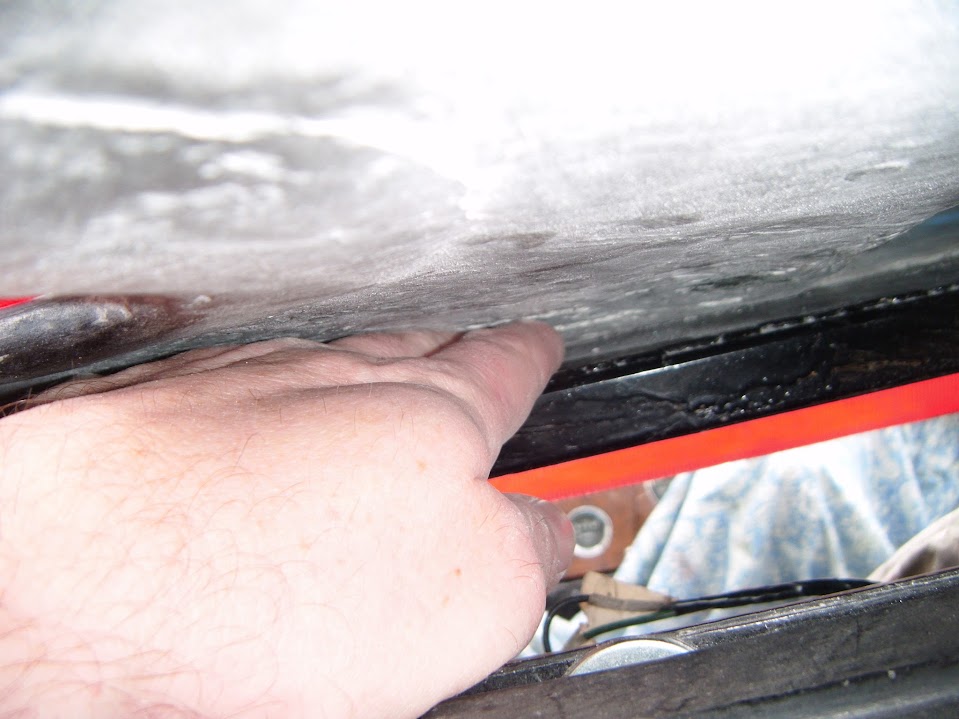
Which in turn, gives me a rough guide to how deep the bonding paste needs to be in this area (approx. 2cm max).
As I wanted to use enough paste for the job, without leaving too much excess paste left over to be squeezed out.
Well that was the theory anyway, but now it was time to make it work in practise.

So I propped up the body shell again.


Then added catalyst to the tubs of bonding paste I'd measured out the other day, before it was spread out in small "piles".


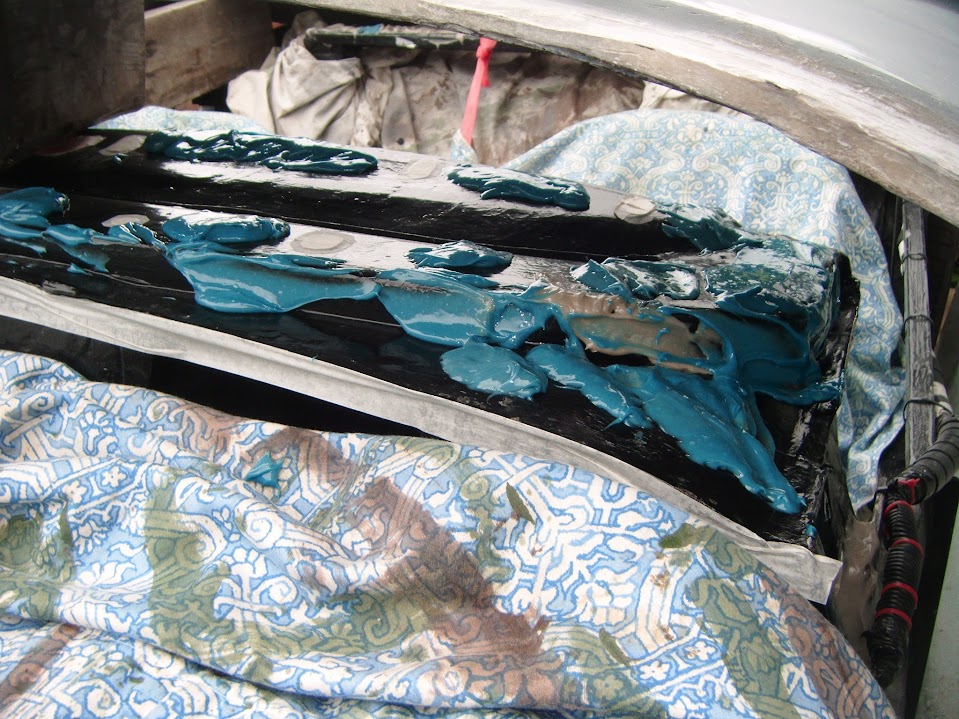
Note:
You can see where paste from the first tub had already started to change colour by the time I'd mixed up and applied the second tub.
Again, the theory was that these piles would be squeezed into the gaps by the body shell to make a solid join.
Then I removed the blocks & gently lowered the body shell into place and it felt like there was paste oozing around underneath.
As I went around the car tightening the tie down straps, a few of the straps snapped.

I had to tie knots in the straps until it was all held in place, with a few breeze blocks added for extra downward pressure.
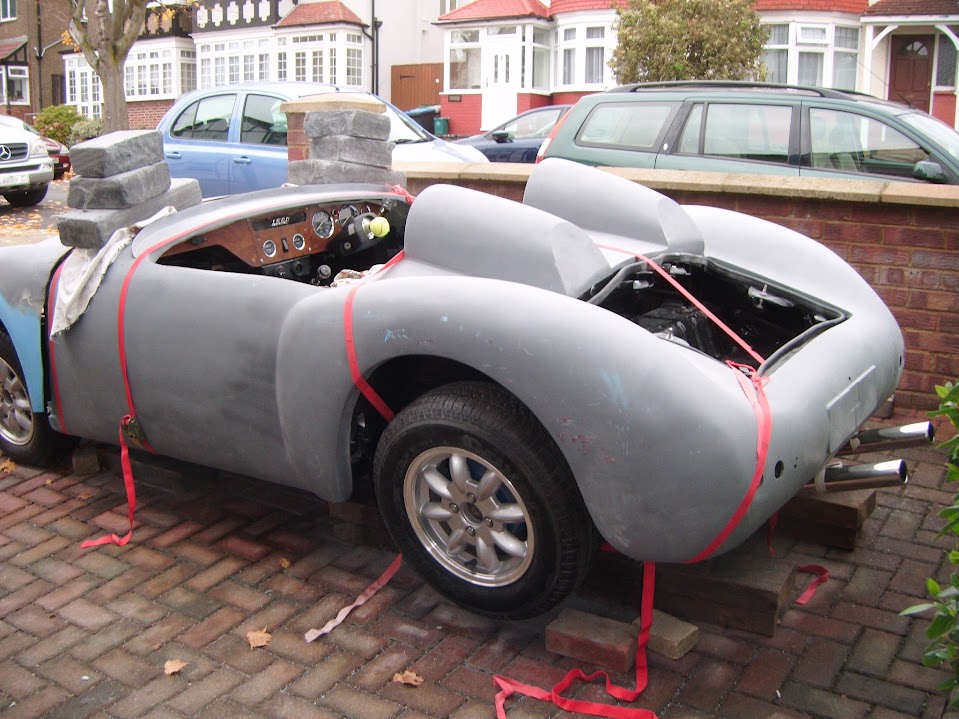


So there you have it, some 3 years later than I originally expected, but the body shell is finally bonded into place.

Note:
Despite using my basic alignment tools, it was not possible to get the rear end perfectly aligned.

( As I felt I was putting too much strain on the tie down strap and didn't want to crack the body shell itself. )
Which means it is time to dig out one of my favourite quotes...
Quote:
Originally Posted by oxford1360

It's all looking good and solid - like a 50 year-old race car that has been into the hay bales a few times in its life - perfect.
|
And start working on a back story that includes a major rear end shunt back in '68.

By now the sky was getting dark and there was been rain promised in the forecast.

So I didn't want to push my luck and start adding the fibreglass "bridges" to the internal cockpit sides.
Instead I simply put the covers over everything, including the breeze blocks.
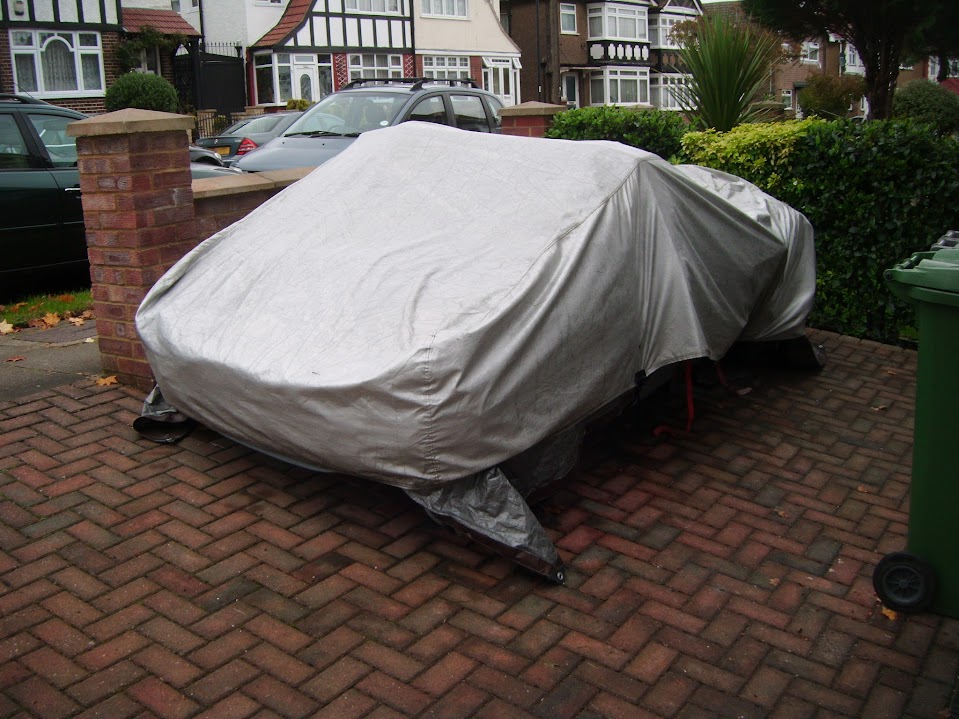
Not sure if I will have the chance to do any more work on the car today.
But, either way, as
Pops mentioned in his reply, this is still a major landmark in this build and I am very relieved to have reached this point.
Until next time, take care, Paul.
