Dave - Cheers.

I know there is a lot of work required to sort out the bonnet & front end of the body shell.
But I hope this represents the last round of major modifications to the original Cordite package.
Which means I will eventually reach the point where I can finally start putting it all back together!
- - - - - - - - - - - - - - - - - - - - - - - - - - - - - - - -
Little Bits & Pieces...
A damp & dreary day outside and a sick child to look after inside, meant I could only manage a few small jobs today.
I used my cardboard template to mark out the grill.

Not easy to see in the photo, but by laying the grill on top, I could roughly line up the circles with the bonnet opening.
And I do mean
roughly, as an OCD level of alignment is just not possible, so it is pointless wasting too much time on this.
Next I peeled off the car covers and brought the main section of bonnet through the house onto the patio.

That way I could leave the rest of the car tucked away on the drive and just nip out back when I got the chance.
I cut the grill roughly to shape, before marking and fine tuning the edges until it slotted into place.
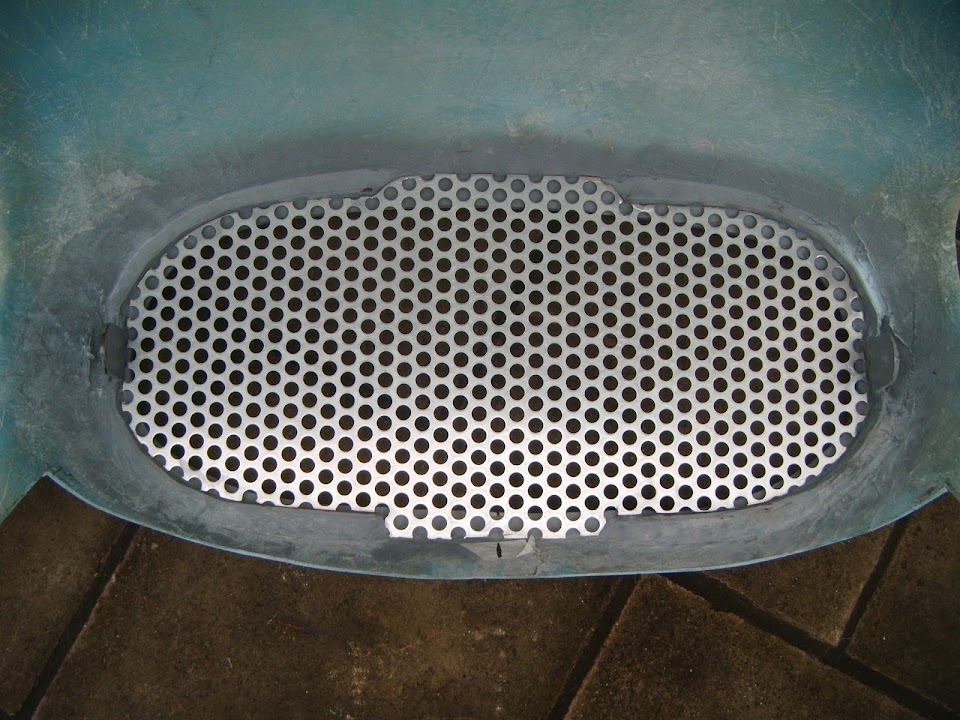
I also used my grinder to soften the cut edges so I didn't lacerate my hands on this oversized cheese grater.
This is the view from the front.

As is the tradition, I can't finish this job until I do a few more related jobs.

The first is I need to create an even/level gap around the bonnet opening for the grill to sit flush.
Not a great photo, but you should be able to see that uneven nature of the current gap.
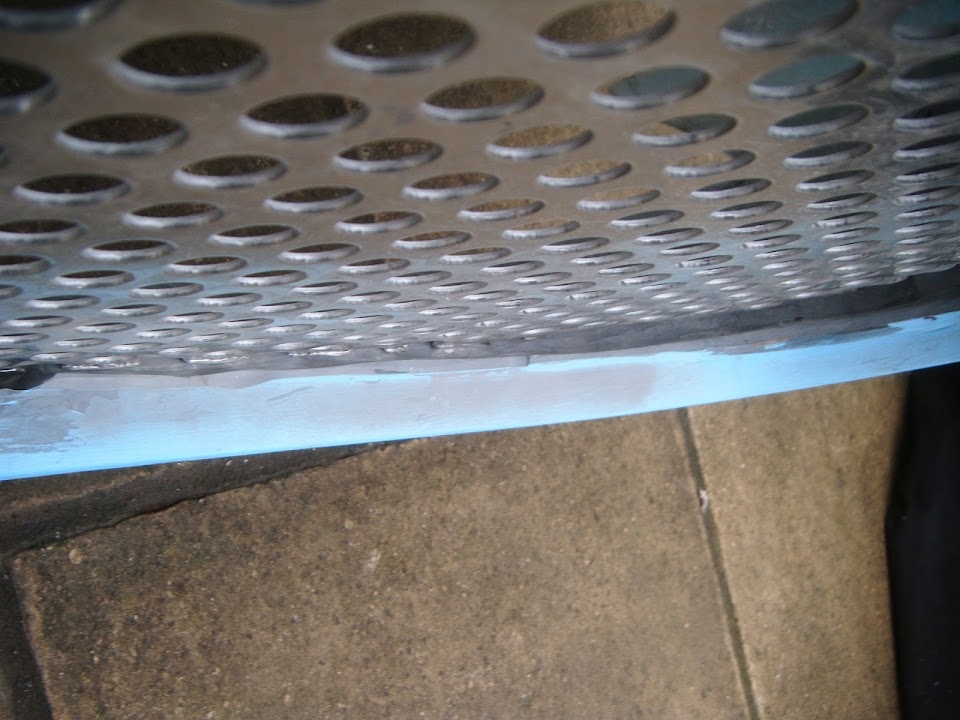
But that job is also linked to the need to straighten out the bonnet nose itself.
I plan to build out the driver's side until it reaches the same size as the passenger side.

I will also build up the inside of the bottom edges of the grill opening to create a slightly deep edge for the grill to press against.
At this point I haven't decided whether to make the grill removable, or simply fix it into place.
Next I did a quick test on the scissor hinge brackets to see it they would fit.
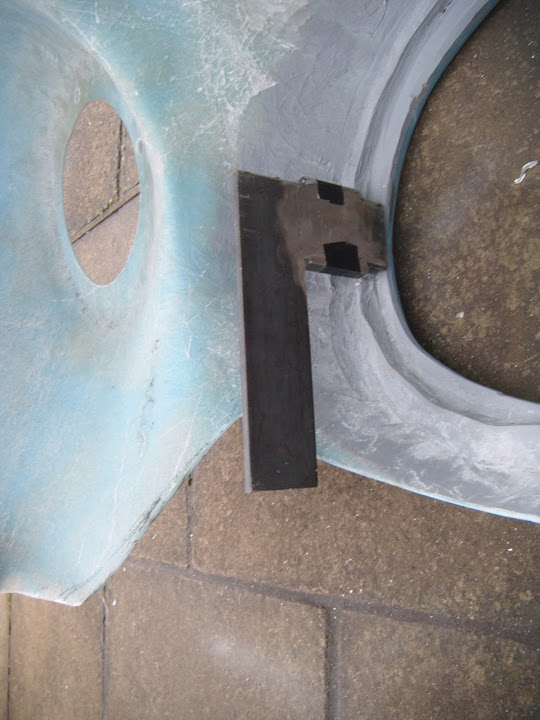

Although in practise they will probably be fixed a bit further away from the grill compared to the photos above.
The following photo
might make it easier to understand my concept of an upside down bonnet bulge.

Depending on the final length & position of the hinges, I will simply rebuild the section of bonnet below the grill opening around them.
I plan to bolt the brackets I've made to the "factory" hinge points to form a single structure.

Although you may recall that the hole in one bracket is bigger than the one on the other side.

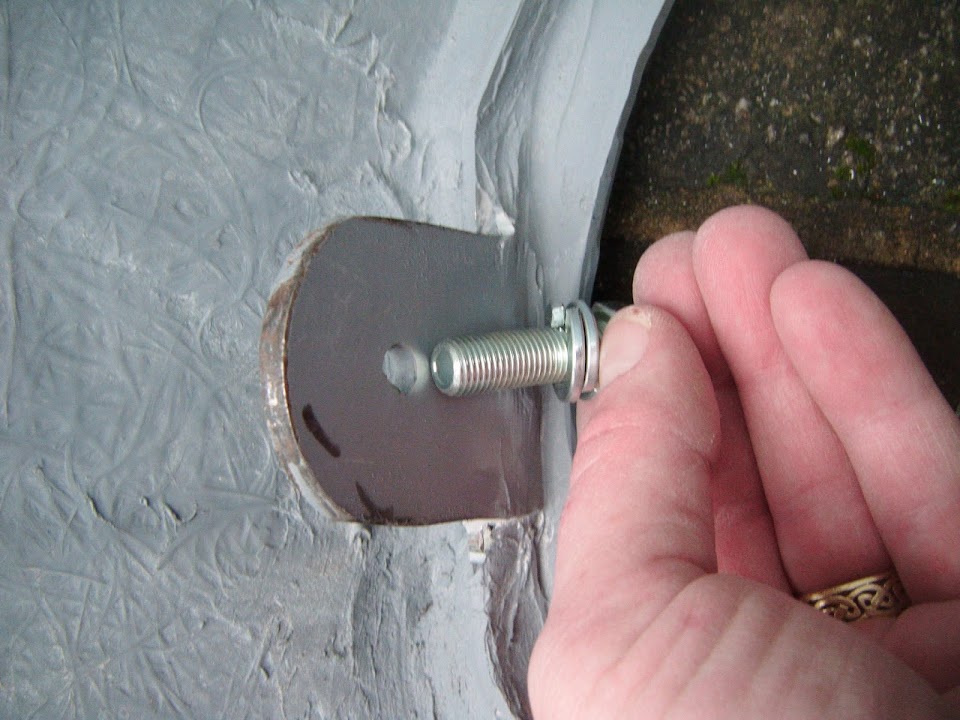
It took a bit of effort and some oil while drilling to enlarged the smaller hole to match.

So I've also just ordered some cobalt drill bits to help me to drill the new holes required in the 5mm thick flat bar.
The final area I started playing with was my petrol cap.
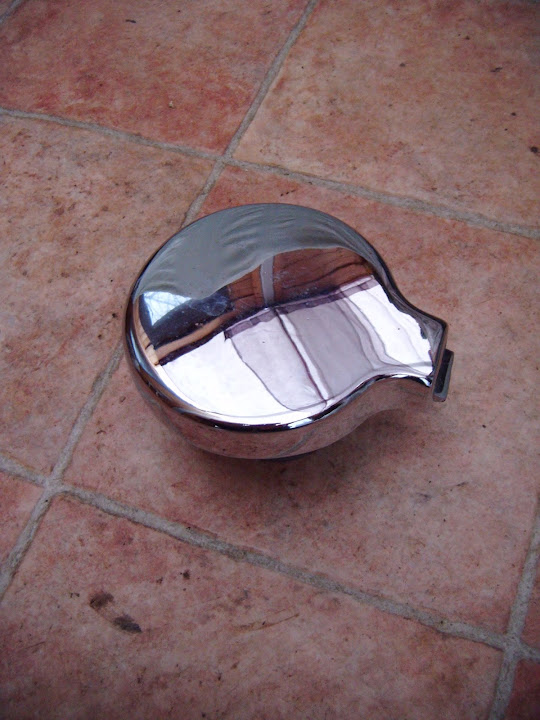
I made a point of not boxing this away when I was tidying up the other day, as I want to mark up the body shell at some point.
The original Spitfire rubber seal is designed to slot into thin sheet metal.
( Sorry the photo is blurred. )

So I intend to modify the approach
DaveCymru took on his Miglia.

Unfortunately, whilst I still have the petrol cap section of my 2nd body shell (including an old seal), there isn't enough metal around the hole.
However, I do have some fresh sheet metal that I can cut to size and use instead.

The idea at this stage it so cut a hole in the fibreglass that the outside of the rubber seal will fit through.
Then fix the sheet metal over the top with a slightly smaller hole that the rubber seal can slot into as Triumph intended.
(
Touch Wood. )
Until next time, take care, Paul.

PS
I watched "The Muppets' Christmas Carol" with my daughter earlier and so for fans of this film...
Seven more sleeps 'til Christmas.