More Bits & Pieces - Part 1:
Friday was spent preparing for the first meal at our house for guests during the Christmas season.
( We had a good night yesterday, although the next one is tomorrow.

)
So I was happy to get a little bit done today...
Although I didn't get off to a good start when water poured off the car covers & straight into the hole in my trainers.


I dug out the strip of rubber I plan to use for the bonnet lip.

Parts of the lip are about the right size to for the bonnet to sit, although not easy to see in the photo.
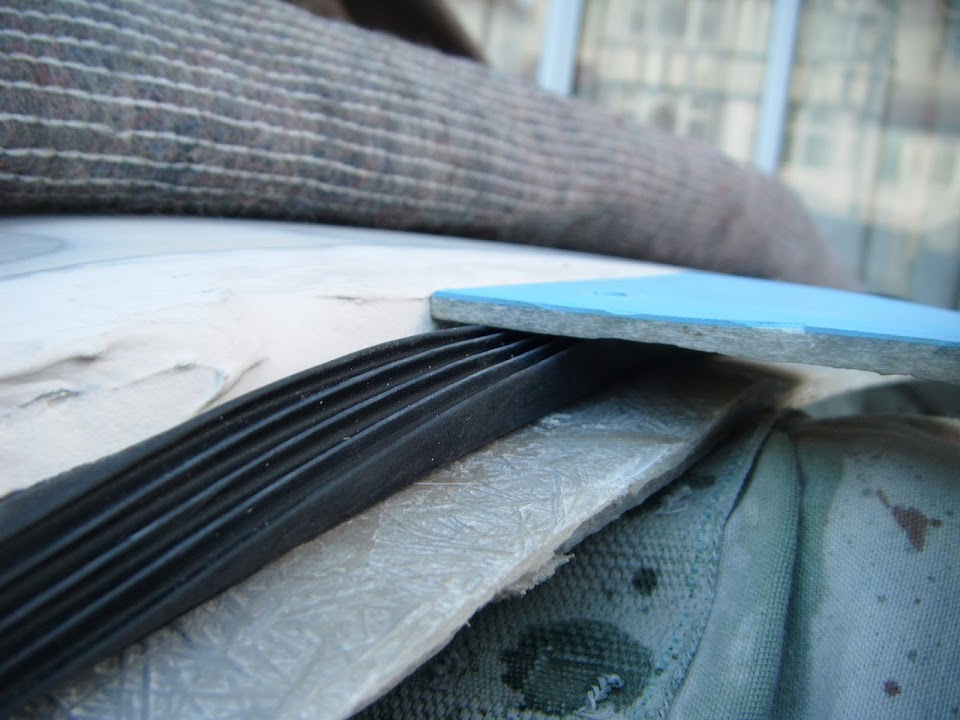
But in other areas, the lip is too deep.

One bit of good news it that the bonnet will clear the brake master cylinder with ease.

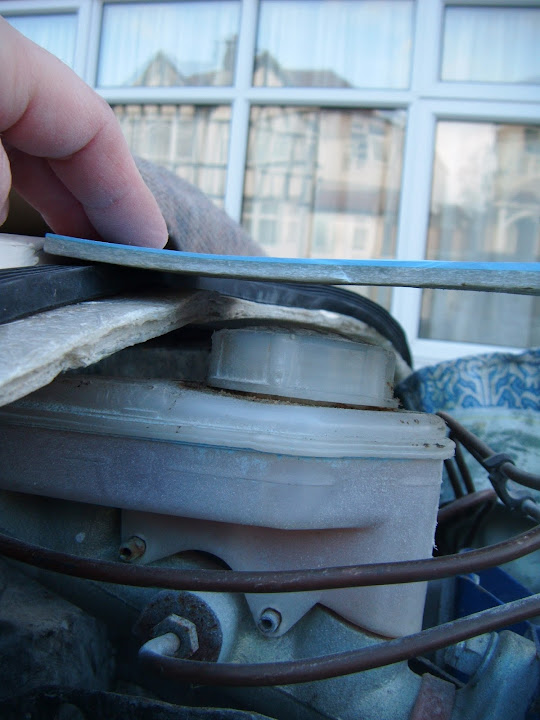
Then I knocked up a crude marking device.

This allowed me to "clear" the wind deflector lip and mark dots parallel to the dash board lip across the scuttle.

Although the cockpit edge does curve out at the edges, so I drew a "best fit" line based on the dots.

In the photo above, you can see I've matched the green line to the existing passenger side lip angle.
By using a set square and the Spitfire bulkhead I could see how much the driver's side was out by comparison.
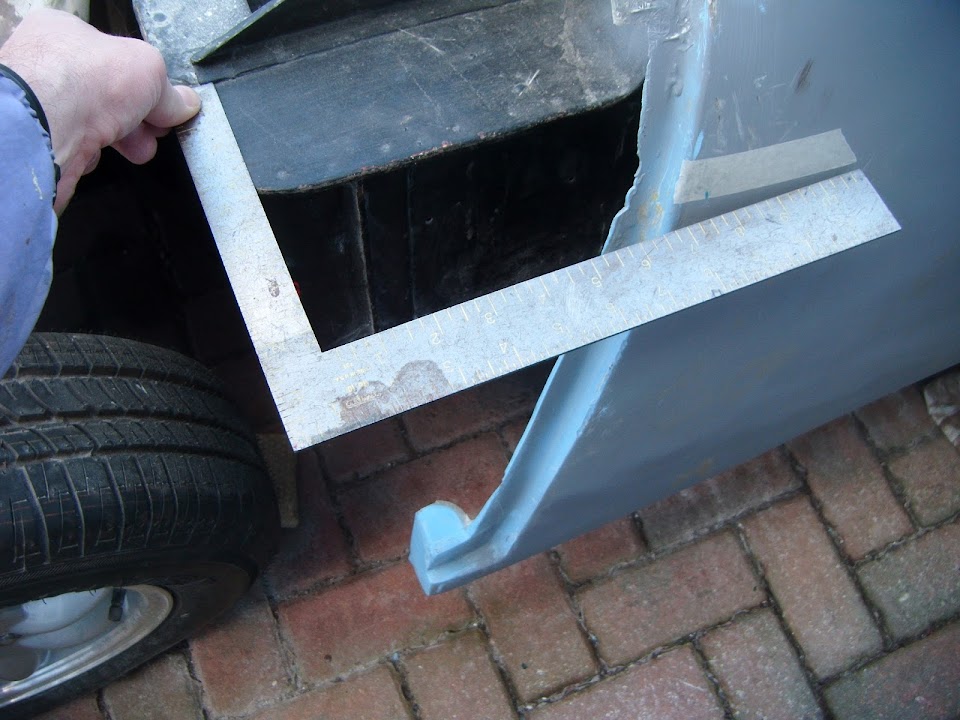
Passenger:

Driver:

So if I build out the driver's side I can get a roughly similar bonnet lip shape on both sides.
It will only be
roughly, because the inside edges of the cockpit don't line up with the outside edges of the scuttle.

I cut the line into the filler with my angle grinder, taking extra care not to cut too deeply.

I also marked up where the front of the bottom edge of the lip needed to be.
Before cutting that out too.

Then I add some fibreglass filler along the bottom edge to try to even up the vertical gap a bit.

End of Part 1...