Swifty - It was definitely madness working outside today.
 Scottie
 - You are too kind sir, but there will be no moulds & this will remain a one off build.
( Especially after all the grief that followed the launch of the Miglia Speedster. )
If I can create a good first impression, then I will not worry about want a closer inspection will reveal.

- - - - - - - - - - - - - - - - - - - - - - - - - - - - - - - -
Slow Progress - Part 1:
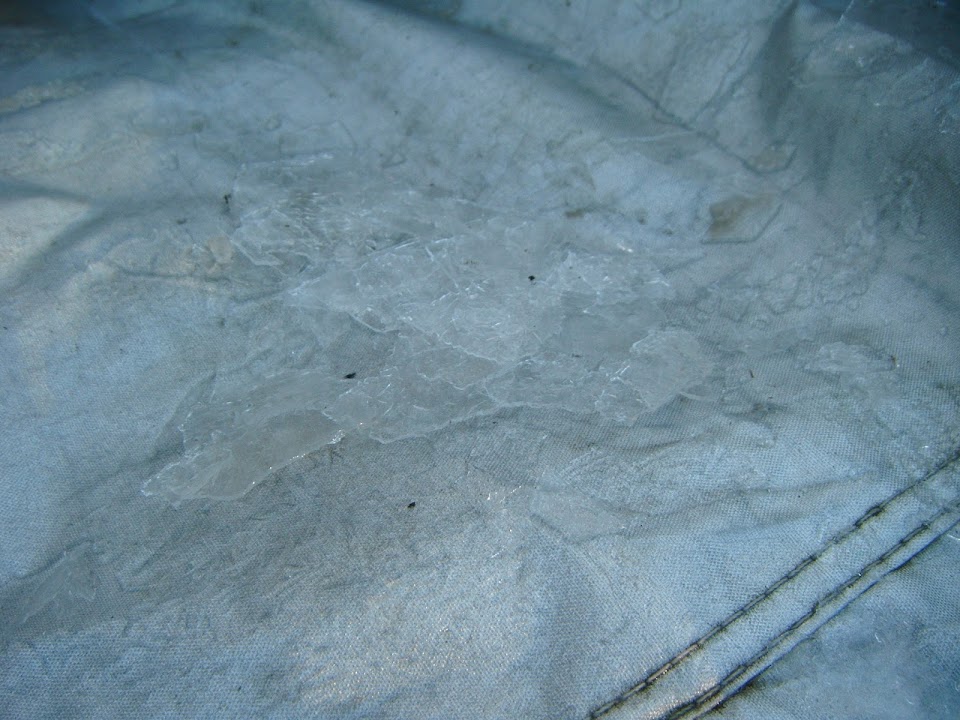
Call me a soft, Southern, Jessie if you like, but I don't like seeing ice on the car cover when I start work.
I've been following the great work
Swifty has been doing on his bonnet recently.
And this photo made me think about my own bonnet.

By chopping out the middle of the bonnet, the front hose will be able to sit a lot lower.
Mac has fitted his bonnet without a scoop, like so.

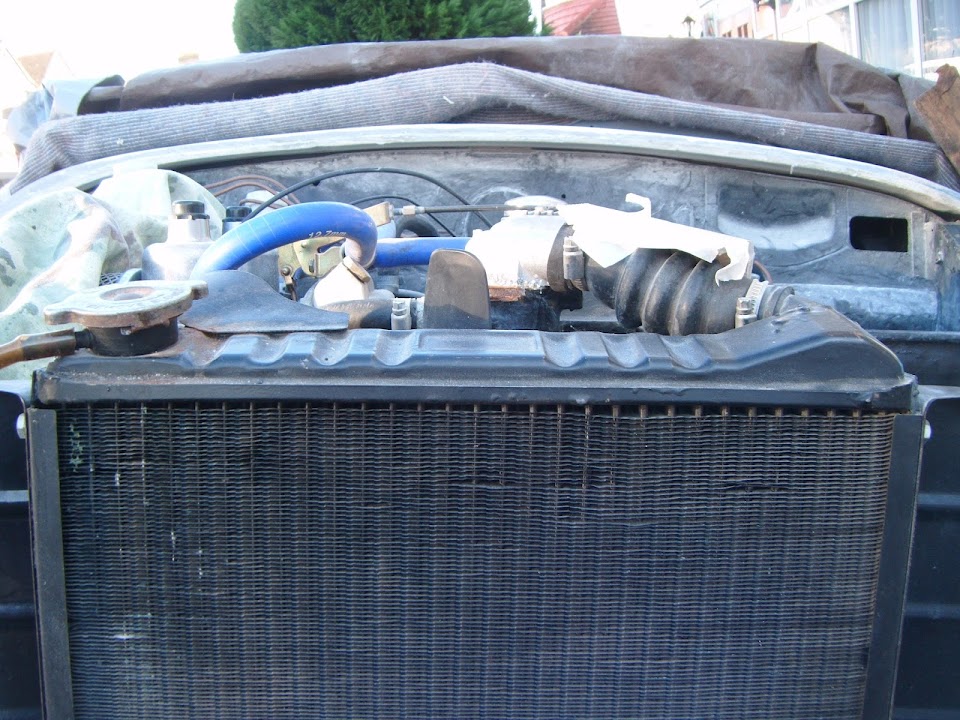
And currently, my engine sits neatly under the bonnet in this higher position.

The limiting factor for me is the radiator cap.

So I was thinking along the lines of a small "bonnet bulge" for this cap area, which would let me drop the nose a little bit more.
( A bit more that this, but you get the idea. )

But before I did anything, I thought I would try to follow the "measure twice, cut once" school of building.
I currently have the standard Spitfire radiator in place.
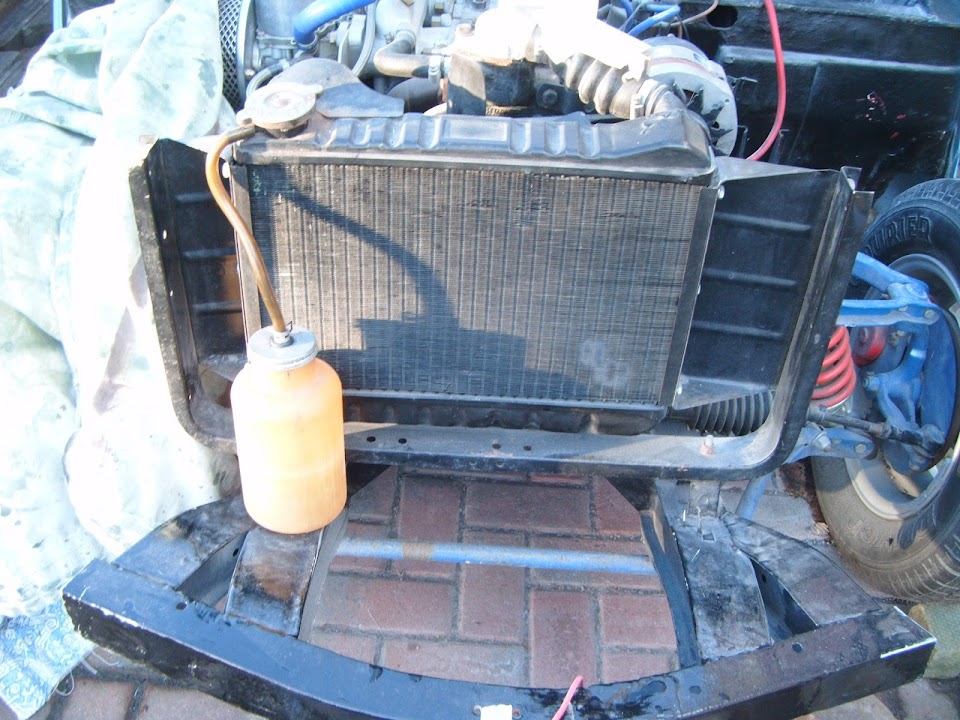
However, I did buy a wider one from Rimmer Bros. ages ago.

At first glance the radiator cap is in the same position on both.
But a more detailed look revealed that the top of the new, wider, radiator sits higher than the original.

Now, obviously I could chop enough holes in the bonnet to cover everything if I wanted to.
But to be honest, I need simpler solutions, not ones that require even more work.
So a high nose and no bonnet scoops, similar to
Mac is the way forward for me.

- - - - - - - - - - - - - - - - - - - - - - - - - - - - - - - -
With that decision made, I could turn my attention to the bonnet hinges.
I added some tape to highlight where the edges of the front cross member were.
( I need to come back and tidy the edges up with my grinder at some point. )
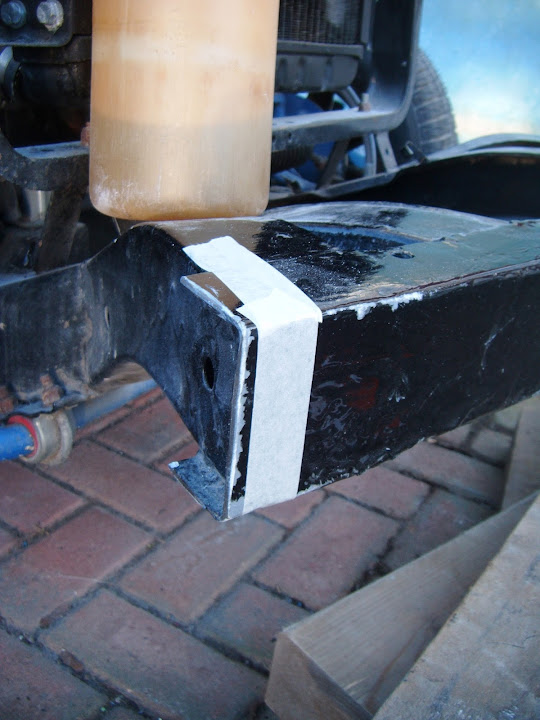
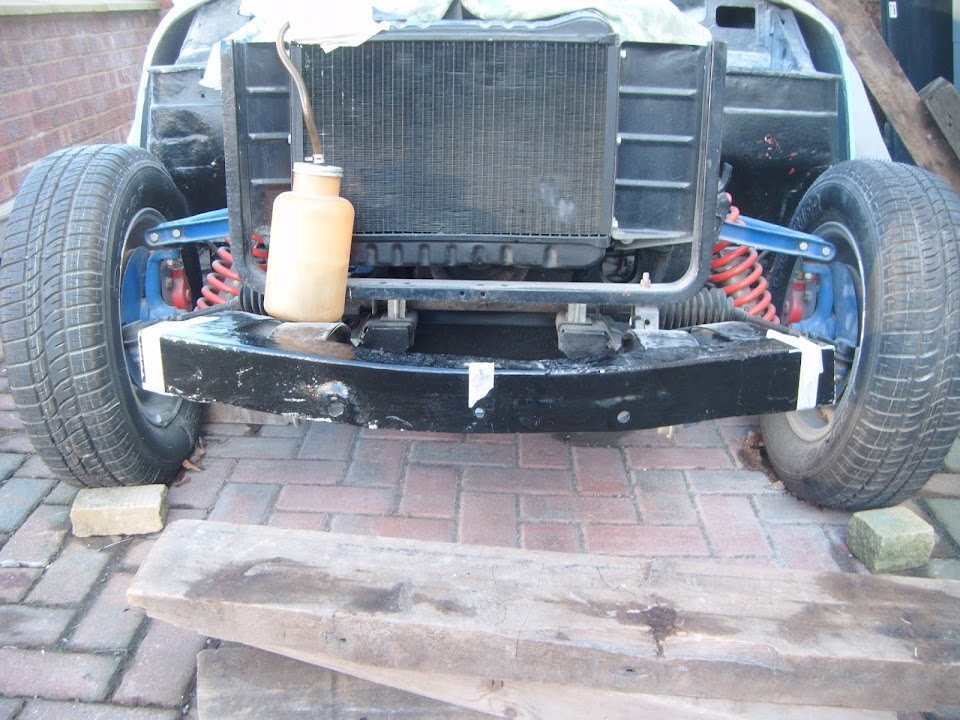
This tape was going to act as a rough guide for lining up the bonnet hinges.
Then I marked up where the factory fitted hoop bracket sat relative to the scissor hinge.


End of Part 1...