Slow Progress - Part 2:
Then I had my first go with my new colbalt drill bits and they are great.
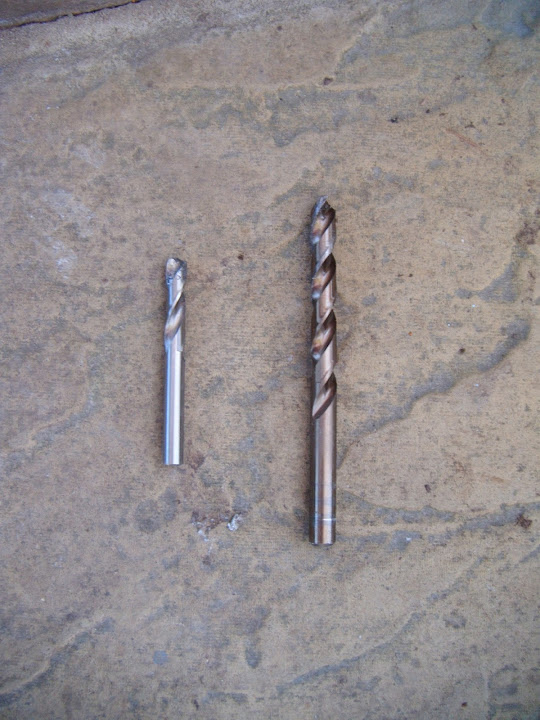
They had no problem getting through the 5mm thick flat bar.


I needed to take a little bit off the edge of one of the brackets...

So the hinge would fit flush against it.

Then I had the two hinge halves in place.

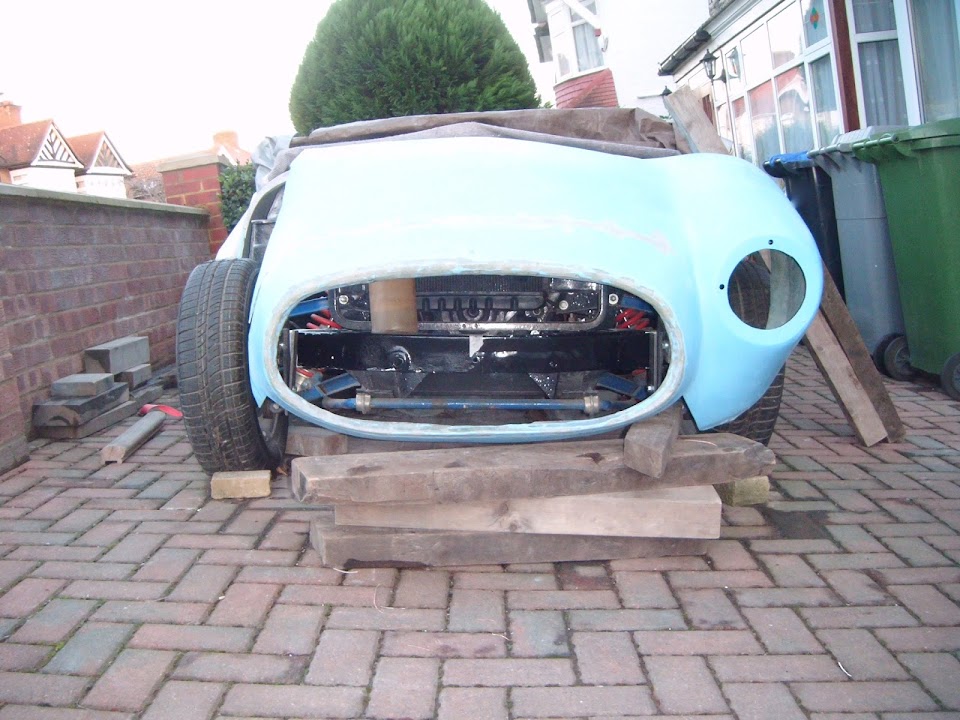
I balanced the bonnet as best I could to give me a position where the hinges would pivot underneath the chassis.


With the pivot point marked up, I had to unbolt everything to drill two more holes.


Once they were bolted back into position, I could mock up the other half of the scissor hinge.

I then cut the flat bar a little bit oversize and drilled two holes.

Which left me with a hinge that looks like this.

I know
Mister Towed's hinge doesn't have a washer between the two plates, but I've added one to mine.

This is because the hoop brackets are not perfectly square, so I need a small gap to prevent the two halves getting stuck.
This is the position of the bonnet nose relative to the chassis now.
Rather than rush into welding the chassis side of the brackets into position, I called it a day at this point.
Plus the sun was setting and I was bloody cold, there was still some ice on the cover when I packed up.

I also want to add a couple of "lugs" to parts of the hinges before I weld them in place.
I will be very happy if I can get this to work as I will then have a fixed reference point for the rest of the bonnet work.

Until next time, take care, Paul.
