Dave & Scottie - Cheers gents.

I will still take a heat gun to the body shell before I get to the painting stage, just to be on the safe side.
I do find the constant mixing and cleaning up afterwards a bit of a drag while doing fibreglass work.
( I can't mix more than 200ml of resin at a time in this heat as there is such a short pot life. )
However, I am really enjoying the fact I can make "something from nothing" as it were and that it is so solid.
When I first cut out the Cordite scuttle I did start to panic a bit, thinking I'll never be able to fix it.
But now I know I can get it to a decent, if somewhat Hillbilly, standard that will work well enough for me.
Plus the "Mr T in the supermarket car park" test means most people will not know what it was supposed to look like.
- - - - - - - - - - - - - - - - - - - - - - - - - - - - - - -
Slow Progress...
Yesterday I managed to get a lot of time on the car, today "
not so much", but that is the way it goes.
First short session saw me finish off the re-enforcing of the underside of the spare hump.

In addition to making use of my matting left overs, I was also using up some of my "old" resin which wasn't helping either.
You may recall that I had left all my fibre glassing stuff sitting in my shed for over a year, so I bought some new resin for comparison.

This was been much easier to work with, so I have been predominately using that, but working my way through the old stuff when I can.
- - - - - - - - - - - - - - - - - - - - - - - - - - - - - - -
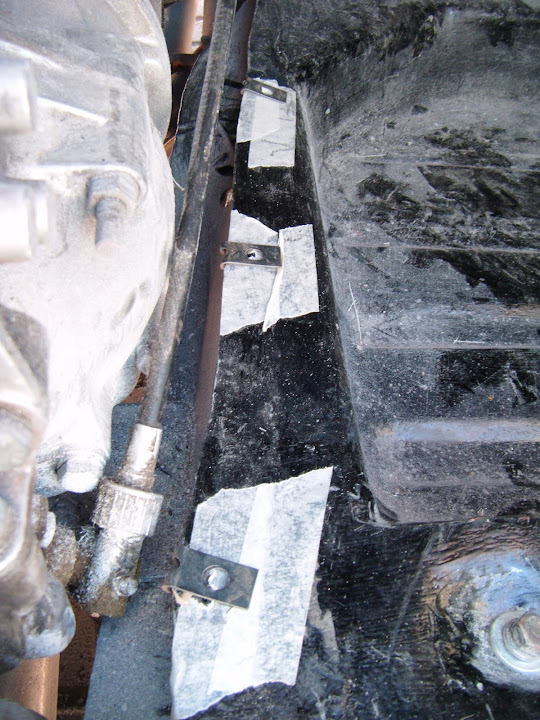
I removed some more of the fixing brackets from the body shell.


Then I roughed up the edges, removed any flaky fibreglass & applied a layer of filler to fill any of the small voids I found.
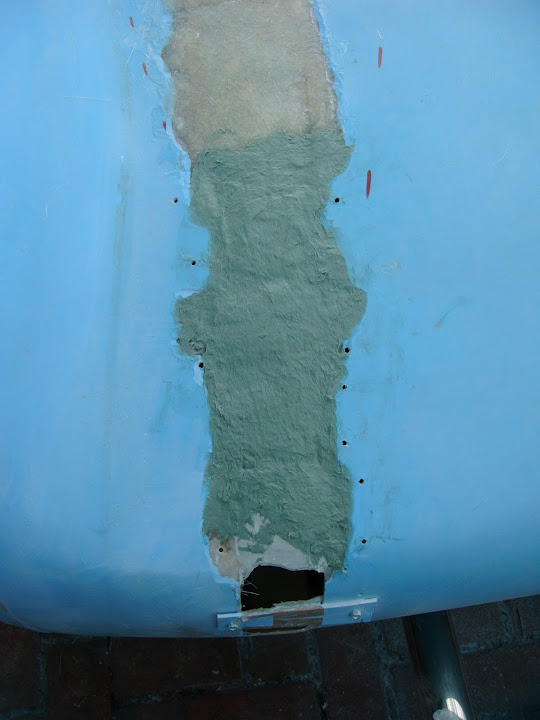
That leaves just two gaps remaining.

But these will not be filled in until I move the body shell into the back garden to tackle all the other work required.
Thankfully, the repair work I have done so far has restored more than enough strength to allow the body to be carried.
- - - - - - - - - - - - - - - - - - - - - - - - - - - - - - -
The only other thing I worked on was the gearbox tunnel cover.
I gave all the edges a final sand to ensure I had flat surfaces to play with.
I cut up an old bicycle inner tube to act as a "spacer" to represent sealant between the cover and the bulkhead.

Which ever way I look at it, there seems to be no way to get a tight fit between these two parts.
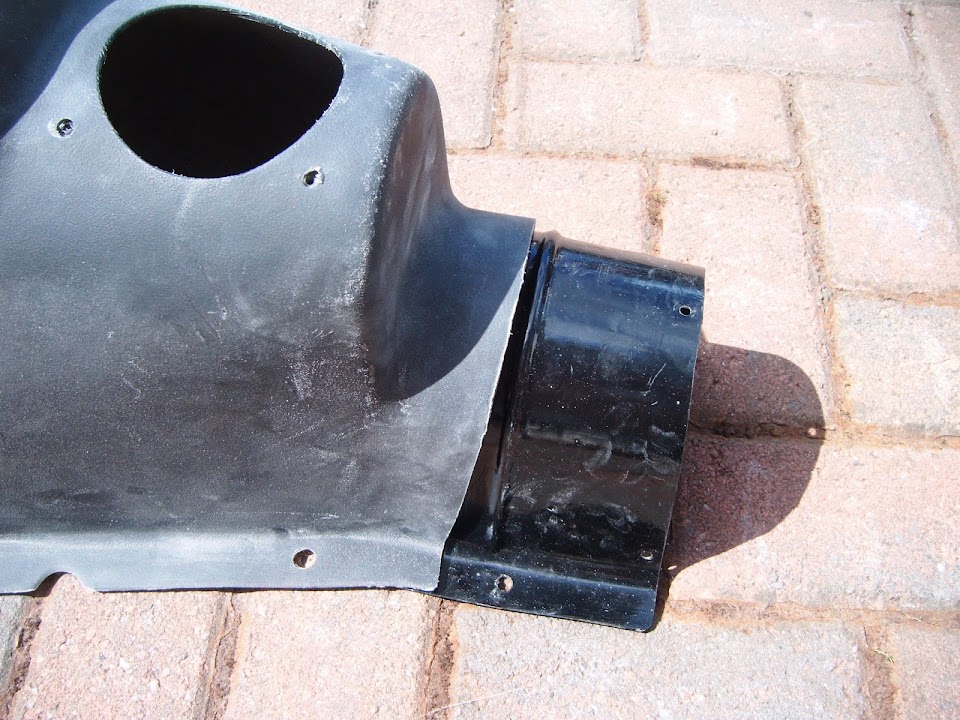

Looking at old photos, this whole area was a mass of sealant and simply covered in carpet.

Thankfully, the three holes in the joining bracket line up with the three holes in the hand brake panel.

But I will need to drill two new ones for the base of the bracket through the panel / floors.
Initially, I was simply going to mark where I needed to drill holes in the bulkhead.
But looking in the bag of fixings that I had removed from the donor I found the self tapping screws' "clips".
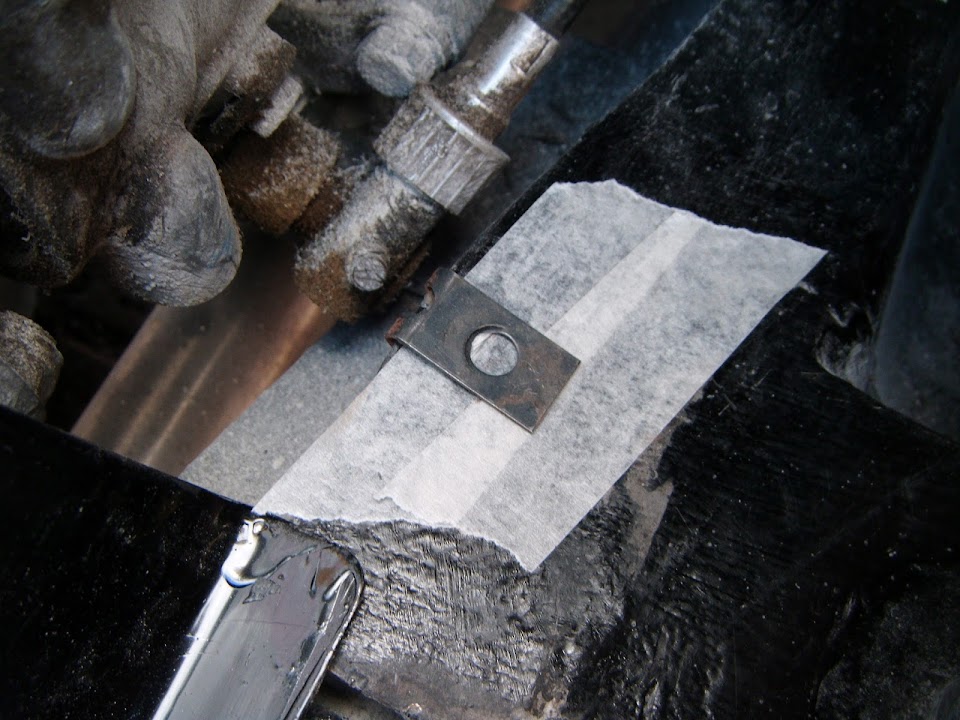
Clearly I needed the holes to be the correct distance from the edge of the bulkhead for the clips to work.
So with my bits of inner tube on the front face of the bulkhead I could align the clips on both sides.
However, with the holes in the tunnel lined up with the clips, the hole for the gear lever is off to one side.
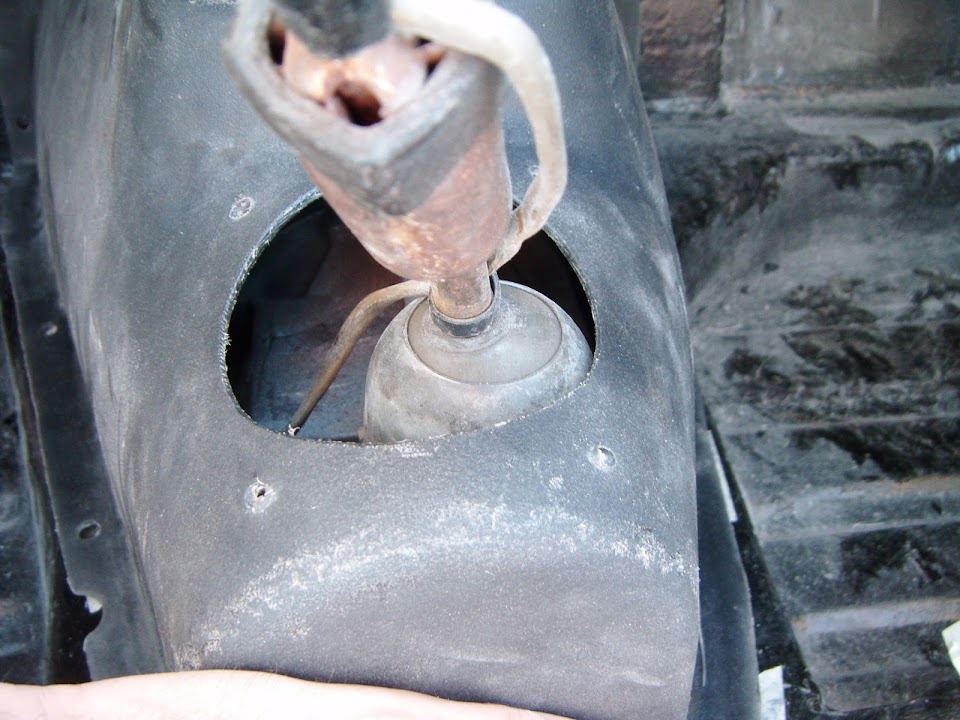
I don't appear to have any photos of the original gear lever in position without the gaiter in place.
Question:
Does anyone think this is going to cause any problems?
Next time I will dig out the gaiter and test fit that before I start drilling any holes.
I will also wait until I have drilled the six holes on the bottom edges of the bulkhead before I mark up the holes required on the front of the bulkhead.
As this will be a lot easier to do when the bulkhead is off the chassis.
- - - - - - - - - - - - - - - - - - - - - - - - - - - - - - -
Shopping List:
I've ordered another tub of the green fibreglass filler as I still have a bit of shaping work to do.
But I make a big mistake by thinking about the extra fibreglass supplies I needed...
Another 5kg of resin seemed fair enough, and I have used up most of the first 5kg roll of matting that I bought.
So I started to quickly write down all the remaining jobs involving fibreglass I could think of.
What was I thinking?
I should simply have just ordered another 5kg roll and not have created yet another "To Do" list.

However, since I have written this down, I might as well share it...
Fibre Glassing Jobs - To Do List:
- Finish repairing the major cut along the rear of the body shell
- Re-enforce the final section inside the spare hump - Now Done
- 'Cut & Shut' the rear of the driver's side rear wheel arch to a similar shape as the passenger side
- Reshape / reposition the wheel arch openings front and back as required
- Reshape the rear cockpit corners, including a new lip along the rear line
- Realign the front face of the driver's hump (may just leave as is)
- Build the wind deflector base across the top of the scuttle
- Build a lip along the cockpit edge of the scuttle in front of the dash board
- Re-enforce the sides of the body shell where the old scuttle was cut away
- Add extra matting on the under side of any "flash line" that reveals fibreglass when sanded down
- Add the tail pipe mounds to the body shell
- Re-enforce the bonnet lip on the body shell
- Seal the gaps between the rear wheel arches and the rear frame work
- Extend the Spitfire rear wheel arches to join the sides of the body shell
- Bridge the small gap between the Spitfire bulkhead and the rear frame / floors
- Seal the gap between the sides of the bulkhead and the bodyshell
- Major surgery required to bonnet to ensure front wheel on driver's side is covered
- Possible "hockey stick" bracing on the inside of the bonnet
- Other bonnet work vs. extending sides of body shell (see
Mac's build)
- Fibreglass the body shell to the "Moon Rover" after bonding the shell in place
- Rebuild top edges along both cockpit sides to cover a plywood support structure attached to to the framework
- Build front inner wheel arches (not really sure what I am going to do here yet)
- Sort out a boot opening of some sort with appropriate cross bracing, rain channel, etc.
- Something else I am bound to have forgotten
So much for starting to dream about joining
Mr T for a drive in 12 months time.
On the plus side, I had another chat with
Mac on the phone today and he really does give me hope.
Seeing the work he is doing on his Navigator is a real inspiration and a great way for me to learn.
Whilst he has done car bodywork before, seeing the finish he has been able to create gives me something to aim for.
Not saying, I can achieve it mind you, but my body work will be much better than I initially thought possible.
- - - - - - - - - - - - - - - - - - - - - - - - - - - - - - -
Next Steps:
- I need to tidy up the filler on the underside of the scuttle and test fit that to the bulkhead.
- Then I can start marking up all the changes I need to make to the body shell & rear frame work.
- Then I can start removing the bulkhead and rear frame / arches / floors, to allow me to work on their undersides.
- Once I have finished working on those pieces off the chassis, they will be bolted into position for the final time.
That's all for now and I'd better go, as I am meant to be doing something else!
Take care, Paul.
