Jones & Scottie - Thanks gents.

Whilst there is always frustration when small jobs take longer than they should, this is still a good step in the right direction.
As connecting up the wiring loom, fuel lines, gauges, etc. is the path to getting the engine re-started and, in turn, the body shell bonded on.

- - - - - - - - - - - - - - - - - - - - - - - - - - - - - - -
More Small Steps Forward:
I had to wait for the mist to clear in the morning before I could start work.
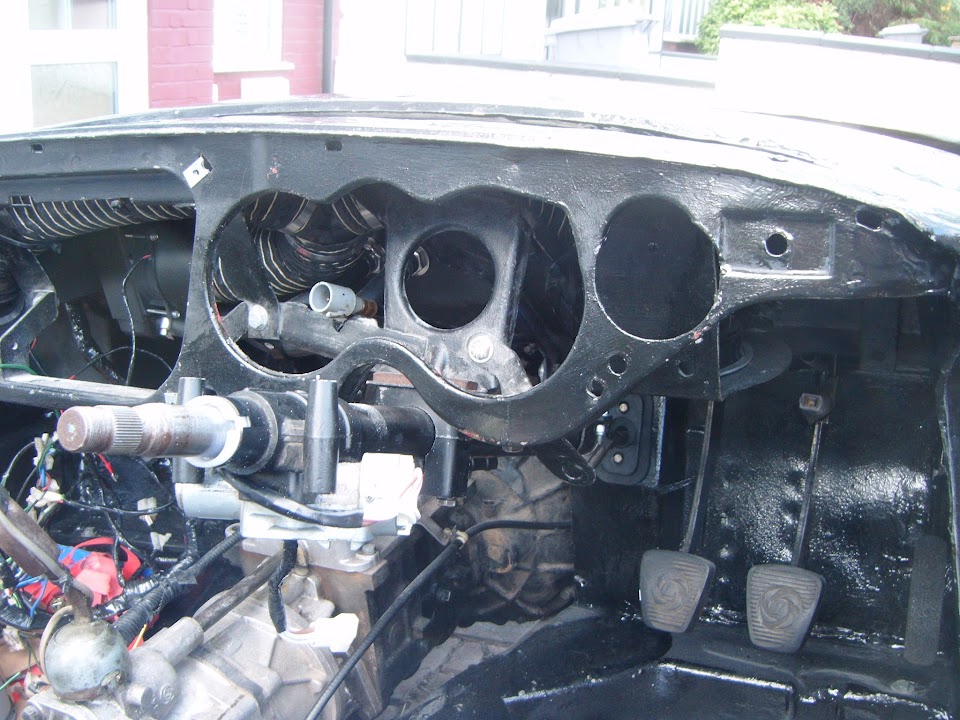
Removed the steering column cover, indicator switch & dash board section to get better access to the bulkhead behind.
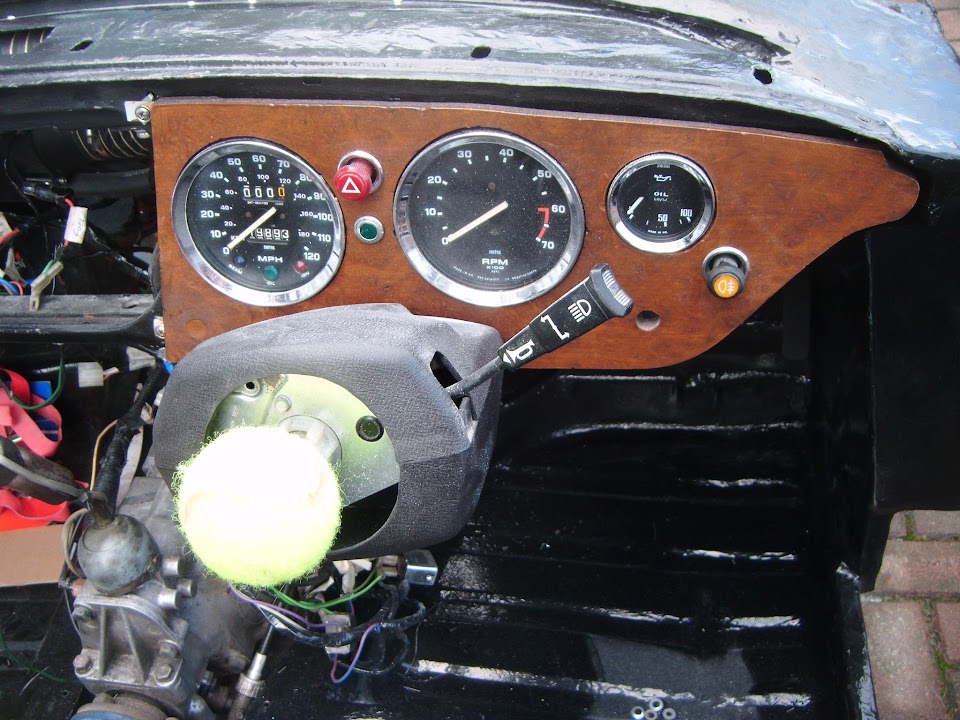
I had one slight hiccup doing this, when I dropped one of the retaining "nuts" for mounting the speedo out of the cockpit & under the car.


Unfortunately, despite looking for ages, I just could not find where it had rolled to.
Thankfully my donor came with boxes of "bits & pieces" and I did find a spare one that I can use instead.
Then I fixed my new choke cable to the dash.

Before threading the cable through the heater vent panel...
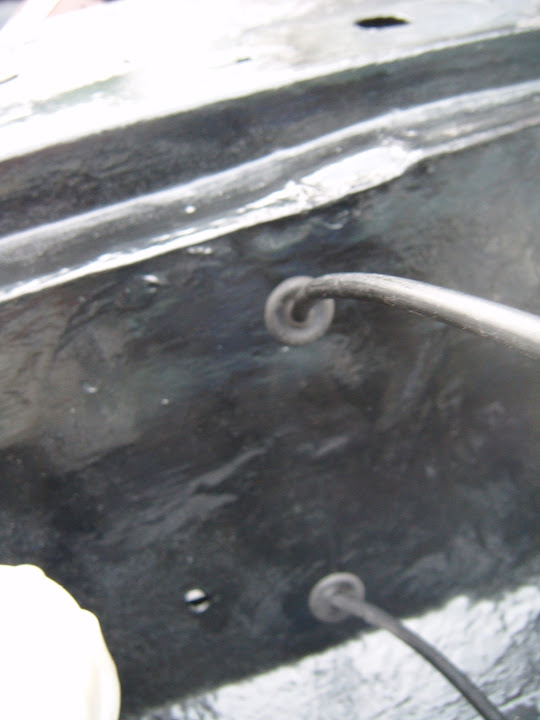
And out through the bulkhead.

After initially connecting the cable end to the carbs, I realised I needed this to be detached while I worked on the rest of the dash.
( To allow the panel with the choke level attached to be moved around. )
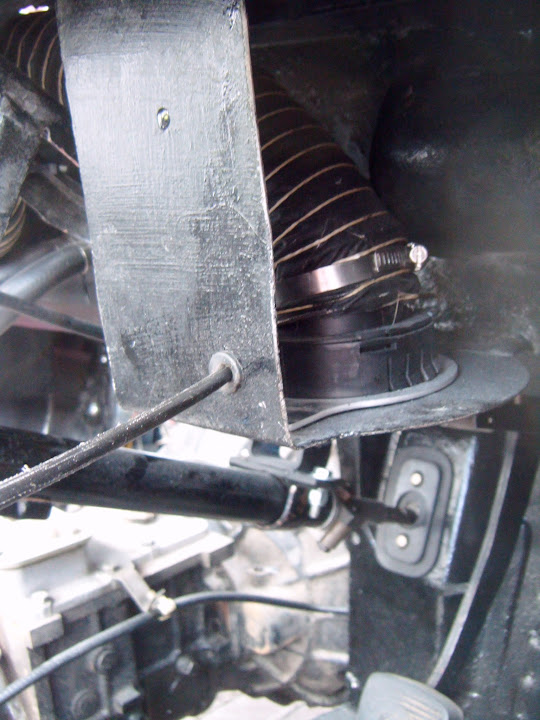
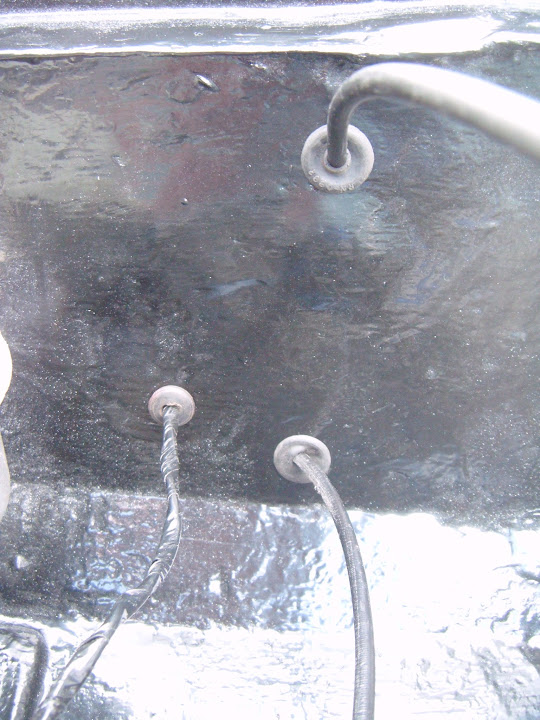
The next cable to come out of a storage box was for the heater control valve.

This exits through the bulkhead above the choke cable.
Then it was the turn of the wires for the new oil pressure gauge.

Although at this point, there is nowhere to attach the other ends of these wires to.

However, in order to get a working Moon Rover, I just need the wiring behind the dash to be sorted out, so that is fine for now.
Initially I got confused by these two relays...

As I could only find a fixing for one of them behind the dash (excuse the poor photo).
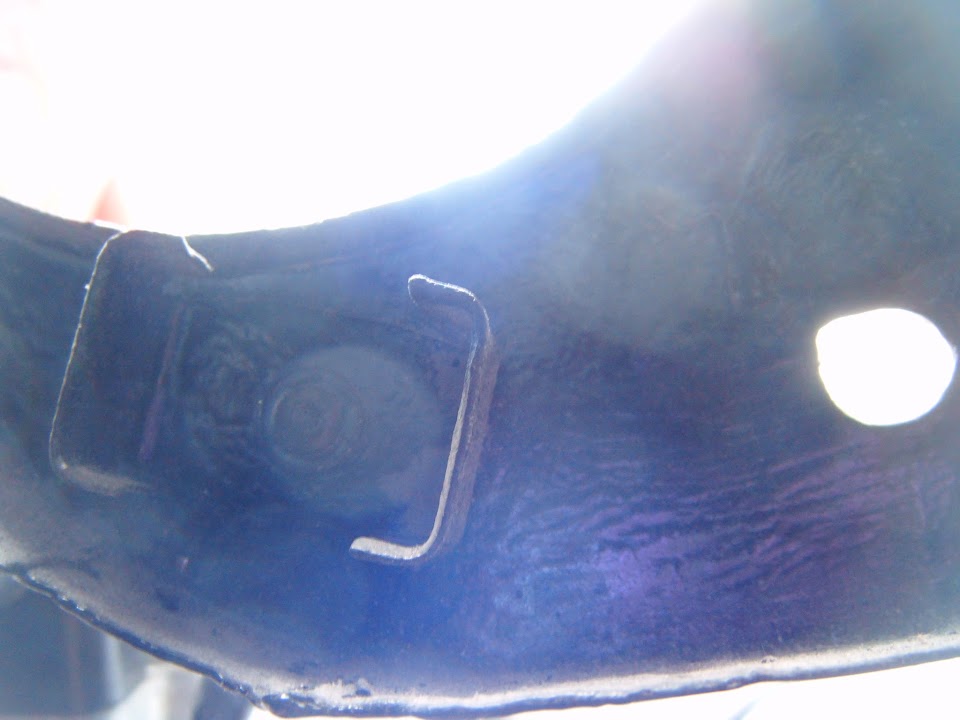
It was only after searching in vain for a second fitting that I spotted this on the bottom of one relay.

Which would allow it to slot into this hole in the dash.

And sit next to the other relay like so.

Note:
Now I know where these will be fitted, I can finish wrapped up the wires, as they were left during my previous indoor testing.
End of Part 1...