Another day in the workshop today, Dave made an appearance to lend a hand as he is as keen as I am to get it finished so we can move back to the other projects, The Tiger GTA re-engine and conversion from Race to Track/Road Car and get the Alfa 147 Track Car finished so we can at least get some track days in this year!
Anywhoo.....
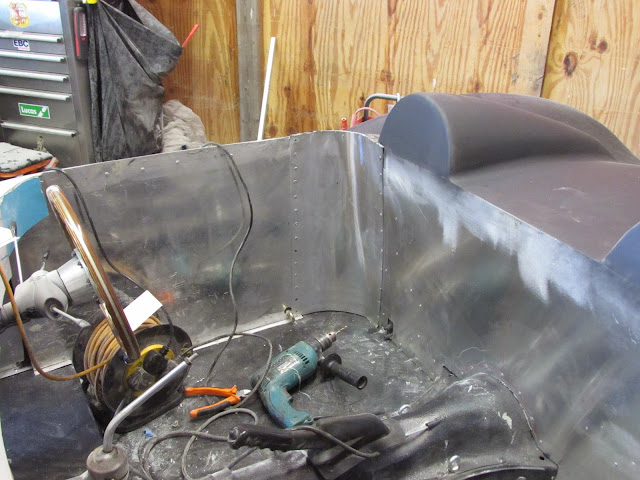
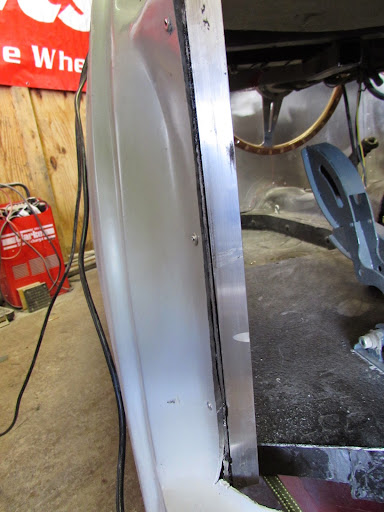
First job of the day was to get the drivers side rear cockpit corner panelled up.

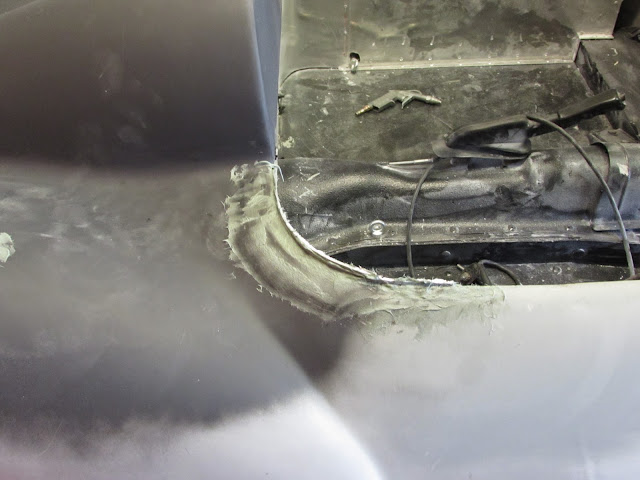
Left it a little long and as per the back side used fibreglass filler to make the transition, when it has well and truly gone off I will sand bot the Ali and filler back to give a similar finish to the other side. Was hoping to get to it today but ran out of time.
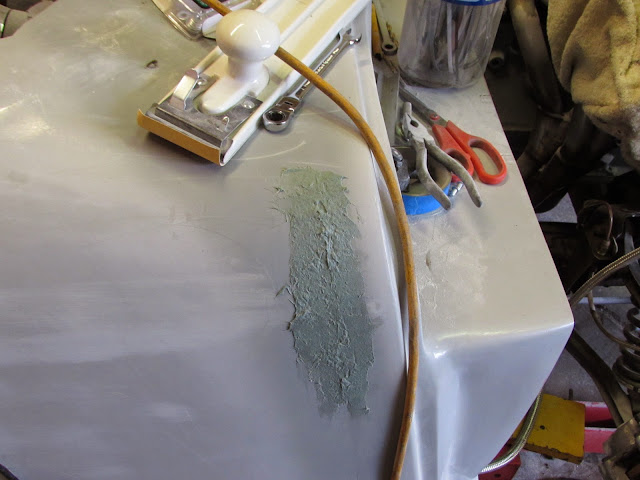
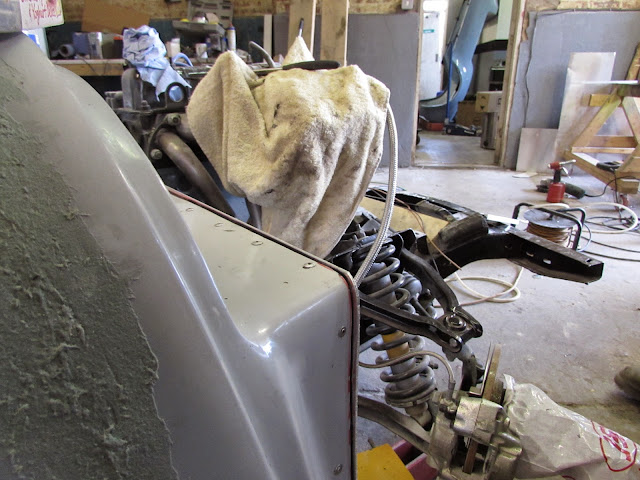
next job was to use up the left over fibreglass filler so used it up on some of the flash line areas that need work.
Front Drivers side:
the small area I highlighted a couple of posts ago on the top of the drivers side rear wing.

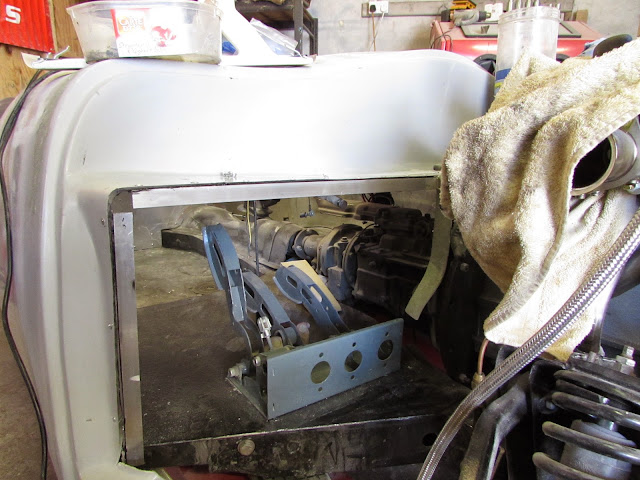
Next on the list was a small closing panel on the drivers side outer foot well wall. This pic is taken through the glaring hole where the front of the foot well used to be.

With that all done it was time to try and sign off the drivers side of the cockpit. We trimmed and measured, trimmed again, measured again...well you get the idea. Eventually the face of the floor mounted pedal box wash flush with the fibreglass surrounding it. We then bonded and riveted some very thick Ali angle I got from a local coach builders to give us something very solid to rivet the foot well closing panel too. You can see the 2 main pieces in this pic. The foot well panel picture above is to the left of the foot well when looking through the hole.

This pic isn't too clear but shows that the closing panel is sandwiched between the ali angle and the outer fibreglass so makes the foot well nicely sealed.
Same area different angle, I did clean up all the excess PU after I took the pic!

Bit of CAD later and we had the closing panel, I have left it approx. 2mm oversize so that once again I can sand the edges flush with the body giving a, hopefully, seamless look.


And trial fitted:

For those of you wondering what the odd shaped piece of ali riveted to the side of the panel was here's the answer:

And a better shot of the panel in place:

A shot showing the slight extra left for sanding back:
We would have liked to get the panel on today but I realised that I didn't have the right sized Starrett hole saw for the master cylinder holes and didn't want to risk bodging it with the cheepo set I have for emergencies!
So till next time, hopefully Tuesday night
TTFN
Mac