Bonnet Butchery - Part 2:
Because as soon as I cleared one area, something else would get in the way.

I had to hack a bit off the front edge of the passenger side body work.
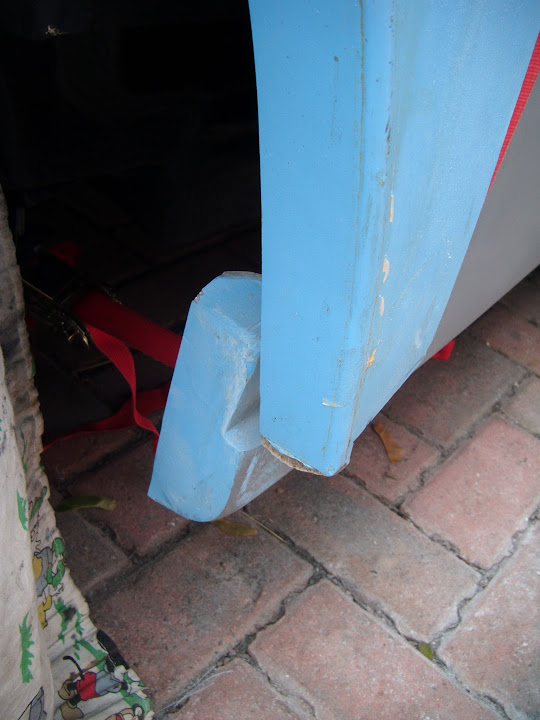

Although having now cleared that, the rear edge got in the way and needed trimming.


Eventually the bonnet looked like this.
Which gave enough room for the new edge to be joined to it.
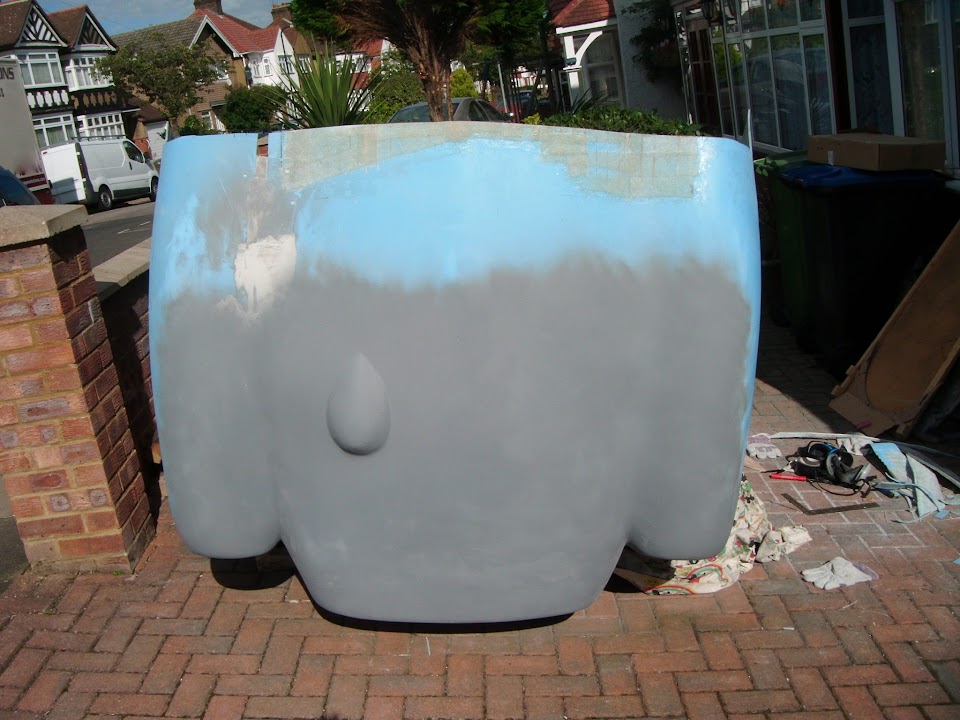
Although I still had a few undulations to deal with.
At one point I though it would be easier to create the "dips" between the wheel arches and raised bonnet centre.

Thankfully, I remembered that whilst this would work on the passenger side, the master cylinder is in the way on the other side.

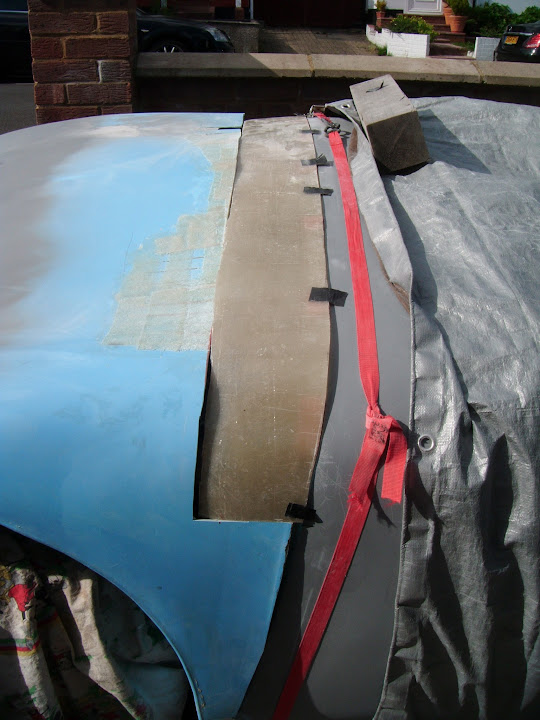
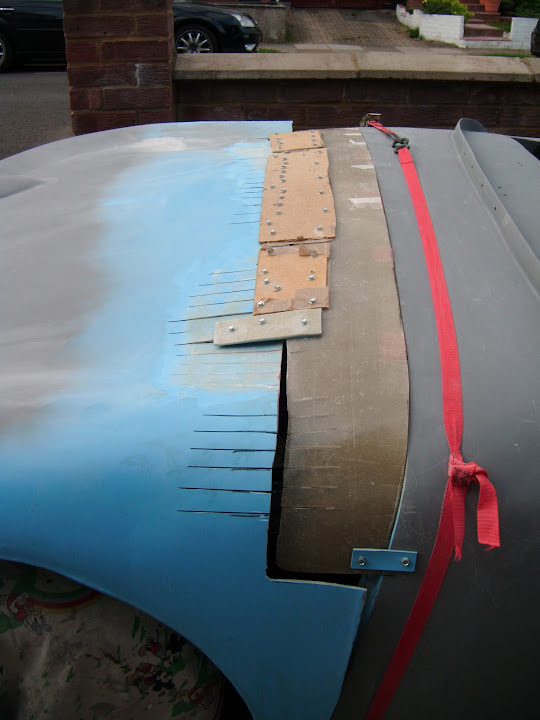
So I simply cut a number of slits along the rear of the bonnet.

These will allow me to lower the centre section a bit, and then raise the edges either side of this section a bit too.
I temporarily screwed in both ends of the new rear edge to the body shell.

Before joining the two sections together along the centre of the bonnet.

As with previous "cut & shut" work, I will cover the gaps on the underside...

Before grinding out the "scar" and adding extra fibreglass along the join on the sunny side.
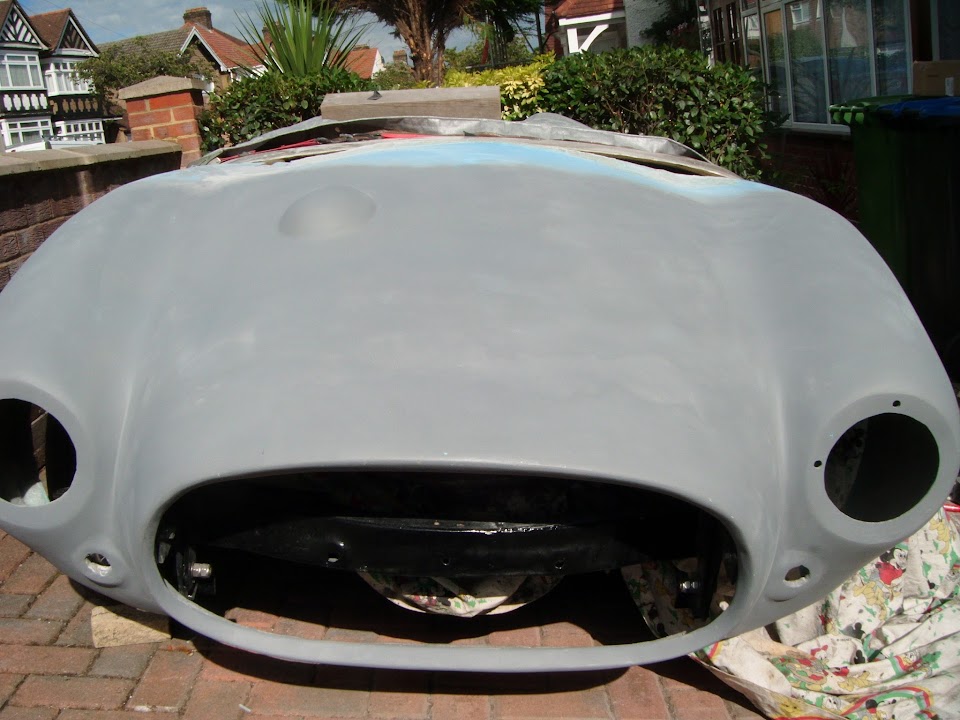
The good news is that the undulations in the middle of the bonnet have now been tamed.

The bad news is that both ends of the bonnet are currently a complete mismatch.


But I figured it was better to start fixing the "easy" bits first and then come back and have another look at this later.
End of Part 2...