Brain Freeze - Part 2:
Thankfully being in the warmth for a bit seemed to de-ice my brain and I had an idea.

Rather than try to line things up on the outside, I took my measurements from the
inside.

Quite by chance, my set square covered the hole, so I could mark a matching "square" on the other side.
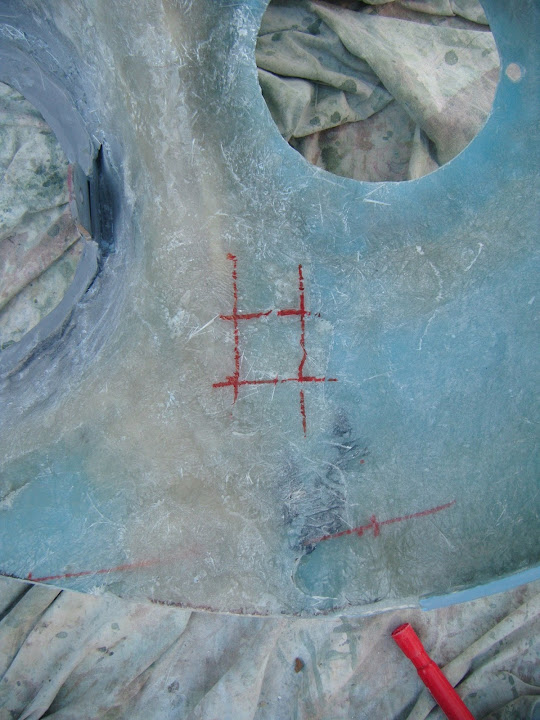
A quick check with a straight edge gave me the confidence that I was pretty close.

So I drilled a pilot hole from the inside and marked up the outside edge.
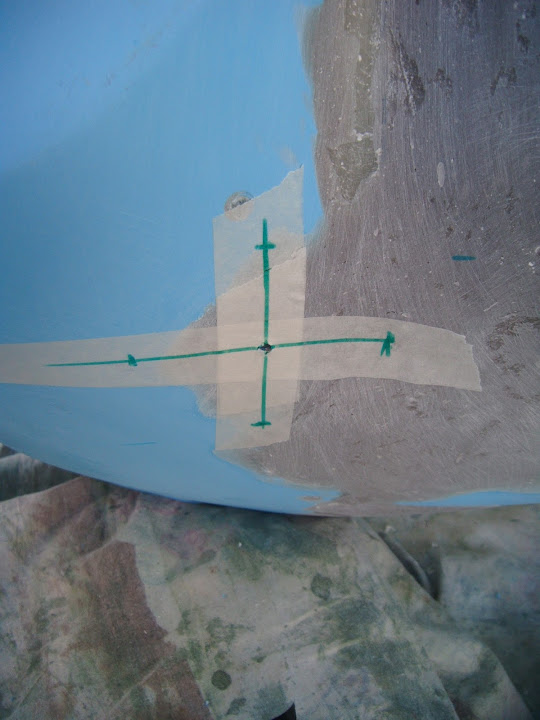
This allowed me to have a final check with the indicator lens taped into position before I drilled the bigger main hole.

After filing the same three notches as before I could fit the indicator and have another look.

In the context of this build, I am calling that good enough for me.
Then, because I already had the storage box with all my lights out, I just couldn't resist it...
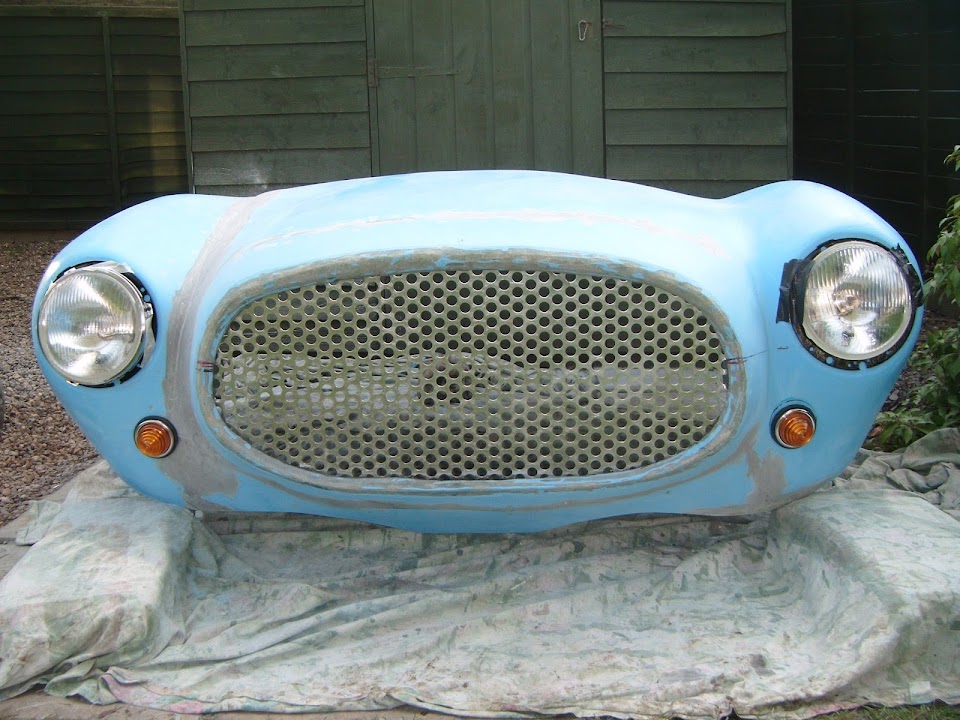
Hopefully the body coloured headlight rims will look a bit better than the tape currently holding the lights in place.

( I've also got a pair of stone guard grilles for the headlights too. )
When I was tidying up the mess I'd made, I compared the two indicator "holes".

So I will only need to re-force the side that was spared the "cut & shut" butchery.
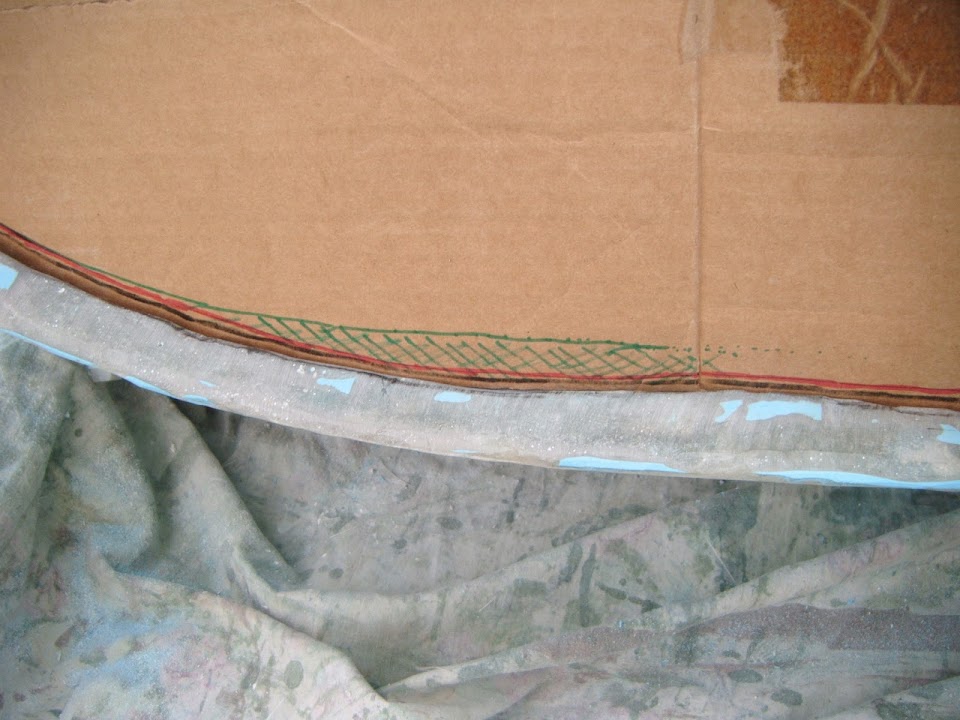
Next I added a rough guide line for the extra depth required on the internal lip to my cardboard template.
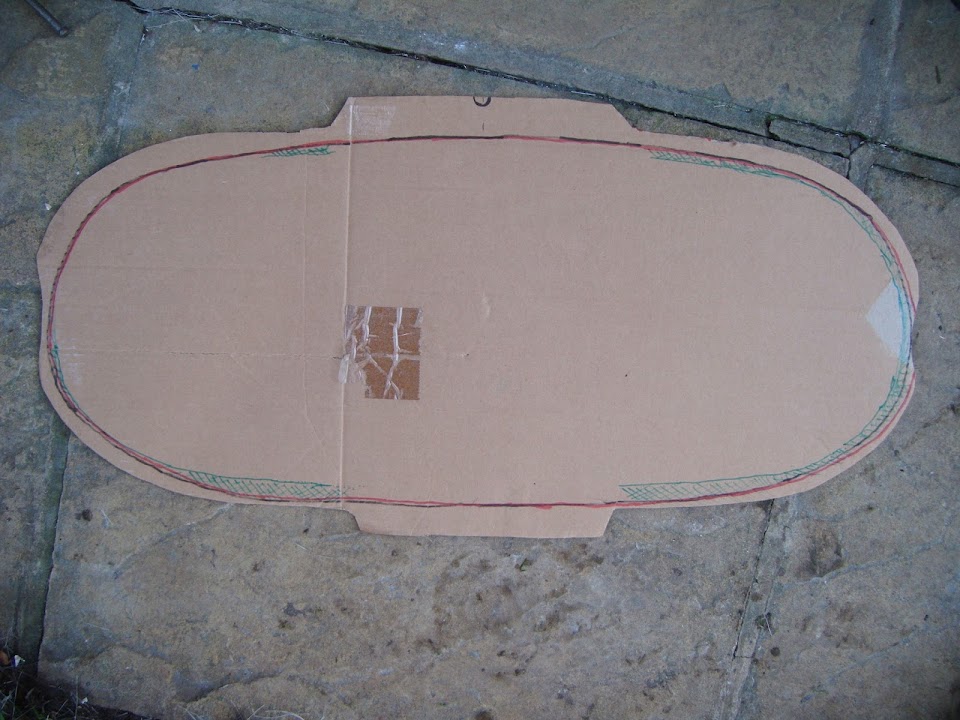
It is along the bottom edge that requires the most work & this corresponds with this view.
The last thing I wanted to do was give the join along the main bonnet section a light dusting of etch primer.
( Although I got a bit carried away and covered the "nose job" area while I was at it.

)

Hopefully this will give me a better view of the bonnet angles to guide me during the next round of filler.
Although the wet paint / reflections in the photo make it look like I've built a corrugated bonnet!

Anyway, that's all for now, take care, Paul.
