Quote:
Originally Posted by peterux

I've also been working on the fuel filler hose and fuel tank breather but waiting on some parts to complete.
I'll add some photos when it's complete........
|
I've now completed the fuel filler and tank breathing so I thought I'd add an update here....
To fit the fuel filler on a Sabre you take the standard Ford Granada filler tube, cut it in two and extended it with a piece of flexible fuel filler hose. I used ATL fuel filler hose from Demon-Tweeks. The top part of the filler is fixed with a RMC supplied bracket. I was lucky to find a brand new filler cap as the rubber seal on the old one had perished. A fuel cap tether will be added after the rear wing is in place so that I can get the right length.
 Fuel Filler
 by
Sabrebuilder, on Flickr
The Ford filler tube has a somewhat complex set of breather connections. One is a condensation trap that is connected to the top of the tank via a very small tube. another is the breather hose which has a ball valve that shuts off the connection if the car is rolled over in an accident and the third 12mm connection is to allow air out of the tank when filling up. Well I think that's the theory? The hoses will be sealed where they enter the bodywork once I'm happy it is finalised.
 Fuel Filler
 by
Sabrebuilder, on Flickr
(sorry about the cluttered background in these shots, not my best photo's)
These are the breather hoses in the boot space.
 Breather hoses
 by
Sabrebuilder, on Flickr
So now that the filler is ready for it's first fill up with some fresh petrol, I moved back to do some more wiring....
I continued with installing the rear section of the loom.
(warning: more boring pictures of wires!)
The rear loom starts off behind the dashboard, runs down the drivers 'A post' and then along inside the drivers side sill. It emerges here at the 'B post'.
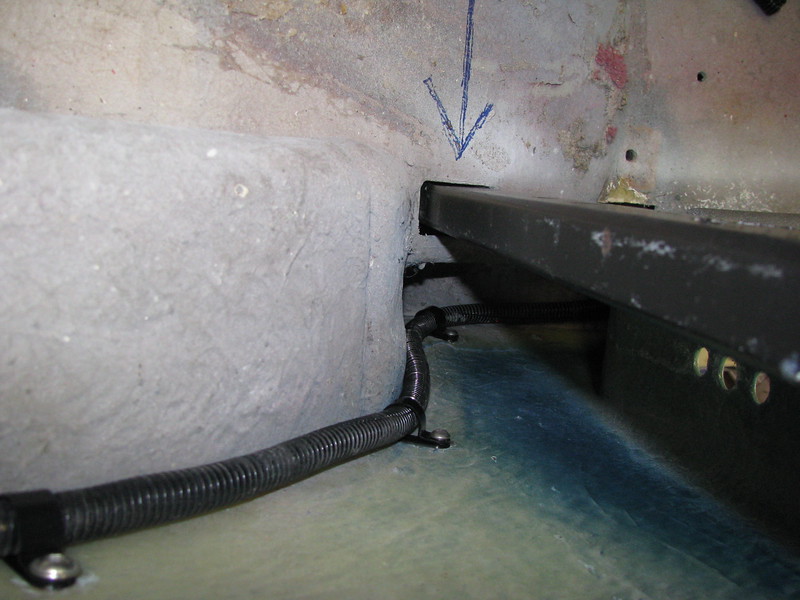 Rear Loom
 by
Sabrebuilder, on Flickr
The loom then runs over the driver's side rear wheel arch. There is a branch off that goes to the nearside rear lights.
 Rear Loom
 by
Sabrebuilder, on Flickr
The in-tank fuel pump and fuel level sender could then terminated.
 Fuel pump and sender.
 by
Sabrebuilder, on Flickr
I've got to finish off routing the loom to the nearside rear lights. I then have to connect up the handbrake switch, the low brake fluid reservoir switch, the foot brake switch, the radiator fan and thermo switch and, of course, the whole dashboard (!) to complete the wiring for the engine start.
Front and back lighting and power door locks and windows wiring will follow the bodywork re-assembly.
More next week........
...peter