|
|
| Tribute Automotive Builds Discuss your Tribute kit build |

6th January 2013, 22:55
|
|
Junior Member
|
|
Join Date: Dec 2012
Posts: 4
|
|
I was thinking Classic Saab 900 hinges might do the trick but the red hinges might just be fromm a Saab
|
6th January 2013, 23:11
|
 |
Senior Member
|
|
Join Date: Nov 2011
Location: Emsworth
Posts: 810
|
|
Thanks, those saabs do have wacky hinges, but to ne honest I am (honest!) Enjoying re-inventing the wheel!
|
7th January 2013, 21:32
|
|
Senior Member
|
|
Join Date: Nov 2011
Location: Emsworth
Posts: 810
|
|
[IMG] 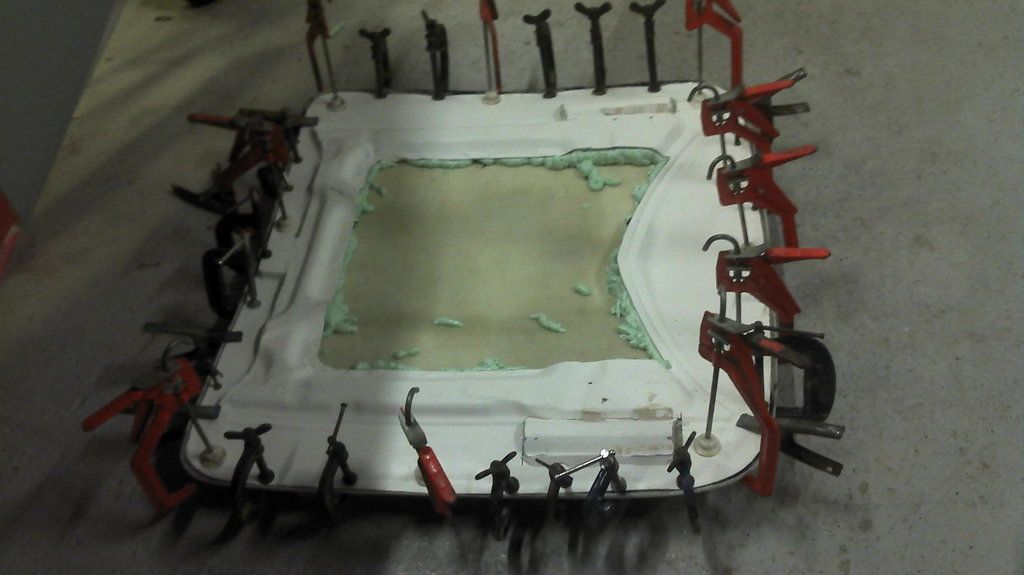 [/IMG]
Fitted an 8" strip of 4mm steel into the new bumps for the hinges. Bedded them on filler, then glassed over the top with 6 layers.
Glued the inner and outer skins of the bonnet together with a polyurethane constructional adhesive. Hope its the right shape! Had some foam so filled the voids in a bit. |
7th January 2013, 22:40
|
|
Senior Member
|
|
Join Date: Nov 2011
Posts: 3,563
|
|
Have you stolen every clamp in existence?
|
7th January 2013, 22:54
|
|
Senior Member
|
|
Join Date: Nov 2011
Location: Emsworth
Posts: 810
|
|
Um....we have more...these are the small ones....can probably manage about 130, plus sash cramps....  |
10th January 2013, 13:14
|
|
Junior Member
|
|
Join Date: Nov 2012
Posts: 23
|
|
Quote:
Originally Posted by seanick

Um....we have more...these are the small ones....can probably manage about 130, plus sash cramps.... |
You have almost enough clamps to build a boat!  |
10th January 2013, 14:44
|
 |
Senior Member
|
|
Join Date: Dec 2011
Location: Devon
Posts: 550
|
|
Quote:
Originally Posted by LiteGrz
You have almost enough clamps to build a boat! |
Sink one I think!!!!!! |
12th January 2013, 20:58
|
|
Senior Member
|
|
Join Date: Nov 2011
Location: Emsworth
Posts: 810
|
|
 Wipers
Still loads to do until I glue the front on. Had a go at the wipers today. Although Tribute suggest extending the spindles, I had a hope that they may just move up. The linkages have lovely ball joints, but seeing as access is reduced I do not want to compromise Mazdas reliable components then not be able to get at them. Chris at Tribute designed the body to cover part of the glass to reduce the area of the screen and increase the length of the bonnet. Far more correct for the right look so I decided against cutting it back to the original bonnet line.
[IMG] 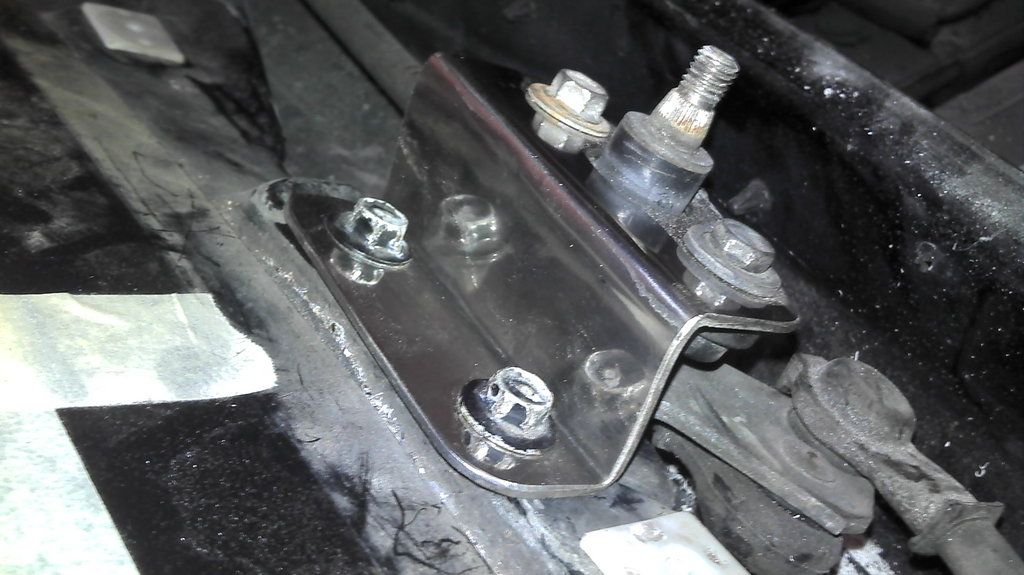 [/IMG]
So I made up a couple of 2mm stainless steel mounts that move the spindles out about 34mm. When fitted some of the original mount needed to be massaged down a bit to give clearance, but overall so far so good. A bit of the water cover on the fan needed bit removed, plus the flange for the PHD wiper position.[IMG] 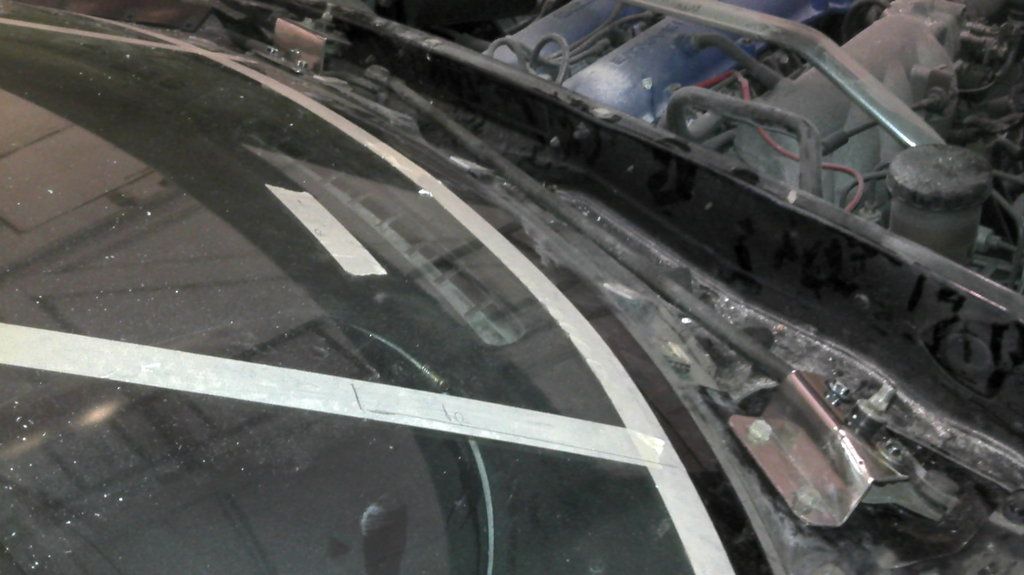 [/IMG]
Refitted the body and popped the holes through.
[IMG] 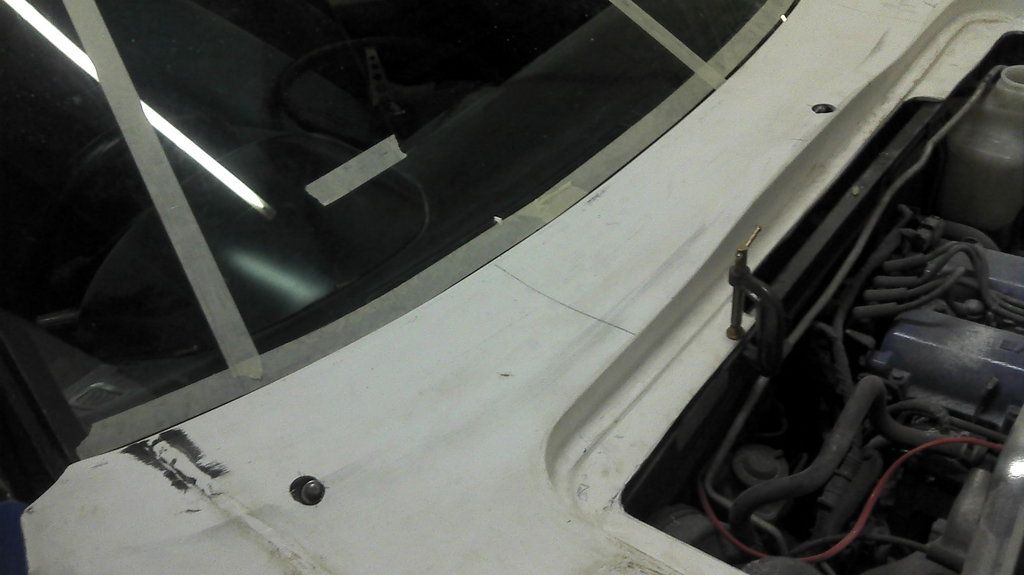 [/IMG]
Just need to decide now to either fit the converters to old style wiper arms or stick with these and get them chromed.
I may need to mould in a recess. Here is the corner of a paint tray which would make a perfect mold (mould?). May do that tomorrow. Workshop was getting chilly this evening!
[IMG] 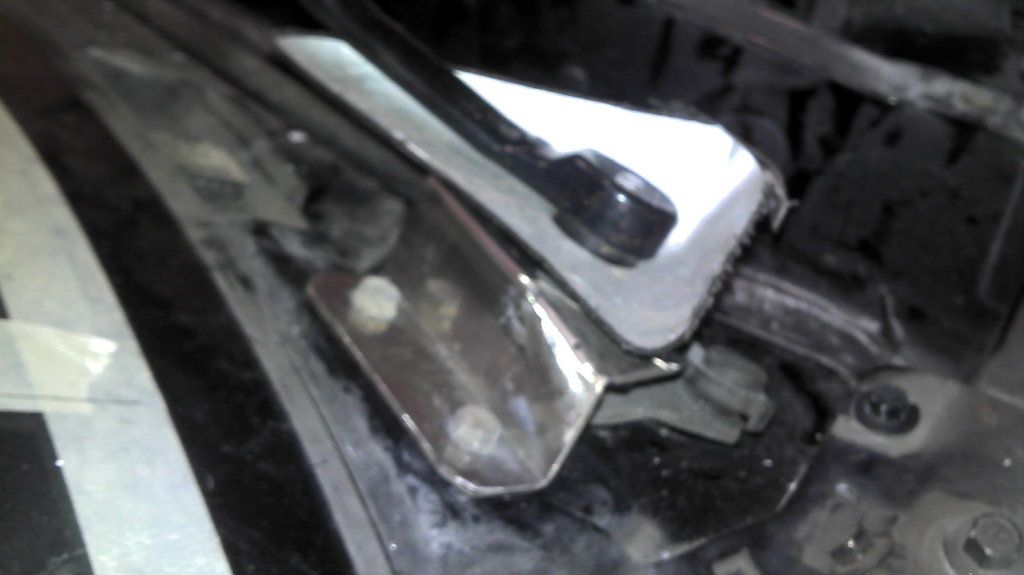 [/IMG]
Last edited by seanick; 12th January 2013 at 21:18..
|
18th January 2013, 17:55
|
|
Senior Member
|
|
Join Date: Nov 2011
Location: Emsworth
Posts: 810
|
|
Picked up my latest EBAY purchase...a Japspeed exhaust in stainless steel. Retails around £600, I paid £50 
[IMG] 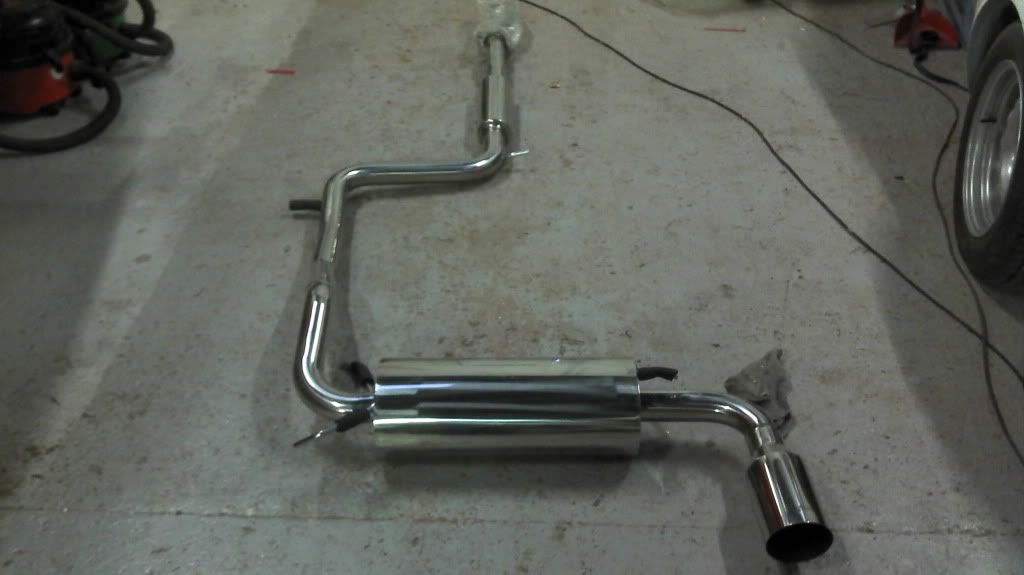 [/IMG] |
18th January 2013, 18:11
|
|
Senior Member
|
|
Join Date: Nov 2011
Location: Emsworth
Posts: 810
|
|
Found some nice stainless wiper arms, 15 1/4" long, new old stock, ex Daimler!
my spindle adaptors arrived too, so I bored out the hole to 7mm, then tapped it out to 8mm to match the threads on the Mazda spindle. To match the flairef base on the spindle I stuck the adaptor in the lathe and flared the base to match.
[IMG] 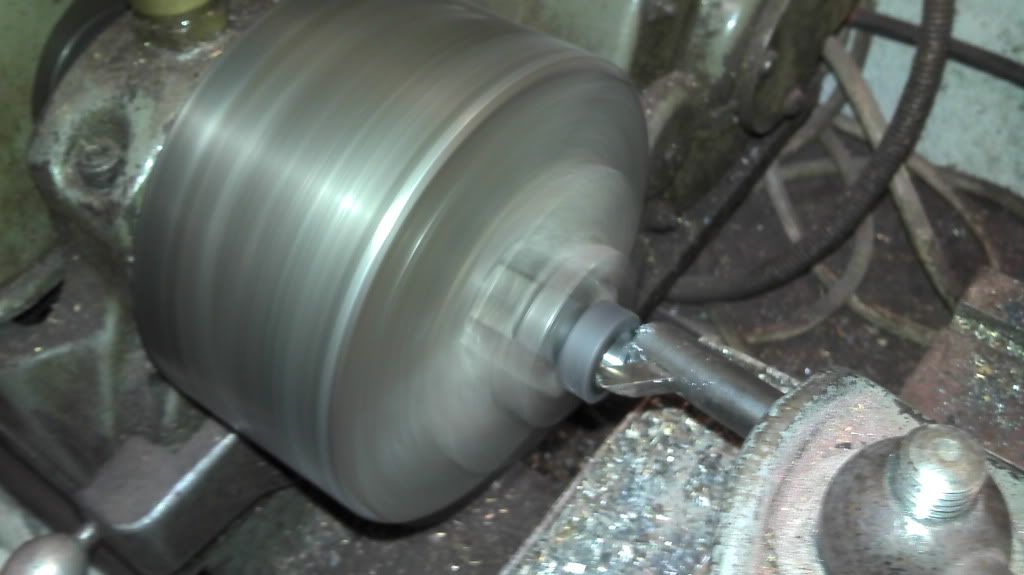 [/IMG]
Last edited by seanick; 18th January 2013 at 19:54..
|
18th January 2013, 18:44
|
|
Senior Member
|
|
Join Date: Nov 2011
Location: Emsworth
Posts: 810
|
|
Here they are fitted.....[IMG]  [/IMG]
Both arms need a crank on the end, and one extending by about an inch to match the old Mazda ones.
[IMG] 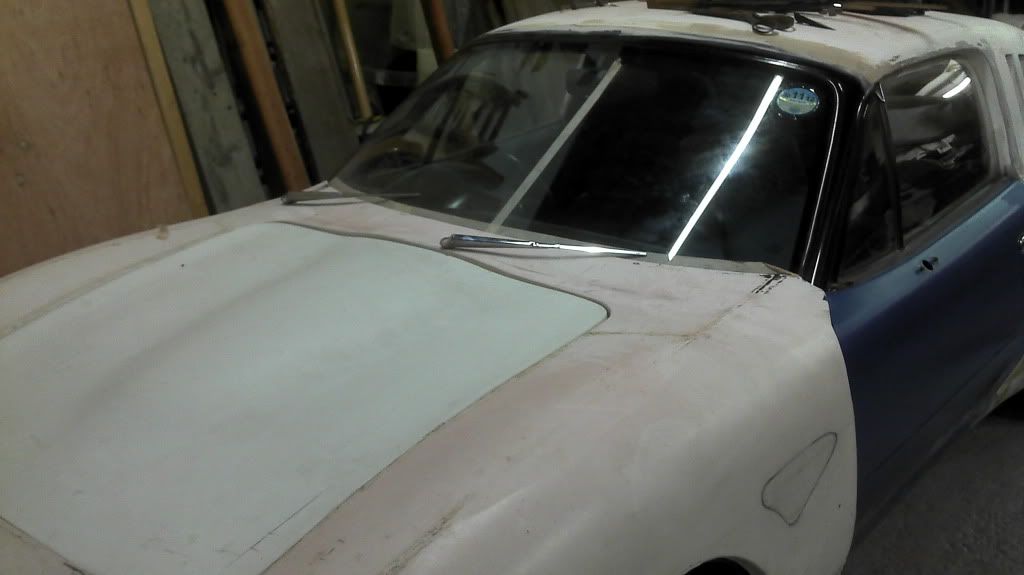 [/IMG]
Need to mould in a 10mm recess tomorrow! |
18th January 2013, 19:23
|
 |
Senior Member
|
|
Join Date: Oct 2010
Posts: 1,622
|
|
Glad to see you haven't moved the car outside yet to make way for boring boat related work.
Good work on the wipers. That exhaust was a steal!!  |
18th January 2013, 19:44
|
|
Senior Member
|
|
Join Date: Nov 2011
Location: Emsworth
Posts: 810
|
|
It is getting close to being kicked out....should have put a,boat in its place this week..... anyway, never mind the customers, this is more important! Need to do more in the eves, but after a day in the cold workshop I have had enough!
The exhaust came from a chap who clears self storage units. People leave stuff behind and he ebays it. He had no idea what it was for, so it was badly listed
 |
19th January 2013, 15:59
|
|
Senior Member
|
|
Join Date: Jul 2012
Location: Near Penzance cnwll
Posts: 146
|
|
Cheap exhaust Nick ! How many hours did it take you to find that ?
|
19th January 2013, 16:08
|
|
Senior Member
|
|
Join Date: Nov 2011
Location: Emsworth
Posts: 810
|
|
A friend sent me the link. He always searches for badly listed items. Kind of searching for what you would not list it as!
I will lose the 4" exit though!
Re colour, am steering towards Dove Grey(thanks garyh)!
|
20th January 2013, 15:44
|
|
Senior Member
|
|
Join Date: Jul 2012
Location: Near Penzance cnwll
Posts: 146
|
|
Jap speed is a freudian slip don't you think. Thought you would be more of a shark grey than a dove !
|
20th January 2013, 18:23
|
|
Senior Member
|
|
Join Date: Nov 2011
Location: Emsworth
Posts: 810
|
|
Thanks Peeps, not sure about the froid bit, but sharkskin grey is what my boat is painted. It like a light green!
Finally made some progress today. Made up two bits of ply to go in the nose cone. They will duct air into the radiator, plus as they slot over the abs bumper they will support the front as well. Here they are just pugged in.[IMG] 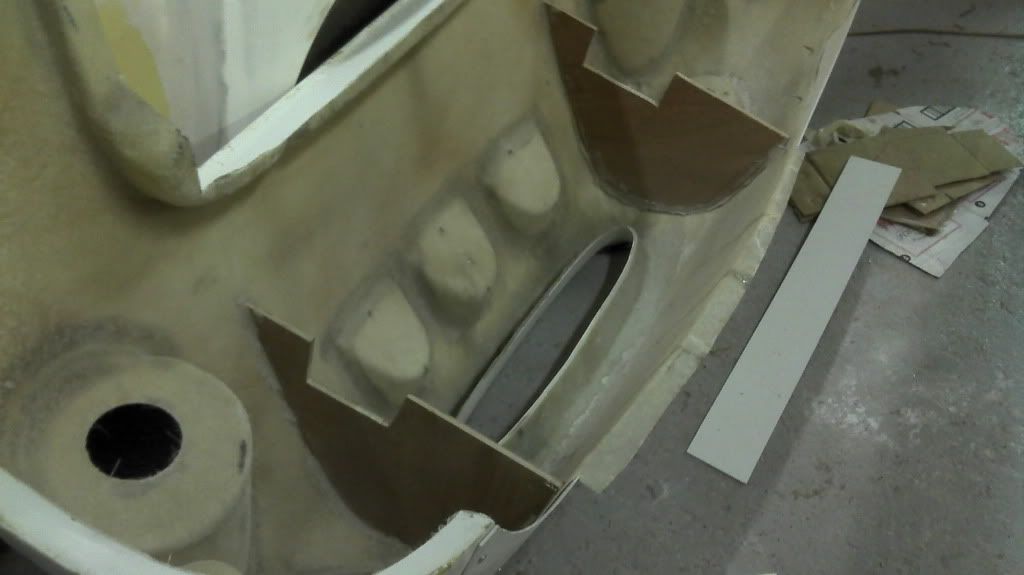 [/IMG]
I also wanted to improve how the front wing runs into the front valance, losing the corners and also adding an upstand to add support and strength. I cut away the flange, tapered the glass and screwed on two pieces of plastic sheet. More plastic on edge plus some tape and we now have a former for some [IMG] 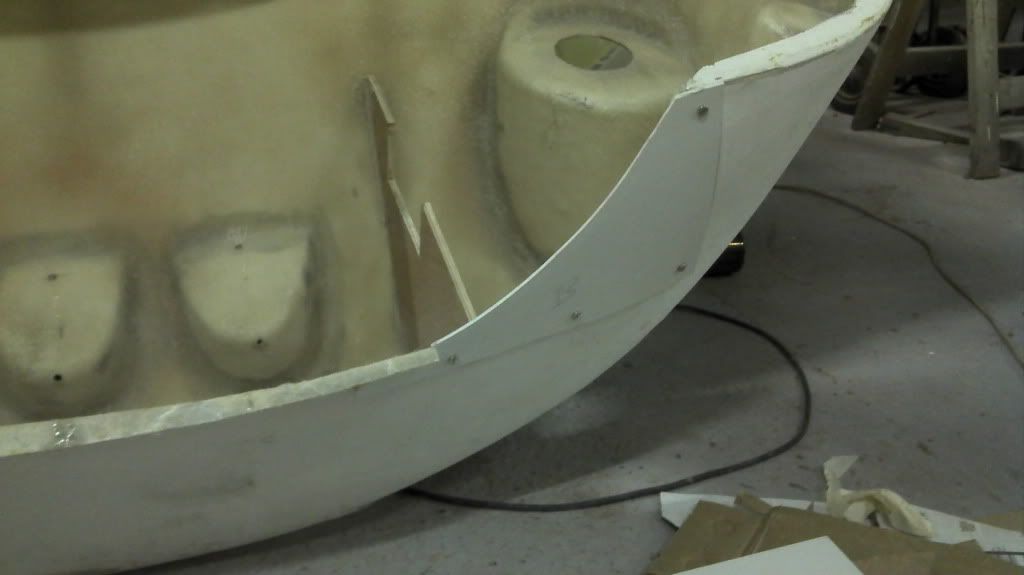 [/IMG]glass.
[IMG] 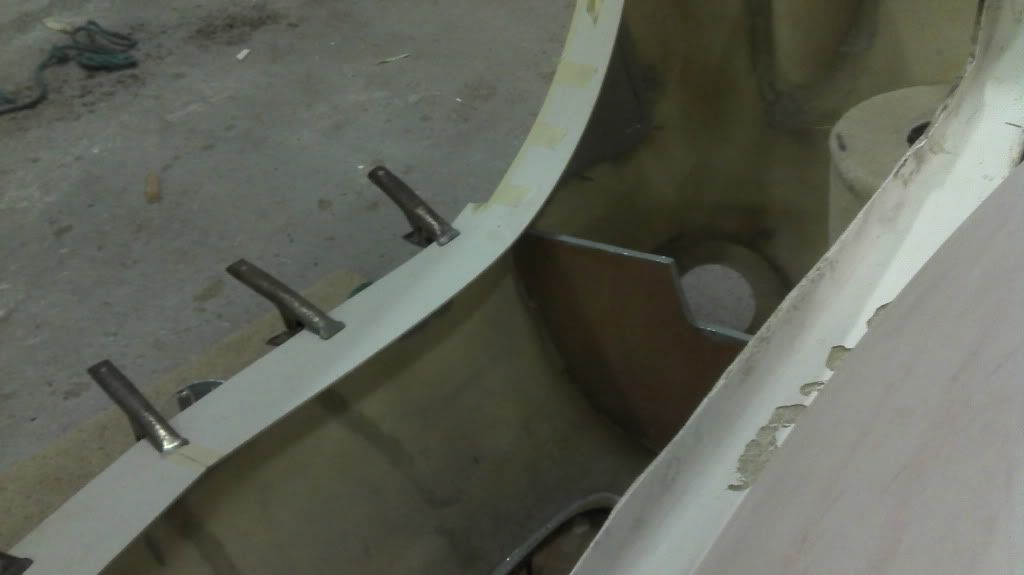 [/IMG]
If I have enough drive I may go back down to the workshop this eve and glass it in, once the kids are in bed! 
I also taped in the small divits for the wipers. Just using corners of a small paint tray as in duty moulds. The grey stuff is gell coat.
[IMG] 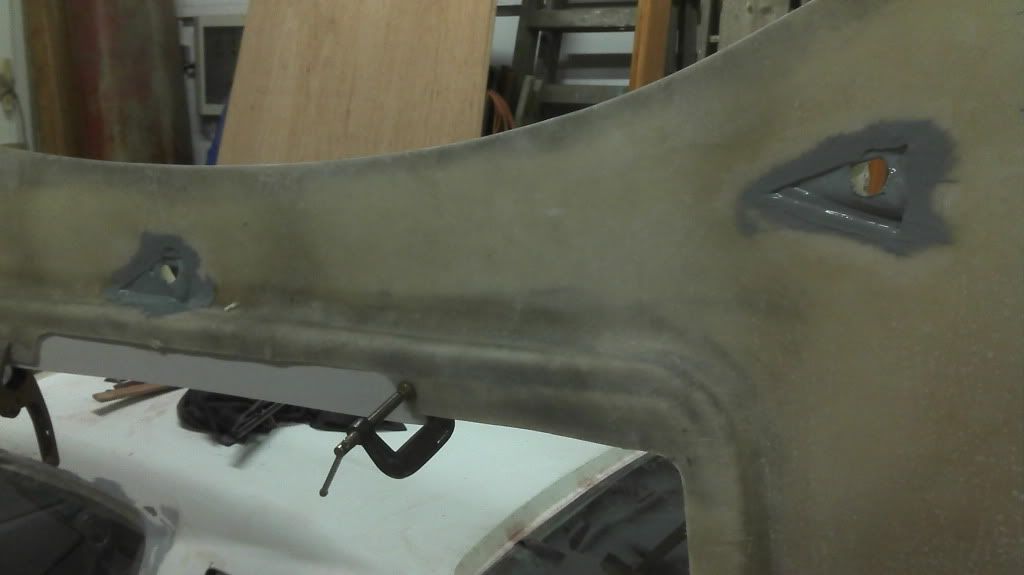 [/IMG]
Last edited by seanick; 20th January 2013 at 19:24..
|
21st January 2013, 19:58
|
|
Senior Member
|
|
Join Date: Jul 2012
Posts: 576
|
|
Great work you are an insperation.
|
21st January 2013, 20:09
|
|
Senior Member
|
|
Join Date: Oct 2010
Posts: 1,622
|
|
Are you in the workshop Nick? Cold today isn't it!!
|
|
Currently Active Users Viewing This Thread: 1 (0 members and 1 guests)
|
|
|
| Thread Tools |
|
|
| Display Modes |
 Linear Mode Linear Mode
|
 Posting Rules
|
You may not post new threads
You may not post replies
You may not post attachments
You may not edit your posts
HTML code is Off
|
|
|
All times are GMT +0. The time now is 04:43.
|


