|
|
| Tribute Automotive Builds Discuss your Tribute kit build |

20th June 2016, 13:17
|
|
Senior Member
|
|
Join Date: May 2013
Posts: 2,161
|
|
What exactly are the moulded stick-on seals Degsy?
|
20th June 2016, 15:40
|
|
Senior Member
|
|
Join Date: Mar 2015
Posts: 395
|
|
Scottie if you mean the light pods? they will be glassed into place after the lips have been trimmed off.
|
20th June 2016, 18:07
|
|
Senior Member
|
|
Join Date: May 2013
Posts: 2,161
|
|
Earlier, you said you would give rain channels a miss, and use "the stick on seals instead"
Perhaps I'm missing something? I was thinking "did I waste days and days making rain channels?" When I could have used stick on seals!!!
|
20th June 2016, 19:44
|
|
Senior Member
|
|
Join Date: Mar 2015
Posts: 395
|
|
Hoo pre moulded rubber seals they come in all shapes and sizes 'D' section 'L' section and so on they are available on line and at most of the car shows Woollies Europa etc. It may take a few tries but should negate the need for rain channels around the doors.
|
20th June 2016, 20:53
|
|
Senior Member
|
|
Join Date: May 2013
Posts: 2,161
|
|
Mmmmm! Wish I'd thought of that!
|
21st June 2016, 19:09
|
|
Senior Member
|
|
Join Date: Mar 2015
Posts: 395
|
|
Sorry Scottie didn't mean to upset you
|
19th July 2016, 16:23
|
|
Senior Member
|
|
Join Date: Mar 2015
Posts: 395
|
|
I have trimmed the indicator pods and drilled them out.
[IMG]  [/IMG]
[IMG]  [/IMG]
I then positioned them and taped them in place with masking tape and used glass fibre past to fix them in place sorry about the rubbish photos 
and they now look like this.
[IMG]  [/IMG]
[IMG]  [/IMG]
I have also started on the fuel tank cover this was the rear cockpit panel but as I used alloy for that I hade to find a use for it or that's my excuse (on alloy left)
[IMG]  [/IMG]
switch and wiring in progress, that's all for now folks more updates soon I hope? |
25th July 2016, 21:27
|
|
Senior Member
|
|
Join Date: Mar 2015
Posts: 395
|
|
I started on the head fairings (ump's) today the drivers side should not be too difficult I have used small amounts of glass fibre paste to fix it too the body in the three places where it actually troche's the plan is then to fill it from the outside then glass fibre tape the inside, I didn't want the glass fibre pushing to the outside too difficult to sand too shape the ump's will also be used as storage space so I'll need a good finish on the inside.
[IMG]  [/IMG]
[IMG] 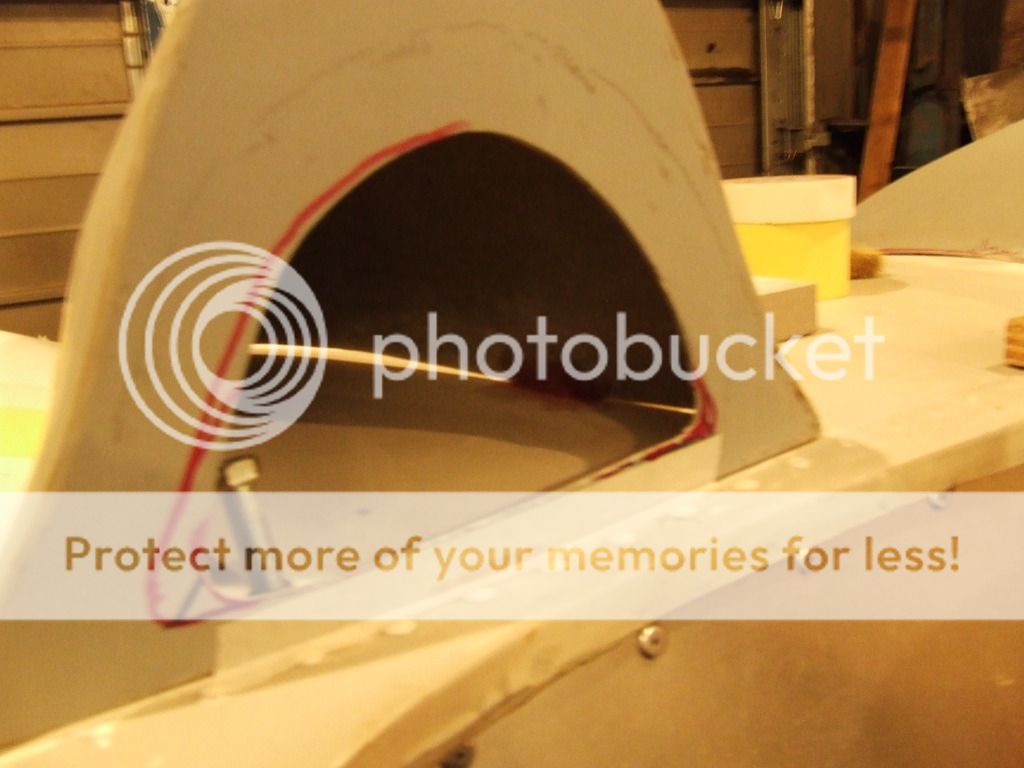 [/IMG]
[IMG]  [/IMG]
the passenger side one is actually a drivers side one modified to fit ish and as you can see from the photos doesn't sit properly and slopes to the wrong side and will need major surgery (watch this space) 
[IMG] 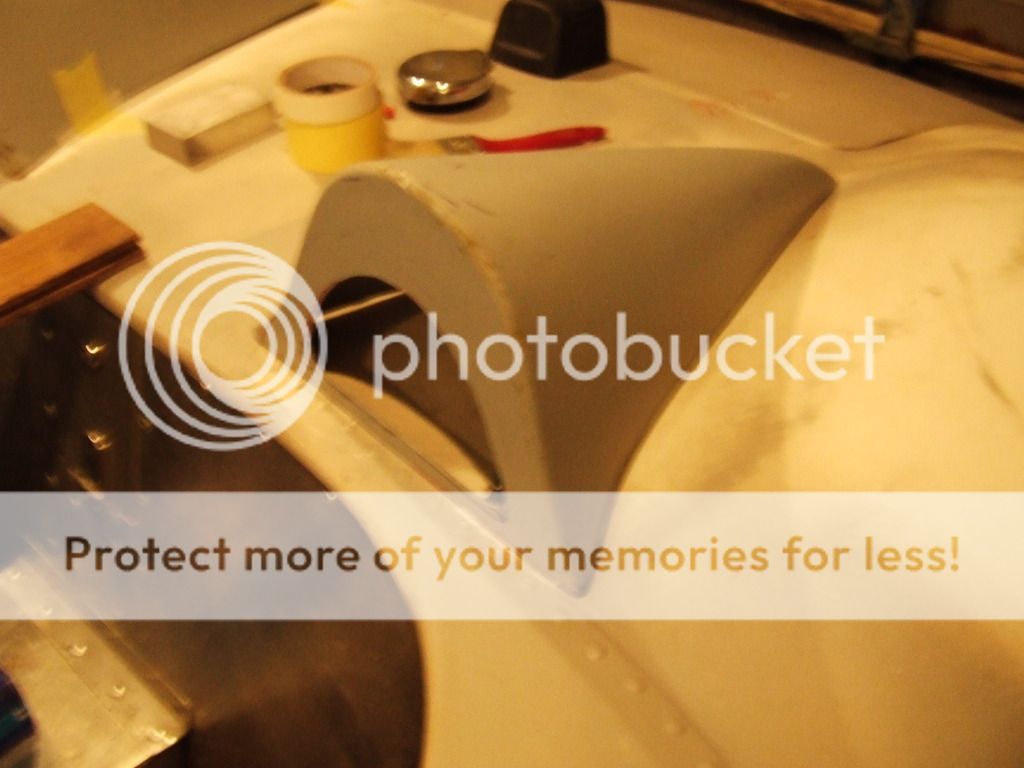 [/IMG]
[IMG]  [/IMG]
[IMG] 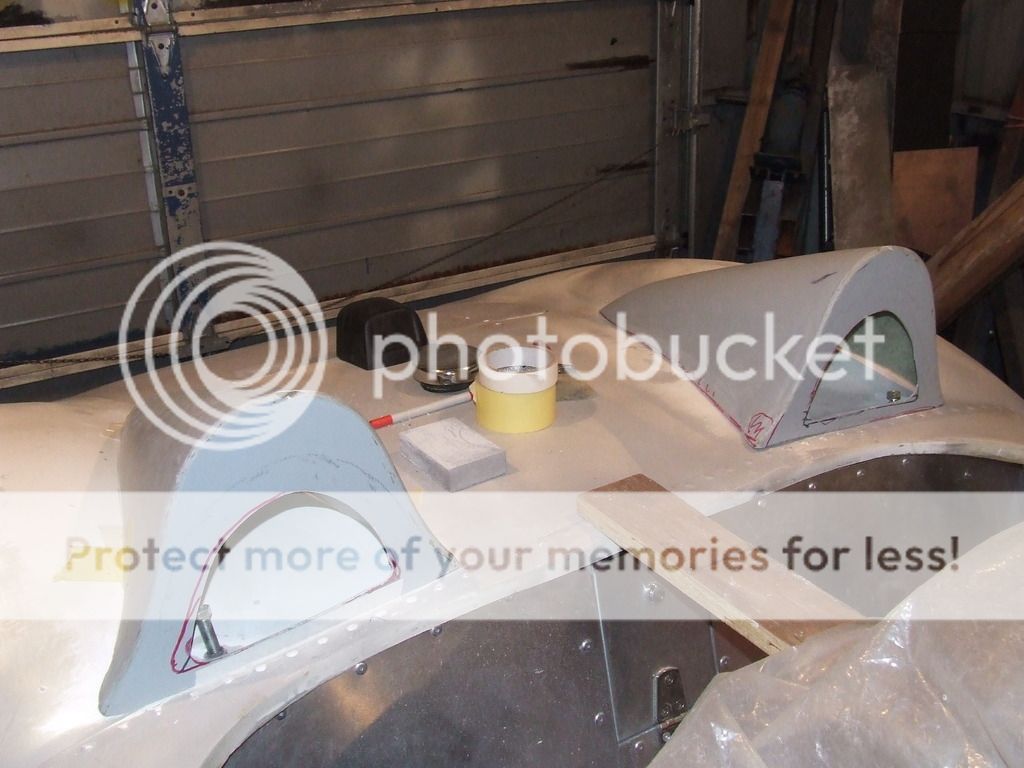 [/IMG]
the bolts inside the ump's are for thee point harnesses and are in the right place believe it or not! |
26th July 2016, 07:55
|
 |
Senior Member
|
|
Join Date: Feb 2012
Location: Wembley, London
Posts: 5,058
|
|
I also had to modify a driver's side hump for the passenger side on my build and that was a pain.

So good luck with getting the passenger hump to fit.
Take care, Paul.  |
26th July 2016, 21:23
|
|
Senior Member
|
|
Join Date: Mar 2015
Posts: 395
|
|
Thanks Paul you are right it looks as if I will have similar problems.
|
27th July 2016, 20:29
|
|
Senior Member
|
|
Join Date: Mar 2015
Posts: 395
|
|
I taped over the join on the outside then filled from the inside this leaves a nice clean join with just a mall amount of filling and sanding
{IMG] 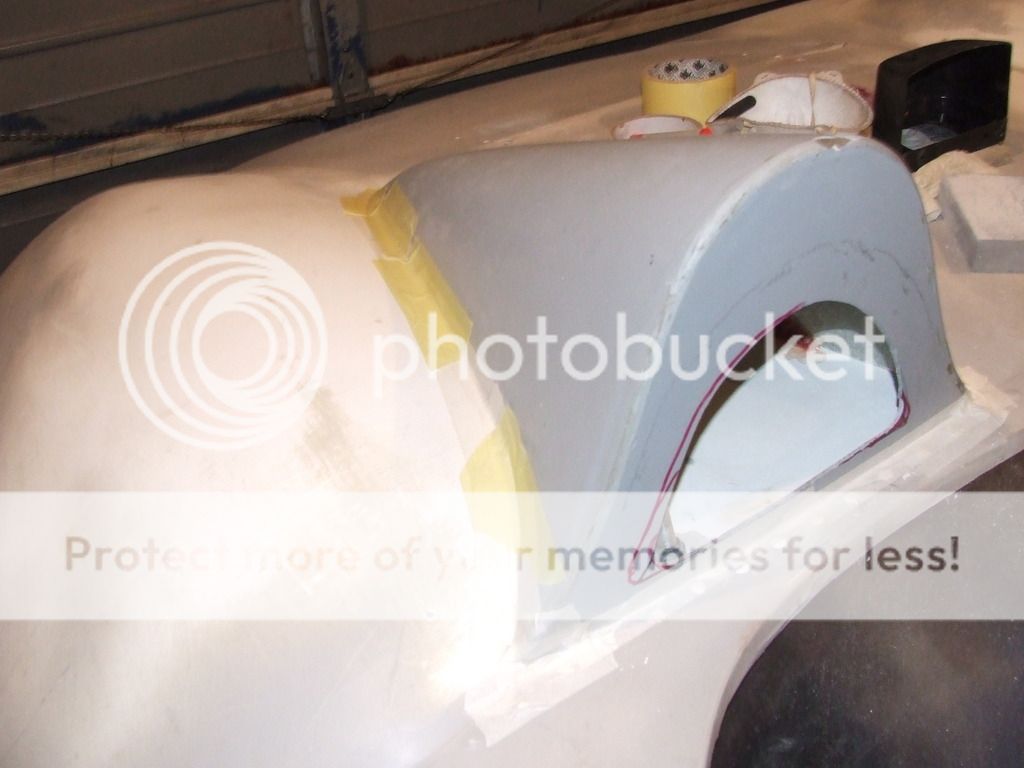 [/IMG]
{IMG] 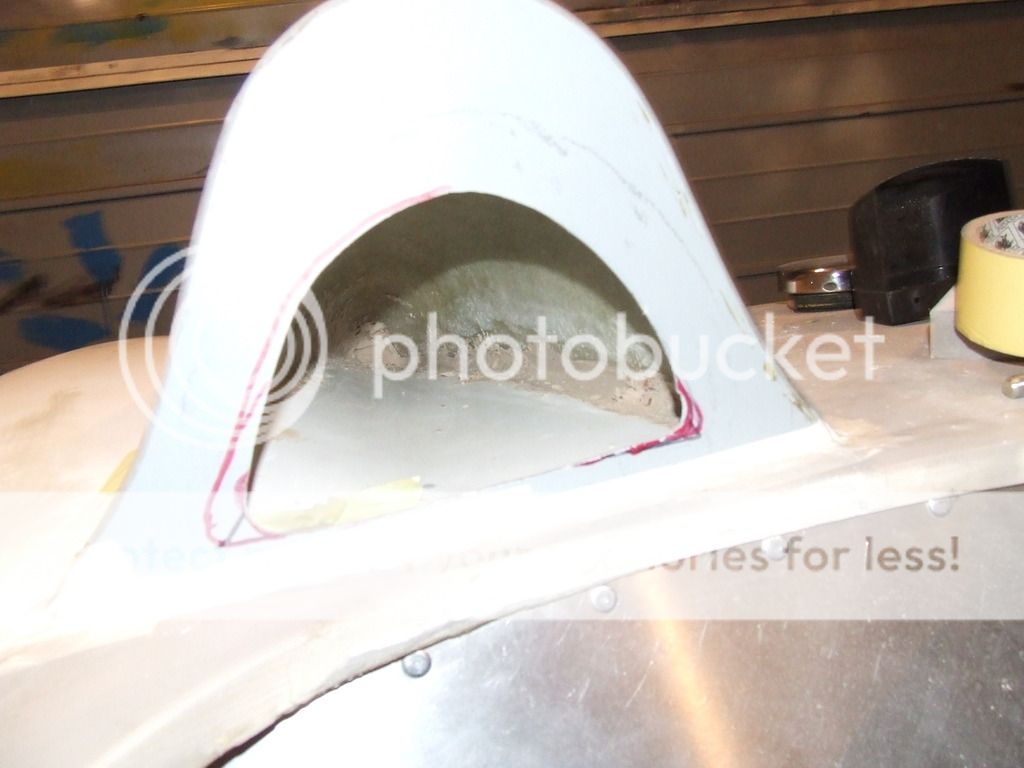 [/IMG]
{IMG]  [/IMG]
{IMG]  [/IMG]
then I will sand the inside reinforce with woven glass fibre tape which it just so happens I have run out of so I sent for some today.
As Paul says the passenger side will be a little more difficult  |
3rd August 2016, 20:32
|
|
Senior Member
|
|
Join Date: Mar 2015
Posts: 395
|
|
I have used woven glass fibre tape to reinforce the inside vaer messy as I couldn't see what I was doing doh!
[IMG]  [/IMG]
[IMG] 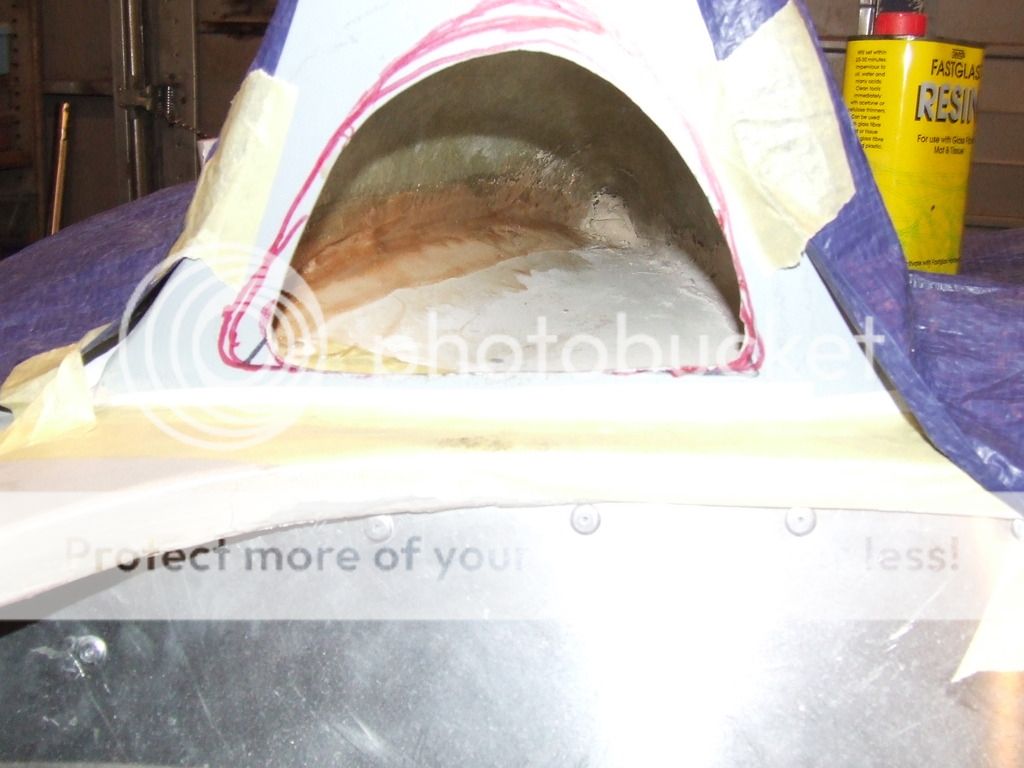 [/IMG]
The n/s hump needs a lot more work 1/2 chopped of this corner
[IMG] 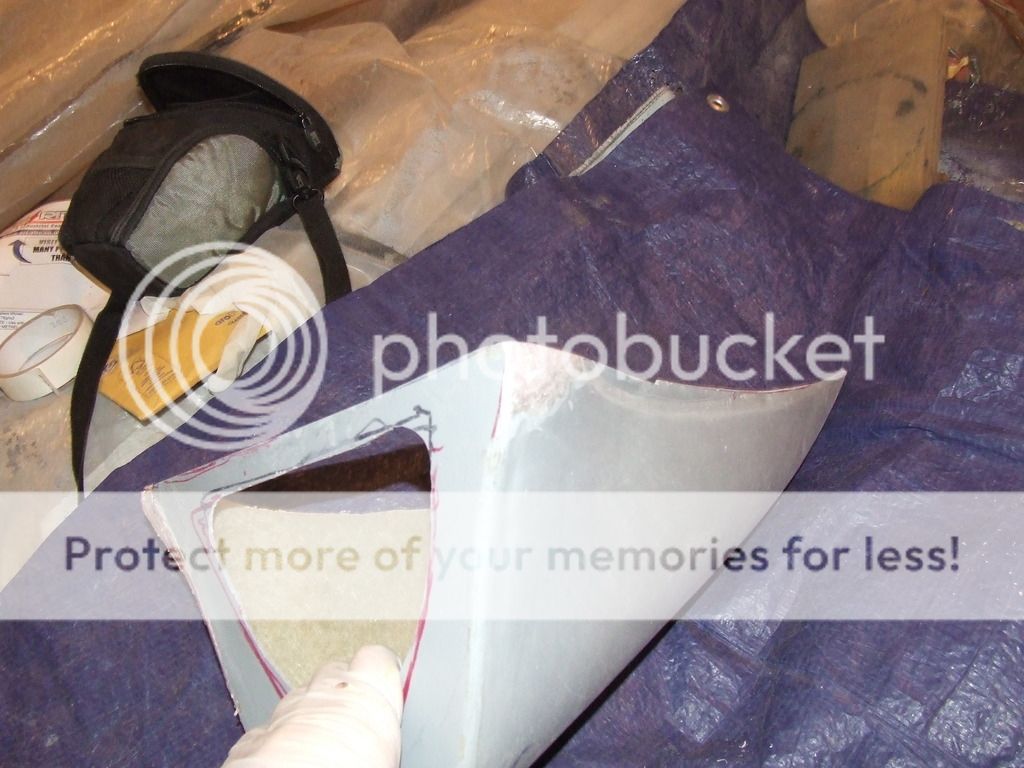 [/IMG]
and this one extended by about 3/4 and filled and shaped.
[IMG]  [/IMG]
[IMG] 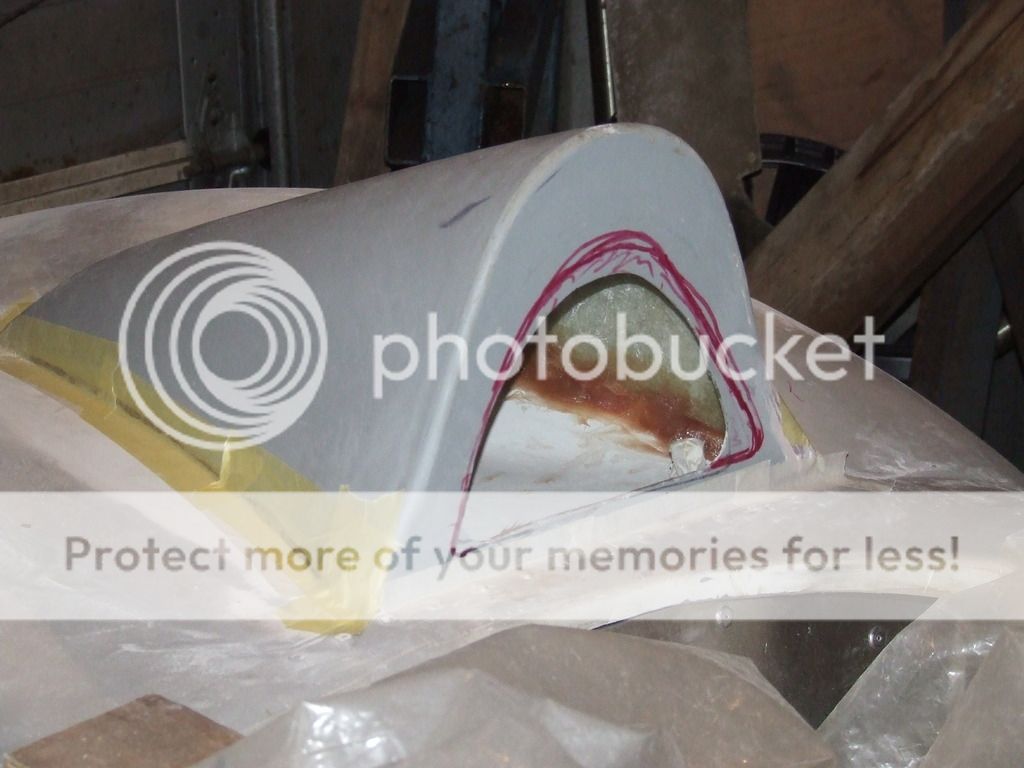 [/IMG]
I also had too cut off about 1/2" off one side but not looking too bad now
[IMG] 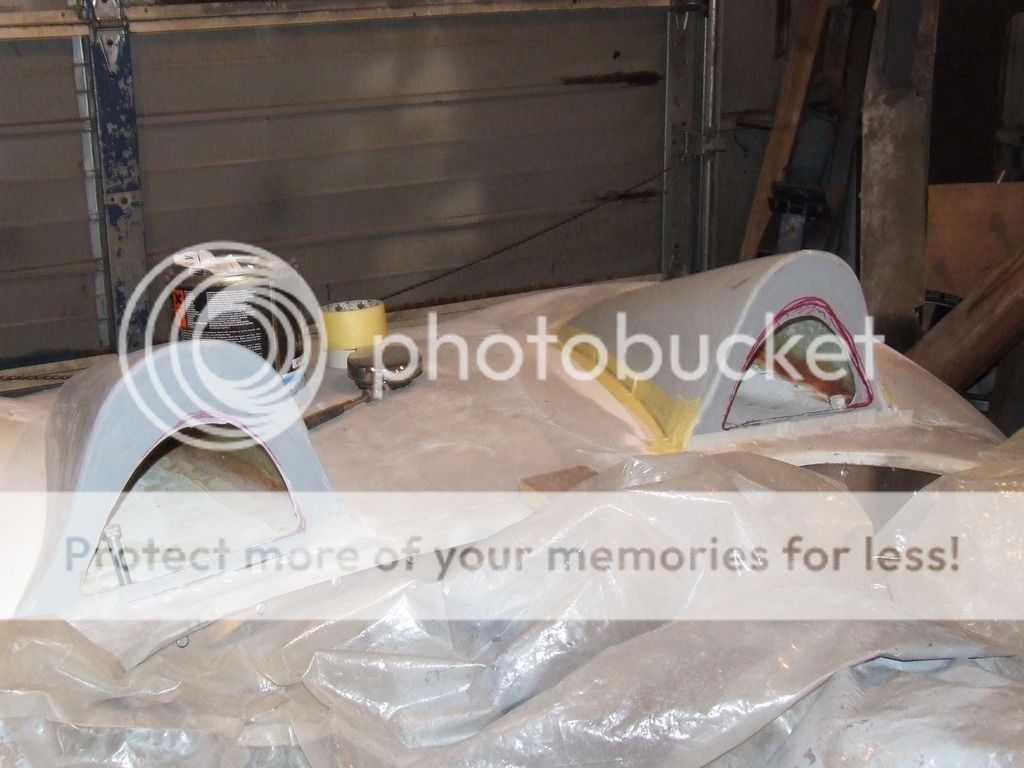 [/IMG] |
4th August 2016, 09:14
|
|
Senior Member
Enthusiast
|
|
Join Date: Jun 2015
Location: Reading, Berkshire
Posts: 688
|
|
Great work so far |
6th August 2016, 15:15
|
|
Senior Member
|
|
Join Date: Mar 2015
Posts: 395
|
|
Nooooo I decided to turn the car around yesterday to get better access to the rear end she spluttered into life then I pressed the brake pedal STRAIGHT TO THE FLOOR nothing? The braking system is a brand new dual circuit affair, The first section of the master cylinder was empty which meant the fault is in the rear section of the system. Wheels off stripped an inspected and found a union joint was not fully tightened up doh!
Decided I had better check the rest of the system and found on the front 3 way union that some idiot (ME) had fitted 2 metric male connector too the imperial union ruined new imperial union and connectors had to be fitted very fiddly flaring the brake pipe in situ now I've got to find someone to help with bleeding it again.
Sorry no photos I am too busy hitting my head against a brick wall (trying to knock some sense into it) the next update will likely be from A&E  |
6th August 2016, 20:31
|
|
Senior Member
|
|
Join Date: Feb 2012
Location: Wembley, London
Posts: 5,058
|
|
Look on the bright side, at least the brakes didn't fail when you were on the road.
I remember Mister Towed having a major brake failure on his driveway (again a better place than on the road).
Good luck, Paul. |
6th August 2016, 22:02
|
|
Senior Member
|
|
Join Date: Mar 2015
Posts: 395
|
|
Very true I love it really. Now where did I put those bandages?
|
7th August 2016, 08:43
|
 |
Senior Member
|
|
Join Date: Apr 2016
Location: Camberley
Posts: 972
|
|
Quote:
Originally Posted by deggsy

Nooooo I decided to turn the car around yesterday to get better access to the rear end she spluttered into life then I pressed the brake pedal STRAIGHT TO THE FLOOR nothing? The braking system is a brand new dual circuit affair, The first section of the master cylinder was empty which meant the fault is in the rear section of the system. Wheels off stripped an inspected and found a union joint was not fully tightened up doh!
Decided I had better check the rest of the system and found on the front 3 way union that some idiot (ME) had fitted 2 metric male connector too the imperial union ruined new imperial union and connectors had to be fitted very fiddly flaring the brake pipe in situ now I've got to find someone to help with bleeding it again.
Sorry no photos I am too busy hitting my head against a brick wall (trying to knock some sense into it) the next update will likely be from A&E |
Book a consultation with WCA whilst you are there. |
7th August 2016, 21:08
|
|
Senior Member
|
|
Join Date: Mar 2015
Posts: 395
|
|
I'll join the queue.
|
19th August 2016, 21:19
|
|
Senior Member
|
|
Join Date: Mar 2015
Posts: 395
|
|
Whist the rear of the car is up on jacks (waiting for the brakes to be bled) I decided to start the mock up on the boot supports,
[IMG] 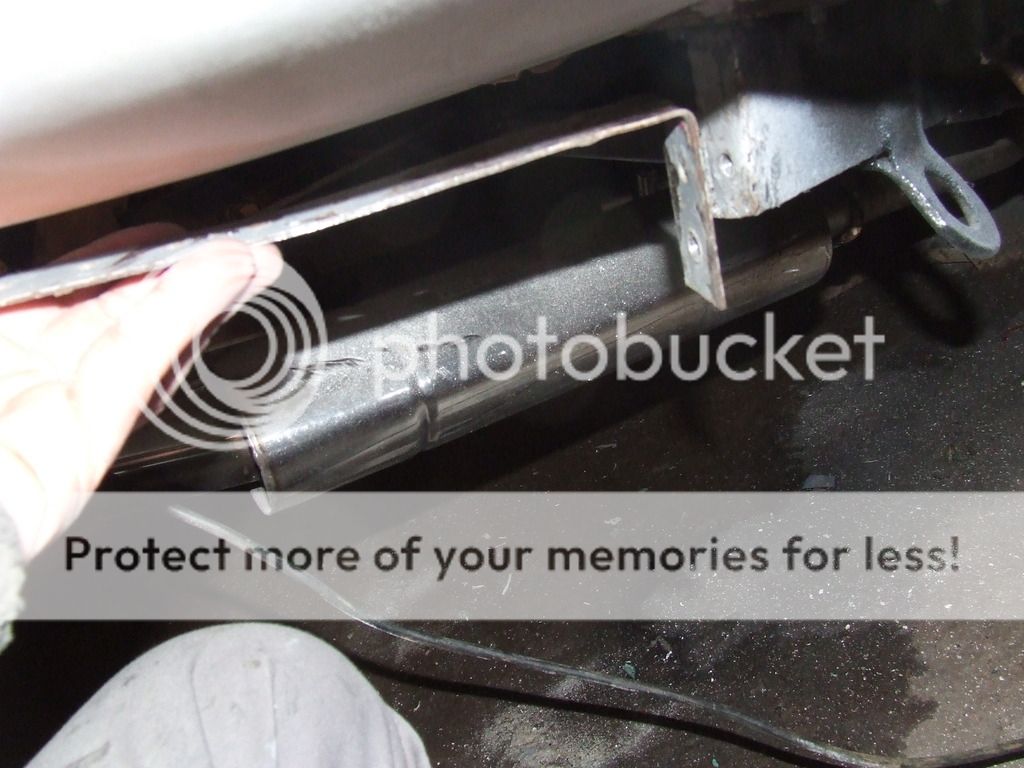 [/IMG]
[IMG] 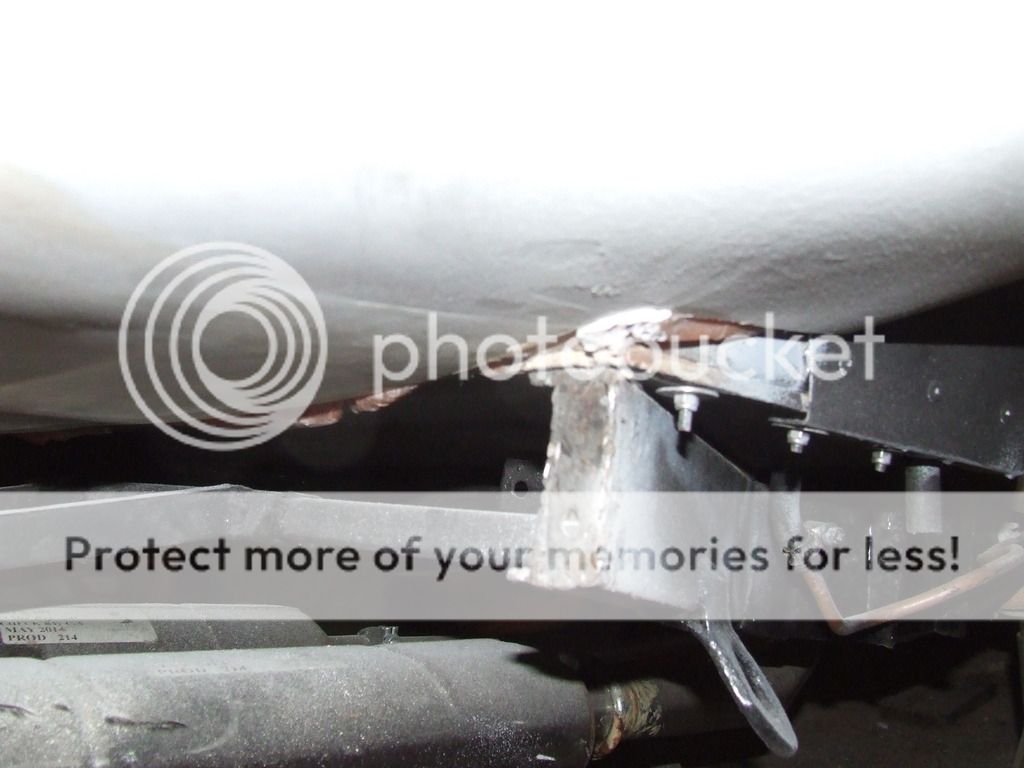 [/IMG]
I noticed that the join line in the boot looked a little thin {probably just me )
so I decided too reinforce it with some glass tape.
[IMG]  [/IMG]
[IMG] 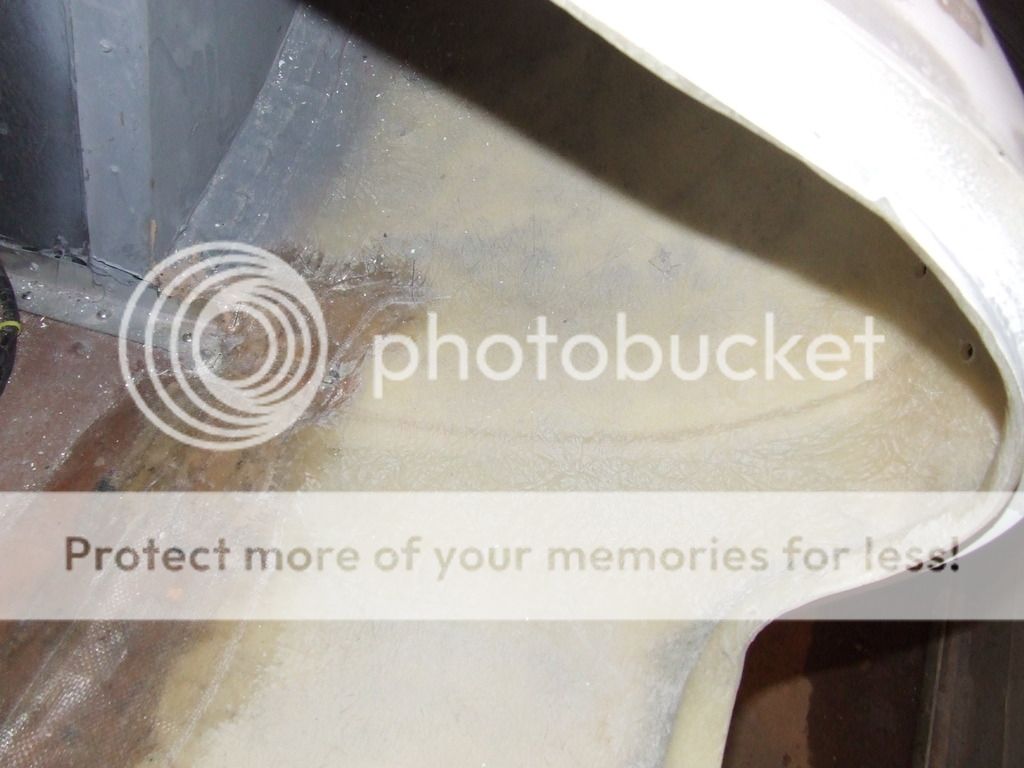 [/IMG]
[IMG] 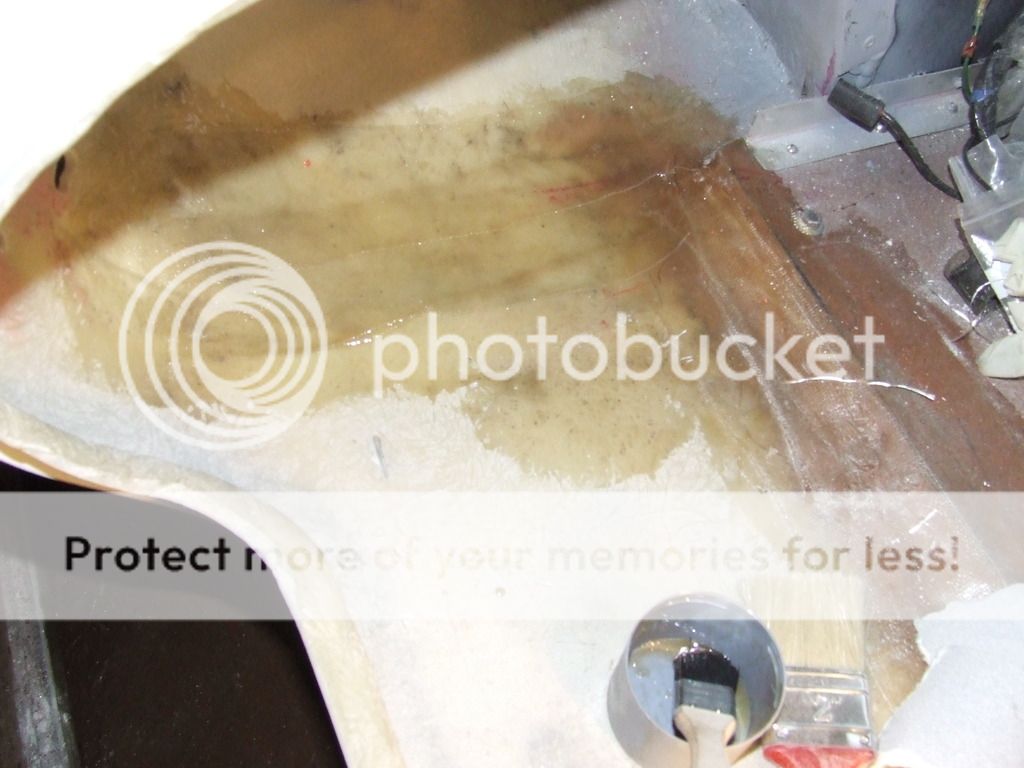 [/IMG]
[IMG]  [/IMG]
looks a bit stronger now I'll carry on with the boot supports ASAp |
20th August 2016, 18:28
|
|
Senior Member
|
|
Join Date: Nov 2011
Posts: 3,563
|
|
Book a consultation with WCA whilst you are there.
Oi! I checked the photos and the last time I was in A&E was when I got rushed to resuss and that was way back in July
 20160717_163339 20160717_163339 by WCA!, on Flickr
Later down graded to Majors
 20160717_172512 20160717_172512 by WCA!, on Flickr
|
|
Currently Active Users Viewing This Thread: 1 (0 members and 1 guests)
|
|
|
 Posting Rules
|
You may not post new threads
You may not post replies
You may not post attachments
You may not edit your posts
HTML code is Off
|
|
|
All times are GMT +0. The time now is 15:09.
|


 Linear Mode

