|
|
| Tribute Automotive Builds Discuss your Tribute kit build |

5th September 2015, 13:09
|
 |
Senior Member
|
|
Join Date: May 2014
Location: Oxon
Posts: 1,122
|
|
Quote:
Originally Posted by Ollie

To me that looks spot on....nice one!
|
+1 from me- yes that's the look.
Now on with the spot-lights !!! |
5th September 2015, 13:54
|
|
Senior Member
|
|
Join Date: Apr 2014
Posts: 198
|
|
That's the one.
|
5th September 2015, 15:50
|
|
Senior Member
|
|
Join Date: Aug 2012
Posts: 2,144
|
|
Much better , a big improvement !
|
5th September 2015, 16:32
|
|
Senior Member
|
|
Join Date: Apr 2013
Location: Alicante Spain
Posts: 880
|
|
Looks well with the smaller tyres and the toanou (or however its spelt) makes the car look 100 times better
|
5th September 2015, 16:46
|
 |
Senior Member
|
|
Join Date: Feb 2012
Location: Wembley, London
Posts: 5,058
|
|
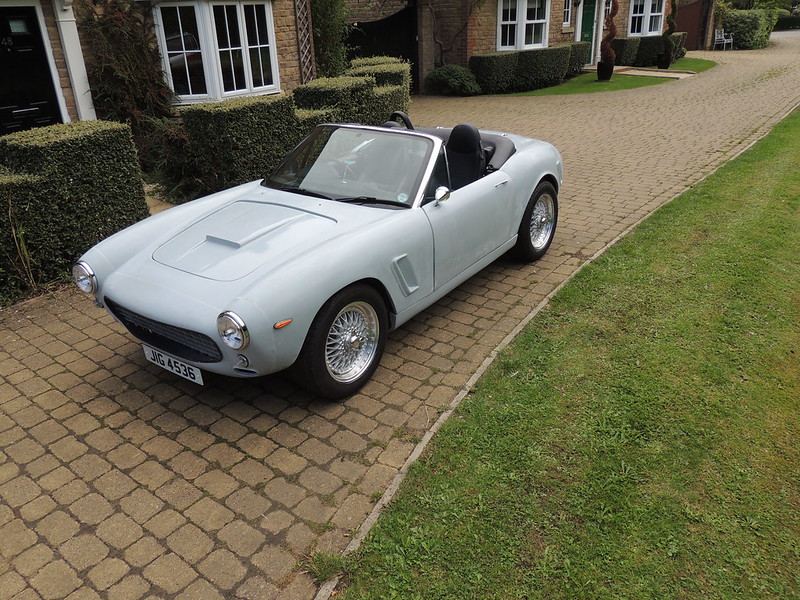
Eric - I have enjoyed seeing your car come together so well & so quickly. 
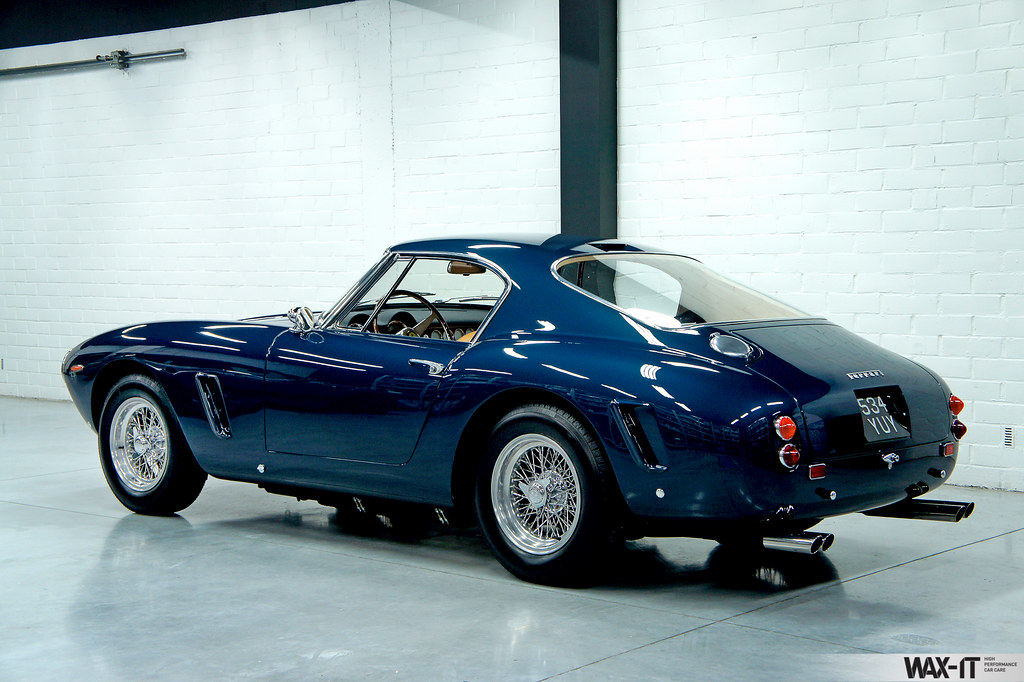
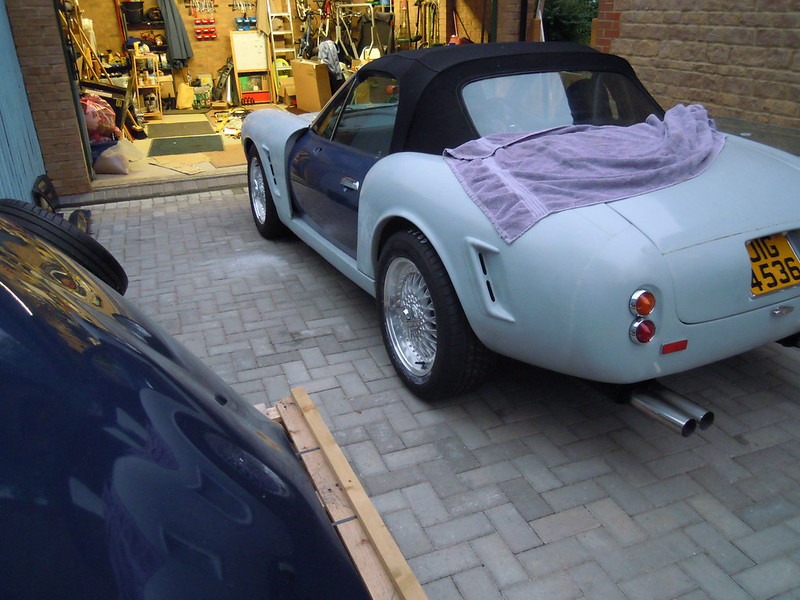
I think it looks just right with the 55s, especially if you compare it to this real one.
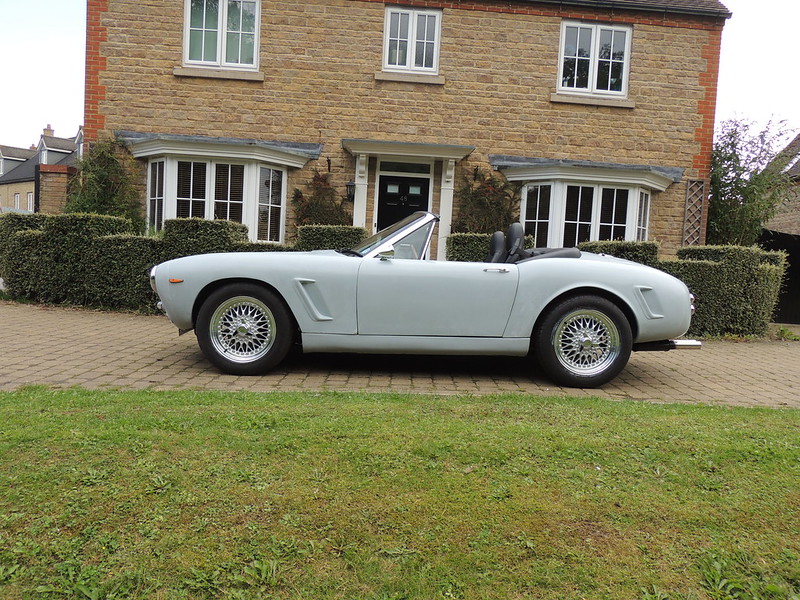
Good luck, Paul. 
|
5th September 2015, 17:17
|
|
Senior Member
|
|
Join Date: Aug 2012
Posts: 2,144
|
|
Quote:
Originally Posted by Paul L
Eric - I have enjoyed seeing your car come together so well & so quickly.
I think it looks just right with the 55s, especially if you compare it to this real one.
Good luck, Paul.
|
The blue coupe pictured is the best looking SWB out there . I think those are 15" wheels with either 205 or 195/70 - 15's , the best combination in my opinion! |
5th September 2015, 18:56
|
 |
Senior Member
|
|
Join Date: Jun 2015
Location: MK
Posts: 435
|
|
Thanks Ollie, I think I am going with 55's all round.
Last edited by ericholm; 6th September 2015 at 14:51..
|
5th September 2015, 18:59
|
|
Senior Member
|
|
Join Date: Jun 2015
Location: MK
Posts: 435
|
|
Thanks everyone else for the nice comments also. I think I have the decision made......anyone want 4 x 235/65/17  going cheap |
5th September 2015, 19:06
|
 |
Senior Member
|
|
Join Date: Apr 2013
Location: Swansea
Posts: 803
|
|
Quote:
Originally Posted by Lucky@LeMans
I think those are 15" wheels with either 205 or 195/70 - 15's , the best combination in my opinion!
|
SWBs were originally fitted with 15" wheels and 16"s came later. Most cars were fitted with 5 1/2x16 (source: Ken Gross)
SWB road cars were fitted with 185mm wide Pirelli Cinturato tyres, whether 15 or 16" diameter. These had the usual 82 series aspect ratio, and 70 series low profile radial tyres didn't appear until the late 60s (1968 I think) with the Cinturato and Michelin XWX.
Doing some quick calculations, your 235/55x17s have an overall diameter about 20mm less than 185x16 tyres, whilst the 65s are about 20mm bigger. A 60 series tyre will have about the same overall diameter as the 185x16!
The 235/65s have approximately the same sidewall height as the original 195s (approx 150mm) whilst the 55s will be about 20mm less.
I think your car looks good with the 55s. |
6th September 2015, 19:36
|
|
Senior Member
|
|
Join Date: Jun 2015
Location: MK
Posts: 435
|
|
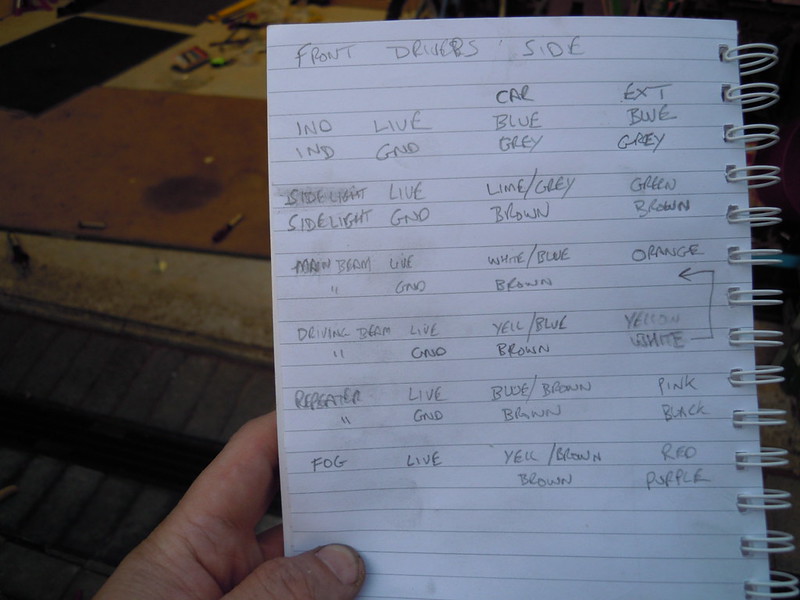
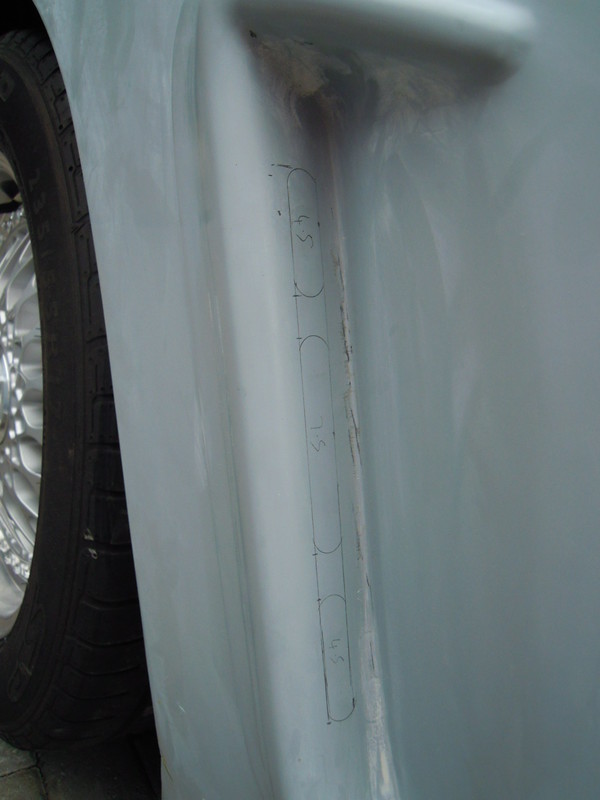
Drivers side wiring all temporary to allow for items to be removed for painting:
 DSCN4696 DSCN4696 by eric holm, on Flickr
 DSCN4695 DSCN4695 by eric holm, on Flickr
 DSCN4697 DSCN4697 by eric holm, on Flickr
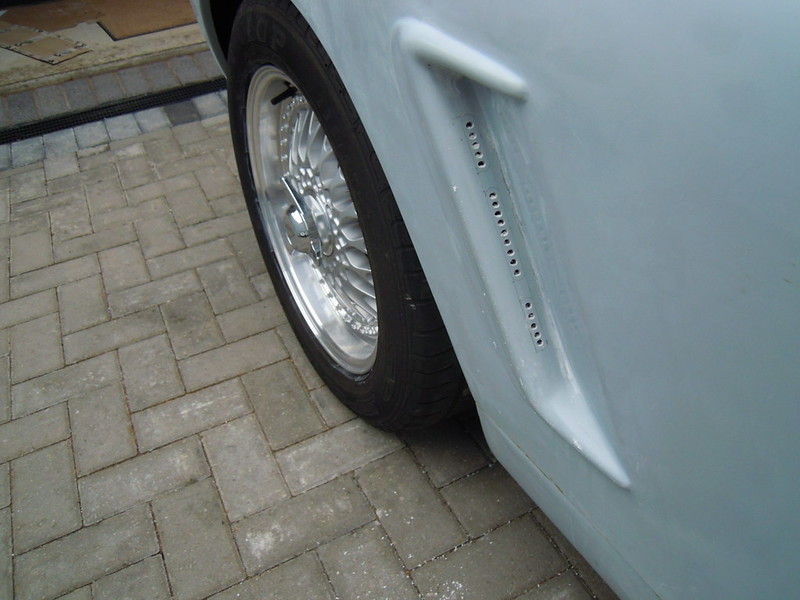
13 core wire used and only need 11 cores so 2 spare. All extended into the 13 core cable and tidied. All joints soldered, heatshrunk and taped/fixed
 DSCN4699 DSCN4699 by eric holm, on Flickr
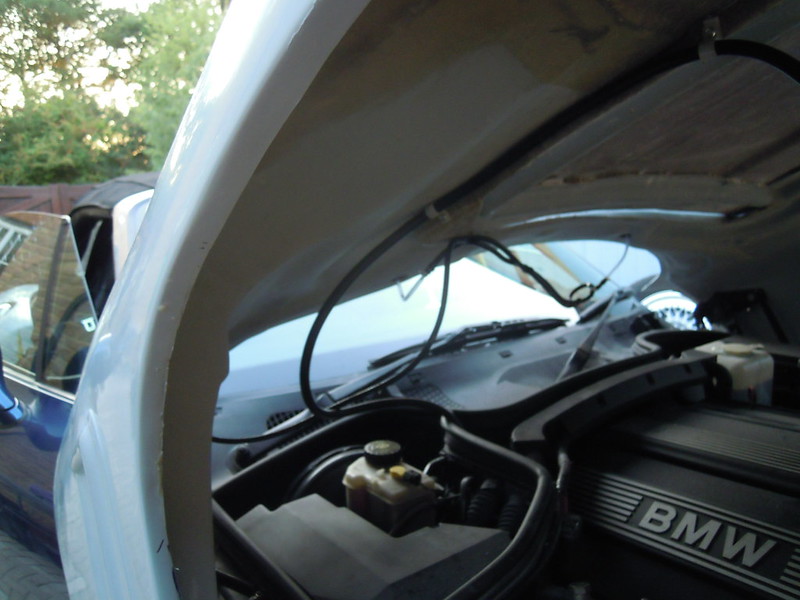
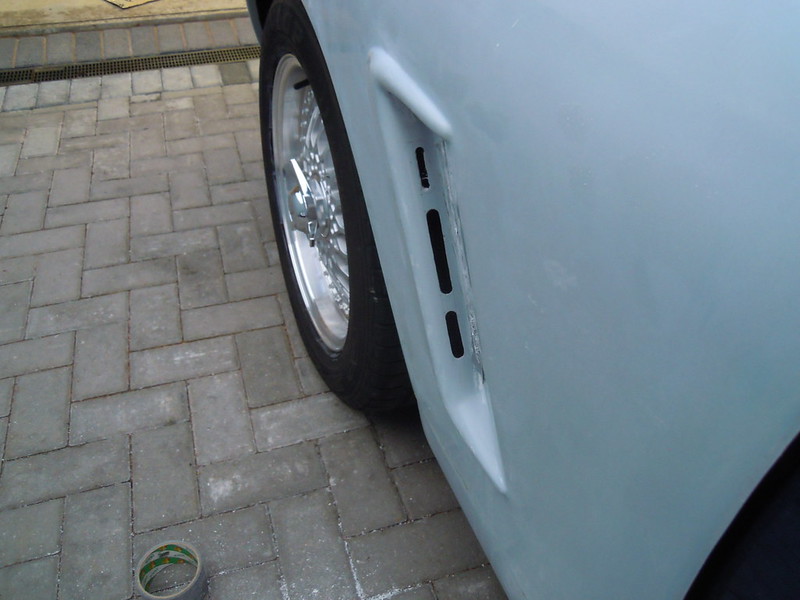
Then routing of 13 core cable to back of engine bay, up and over the new front end to the lights
 DSCN4700 DSCN4700 by eric holm, on Flickr
All tested and working perfectly  |
6th September 2015, 19:58
|
|
Senior Member
|
|
Join Date: Oct 2013
Location: norfolk
Posts: 691
|
|
Is that 13 way trailer cable put in place by Tribute? - I seem to recall they were providing the bonnet with cable already bonded in (but I could be wrong) - A multi-way connector or 2 will be ideal in case the bonnet ever needs removing.
|
6th September 2015, 20:01
|
|
Senior Member
|
|
Join Date: Nov 2014
Posts: 125
|
|
What we do over here is bond in a standard electric pipe in the bonnet so you can route your multiwire cable through there....
|
6th September 2015, 20:56
|
|
Senior Member
|
|
Join Date: Jun 2015
Location: MK
Posts: 435
|
|
Quote:
Originally Posted by Mitchelkitman
Is that 13 way trailer cable put in place by Tribute? - I seem to recall they were providing the bonnet with cable already bonded in (but I could be wrong) - A multi-way connector or 2 will be ideal in case the bonnet ever needs removing.
|
Nope, no cable or bonding section in place  so had to do it myself
13 core cable from carbuilder solutions.
Yes a multi way connector is the way to go agreed |
6th September 2015, 20:57
|
|
Senior Member
|
|
Join Date: Jun 2015
Location: MK
Posts: 435
|
|
Quote:
Originally Posted by mobilerobbie
What we do over here is bond in a standard electric pipe in the bonnet so you can route your multiwire cable through there....
|
Yep, wish I had the skills to do that
Last edited by ericholm; 7th September 2015 at 07:17..
|
7th September 2015, 06:53
|
|
Senior Member
|
|
Join Date: Sep 2014
Posts: 116
|
|
 Helpful Forum
That's the good thing about this forum, there are people with all sorts of skills and knowledge which they are willing to share. I didn't know that such a thing as a 13 way cable existed.
|
7th September 2015, 17:13
|
|
Senior Member
|
|
Join Date: Aug 2012
Posts: 2,144
|
|
I made a complete loom from trailer cable some years ago . One run to the rear for lights, one run to the front , lights again and one run to the engine for ignition bits and senders etc. Very simple, even I could understand it !
|
7th September 2015, 21:29
|
|
Senior Member
|
|
Join Date: Oct 2013
Location: norfolk
Posts: 691
|
|
I see the door panel is off - I thought it had previously been fitted?
|
7th September 2015, 21:38
|
|
Senior Member
|
|
Join Date: Jun 2015
Location: MK
Posts: 435
|
|
Nope, just propped/lodged it on to see what it would look like, as really want to take time getting handle mechanism to work, so research well underway on how I will do it. Nervous about cutting door skin open, so slowly/gently does it. Gotta admit I would like it/them on, but edges need a finish at they will be shown and they are not the best, also need to work out how to seal top edge as there is a bit of a gap to resolve. Don't even get me started on the alignment as still not happy with front section position, there is limited adjustment. So really all panels are first fit only and everything will come off again, hence the spade terminal connectors on all electrics.
|
|
Currently Active Users Viewing This Thread: 2 (0 members and 2 guests)
|
|
|
 Posting Rules
|
You may not post new threads
You may not post replies
You may not post attachments
You may not edit your posts
HTML code is Off
|
|
|
All times are GMT +0. The time now is 13:30.
|


 Linear Mode

