|
|
| Sammio Builds and discussions Sammio bodied car builds and specials |

6th November 2014, 13:05
|
 |
Senior Member
|
|
Join Date: Jul 2011
Posts: 5,328
|
|
Quote:
Originally Posted by davecymru

The only problem i ever had with no-doors was how much i killed my old drivers seat during my year of driving it! So i'll be interesting to do a compare-n-contrast in a few months  |
I bought a set of Herald/Vitesse floor mats from an e-bay seller. The fronts I put in the footwells but I put the rear mats on the seats and step onto them to save the upholstery. Works for me. |

7th November 2014, 10:37
|
 |
Senior Member
|
|
Join Date: Sep 2012
Posts: 192
|
|
thought id push on with some interior work. handbrake cover
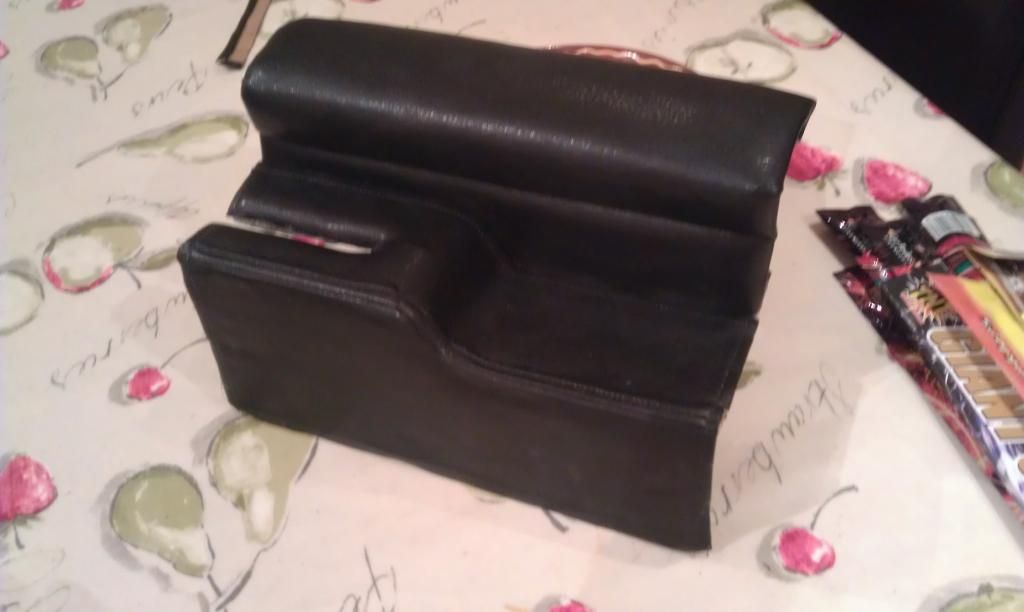
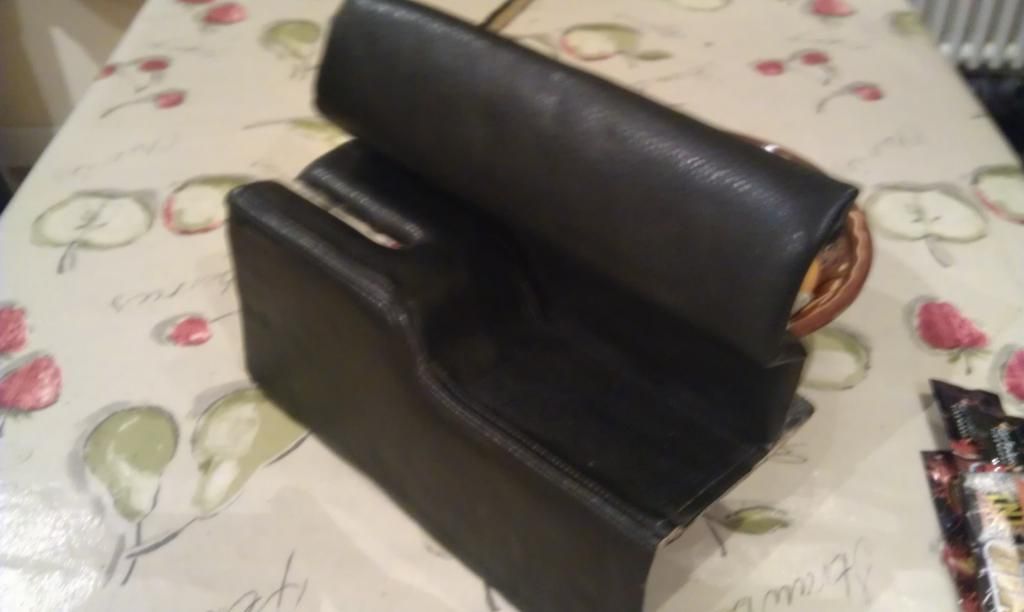
side lifts to reveal switches
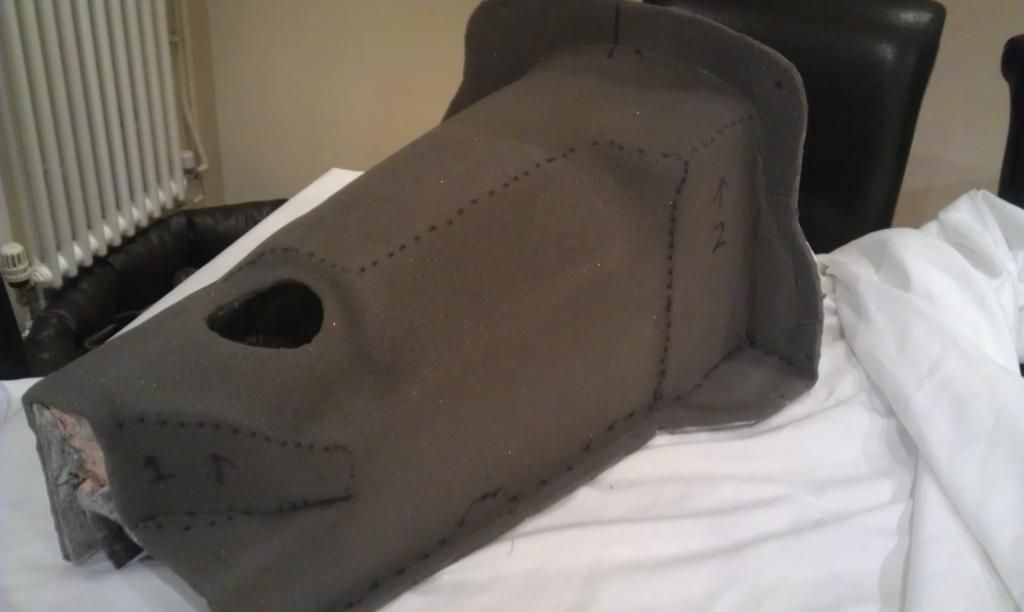
Gear box tunnel covered in 6mm foam
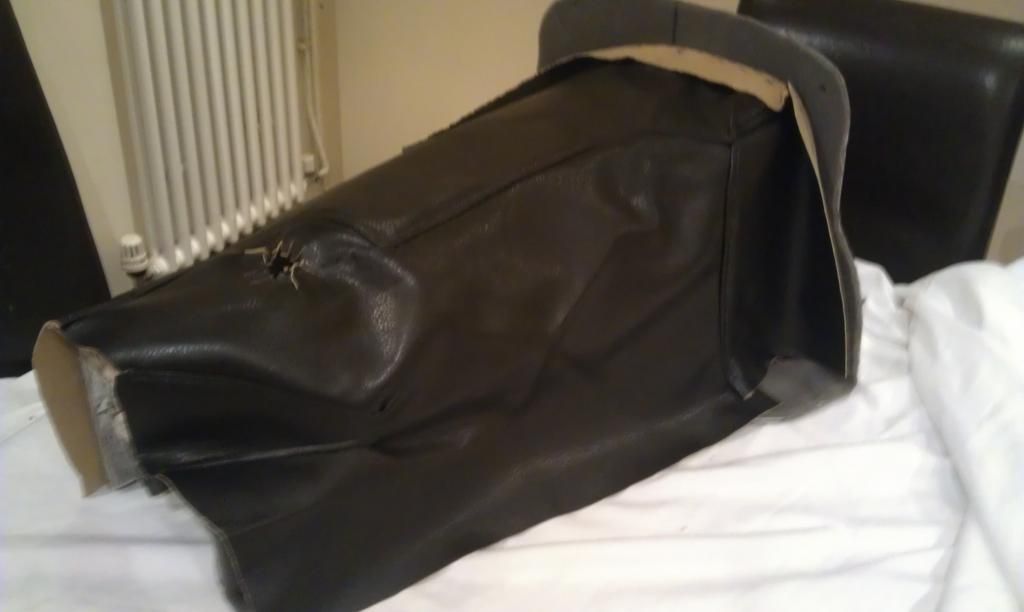
started to cut out leather but quite a complex shape
 |

7th November 2014, 10:49
|
 |
Senior Member
|
|
Join Date: Feb 2012
Location: Wembley, London
Posts: 5,056
|
|
CarNoob - Looks like you have made good progress to both the inside & outside of your car. 
Really like what you are doing with the gearbox cover.
Good luck, Paul. 
|

9th November 2014, 08:42
|
 |
Senior Member
|
|
Join Date: Sep 2012
Posts: 192
|
|
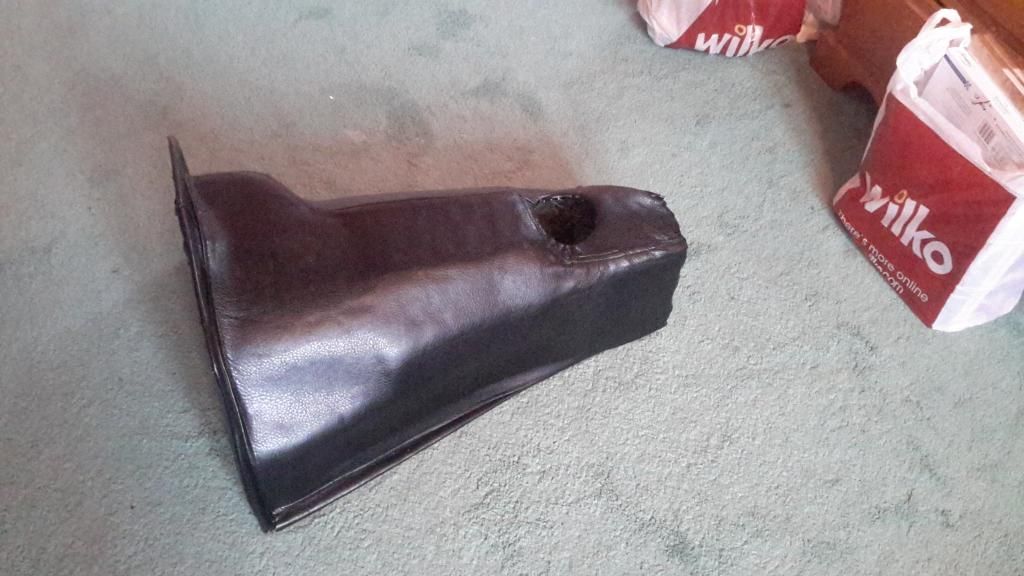
with 9 pieces of leather the pattern I made came together really well. 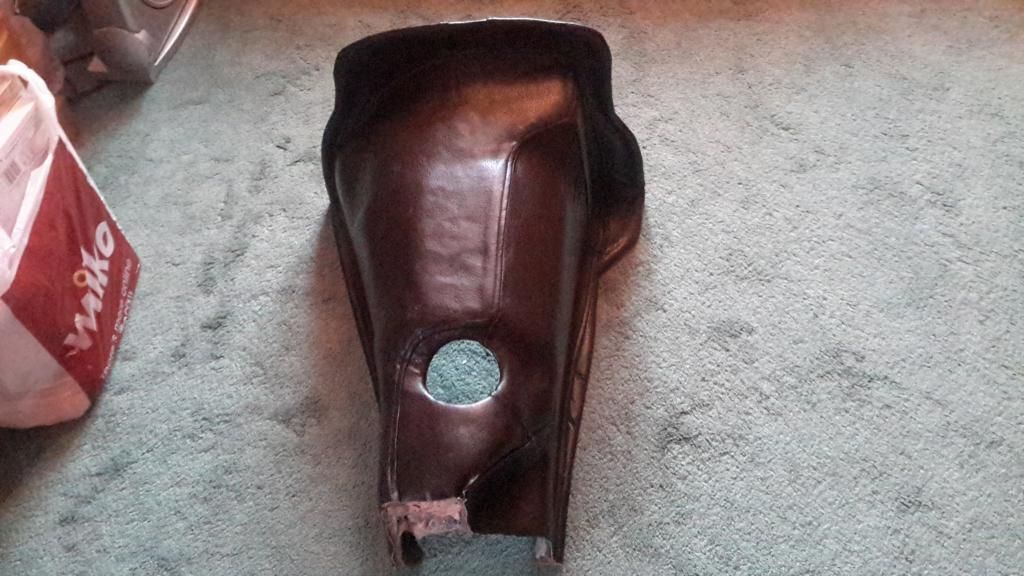
trim bond sticks so well you cant pull it of the foam.
also bent some hard board for the corners and joined with fibre glass to keep the shape
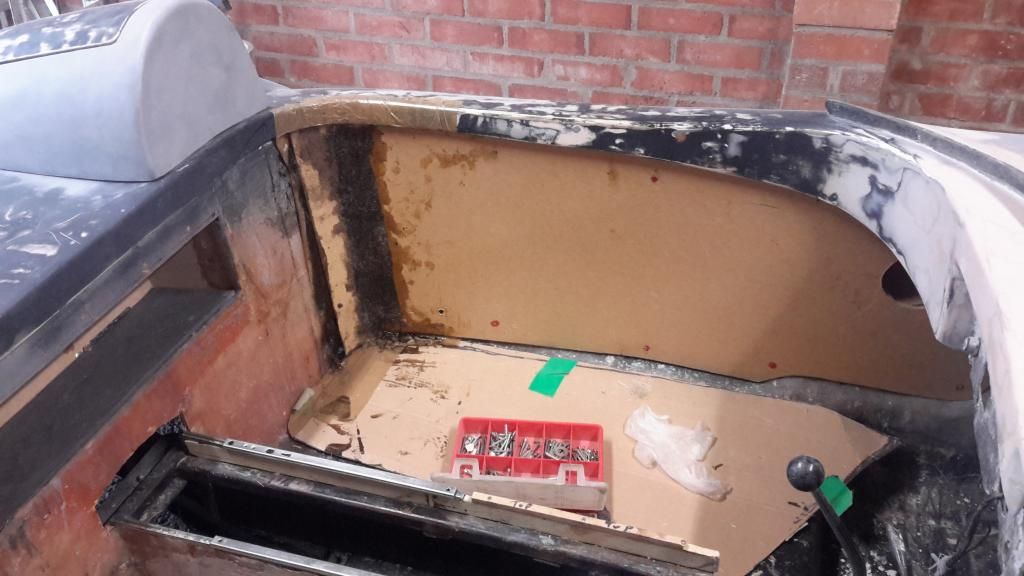
and left side
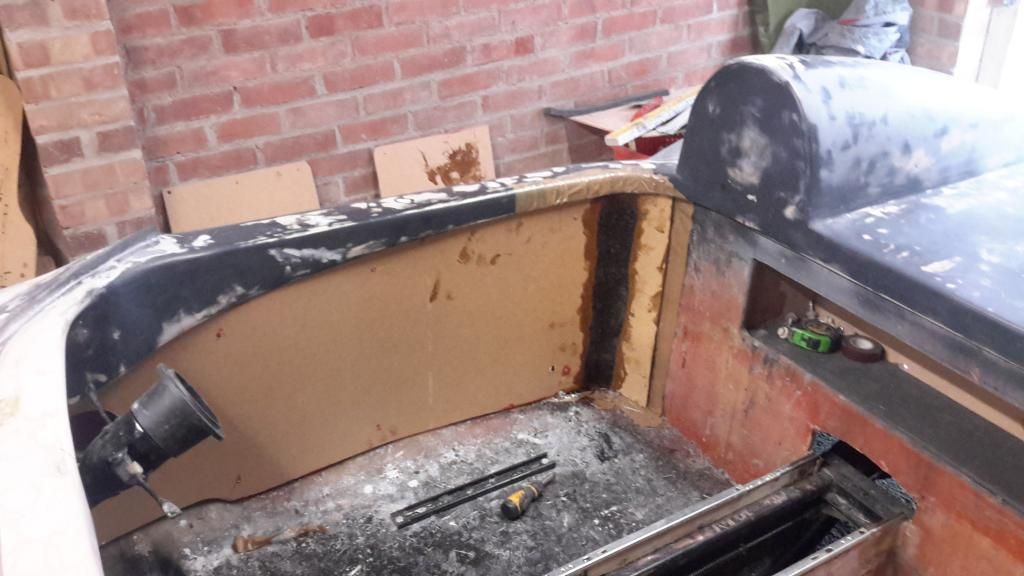
and finally added some fibreglass to the right hand wing to match the other side
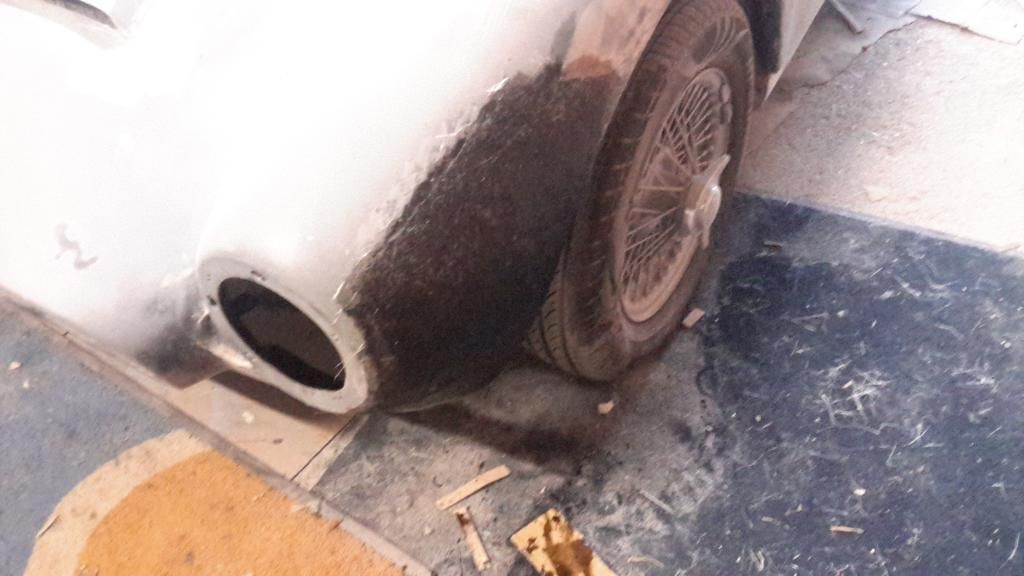
then home for fire works |

9th November 2014, 10:52
|
 |
Senior Member
|
|
Join Date: Jul 2011
Posts: 5,328
|
|
Nice job trimming the gearbox cover 'Noob, they're a bloody awkward shape.
I'm a bit concerned about your inner side panels though, are they hardboard?
I can see you're trying to maximise interior space, but without solid, 6mm ply inner panels bonded right up inside the shell and extending down to the floor it's highly likely that the body sides'll flex and crack when you put your weight on them getting in and out.
I say this because I have a small area in the centre of the scuttle panel just ahead of my flyscreen, directly above the servo I fitted, where there's no bracing, and it started to show stress cracks from downward pressure from the bonnet closing above it. I had to replace the rubber strip with a thinner one at that point to stop it cracking any further.
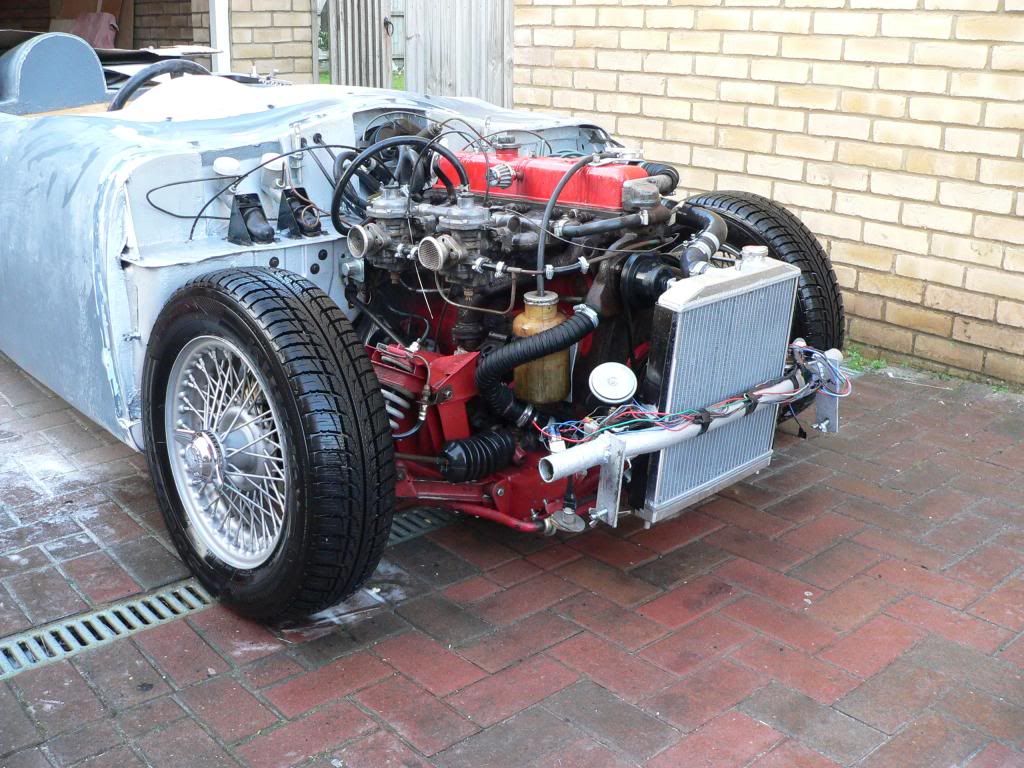
Good luck and keep up the good work! |

9th November 2014, 13:33
|
 |
Senior Member
|
|
Join Date: Sep 2012
Posts: 192
|
|
 Its ok the sides are 6mm ply bonded in with fiberglass, I also ended up cutting out the sections I push on when getting in and out as I could hear movement. I added 6 layers of fibre glass then bonded the top piece back in now its solid. The pieces I have cut are for the foam and leather to stick to. I want them to be removable. |

11th November 2014, 17:38
|
 |
Senior Member
|
|
Join Date: Sep 2012
Posts: 192
|
|
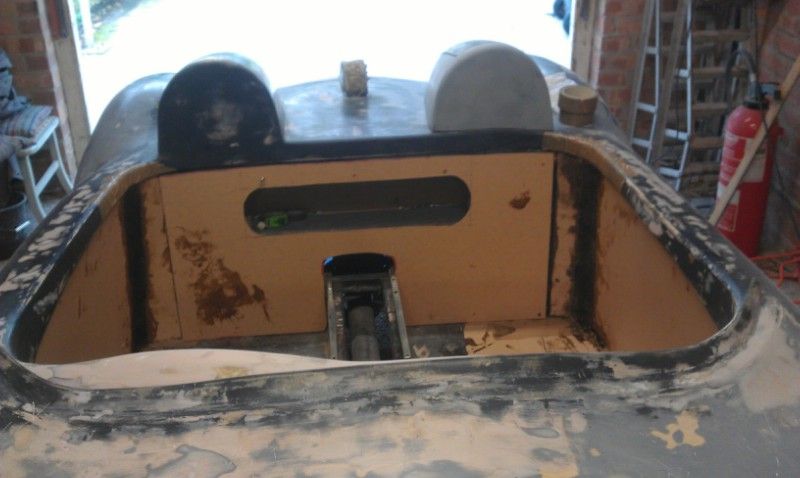
back panel
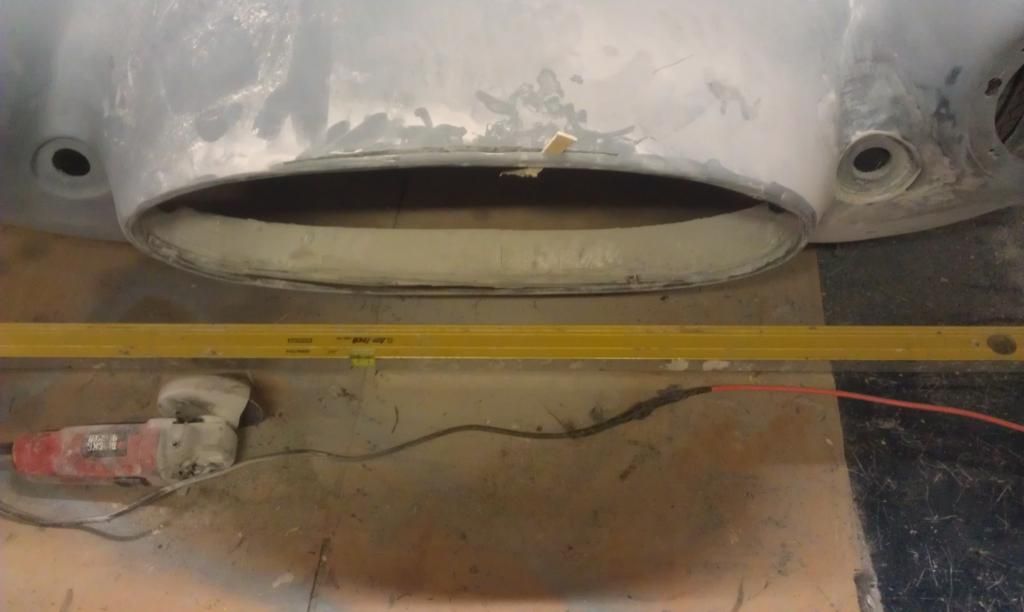
Front nose adjustment
 |

29th May 2015, 08:16
|
 |
Senior Member
|
|
Join Date: Sep 2012
Posts: 192
|
|
|

29th May 2015, 08:26
|
 |
Senior Member
|
|
Join Date: Dec 2011
Location: Devon
Posts: 550
|
|
The prep-work is well worth it. Looking great with all the personalised detail. What colour are you going for?
|

29th May 2015, 08:29
|
 |
Senior Member
|
|
Join Date: Jul 2011
Posts: 5,328
|
|
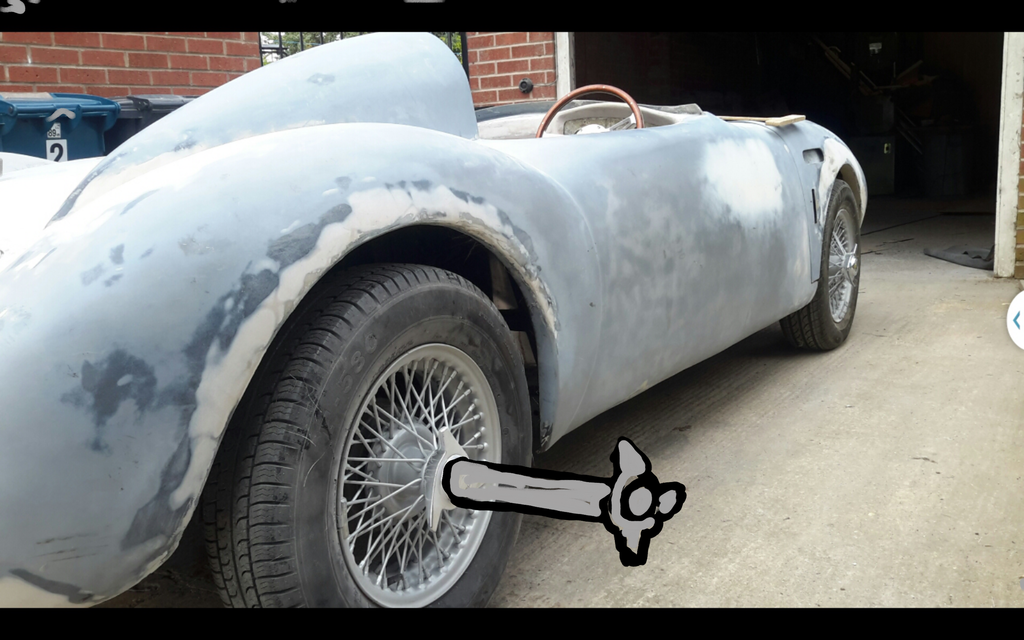
Looking good, I like the bonnet scoop and blister for some reason.
What's the slot across the rear deck for? Is it for the 007 style bullet deflector?
The finish on Mr Christmas' A352 was simply stunning, a credit to the chap who prep'd and sprayed it. Nice colour too, as chosen by the first billionaire to order a 'new' £1.2m Jaguar lightweight (Channel 4 documentary last night). Although Jaguar's hand picked spray chappie estimated around £40,000 to respray the bonnet if necessary, which is the equivalent of about ten quid to the new owner. Bargain.  |

29th May 2015, 11:15
|
 |
Senior Member
|
|
Join Date: Sep 2012
Posts: 192
|
|
Yes what can I say. There will be a glass screen that lifts out. I'm hoping to make a hard top and the glass will lift up into this. I have made the frame and motor and it works with a mdf template. This will be changed for glass when I have figured out how the springs push two pieces of glass, to fit the two humps when it goes up/down.
Other ideas spring to mind!
 |

29th May 2015, 13:01
|
|
Senior Member
|
|
Join Date: Jun 2011
Location: birchington, kent
Posts: 1,769
|
|
Very Ben hur... pics of hood, sounds amazing.
|

29th May 2015, 15:23
|
 |
Senior Member
|
|
Join Date: Sep 2012
Posts: 192
|
|
froggyman
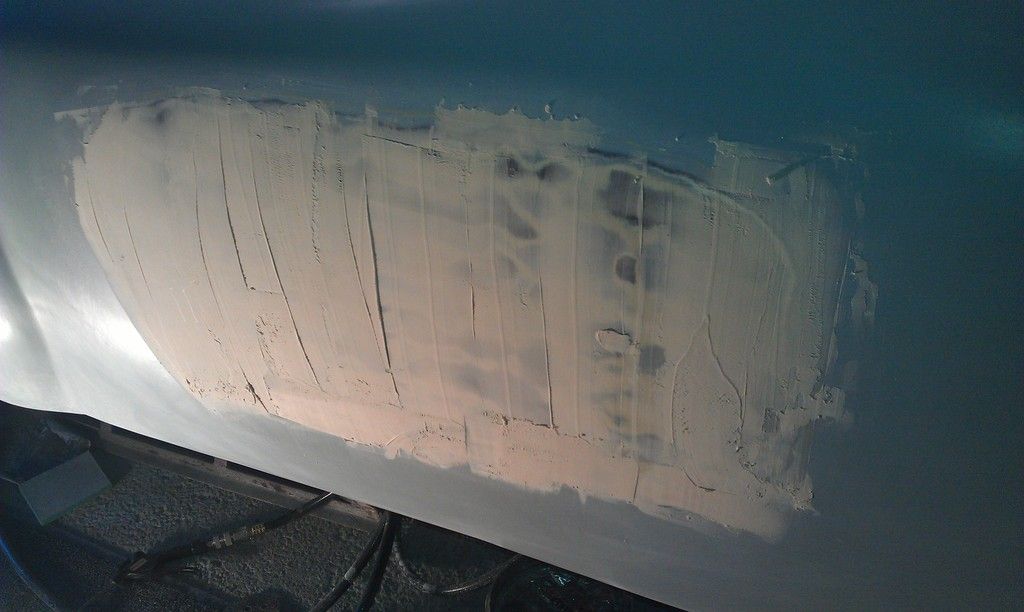
colour is going to be gloss white from Jarwel. I did look at silver birch to go with the bond theme. which I now regret as I did a sample piece on the car. I thought I had removed the paint but discovered after priming the paint reacted in a couple of places so I've had to rub one section down again yesterday.
 |

29th May 2015, 18:08
|
 |
Senior Member
|
|
Join Date: Dec 2013
Posts: 839
|
|
The inside of the bonnet looks good, how did you prep the surface as it looks very smooth?
|

30th May 2015, 07:45
|
 |
Senior Member
|
|
Join Date: Sep 2012
Posts: 192
|
|
Just kept rubbing down and filling .very time consuming
|

30th May 2015, 10:44
|
 |
Senior Member
|
|
Join Date: Feb 2012
Location: Wembley, London
Posts: 5,056
|
|
CarNoob - Shame to hear about the previous test patch paint reacting. 
As it certainly looks like you have put a lot of work into getting to the primer stage & it all looks good. 
Hope the rest of the painting goes without a hitch, good luck, Paul. 
PS
Your hard top idea sounds very interesting too.
|

16th June 2015, 07:22
|
 |
Senior Member
|
|
Join Date: Sep 2012
Posts: 192
|
|
ebay £3.50 from China
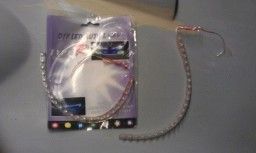
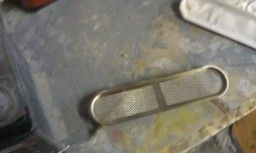
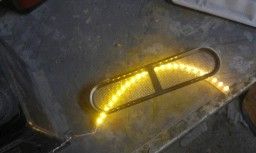
side vents will have indictor lights in. |

26th August 2015, 07:32
|
 |
Senior Member
|
|
Join Date: Sep 2012
Posts: 192
|
|
Finally Painted Jawel Pure White Gloss, Just need another ltr to finish under the bonnet.
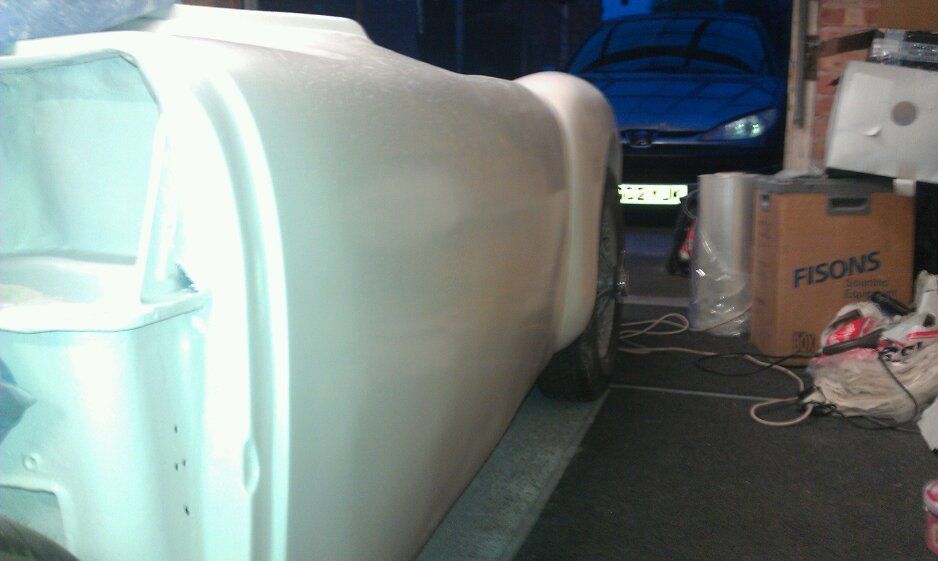
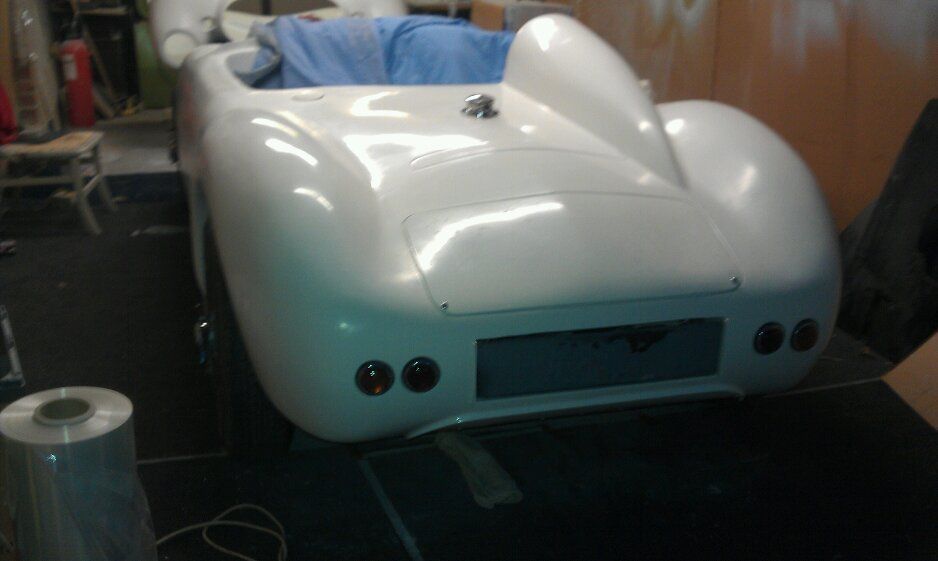
The back end really bugged me so I made a section and pop riveted to the bottom. Now nice and even.
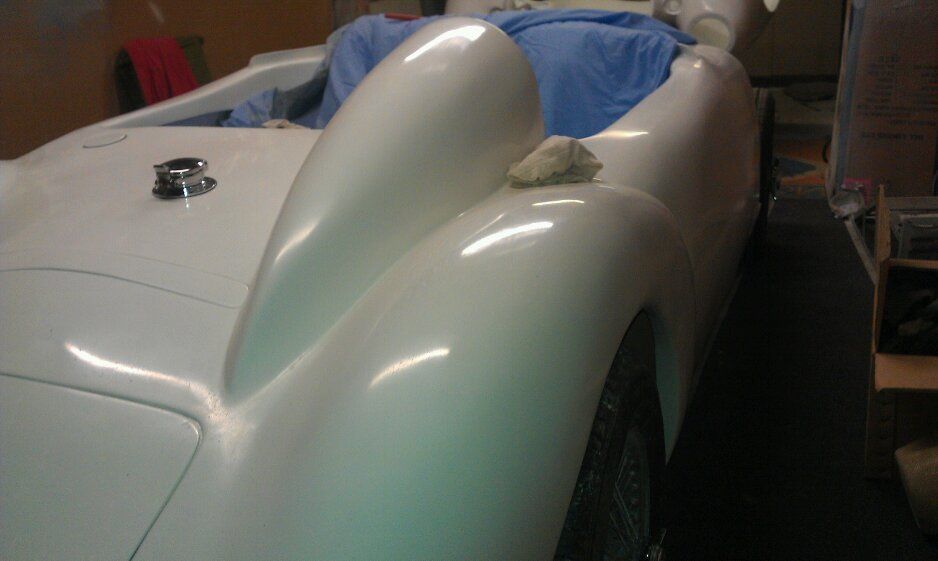
lots of jobs on at home so I do a bit when ever I can! |

26th August 2015, 07:38
|
 |
Senior Member
|
|
Join Date: Sep 2012
Posts: 192
|
|
|

26th August 2015, 07:50
|
 |
Senior Member
|
|
Join Date: Jun 2011
Posts: 935
|
|
That looks great
All that prep and your loss of fingertips was worth it.
Did it go without a hitch?
|
|
Currently Active Users Viewing This Thread: 1 (0 members and 1 guests)
|
|
|
| Thread Tools |
|
|
| Display Modes |
 Linear Mode Linear Mode
|
 Posting Rules
|
You may not post new threads
You may not post replies
You may not post attachments
You may not edit your posts
HTML code is Off
|
|
|
All times are GMT +0. The time now is 23:49.
|