Even though it was dark outside, I wanted to quickly check something in preparation for the weekend.
So sorry about the poor photos, but they are the best I could manage.
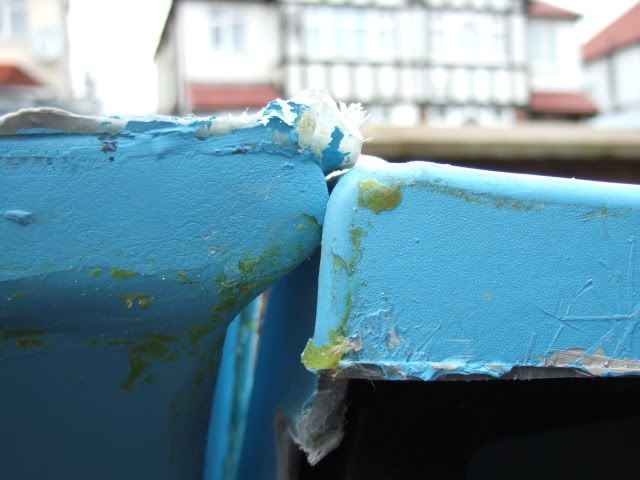
Mind The Gap - Part 1:
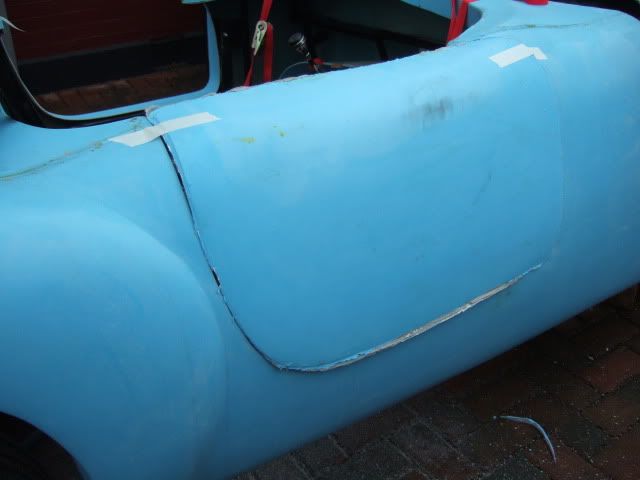
When removing the seat belt bracket fouling the body work the other week, I spotted something else.
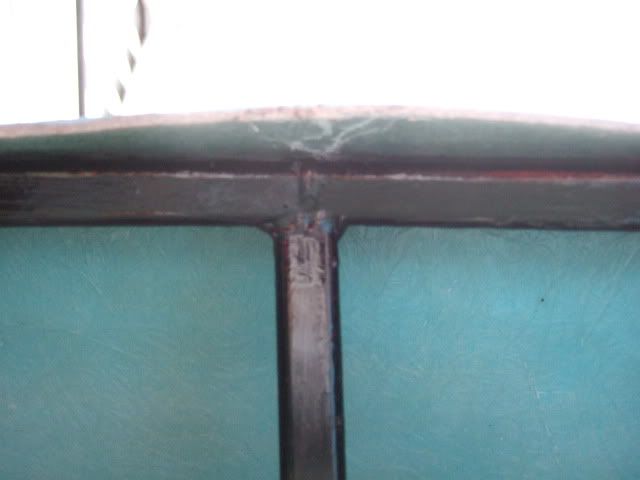
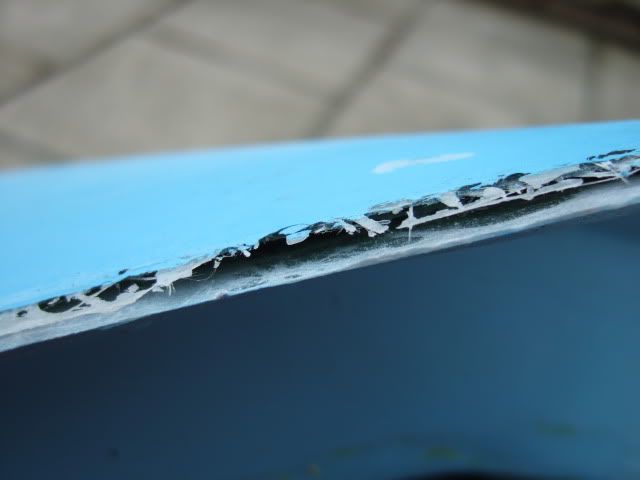
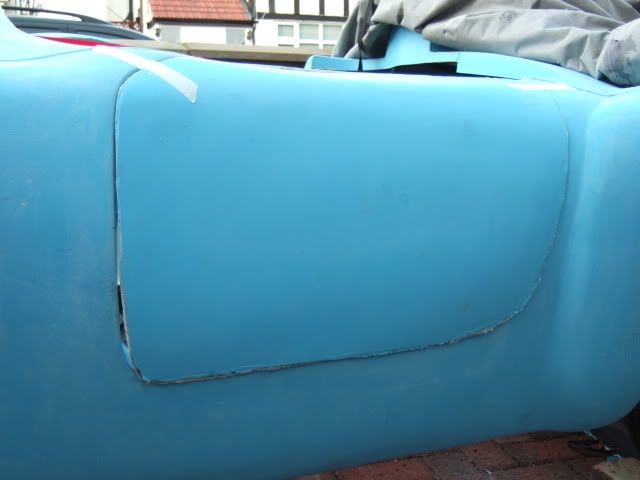
The top edge of the rear cockpit body work is being pushed out by the frame rail behind it.
Not easy to see, but you can just make out the bulge in near the bottom of the hump…
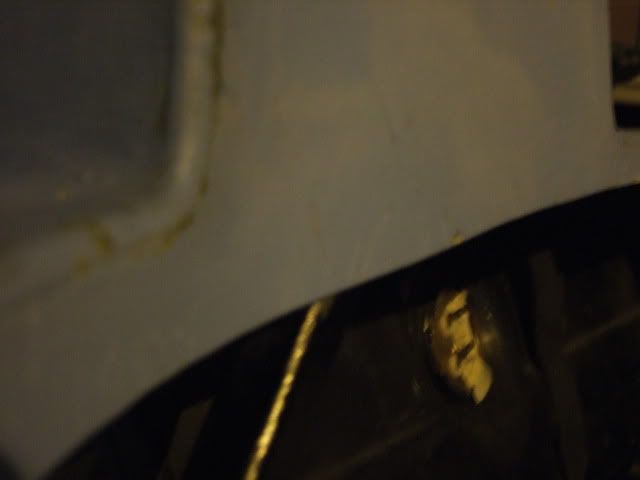
This area is effectively being "stretched" to allow the front of the cockpit to fit over the frame at the other end.
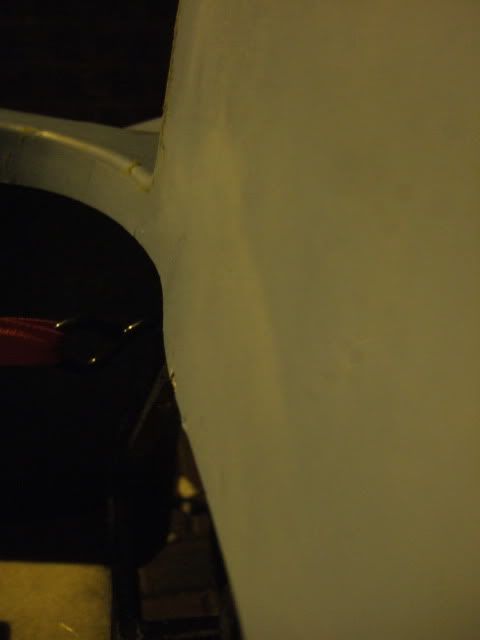
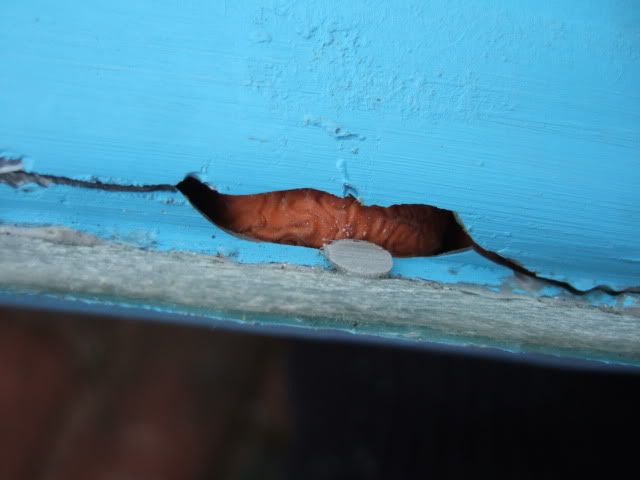
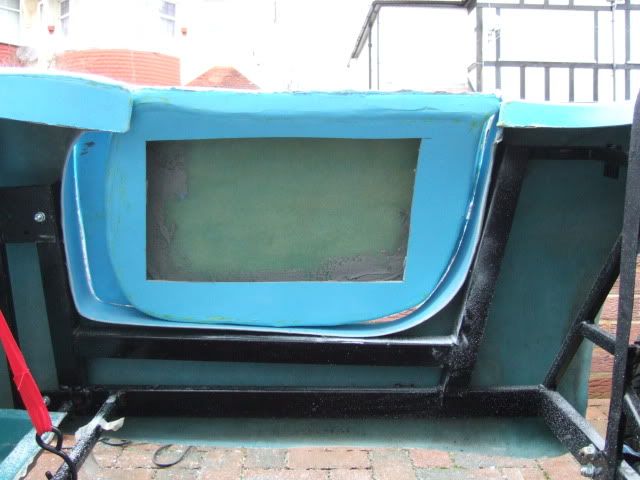
Again, not easy to see, but it is the centre of the dash area that is bulging out...
So gap between front & back of the cockpit is marginally smaller than the corresponding gap in the frame!
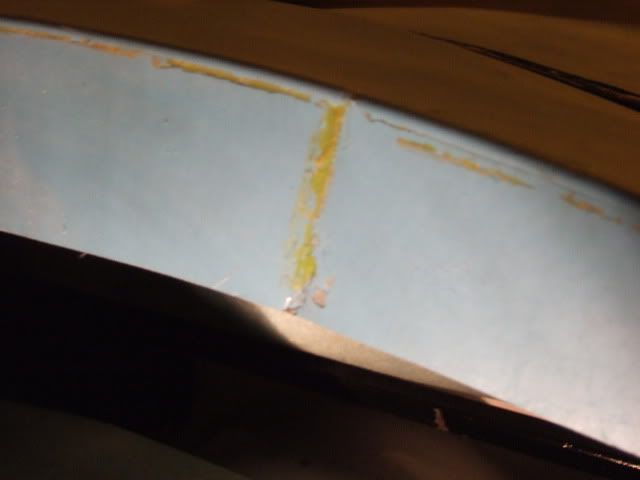
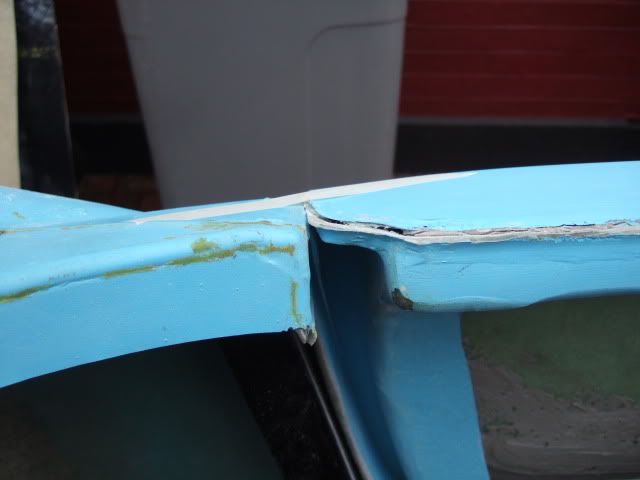
I'd also spotted this photo when I was searching for one of
AndyP57's rear cockpit access panel…

I had previously noticed that his frame had a different design to allow the steering column to pass through.
( There is a "kink" in one of his vertical frame rails, whereas
DonnySoutherner & I have straight rails. )
But what I hadn't spotted before, was that he had a revised design on the top "dash board" rail too.
So is looks like
DonnySoutherner had a MkI version, I've got the MkII & Andy has a MkIII version!

Which gives me some comfort that it may be the frame design, & not my fitting of it, that is the problem.
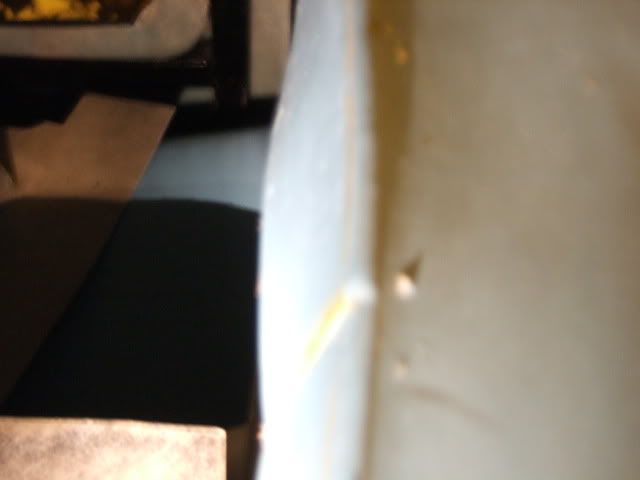
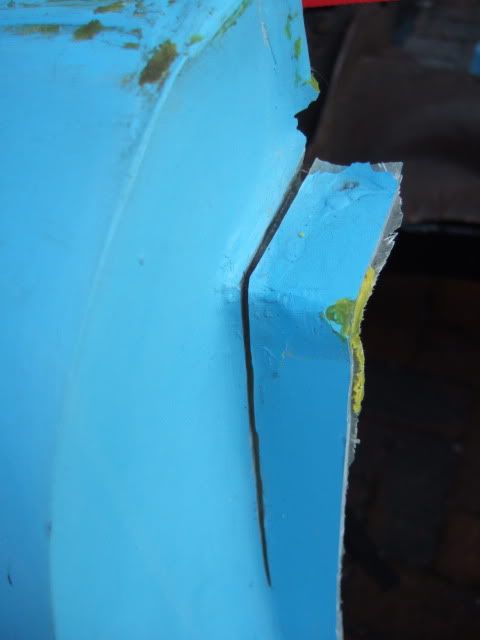
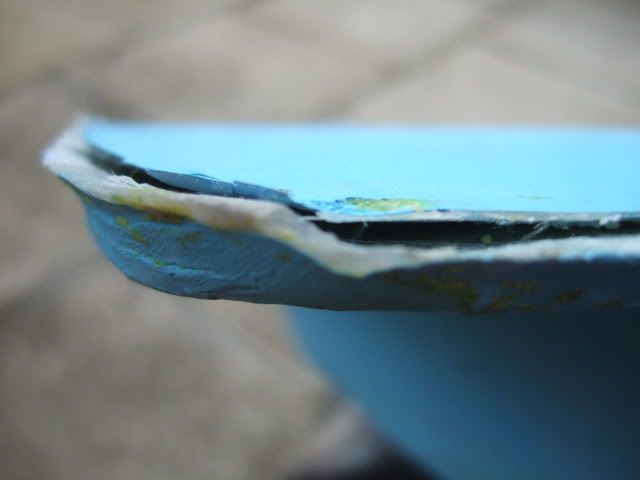
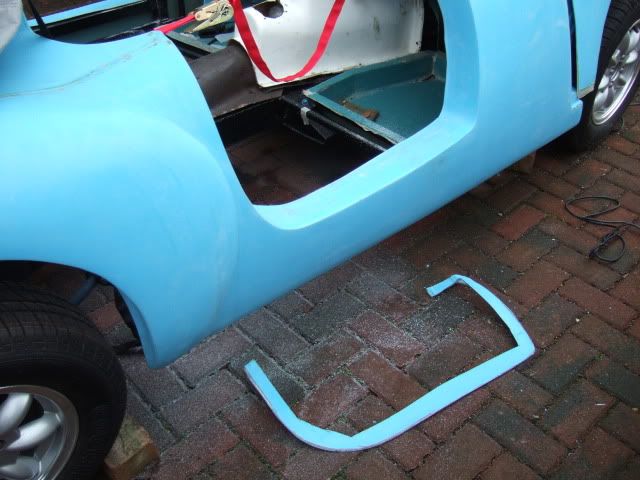
Before I start to take my jigsaw to parts of the body shell, there was one other area that I needed to check.
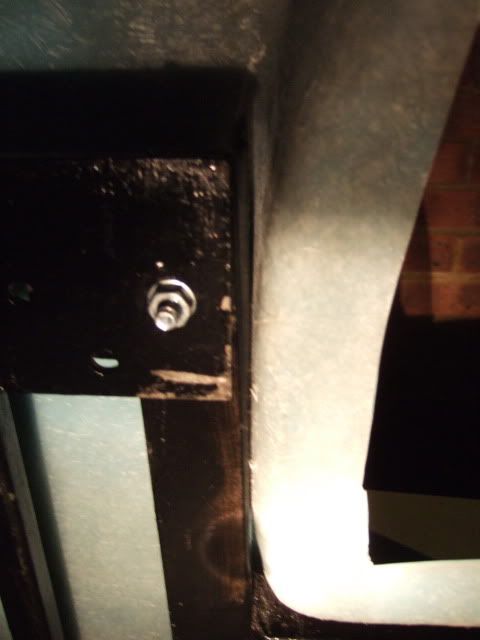
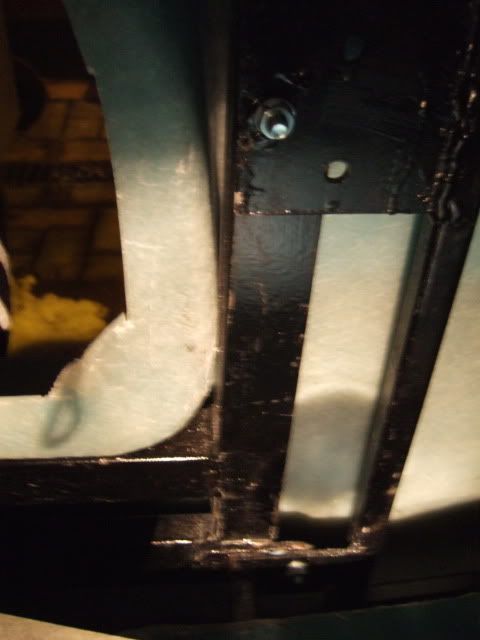
The body will only be able to move forward if there is a gap between the door cut outs & the frame work.
Unfortunately these touch the frame, with no real "wiggle" room to "shove" the body forward a few mm.
Driver's Side
Passenger Side
Therefore it may take a combination of alterations to both the body work & the frame to fix this.
So I will have another look in daylight just to make sure I am not missing something else.
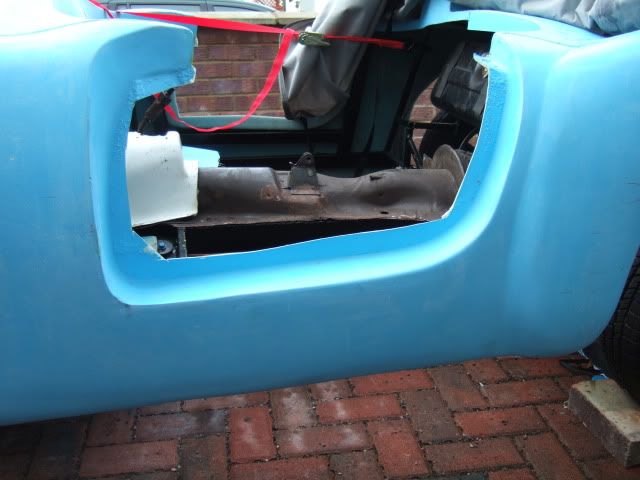
The door cut outs lead me nicely to a related issue...
Doors - More Thoughts:
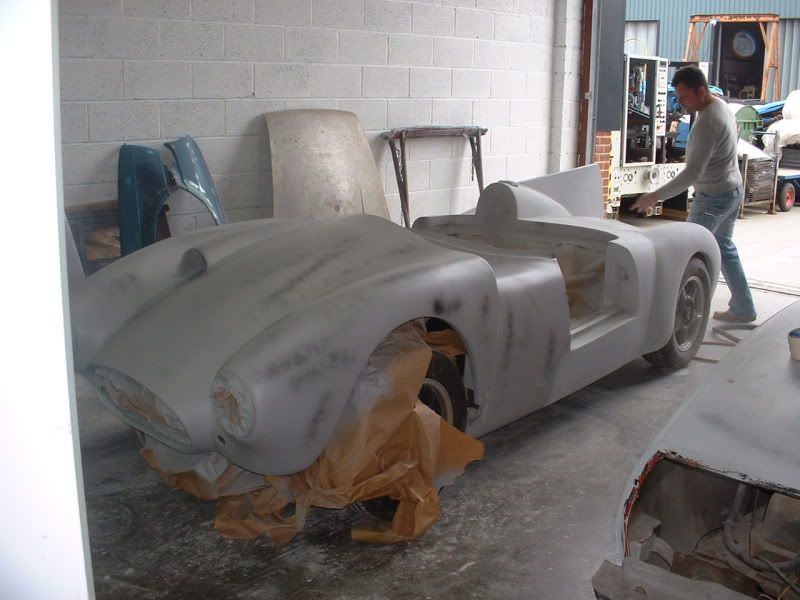
I found an old photo of one of
MikMiglia's "hockey stick" bonnet braces for
Mr T's build thread.
The photo was from
Barry May's build and this had doors added to the original Spyder body shell…
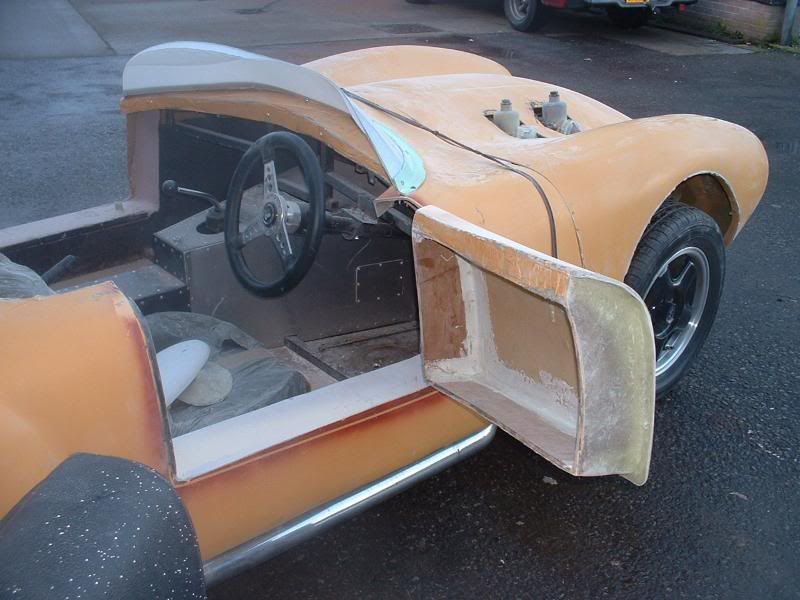
It is interesting to see how the shape of these doors & their openings differ from my Cordite ones.
The bodywork edges are very straight and only a bottom "lip" was added before this painting photo.
It is only when you compare the above with my first attempt at door "fitting" that the difference is clear.
 Mike
Mike himself hopes to post an update on his own build shortly & I look forward to seeing his doors too.
But I've got the feeling there is no escaping some major re-working to get my Cordite doors to fit / work.
The only good news is that if the door cut outs get re-worked the body might be able to move forward.
Rimmer Bros:
Received an outstanding piece of customer service from Rimmer Bros. following my "big box" delivery.
When I finally opened the box, there were a couple of items that were not quite what I expected.
There had been some sort of technical problem with the website photos so I needed to return them.
I spoke to them on the phone, then I needed to send an email to get a "Return Authorisation Number".
So I mentioned the headlight retaining rings I'd bought in error last year when I clicked on the wrong parts.
( I only realised my error months after their normal returns policy had expired & was planning to Ebay them. )
But fair play, in a very generous act of good will, they will let me return these at the same time for a refund.

I just need to pack everything up carefully and get it to the Post Office on Saturday morning.
Whilst I'd checked all the small parts, I'd actually left the radiator bubble wrapped for "safe keeping".
So just to be on the safe side, out it came for a quick check before being tucked back up in bubble wrap.

One thing that strikes me is just how light it is, I know it is made up of a large chunk of "air", but still.
I also realised just what a clever design it is too, as although it is wider, the inlet / outlet pipes are inset.
These pipes are effectively in the same place as the originals, so I can re-use the donor's radiator hoses.
I read that
Mr T had accidently damaged his new radiator while working on his car which was a shame.
So in the 'learning from others' tradition I will not rush to fit this & then fit some sort of protection when I do.
Front Indicator Mounting:
While I was outside I thought I'd have a quick look at where the front indicator might go.
( Sorry I know the photo is very blurry.
)

It looks like the overall diameter (taking account of the rubber seal) does get in the way a bit.
So I will need to "cut in" the foam to take account the body lines from the grille & headlight.
At least I have plenty of foam to mess about with if I need to try a few options.
Anyway I'm off to do a bit more
beard scratching, take care, Paul.
 Replies:
Mikmiglia
Replies:
Mikmiglia - Thanks Mike, another great tip.
Mr T - Cheers, in which case, I'll keep an eye out for a set with a wider range of sizes.


 Linear Mode


