Quote:
Originally Posted by Dpaz

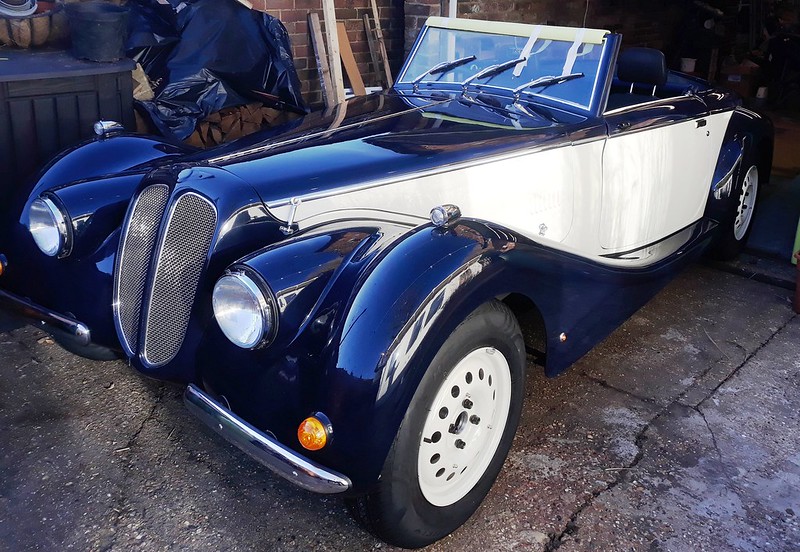
Looking really beautiful, very envious!
|
Thanks, Dpaz, it's a great looking car and hats off to John Barlow for his automotive design skills.
--------------------------------------------------------------------
I have aborted an attempt to install some seatbelts from a company called 'Universal Seatbelts' in Billericay, Essex. After many hours of trying to figure out how to fit them I came to the conclusion that they had been assembled incorrectly with the buckle and lower mounting point stitched in the wrong way round. I managed to reverse the buckle by folding the belt over and pulling it through the buckle but the lower mounting point is cranked so it's not possible to reverse the mounting. They are correctly 'e' marked but I suspect they are Chinese copies from a low quality factory. Having realised they were obviously assembled incorrectly I completely lost faith in them in case the internal mechanism might be wrong.
I then bought a set of Securon belts and they fitted without any issue at all. They have a definite feel of quality in the smoothness of the belt material and are highly recommended.
But first I had to make some spacers to clear the bodywork and rear quarter trim panels.
 Seatbelts
 by
Sabrebuilder, on Flickr
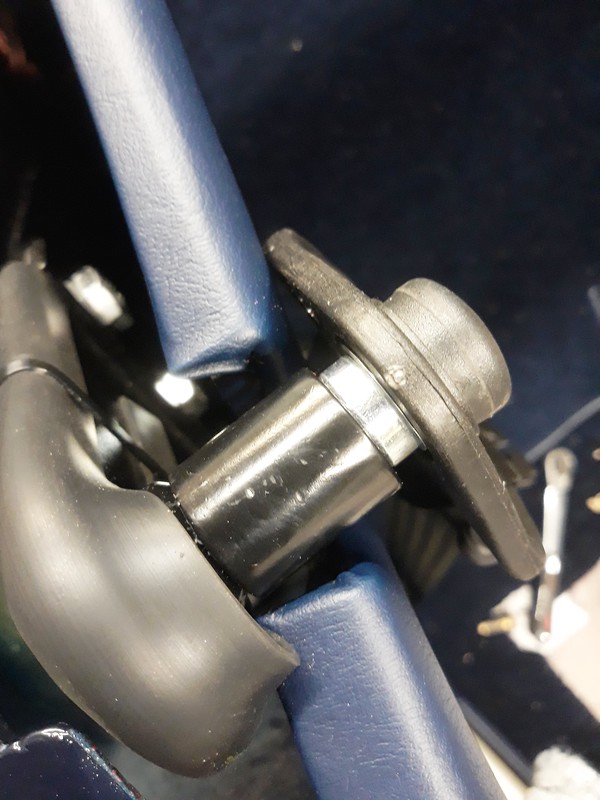
I used a 25mm diameter steel bar which I cut to length before drilling the holes.
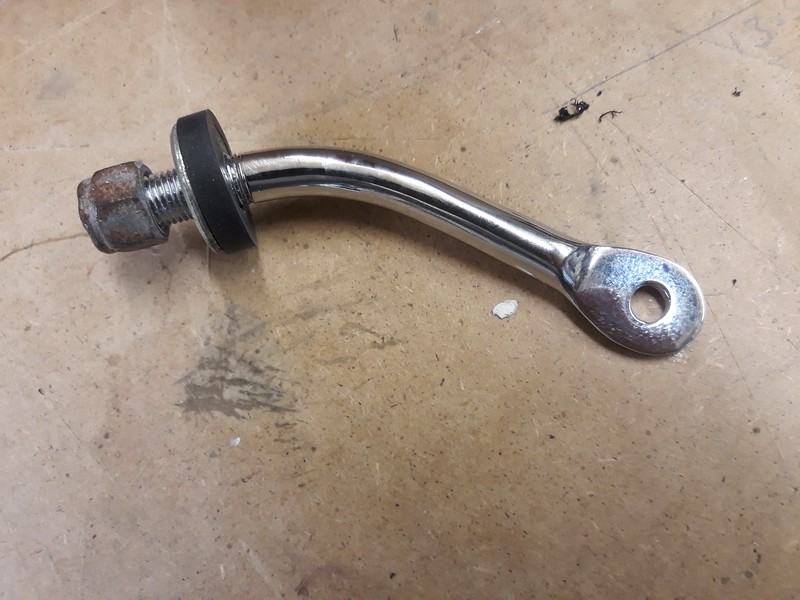
I had to purchase some longer 7/16" UNF bolts so here's a picture of the bolt head for the IVA inspector.
 Seatbelts
 by
Sabrebuilder, on Flickr
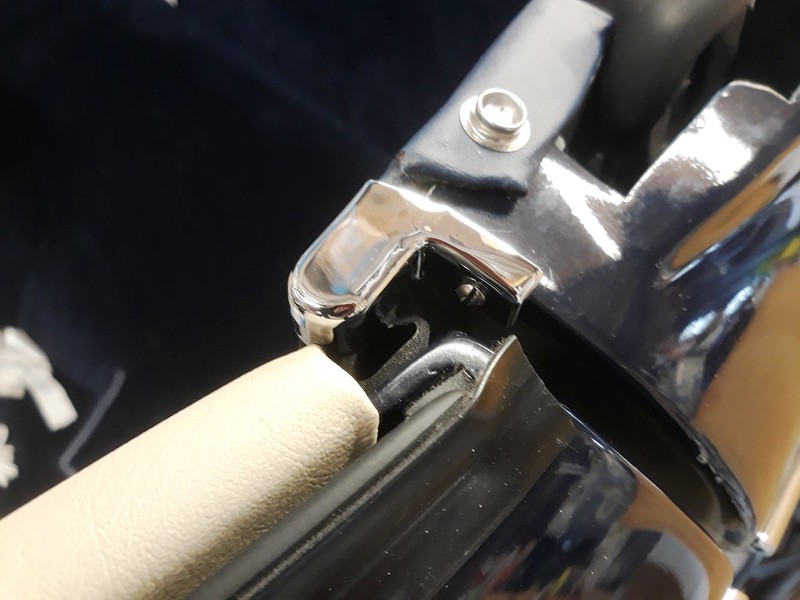
This is how my top mounting looks now. The thick rubber strip is for IVA compliance.
 Seatbelts
 by
Sabrebuilder, on Flickr
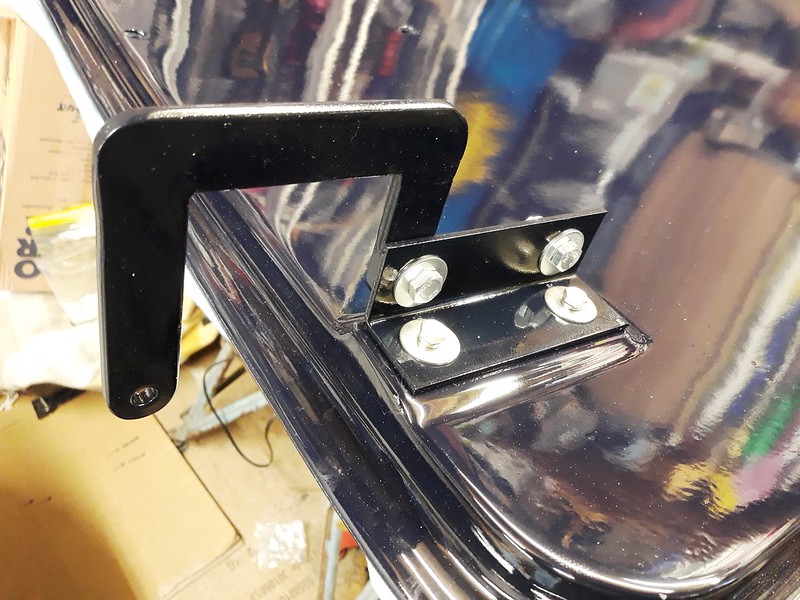
And, I found this bolt head cover in my box of bits left over from my Marlin Sportster build.
 Seatbelts
 by
Sabrebuilder, on Flickr
I've now finished the carpeting inside the car and trimmed the drivers door card. These strange looking pieces are the 'A' pillar covers, shown here before I covered them in cream vinyl.
 'A' Pillar trims
 by
Sabrebuilder, on Flickr
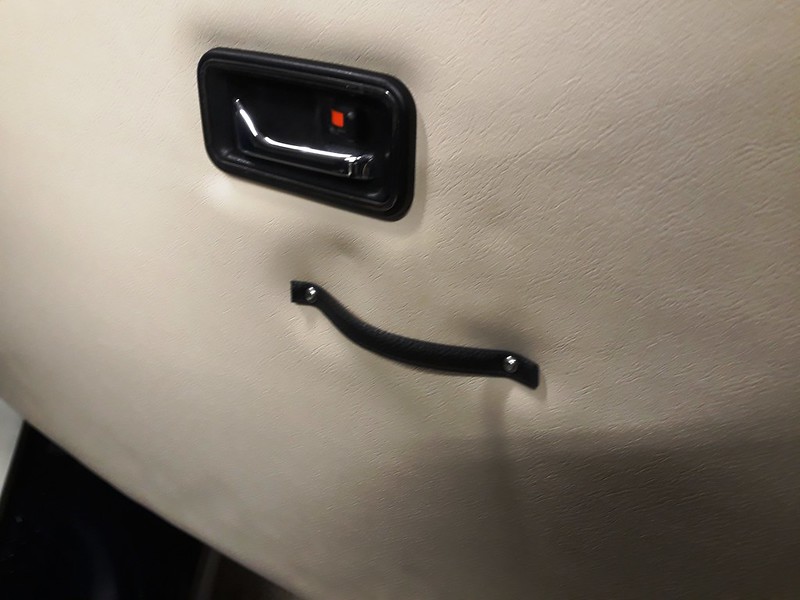
The chrome door pulls have hinges that do not meet the IVA 2.5mm radius rule so I made these temporary door pulls. Made from the strap from a charity shop handbag.
 IVA door pulls
 by
Sabrebuilder, on Flickr
With the IVA test now in sight, I invested in a pukka tool to measure the 2.5mm radius rule for just a few pounds off ebay.
 IVA radius check tool
 by
Sabrebuilder, on Flickr
I shall now be taking a short pause from car building for a couple of weeks to do some essential diy and then I'll be back in the garage working my way through my final list of tasks before applying for my IVA test.

More updates to follow in a few weeks................
...........peter


 Hybrid Mode

