|
|
| Sammio Builds and discussions Sammio bodied car builds and specials |

24th May 2012, 12:32
|
|
Senior Member
|
|
Join Date: Sep 2011
Location: Stanley, Durham
Posts: 104
|
|
Yes, it opens up in another window. Sounds nice.
If you are going to run without an airbox and filters you may need richer needles. I ran a 1200 with a toledo 1300 engine swap. The air filter casing fouled the engine bay side panel so I cut away some of the box lid to clear. The extra area for air to reach the filter element in addition to coming through the normal inlet tube was sufficient to weaken the mixture when the engine was pulling hard, going uphill and also when cruising on a small throttle. It would falter slightly. Pulling out the choke a little would clear the miss and the engine would pull cleanly. Gaffer tape over the missing section gave a permanent cure!
|
24th May 2012, 17:17
|
 |
Senior Member
|
|
Join Date: Feb 2012
Location: Wembley, London
Posts: 5,056
|
|
I love it when a plan comes together. 
Don't forget to tell us how you embedded the video directly.
There seems to be no end to what I can learn reading build threads. 
Good luck with the rest of the build, Paul. 
|
24th May 2012, 17:19
|
 |
Senior Member
|
|
Join Date: Jul 2011
Posts: 5,328
|
|

Yes it does sound great - really throaty without being deafening. It's a standard single box stainless system. Most of it came with the donor but the back box is from Canleys. 'nother video below...
Thanks for the heads up on the needles btw. I've not set the carbs up at all yet, just stripped them down and replaced all the rotten diaphragms and seals then fired it up and hoped for the best!
I'm still toying with the idea of making my own air box and plumbing in the water/methanol injection system I've planned to use from the start. It's occurred to me that it's taking me forever to finish the car though, so I might just add that after it's on the road.
Good news today was that I've located the oil leak and it wasn't the sump gasket after all, it was the filter not seating properly and allowing oil to piddle out. That's sorted now I've also all but eliminated the water leaks, apart from a little dribble from where the thermal switch sensor enters.
Slightly less good news is that the clutch bites way up near the top of its travel which suggests that I need a new clutch plate. Unless anyone can tell me another reason it would do that? My cheapo ebay thermal switch is also kaput, it doesn't seem to want to kick in at a set temperature any more, you keep having to fiddle with the dial and sometimes it just switches off the fan when it's set to maximum. I'll source my next one from someone I can send it back to if it's defective.
Anyway, more video. Not as exciting as Phil J's 'moon rover' blasting around his private land but pretty exciting for me. Oh, and see if you can spot the moment where I work out the inadvisability of holding the shell on with nylon ratchet straps that I hadn't realised were touching the exhaust...
More later.
Last edited by Mister Towed; 24th May 2012 at 17:46..
|
24th May 2012, 17:24
|
 |
Senior Member
|
|
Join Date: Dec 2011
Posts: 656
|
|
Sorry MT, It's not coming up as a video, URL takes it to a jpg photo.
|
24th May 2012, 17:51
|
|
Senior Member
|
|
Join Date: Jul 2011
Posts: 5,328
|
|
Quote:
Originally Posted by AndyP57

Sorry MT, It's not coming up as a video, URL takes it to a jpg photo.
|
Yep, sorry about that, try again. Also noticed you can't actually see the strap let go when it melts under the car.  |
24th May 2012, 20:00
|
|
Member
|
|
Join Date: Jan 2012
Posts: 39
|
|
I have to say that I really enjoy reading the progress of the builds here, both those that are nearing completion and those starting out.
Your hydraulic clutch, by its nature should always bite in the same position of its travel no matter how worn the centre plate is. Is there any adjustment either on the rod from the slave cylinder to the fulcrum arm or the rod from the pedal to the master cylinder where you can get some free play in so the bite point goes lower? Have you got standard master and slave cylinders? The ratio of one to the other will determine how far you have to push the pedal to disengage the clutch.
Hope this helps, good luck with the rest of your build, looks great. 
Len. |
24th May 2012, 20:12
|
|
Senior Member
|
|
Join Date: Jul 2011
Posts: 5,328
|
|
Cheers Len, unfortunately there's no adjustment in the Vitesse clutch hydraulics. I'm going to pull the gearbox and replace the clutch plate, cover and release bearing - it's only about seventy quid for the parts and at least I'll know how much material there is over the rivets on the clutch plate. At the moment the biting point is really high and there's a sort of metallic screeching noise as it makes contact, so I'm guessing it's pretty worn out.
I'm pretty close to fitting my body now that I've got the engine running. Can anyone tell me if the shell is supposed to contact the frame along the underside of the rear of the cockpit - across the back under the base of the head fairing - as mine doesn't. I could cut more fibreglass out of the back end above the boot outriggers to drop the body a little but I'm kind of reluctant as the fit of the wheels in the wheelarches looks to be about right.
I'm also considering taking out my extra lowering at the back as with the weight of the fuel tank and luggage bay, the back wheels are starting to splay quite a bit...

I kind of like the look but ground clearance could become an issue. 

|
24th May 2012, 20:31
|
|
Senior Member
|
|
Join Date: Jul 2011
Location: Hampshire
Posts: 146
|
|
MrT,
Your car is looking great and I follow your thread with great interest as I am in a similar position as you. We also seem to be following the same build strategy (hasten to add I stumbled into it rather than made a conscious decsion!), namely to get the engine plumbed, wired and running before fitting the shell. But I am a couple of weeks away from running the engine so you are definitely ahead of me.
Anyway, back to your question about the way the body sits on the frame. I kept cutting above the boot outriggers until the back, under the base of the head fairing sat on the frame. But this meant the the cockpit sides were lower at the back than at the front and so I have had to build it back up again! If you look at my build thread http://www.madabout-kitcars.com/foru...?t=3151&page=3 you will see Paul D commenting on the same point.
I, like you, have hung the fuel tank off the back of the frame and found that this would foul the body unless there is a gap between the base of the head fairing and the frame.
Hope this helps.
Chris
Last edited by cbjroms; 24th May 2012 at 20:34..
|
24th May 2012, 20:43
|
|
Senior Member
|
|
Join Date: Jul 2011
Posts: 5,328
|
|
Cheers Chris, yes, I'm following your build thread with great interest too! It does look like we have the same build philosophy - make sure everything's right before restricting the access and it'll save time in the long run.
As for the body, I think I cut about 1cm too much out above the nearside outrigger today trying to get the body to sit on the frame. I'll pack that up again before bonding the shell to the chassis and frame as I rather like the stance with it 1cm higher. I'll just cut the cockpit rear panel to fit and support the back edge of the body. Can't wait to get it on the road now. |
24th May 2012, 20:59
|
 |
Senior Member
|
|
Join Date: Jan 2012
Location: Poole, Dorset
Posts: 615
|
|
I put my body on and just played about with wedges and spacers and trimming the frame corners at the front until it sat where I wanted it and it looked right. I am not sure there is a hard and fast rule of where it should sit exactly and every one is slightly different.
Since you have to repair the area where the outriggers eventually fall off, don't be afraid to cut more out than necessary and then choc it up as Chris says. Keep the bits you cut out as you can bond them back in as they are the right shape!
Putting the body on is ultimately how it looks on YOUR car. I spent about 2 hours fiddling, supping coffee, standing back, adjusting and then at some point you just have to get that bonding paste and fibreglass out and do it!
(Just remember to add catalyst to the bonding paste this time Mr T!)
In my mind it was getting the front sills to sit properly and similar each side, and then ensuring the rear wheel arches are square in the wheels. The rest sort of falls into place. Once it is bonded and glassed in it takes on incredible strength!
After the body, it is plain sailing and it all comes together quickly, so you will be ready for the summer Mr T 
|
24th May 2012, 21:04
|
|
Senior Member
|
|
Join Date: Jul 2011
Posts: 5,328
|
|
Quote:
Originally Posted by tlrtone
After the body, it is plain sailing and it all comes together quickly, so you will be ready for the summer Mr T |
Ooh, I do hope so...
As for lowering the back too much, I've just sunk the thick end of a bottle of bubbly and watched Phil J's youtube clips -
http://www.youtube.com/watch?v=RcD9RJUnOf4
If Phil can drive up his rather, ahem, bumpy driveway with as much negative camber as he has I say f ck the ground clearance, let's slam it into the weeds! |
24th May 2012, 21:18
|
 |
Senior Member
|
|
Join Date: May 2011
Location: Somerset
Posts: 1,671
|
|
That's the spirit! |
24th May 2012, 22:41
|
|
Senior Member
|
|
Join Date: Jul 2011
Posts: 5,328
|
|
Quote:
Originally Posted by Paul L
[i]
Don't forget to tell us how you embedded the video directly
|
Just shoot some video on your digital camera, then upload it to 'photobucket' in the usual way (it does take longer due to the larger file size). Then just copy and paste the img code and that's it. Quite simple really. |
25th May 2012, 08:22
|
|
Senior Member
|
|
Join Date: Jul 2011
Posts: 5,328
|
|
Been researching the high bite point on my clutch. Does the Vitesse/Herald have a self adjusting system? The linked thread below would suggest it does - that wear in the clutch plate is compensated for by the slave cylinder plunger simply not going so far back into the cylinder. Does this mean that the shorter the bit of plunger that's sticking out of the slave cylinder the thicker (and newer?) the clutch plate is?  http://club.triumph.org.uk/cgi-bin/f...?m-1316382047/
Any experts out there that can help? |
25th May 2012, 09:00
|
|
Member
|
|
Join Date: Jan 2012
Posts: 39
|
|
Just read the link... blimey, those Club Triumph boys know their stuff and wouldn't you just bet there could be a thousand bits to check!
If the diameter of the master cylinder were the same as the slave cylinder, the movement of the two pistons would be the same. Making the cylinders different diameters I E master cylinder smaller, means firstly, you get more movement in the master than in the slave, and secondly, the pedal effort is reduced. Could it be that your master cylinder is the wrong one? If the ratio of the two is wrong, the clutch could bite at the top of the travel. I've seen adverts on ebay for uprated master cylinders and wondered what it is that they uprate.
Looking on the plus side, if it was a Ford Mondeo or similar, you'd be down at the dealership, cheque book in hand getting no pleasure from the job at all.
Len. |
25th May 2012, 17:41
|
|
Member
|
|
Join Date: Mar 2012
Posts: 42
|
|
As the clutch plate wears the outer rim of the diaphram compensates thus causing the inner fingers to move back on to the release bearing which then pushes the fork backwards that rocks on the pivot pin and pushes the push rod back into the slave. So the less push rod showing the less meat on the clutch plate..The other possibility is the fork arm is worn and may be cracked and bending.
|
25th May 2012, 17:49
|
|
Senior Member
|
|
Join Date: Jul 2011
Posts: 5,328
|
|
Quote:
Originally Posted by Ben Caswell
As the clutch plate wears the outer rim of the diaphram compensates thus causing the inner fingers to move back on to the release bearing which then pushes the fork backwards that rocks on the pivot pin and pushes the push rod back into the slave of the court of king caractacus, were just passing by...
|
Sorry, couldn't resist that. Getting some good advice on here though. I've decided to get the car on the road and then change the clutch if necessary. Summer is here and I'm still building my Spyder rather than driving it |
25th May 2012, 23:16
|
|
Member
|
|
Join Date: Mar 2012
Posts: 42
|
|
Ask Rolf Harris how it works next time  ! |
26th May 2012, 07:17
|
|
Senior Member
|
|
Join Date: Jul 2011
Posts: 5,328
|
|
Do you know what it is yet?
|
26th May 2012, 19:08
|
|
Senior Member
|
|
Join Date: Jul 2011
Posts: 5,328
|
|
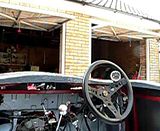
Plan for today: fit seat runners, seats and seatbelts; bolt up and adjust handbrake; start thinking about fitting body to chassis
Reality: bolt up handbrake, adjust cable tension, pull handbrake lever 'on' and check back wheels locked - yesssss! Excellent! Press button on end of handbrake lever and try to move handbrake to release brakes - nooooo! Handbrake lever jammed
On closer inspection, the Morris Minor handbrake assembly had twisted and jammed solid. The minor handbrake was clearly designed to carry two cables, one each side of the lever, and by fitting only one it's created enough torsion to bend the sides of the lever around the ratchet mechanism knackering it completely. So, it's back to the drawing board on the handbrake front again.
Better news is that I did manage to bolt up my seat runners, try a couple of options as to how to mount the seatbelts and make a bracket to take the female part of the seatbelt so it moves with the seat as you slide it back and forth -
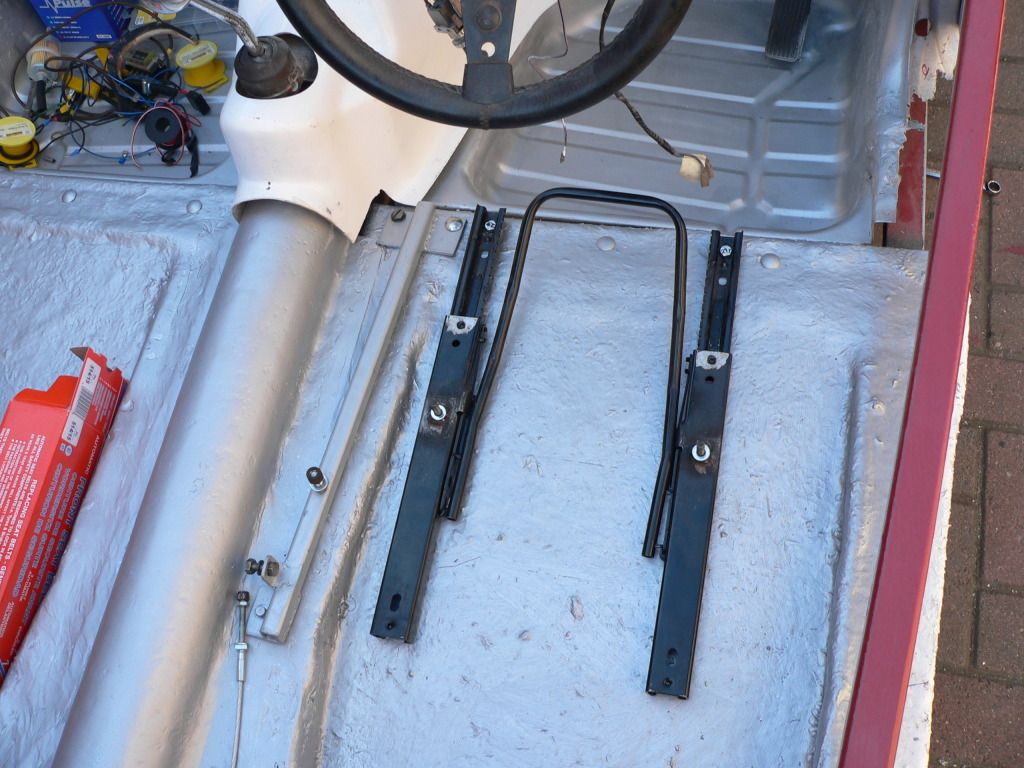
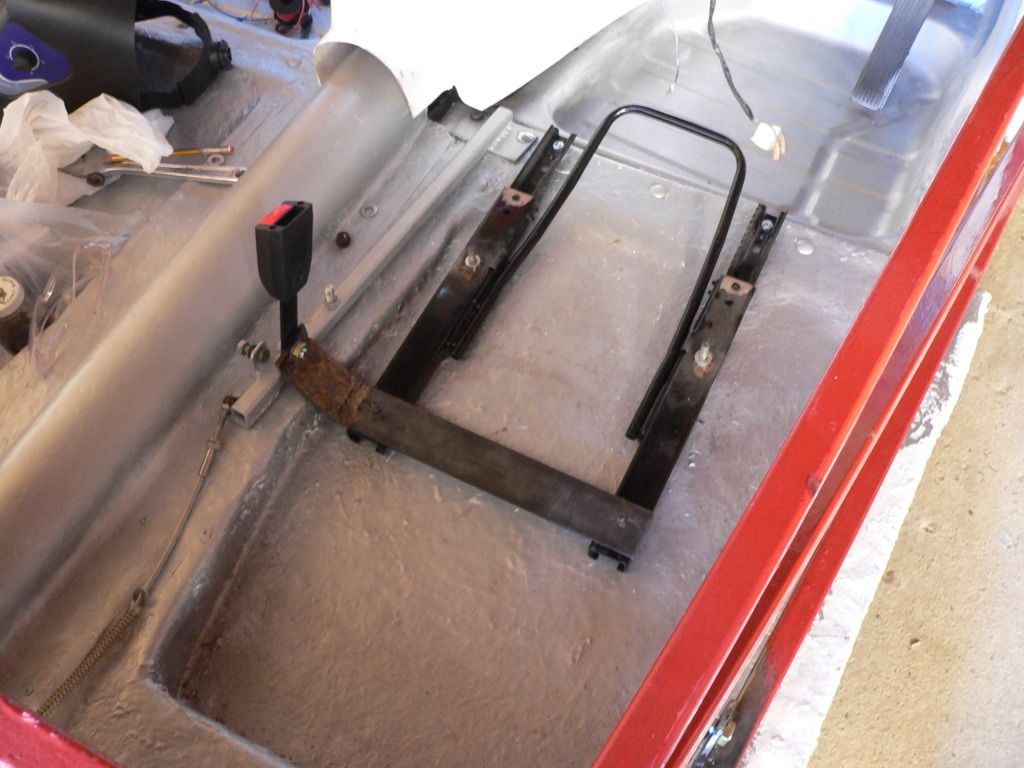
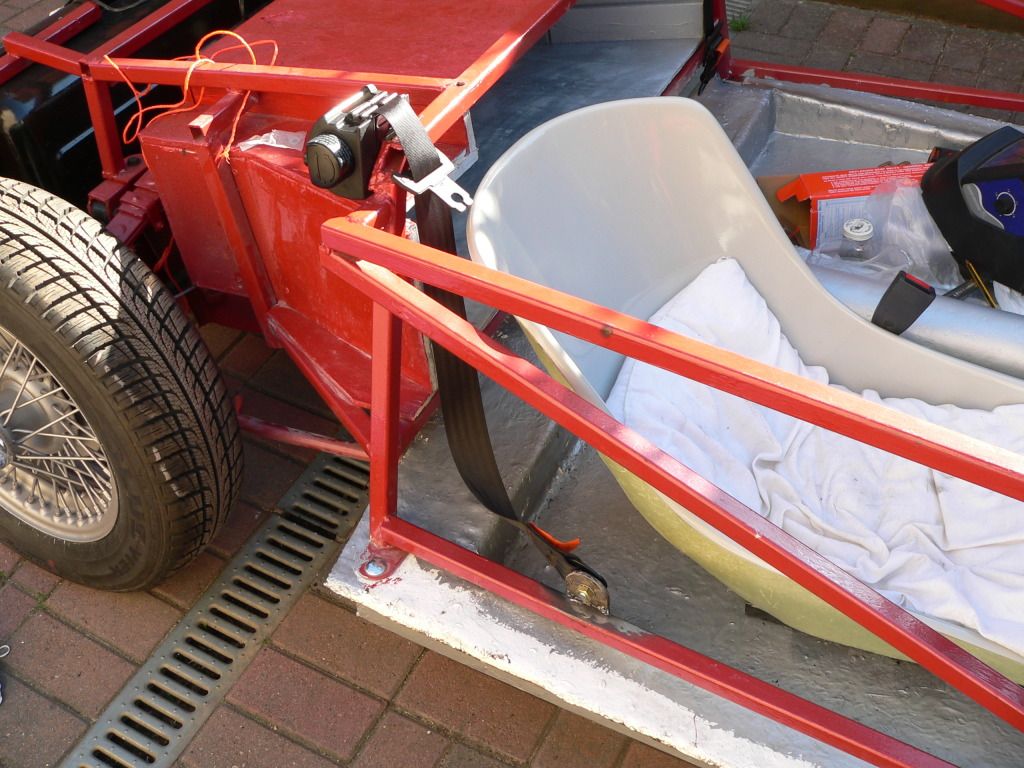
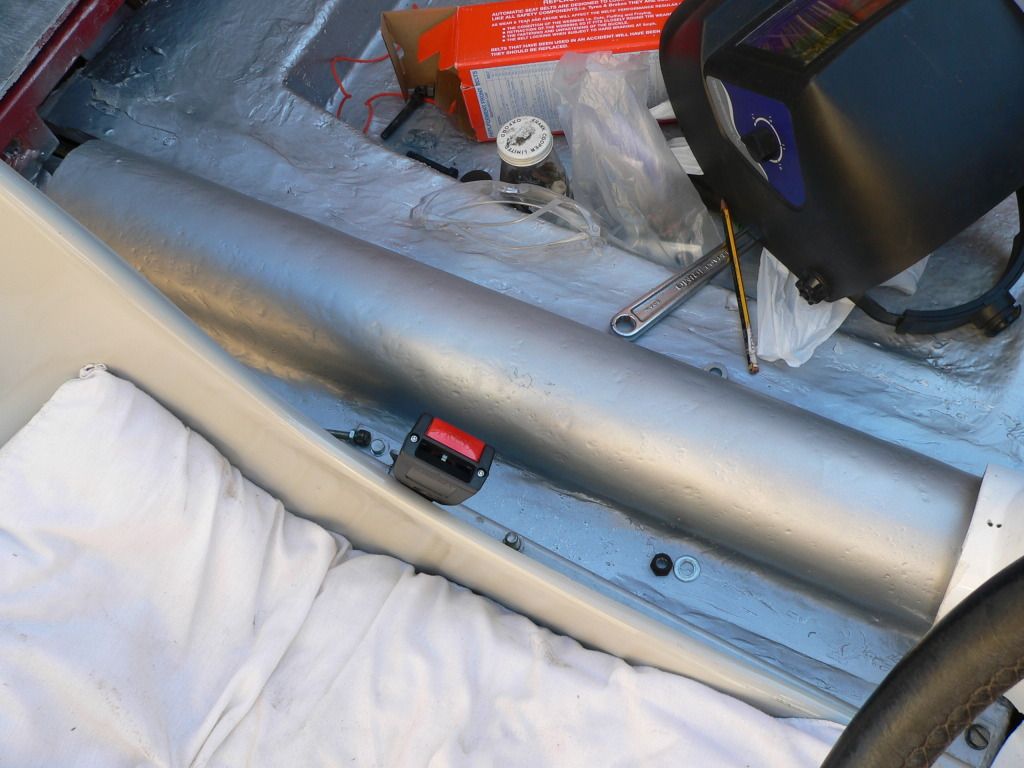
The observant amongst you will notice that I've only managed to fit one seat so far and the body still isn't bonded on Still, tomorrow's another day. 
|
|
Currently Active Users Viewing This Thread: 1 (0 members and 1 guests)
|
|
|
| Thread Tools |
|
|
| Display Modes |
 Linear Mode Linear Mode
|
 Posting Rules
|
You may not post new threads
You may not post replies
You may not post attachments
You may not edit your posts
HTML code is Off
|
|
|
All times are GMT +0. The time now is 03:05.
|


