Brrrrrrrr!
I'd almost forgotten what working outside in the winter is like, but this morning was a quick reminder.

First job of the day was to remove all the shiny things from the scuttle again.

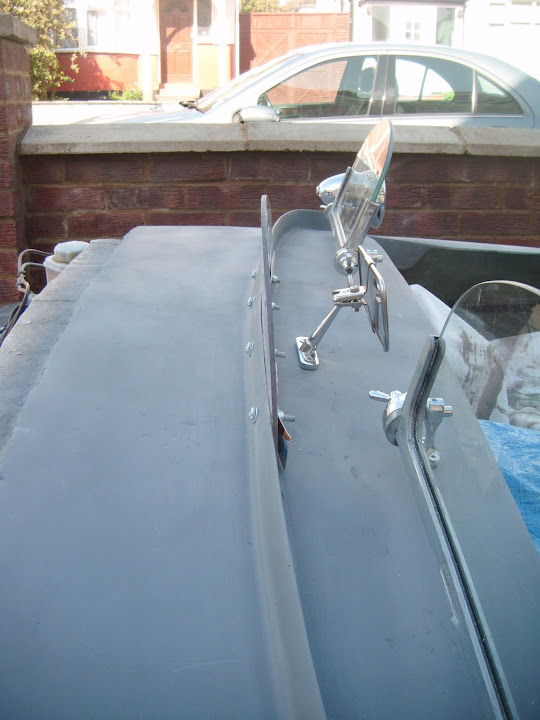
Before I started on the boot lid, I decided to sort out the rear view mirror screen.
First I took my angle grinder to the cockpit side of the wind break lip.
( I will come back and tidy this up with some filler at a later date. )
Then I made a slightly better template and recycled another "off cut" from my lowered floor pans.

I say "slightly" better as I some how managed to mess up two of the four holes.


So I fixed the holes in the first length of metal before using that as the template for my second attempt.

Since the photo was taken, I have trimmed the top edge on the passenger side so it sits below the lip.
With all the bolts tightened up, the perspex sits at a much nicer angle now.


Especially when compared to the "before" photo.
As with most jobs, this actually too a lot longer than I thought it would.
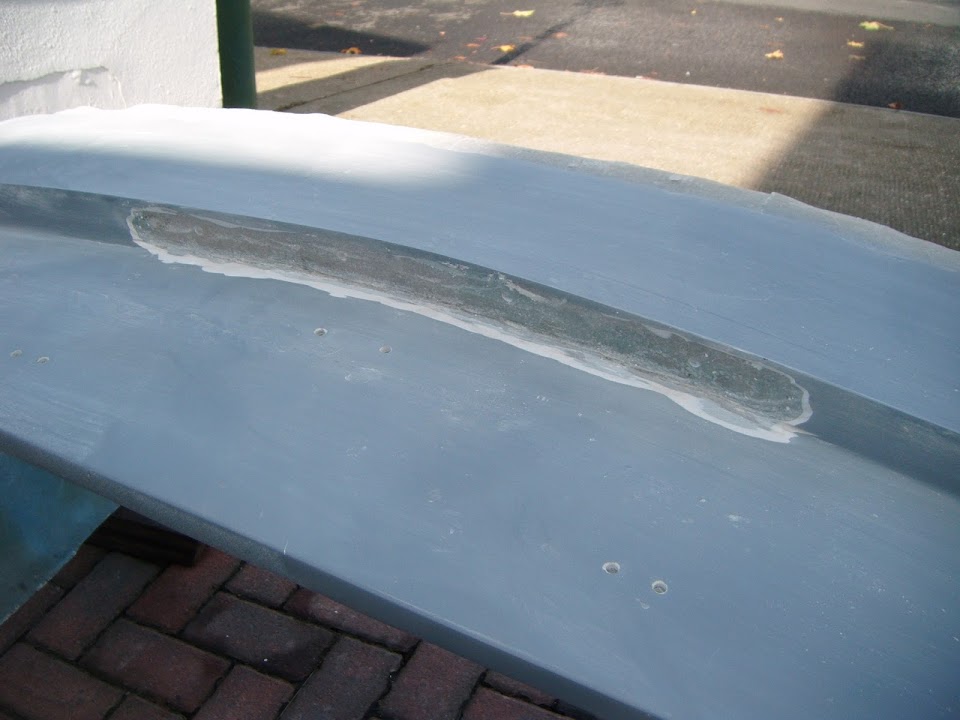
But I was still able to make a start on the boot access panel.
I marked up the top and bottom edges as these are easy to commit to at this stage.

Then I used a thin cutting disc on both, but did the bottom line as "dashes".

Note:
The curves in the body shell make these lines look worse than they are.
I will also be adding some more filler to the passenger hump to "soften" the end of it.
With the body shell turned upside down, you can see there is enough room between the boot lid cuts & the cross bracing I added.

Then I tidied up that cross bracing so I could finish it off.

I just used some short lengths of rope to complete a "squashed" figure of eight.
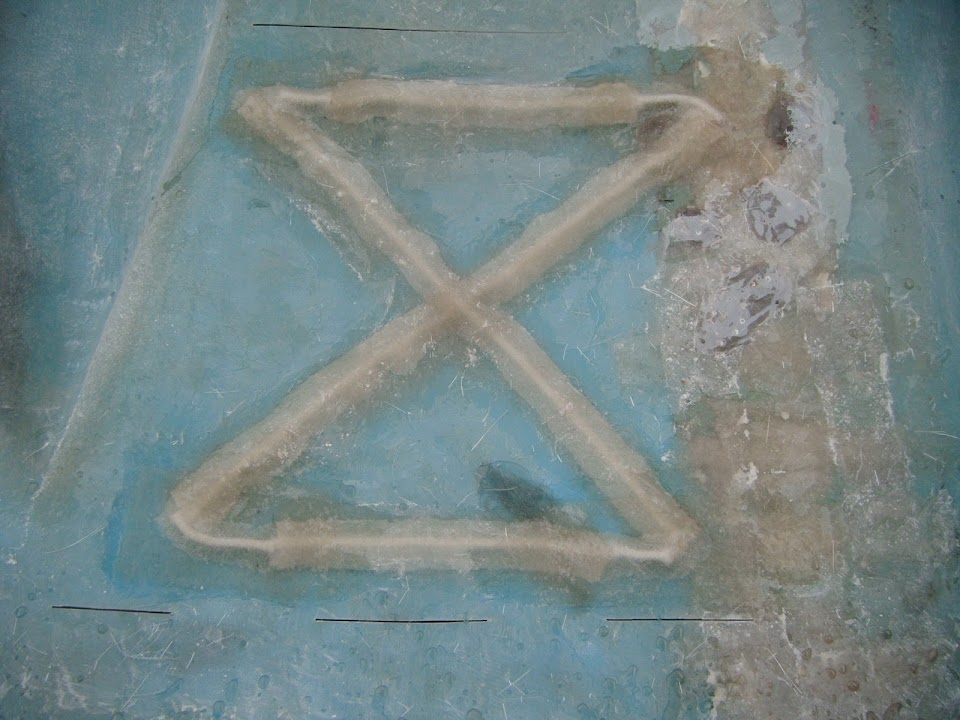
I also started the re-enforcement of the rear edge of the body shell.

My initial plan was to do another round of fibre glassing on these two areas today, but it started raining.
Getting soaked while putting some covers over the body shell was enough for me to call it a day.
So until next time, take care, Paul.


 Threaded Mode
