Bonnet Hinges - Part 2:
When both halves were completed, I bolted them back into position.
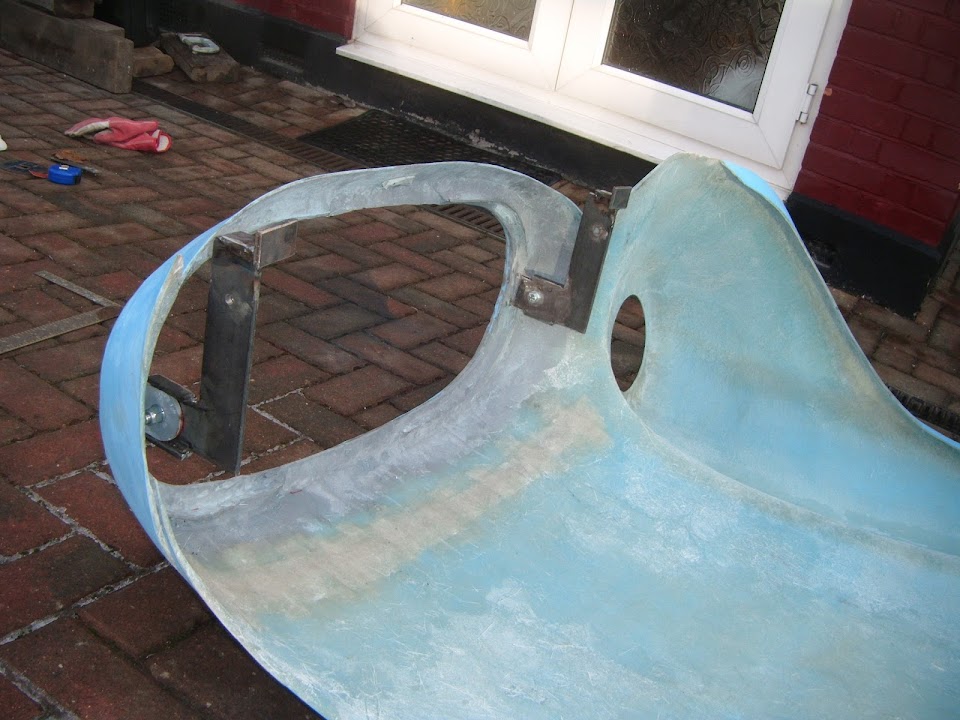
I then tidied up the chassis brackets, softening the corners and edges.

Then for the final time, well at least the final time
today, I bolted the scissor hinges together.
By pulling the nose forward a bit, I hope it will be easier to shape the rear edge of the bonnet.

This also "dropped" the centre bulge in the bonnet, which I will be able to line up with the scuttle.
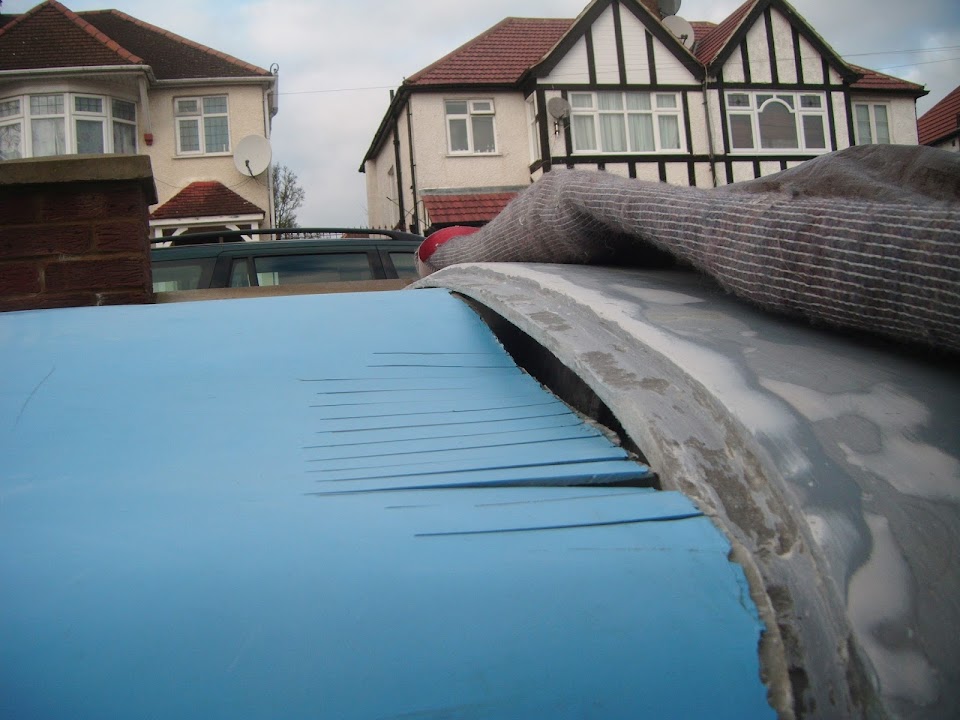
Note:
The centre bonnet edge was just pushed under the bonnet lip for the photo.
At this point, another penny had slowly dropped...
Because the other day
Swifty had cut out the grille hole in his bonnet...

This allowed me to see that his front cross member is
roughly in the middle of the hole.
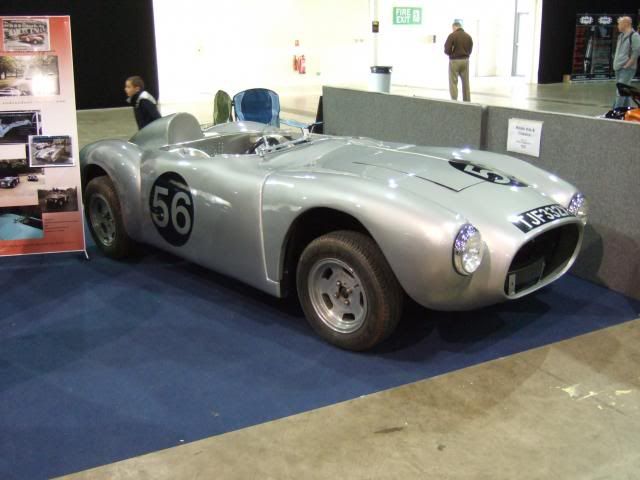
So his bonnet nose sits lower that both
Mac's & the original Ribble Cordite demonstrator.
Clearly
Swifty has achieved this by cutting a hole in the bonnet so it drops down around the engine.
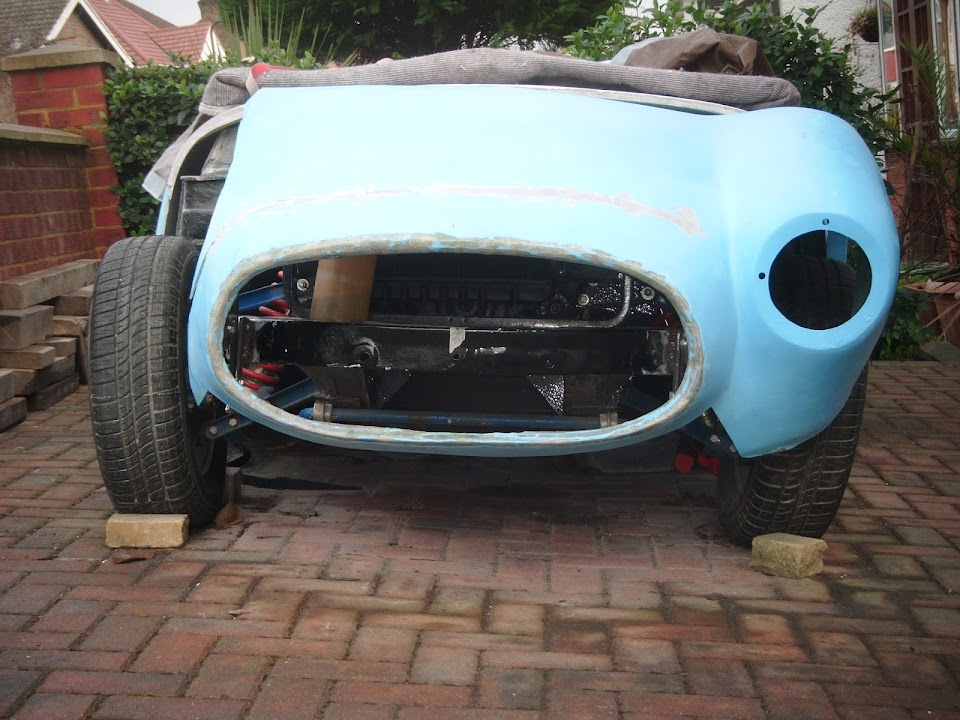
However, if you look at my bonnet, the hose opening is in a similar position
without a big hole in the middle.
Despite mentioning clearing the radiator in my reply to
Scottie above, the light bulb took a while to dimly glow.

You see my bonnet will sit at a steeper angle than other Cordite\Navigators because my bulkhead is higher!
Which means that my nose is now at a slightly more aggressive "angle of attack".

Note:
You can also see that it shouldn't be too much of a problem to cover the bottom of the hinges when I rebuild the area below the grille opening.
But the real test was yet to come, would the bonnet actually open and close the way it was meant to...
You have no idea how happy I am to report that the answer was YES!


And here is a close up of one of the "bonnet stops" in action.

I might add a rubber "cushion" to the chassis for a bit of extra protection at some point.
But this flat surface will do a lot less damage than if I'd just left the side edge of the flat bar to hit the chassis each time the bonnet opened.
By now I was cold, wet & hungry and decided to call it a day as the next job is to re-join the driver's side of the bonnet.
I already know that is going to be a major pain, so I want to be fresh when I start that process.
Still, it was great to end the day / year on such a high note, as I've been worrying about these hinges for a very long time.
Full credit and lots of thanks to
Mister Towed for showing me how he built his hinges.
So until next time, take care, Paul.


 Threaded Mode
