Are you madabout kit cars      
 "We've Got Kit Cars Covered" Information about Madabout-Kitcars.com Contact Madabout-Kitcars.com         Home of UK kit cars - madabout-kitcars.com Various kit car write ups All the latest kit car news Kit car related and general discussion

Search
Manufacturers
Kit Cars
Kit Car Data sheets
Picture Gallery
SVA Knowledgebase
Clubs & Communities
Build cost estimator
Kit cars for sale
Knowledge Base 
KitcarUSA.com
Classic-Kitcars.com
 

Go Back   Madabout Kitcars Forum > Mad Build Area > Vintage and Classic Roadster Kit Car Builds

Vintage and Classic Roadster Kit Car Builds For Vintage and Classic era kit cars. Post your build reports, problems and progress here

Reply
 
Thread Tools Display Modes
  #1  
Old 25th September 2012, 21:18
peterux's Avatar
peterux peterux is offline
Senior Member
Enthusiast
 
Join Date: Mar 2005
Posts: 3,080
peterux is on a distinguished road
Default

Quote:
Originally Posted by peterux View Post
I next need to check the position of the exhaust manifolds and pipe exit but then I think I've probably gone as far as I can with the engine fit POC so I think it'll be more dismantling next week.
Week 5 progress report......

Well, I've checked the exhaust manifold and there is no issue, except that my trusty Fuji camera, that I've used since 2003, finally died so I didn't get a picture.

I have also dismantled, cleaned and painted the hood frame. This is now all wrapped up and stored away for the future.


Hood Frame by marlinpeter, on Flickr

I've also cleaned up and labelled the loom.
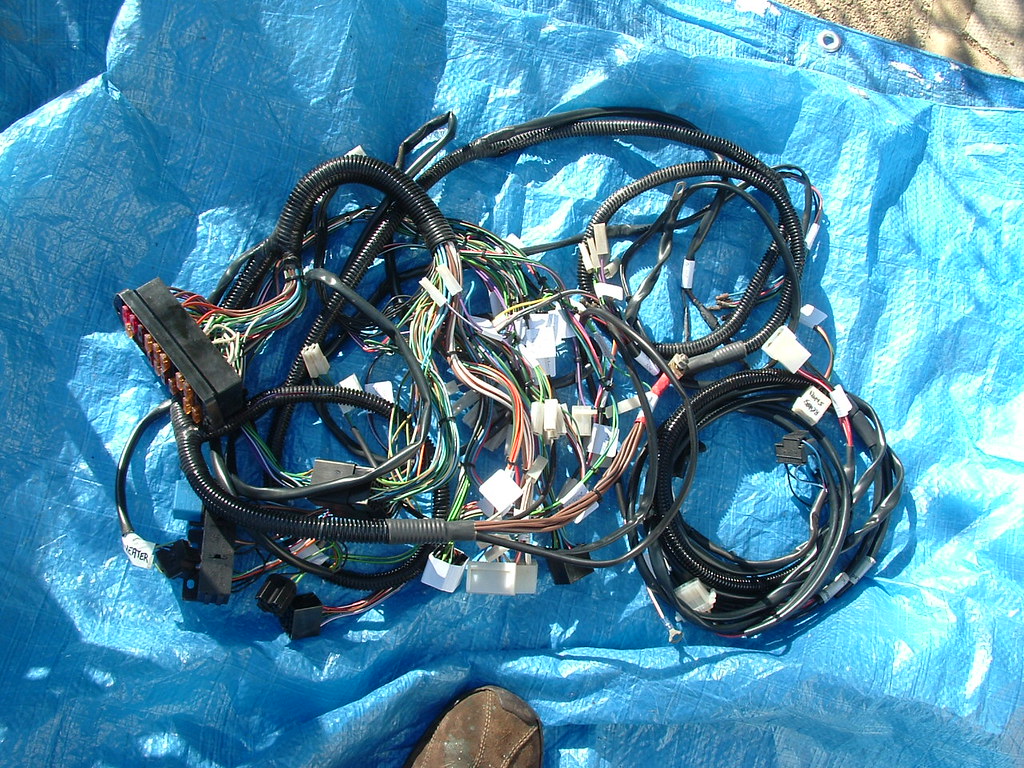

Wiring loom by marlinpeter, on Flickr

So back to the great dismantling.....

I have removed the drivers door to help access other parts to be removed.
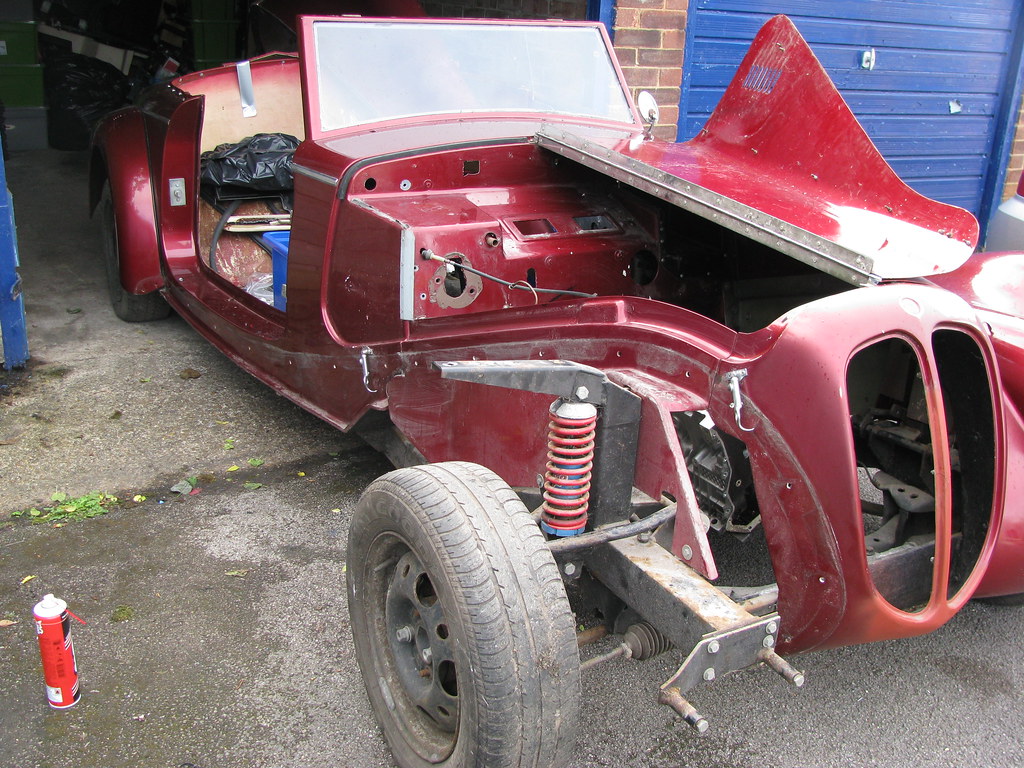

Drivers door off by marlinpeter, on Flickr

You can see in the picture above that I have now removed the heater and windscreen wiper and wheel boxes, etc.

I have also removed the steering wheel and column.....


Steering column removed by marlinpeter, on Flickr

Next, I need to clean up and paint the steering column which has a lot of superficial rust.
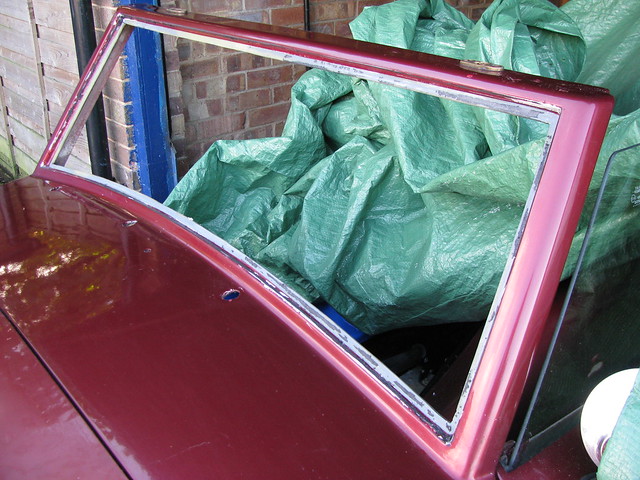
I am also going to try to remove the windscreen glass. The screen is BS Kite Marked but not European Type 43 R marked. I believe the IVA has an exemption in place to April 2013 to allow BS marked glass. If this is extended then I will refit the screen glass. If not, I will use the old glass as a template to get a new one made up with the appropriate 'E' mark.

I also need to organise some more storage space as I'm running out of space for storing the body parts removed.

...peter
Reply With Quote
Available from eBay
  #2  
Old 3rd October 2012, 09:08
peterux's Avatar
peterux peterux is offline
Senior Member
Enthusiast
 
Join Date: Mar 2005
Posts: 3,080
peterux is on a distinguished road
Default

Week 6 update...........

As mentioned in last weeks update, I have now removed the windscreen.


Windscreen out by marlinpeter, on Flickr

I used a variety of knives, blades and Unibond silicone dissolver.


Windscreen marking by marlinpeter, on Flickr

The front windscreen is BS marked but not ECE marked. I believe this is currently allowed as an exemption at the IVA test, but may not be when I get there. The screen is showing some early signs of de-lamination in one corner, so may have to be replaced anyhow.

I had decided to replace the heater matrix with a new one as I didn't want a 20 year old clogged up matrix as part of the cooling system. (Another ebay bargain)

Heater matrix by marlinpeter, on Flickr

It was a good job I'd bought a new matrix as the old was frost damaged.


Heater matrix by marlinpeter, on Flickr

I'm also working on a solution the clutch and brake pedal box. The Sierra is a cable clutch so I need to find a solution for a hydralic clutch master cylinder and pedal box. Whilst searching for an aftermarket peadl box (which seem to start at about £180!!) I came across one of these....


BMW pedal box by marlinpeter, on Flickr

It's from a e46 BMW and is extremely well designed and manufactured.

I've done some initial trials and it's looking good......


Pedal box trial by marlinpeter, on Flickr


Pedal box trial by marlinpeter, on Flickr

Here you can see how the brake pedal lines up with the servo input rod. I need to find a suitable threaded eye or rod end to join it together. I also need to notch the pedal box frame to get to all of the servo nuts.

This will be my focus for the coming weeks....

...peter

(more pictures and details if you want on my Flickr site)
Reply With Quote
Reply


Currently Active Users Viewing This Thread: 424 (0 members and 424 guests)
 

Posting Rules
You may not post new threads
You may not post replies
You may not post attachments
You may not edit your posts

BB code is On
Smilies are On
[IMG] code is On
HTML code is Off

Forum Jump


All times are GMT +0. The time now is 13:55.

copyright © madabout-kitcars.com 2000-2024
terms and conditions | privacy policy