Another Bonus Day:
Well I can hardly complain if the weather hasn't been as bad as Friday's initial forecast.

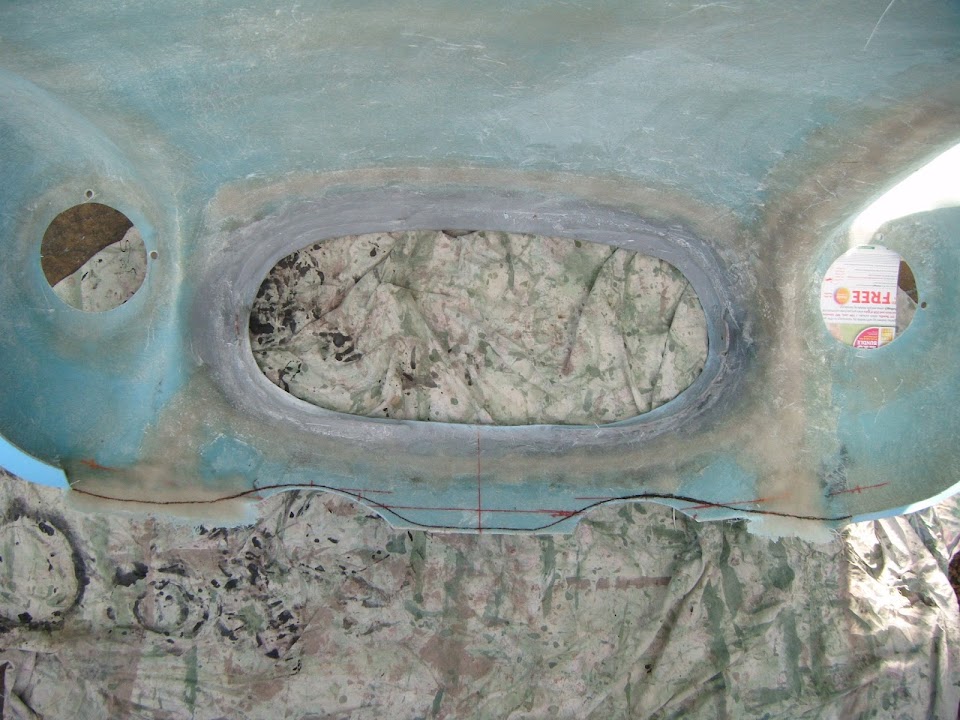
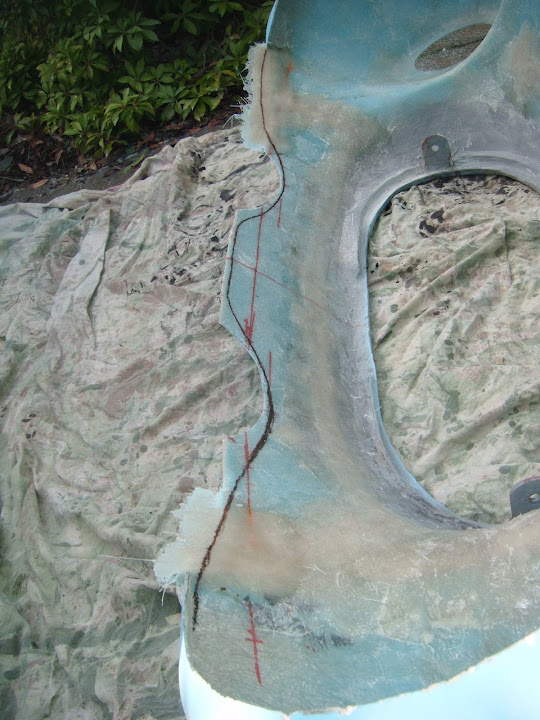
So once the morning's rain has passed, I re-drew my cutting line on the lower valance.
Although it was still too early to start using my jigsaw.
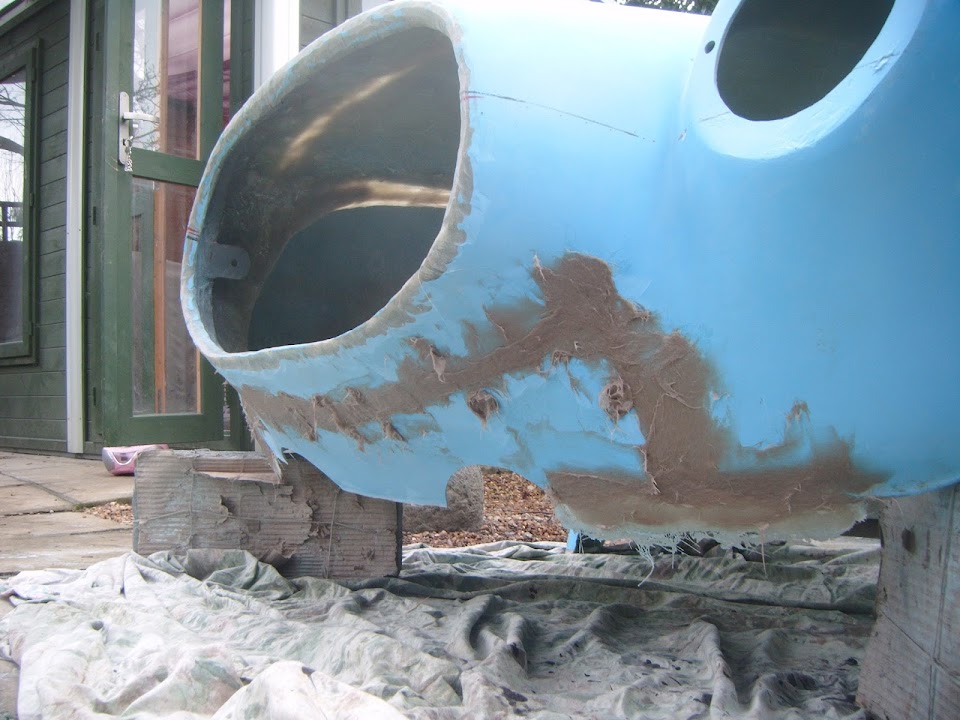
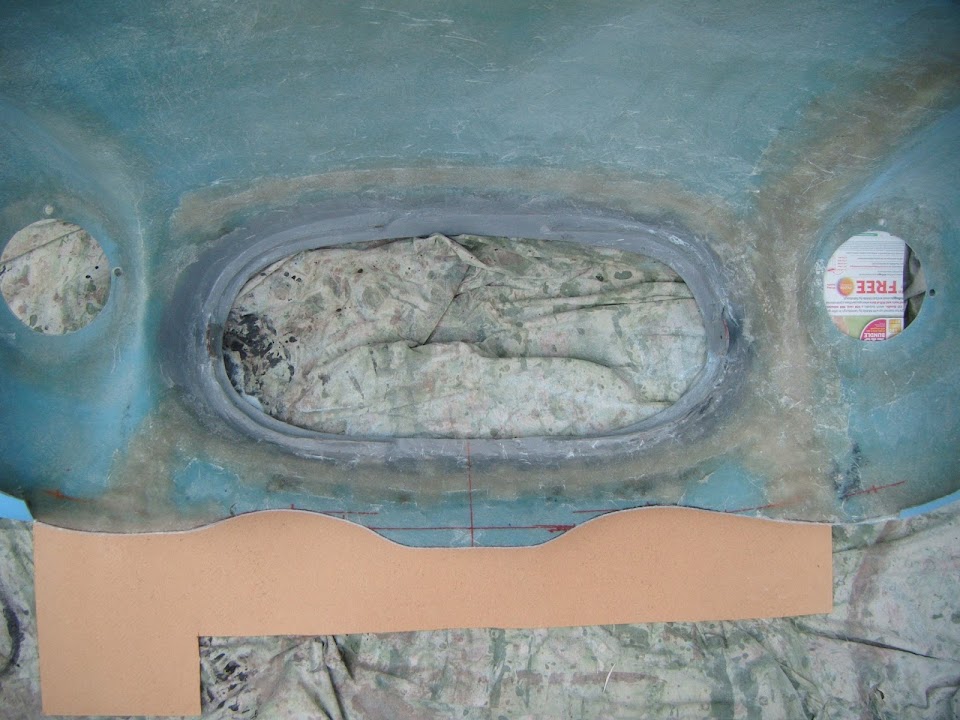
So instead, I propped the bonnet up & mixed up some fibreglass filler.
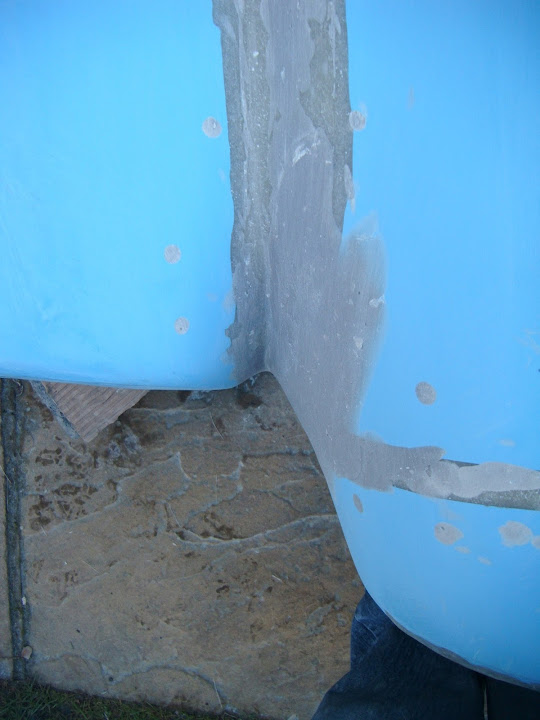
I built up the back of the bonnet nose where it joined the headlight area.


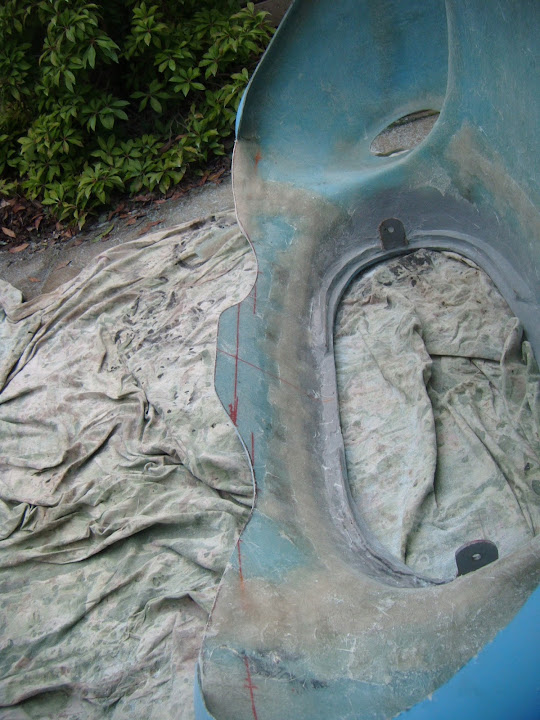
I also covered the screw holes and join on the lower valance.

The last bit of filler was used to improve the transition in the middle of the bonnet join.

I know this looks like a lot of filler, but it isn't very deep and there is a solid base of fibreglass underneath.
I left the filler to set for a while and got on with some other domestic chores.
- - - - - - - - - - - - - - - - - - - - - - - - - - - - - - - -
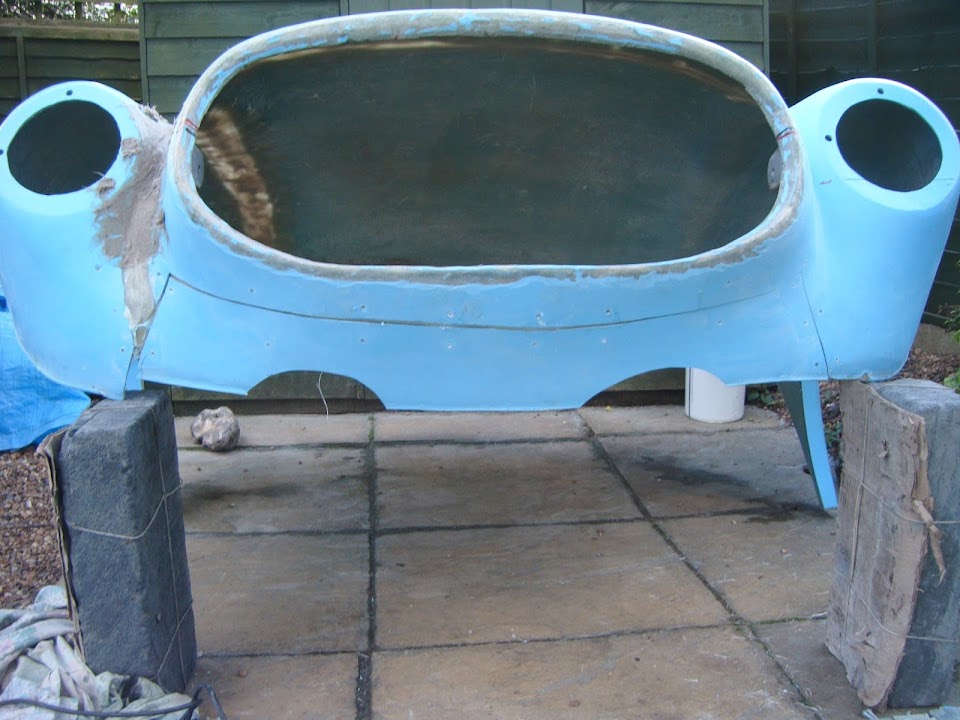
By the time I returned to the bonnet, it was OK to "fire up the jigsaw" & cut the lower valance.
I just put a bit of hardboard underneath to make it easier to see the wavy line.
While I had the noisy toys out, I did a bit of fine tuning to the edges of the grille with my angle grinder.
(As one of the next jobs is to ensure I have an even flat surface for the grille to rest against. )

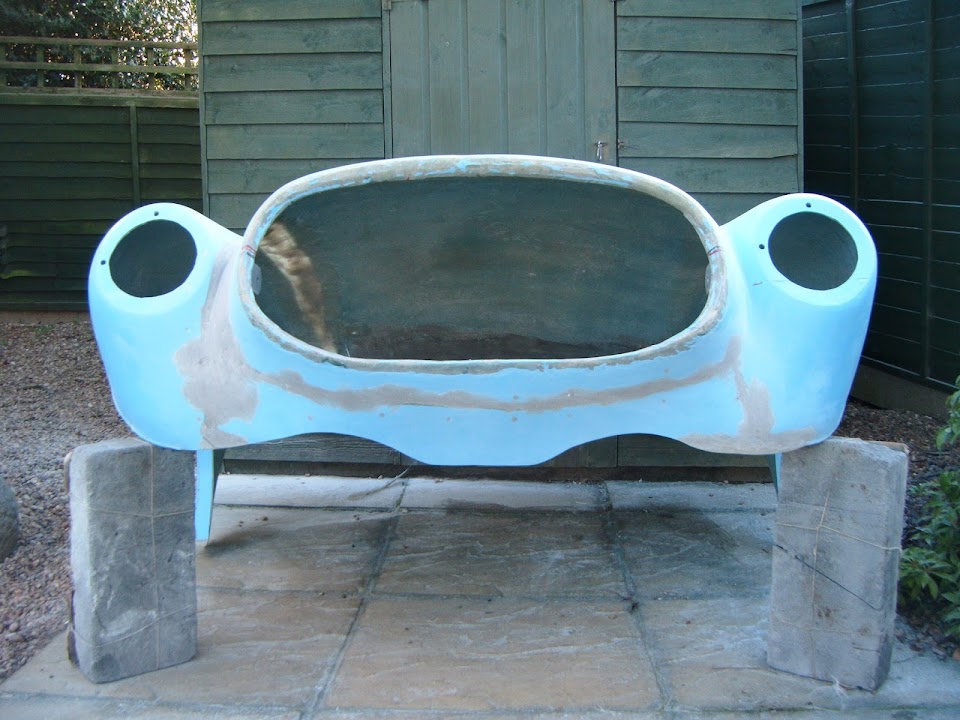
But by now, the filler was hard enough for me to start sanding it down.
I really must stop leaving excess filler in place, as it is hard work removing it.

Still, it is great to finally see the basic shapes I am trying to achieve slowly coming together.
Lower valance - Before:
After:
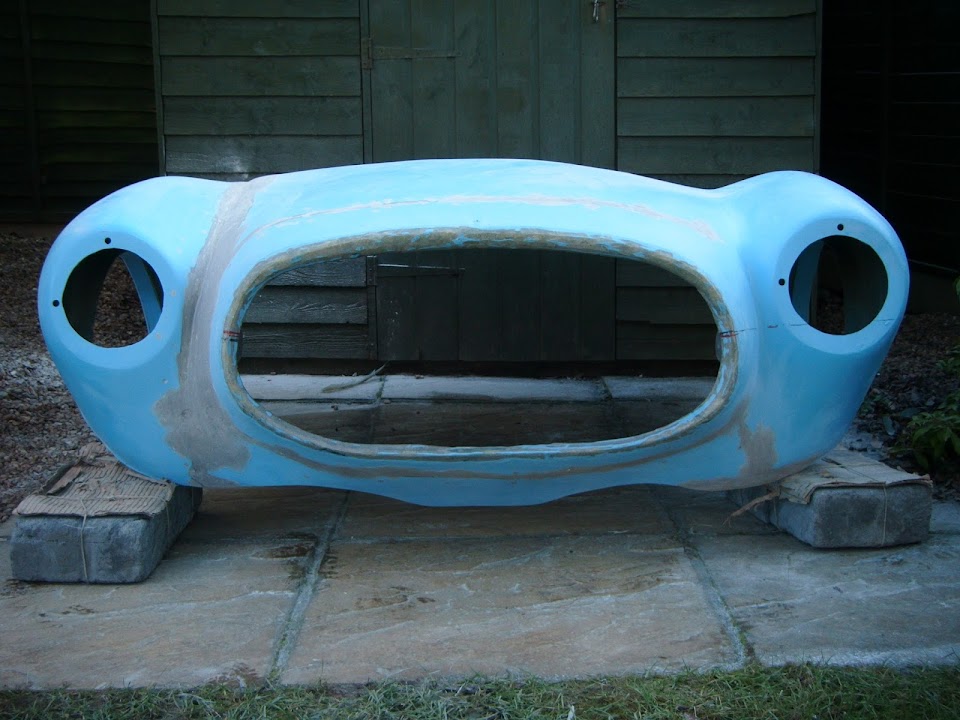
Bonnet - Before:

After:
And finally, here is a comparison of the headlight/nose gap.
Passenger side:

Driver's side:
I am sure this will all look a bit better after a skim with normal body filler & a coat of etch primer.

Until next time, take care, Paul.


 Threaded Mode
