so onto the main event, today was nominated as bonnet fitting day as there were 3 of use up the youth (ish) club!
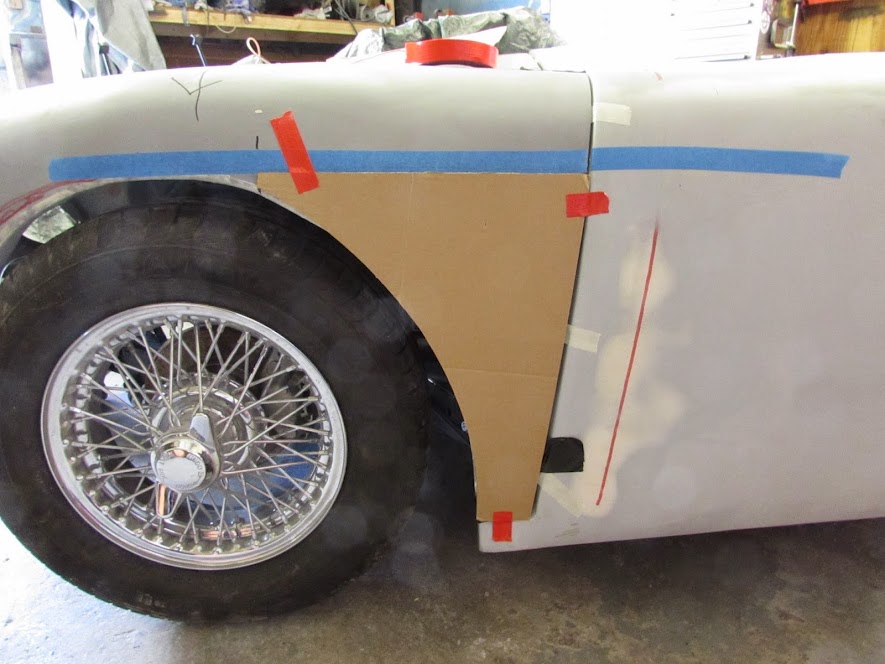
Plonked it on to get an idea of where to start.

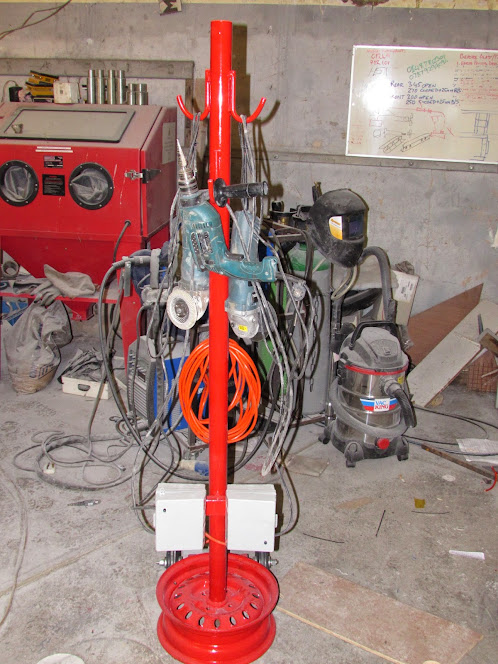
we needed some way to set a datum to measure from on the body, Sean (in the background of the previous shot) had a moment of clarity and thus was born the transferring measurement from tub flange to body thingy!
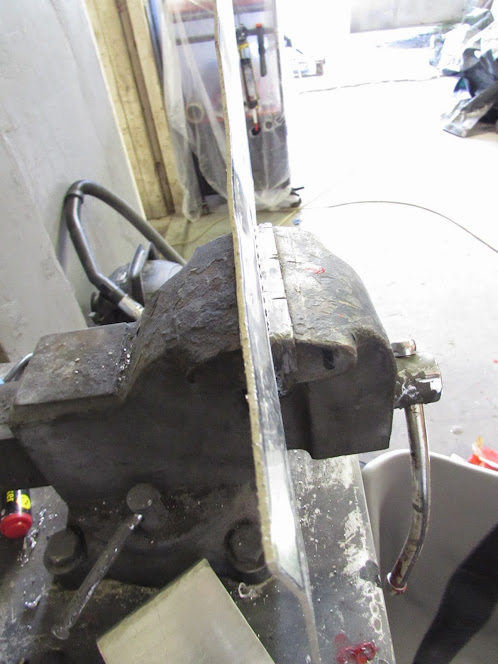
Take one piece of 2mm Ali strip and cut to a random length and trim corners at one end thus:

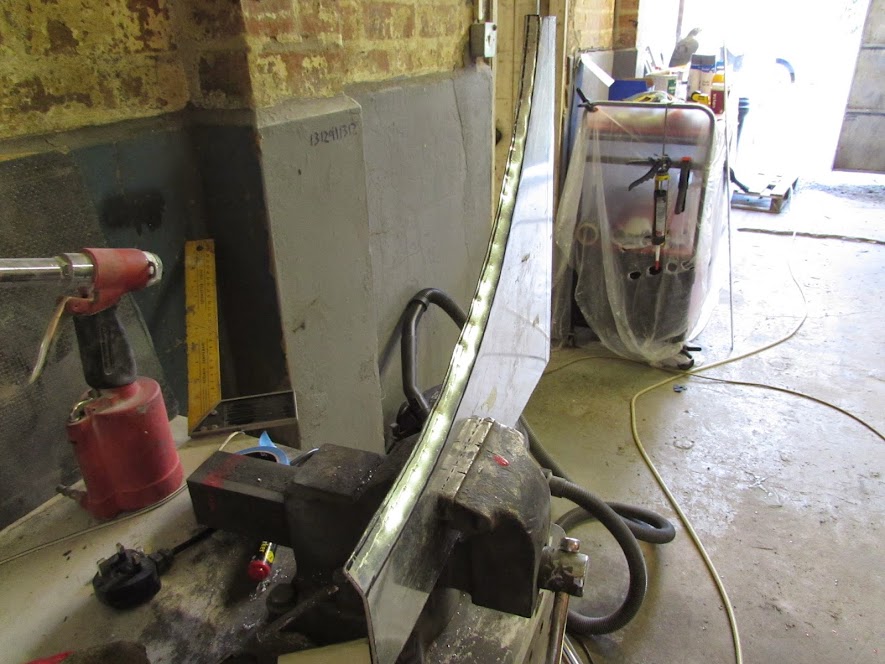
Insert into vice and ben a 90 degree (ish) angle on the end that the corners have been cut at.

Next drill a hole at a random distance from the end just big enough to take the trusty red whiteboard marker:

Jam the marker pen into the hole

You now have a neat little device that slides along the front of the bulkhead and allows you to transfer a relatively accurate line rearward on the body at a constant distance from the bulkhead flange (FLANGE! FNARRR FNARR)

by sliding the tool along the bulkhead we managed to get a good datum to do the bonnet trim from.


Once the line was done we using thin red gaffer tape to give us a more accurate line to work from.
Measuring at approx. 4 inch intervals we confirmed that the magic number was 78mm...
next we got the bonnet into what looked like the best position and fixed the bottom rear at both sides with a self taper.

We did try using a tape measure but came to the conclusion that we would be there all day and the best policy was to pick what looked right and run with it, remember the bonnet is still from the original Sammio moulds so I wasn't expecting great things...
With a trolley jack supporting the front in a position hat looked ok I then marked the cut line by simply making a mark every 2 inches 78mm from the front of the tape line on the body.
The dots were then joined using more red gaffer tap and checked again to make sure the distance was a consistent 78mm.

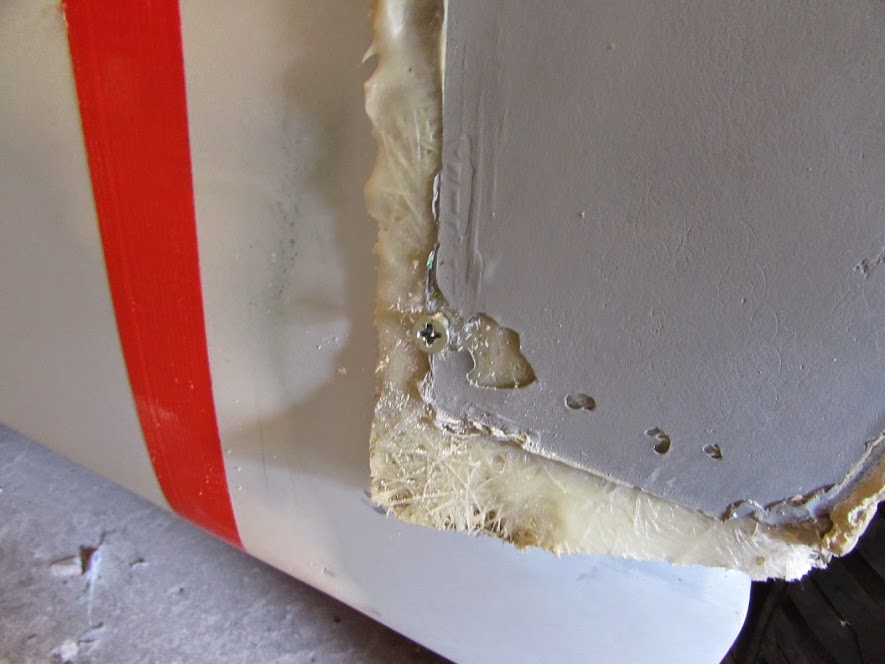
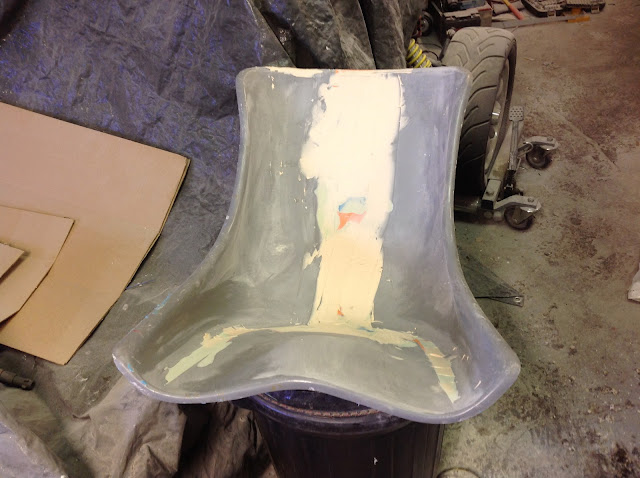
One quick cutting wheel session later and tada!
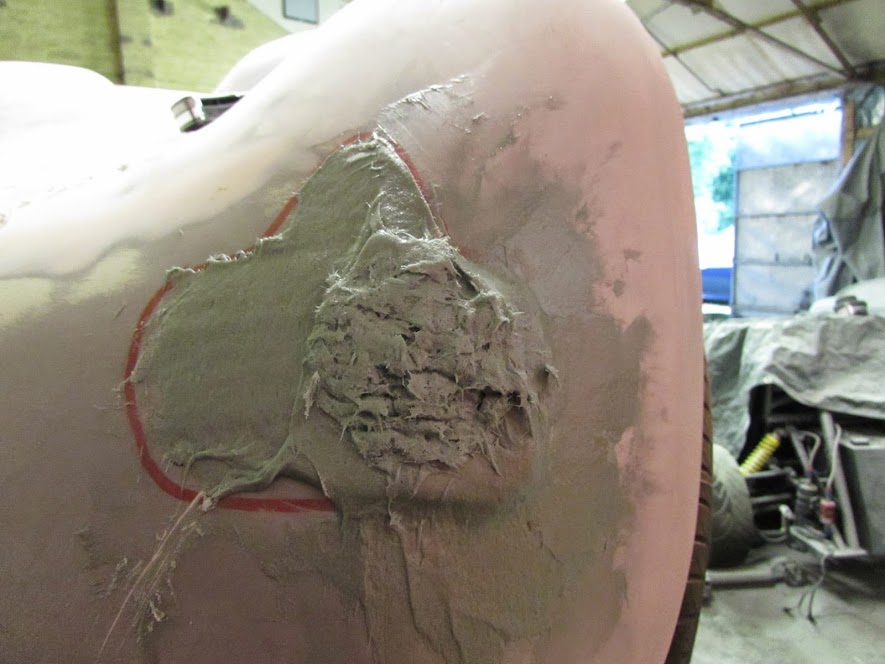
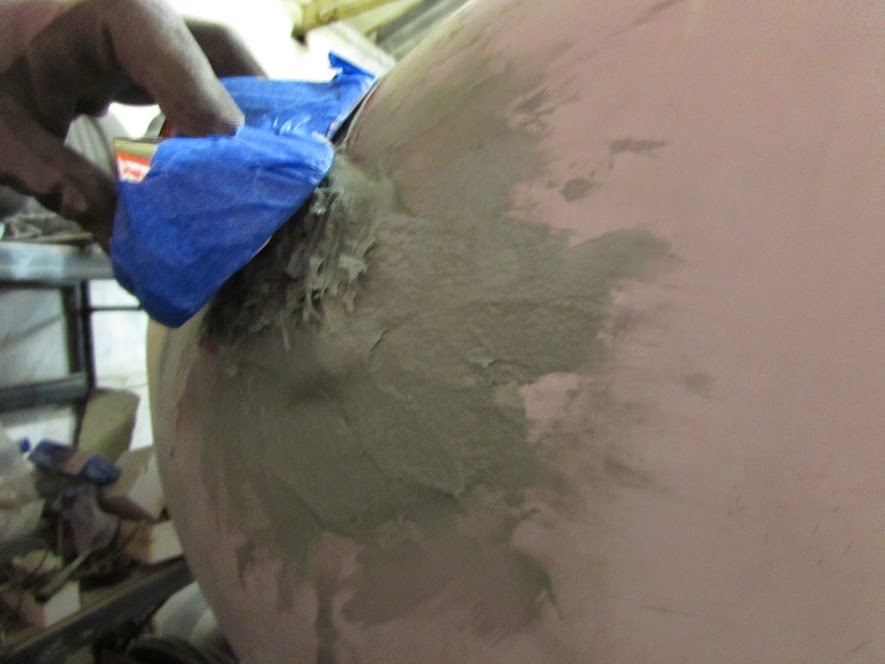
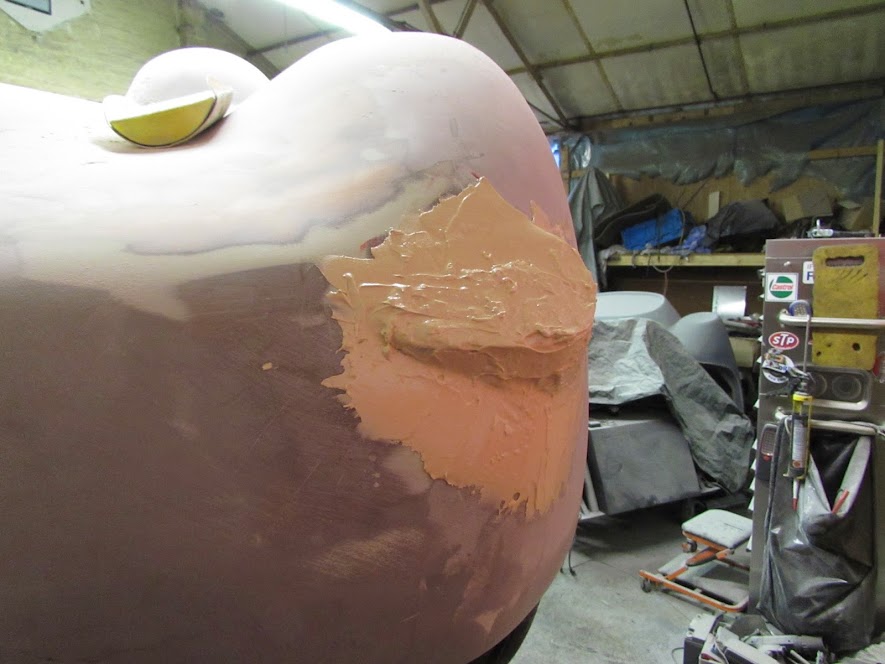
The panel gap is still a little wide in places because the transfer tool was running at the bottom of the bulkhead flange and its not quite 90 degrees in places but nothing a small skim of fiberglass filler wont cure.

To support the bonnet whilst refining the alignment we taped some 10mm electrical flex in place to sort of simulate the rubber seal that will eventually live there.

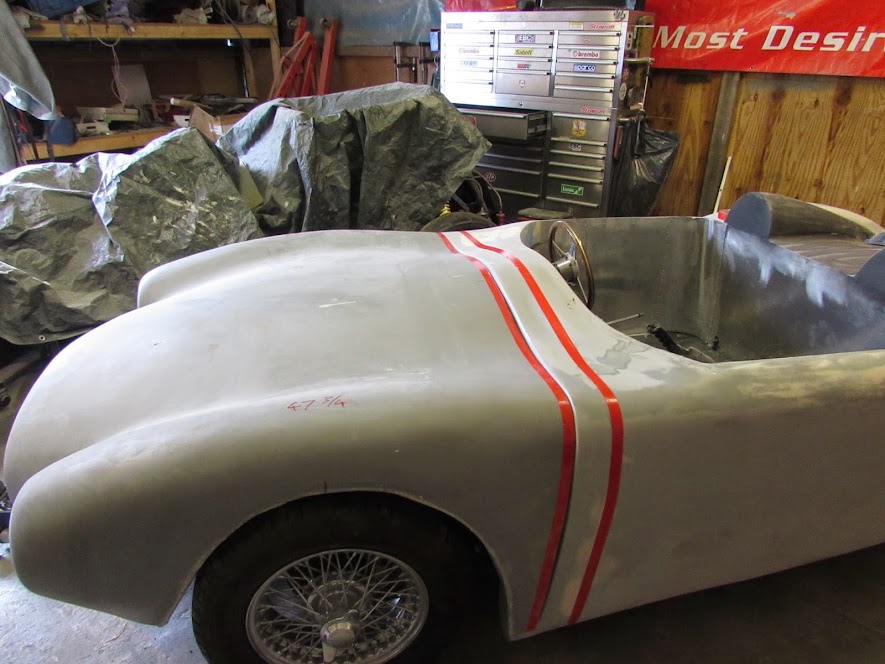
and there it is...

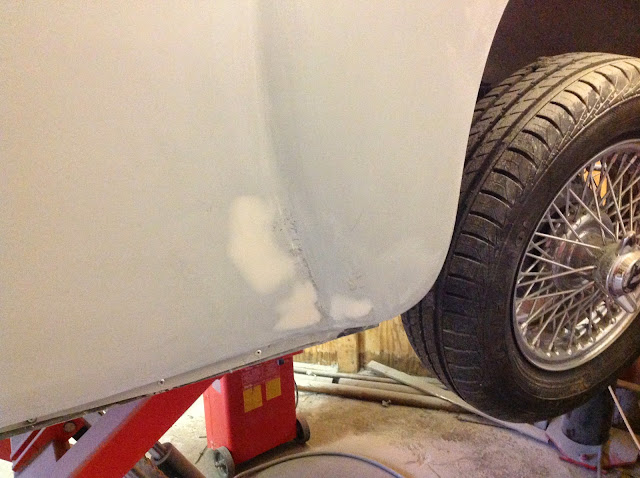
Couple of issues cam to light during the fitting, the alignment in the arch of the drivers side wheel was fine although the arch itself needs work to actually make it even vaguely round:
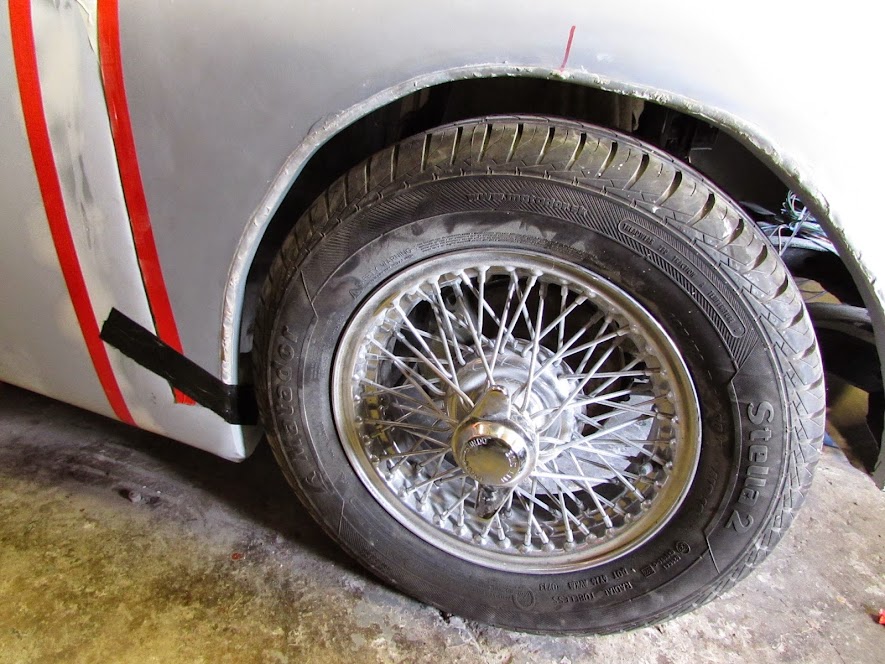
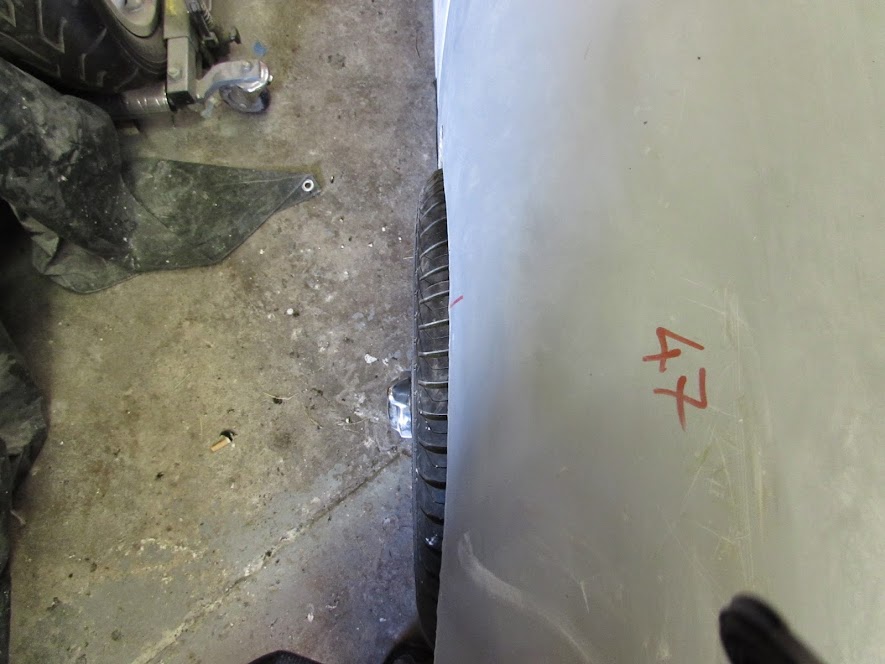
Passenger side though has the arch way too far back, the tyre almost touches at the front.

This shot of the front looks like the bonnet is too far down on the right when you compare it with the front of the chassis visible in the nose opening but its just an optical illusion its actually pretty parallel.
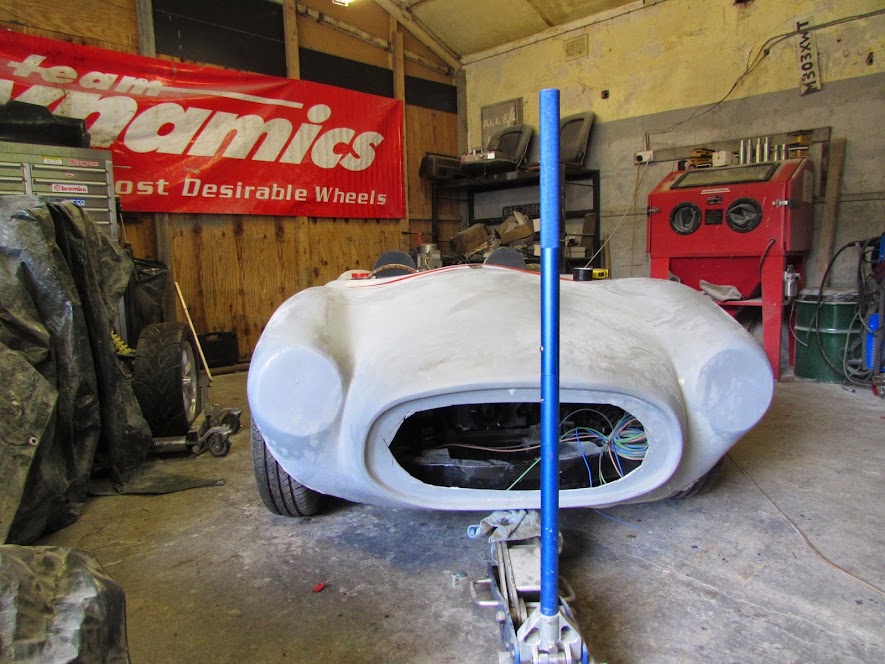
but check out the area between the inside edge of both hand lamp mounting flats and the outside edge of the projecting bonnet opening! The gap on the right is about an inch and on the left its nearly nothing.
Ill go into measurement's on a separate post but its not pretty, not surprised Gary sold up when he did, if he had sold many more of these I reckon there may have been a lynch mob at his door! Other curious include differing distance from the back of the bonnet to the top of each headlamp mounting surface, if you fitted a headlamp to the drivers side all you would see in the dark would be clouds etc etc etc. A bigger problem that I didn't get a shot of was that the drivers side tyre sticks out beyond the wheel arch by about an inch. grrrrrr
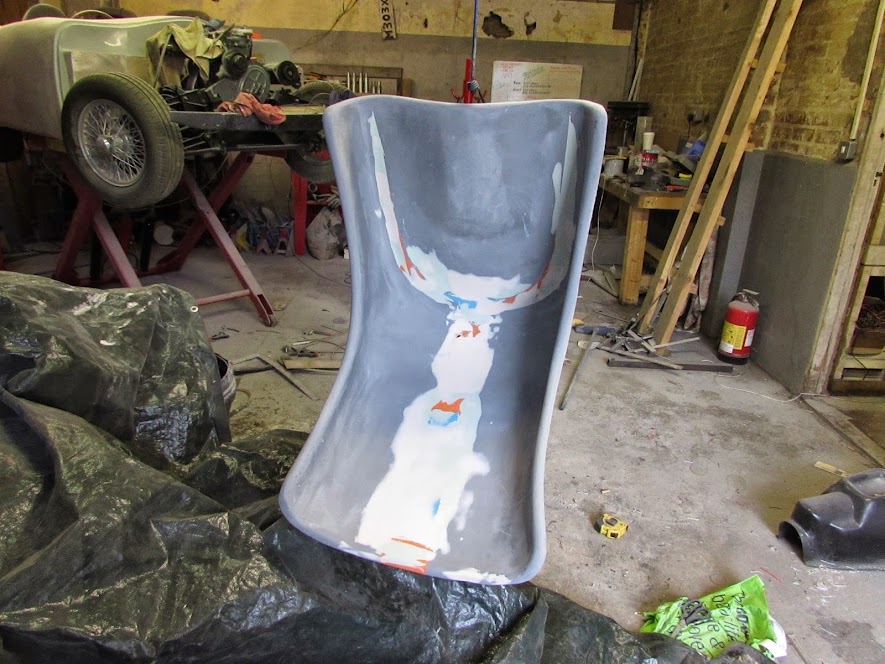
Since the bonnet was border line as a bonnet I decided to use it as a white board instead.

Sounds bad but all in all I'm happy with the way today went at least the bonnet is trimmed and on, just need to keep my head down and get on with it. Watch this space for bonnet butchery in the next week or so!
TTFN
Mac


 Linear Mode


