Not much to report...
Last night I started making a list of the remaining bulkhead "To Do" tasks.
It didn't take long to realise I wasn't quite as close to the finish line as I'd hoped.

Obviously, some of these jobs will be more work than others.
But as we've said before, they all need to be done at some point in the build.
Bulkhead List:
- Tidy up the filler around bulkhead battery drain pipe + final side of battery box.
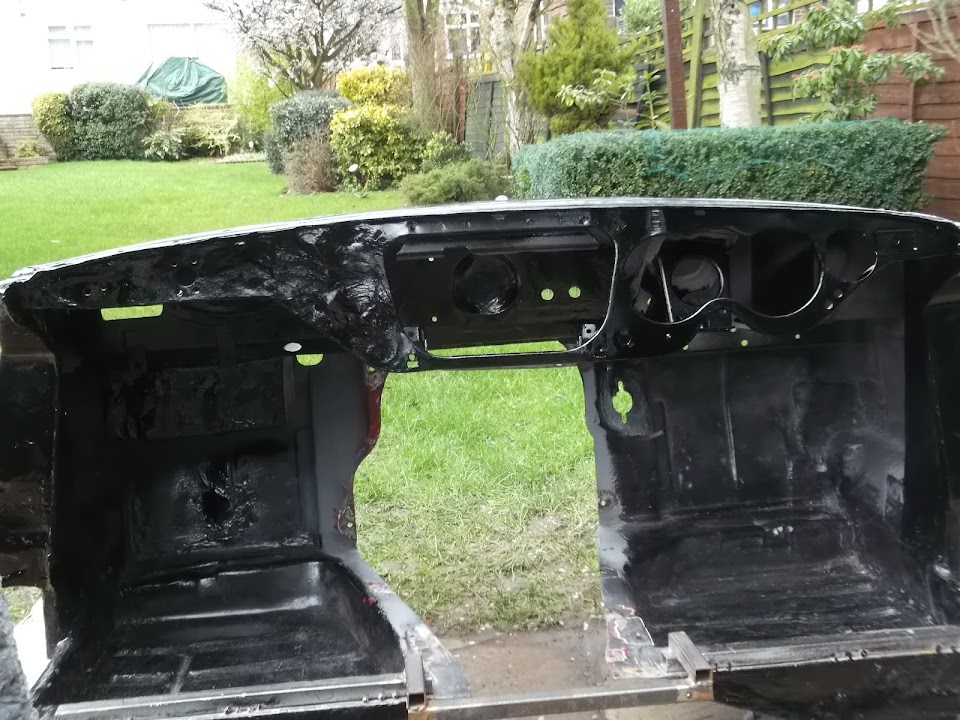
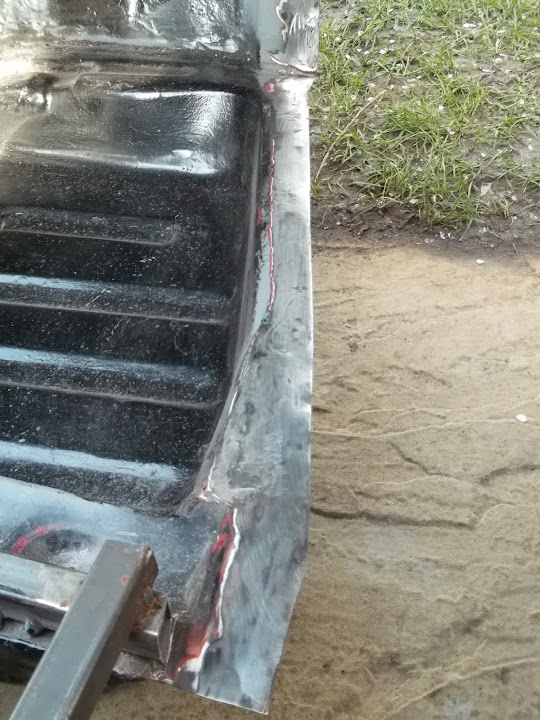
- Repair/seal the cracks & holes on the "inside" edges where gearbox cover fits.
- Ensure mounting points of new gearbox cover align with corresponding holes in bulkhead.
- If required, modify gearbox cover to ensure a snug fit to the bulkhead.
- Consider adding some of the gearbox tunnel mods that
Michiel has on his build.
- Add final round of seam sealer to joins not previously covered.
- Attach zip tie holders to bulkhead to hold heater vent ducting in place.
- Drill holes in heater control panel to allow mounting to dash.
- Use mounting plate to checking fitting of heater control panel.
- Re-connect all the support brackets within the metal dash area.
- Work out cable routing between battery & cut off switch.
- Drill holes in bulkhead to accommodate battery cut off wires.
- Sort out wiring for micro heater to join new switch & existing wiring loom.
- Test fit all other dash instrument wiring & check dial illumination bulbs.
- Work out wiring routes & fixing points for securing wiring.
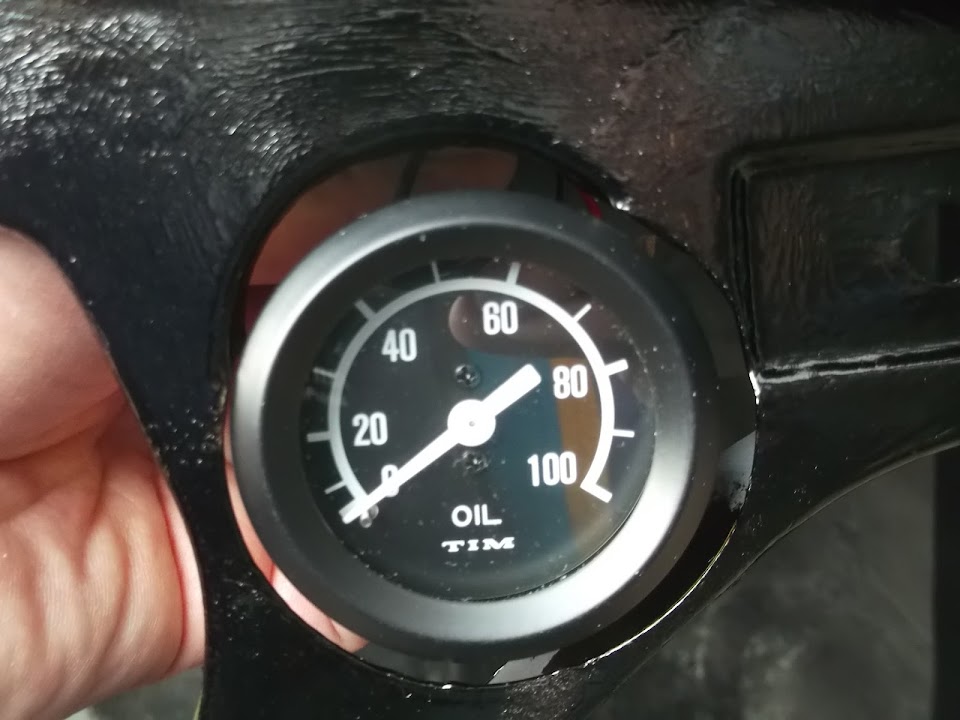
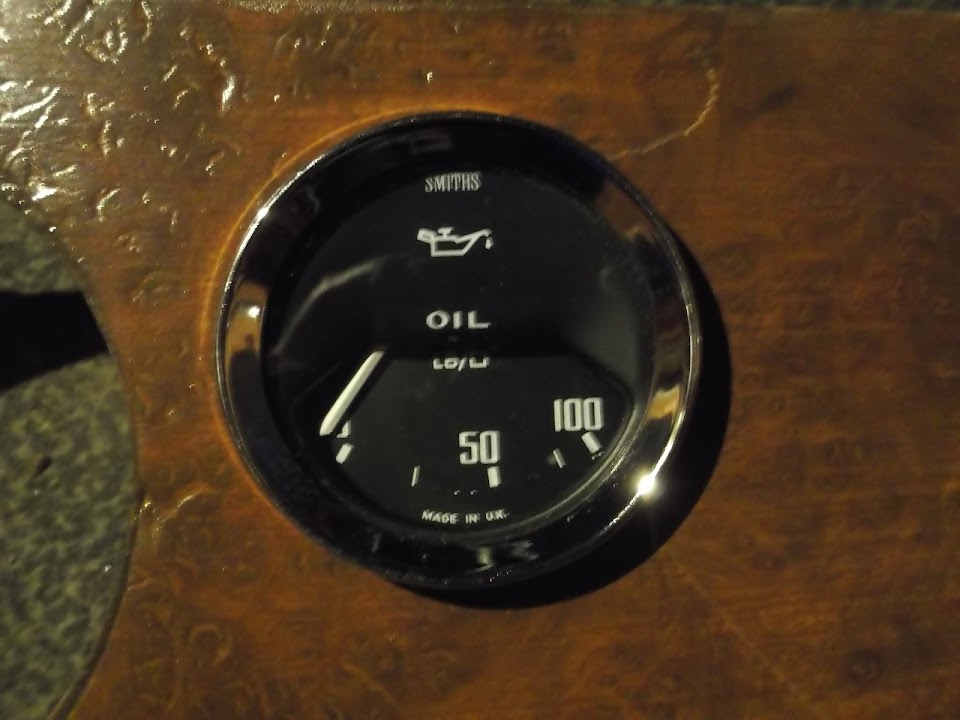
- Drill holes in wooden dash for oil pressure gauge & choke cable.
- Final coat of wood stain on the insides of the new holes.
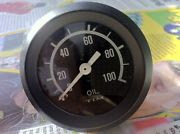
- Decide on type of oil pressure gauge to be fitted (mechanical or electrical).
- Work out route of oil pressure gauge feed (hose or wire).
- Run all dash cables & wires through bulkhead & blank off surplus holes.
- Test fit old battery and new metal battery retaining straps.
- Modify & final test fit of heater control value & bulkhead supporting plate.
- Weld in two crush tubes to driver's side rear mounting box section.
( Although this work can't be done until bulkhead has been test fitted on chassis. )
- Use Kurust and etch primer on the few remaining untreated areas.
- Ensure all surfaces are given an initial coating of black paint.
- Confirm final protective coating to be used (e.g. bed liner stuff) & apply.
A little bit of progress...
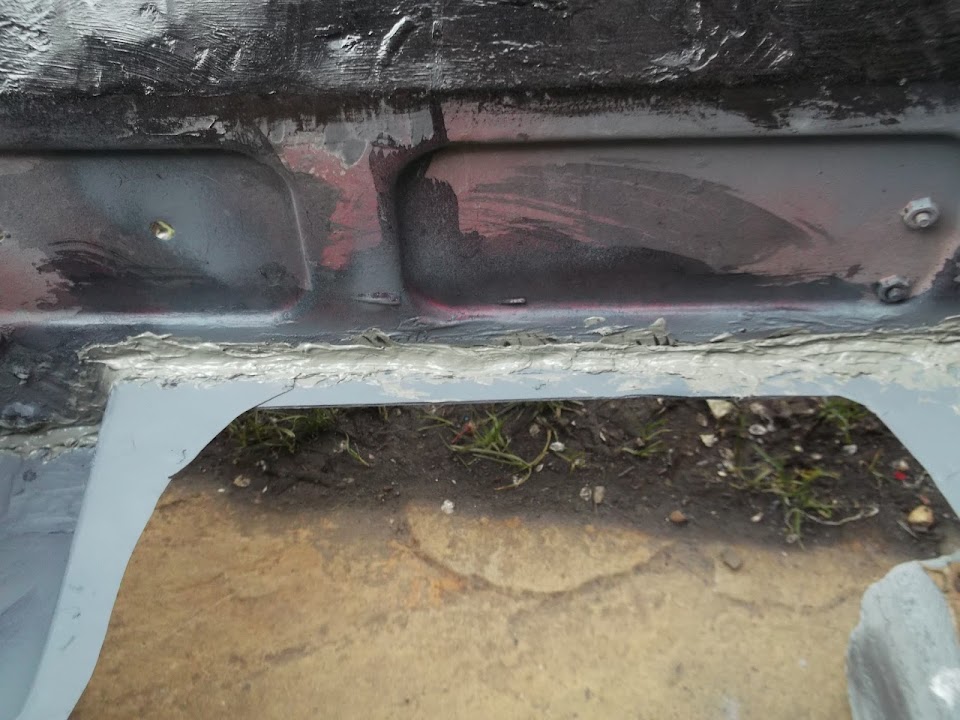
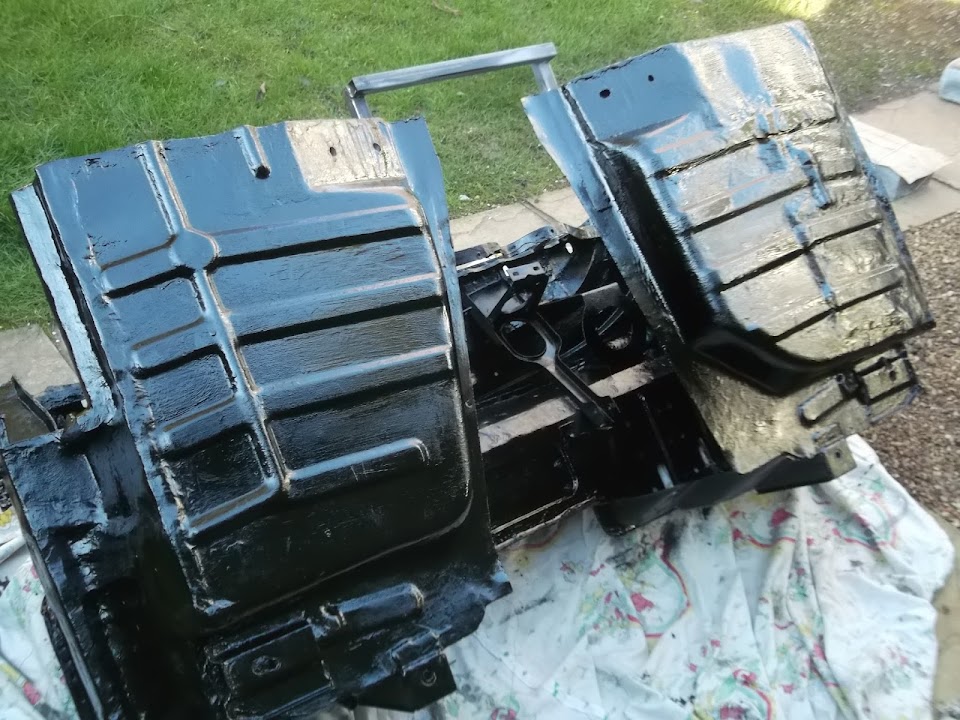
Cleaned up the filler around the bulkhead battery box drain pipe & sprayed etch primer on it.

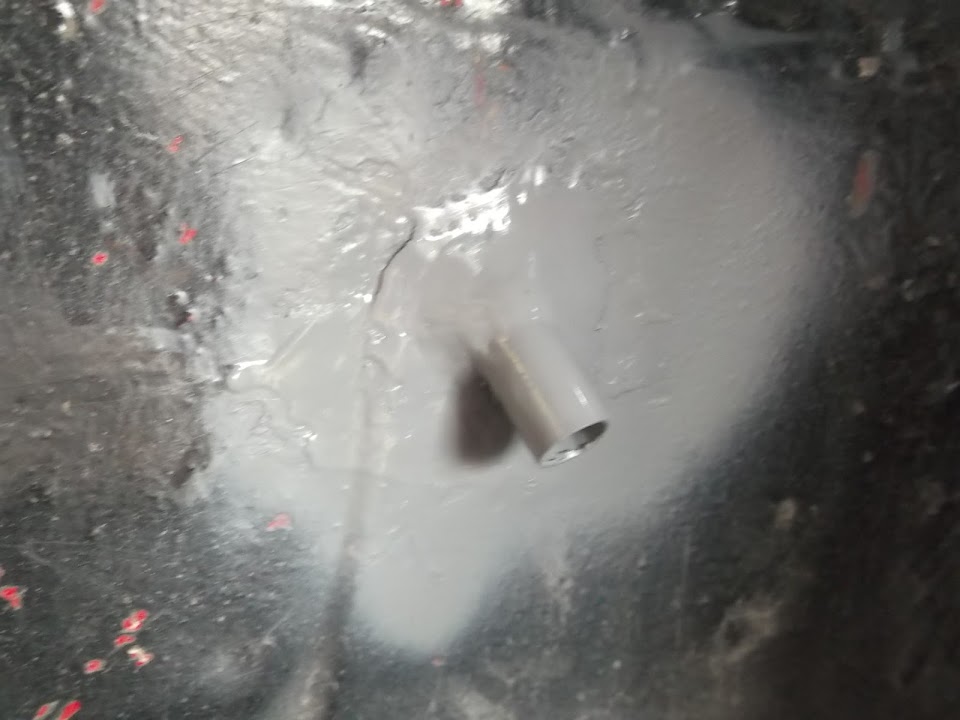
I also cleaned up the front edge of the battery box & primed that, but as before I can't get a decent photo.
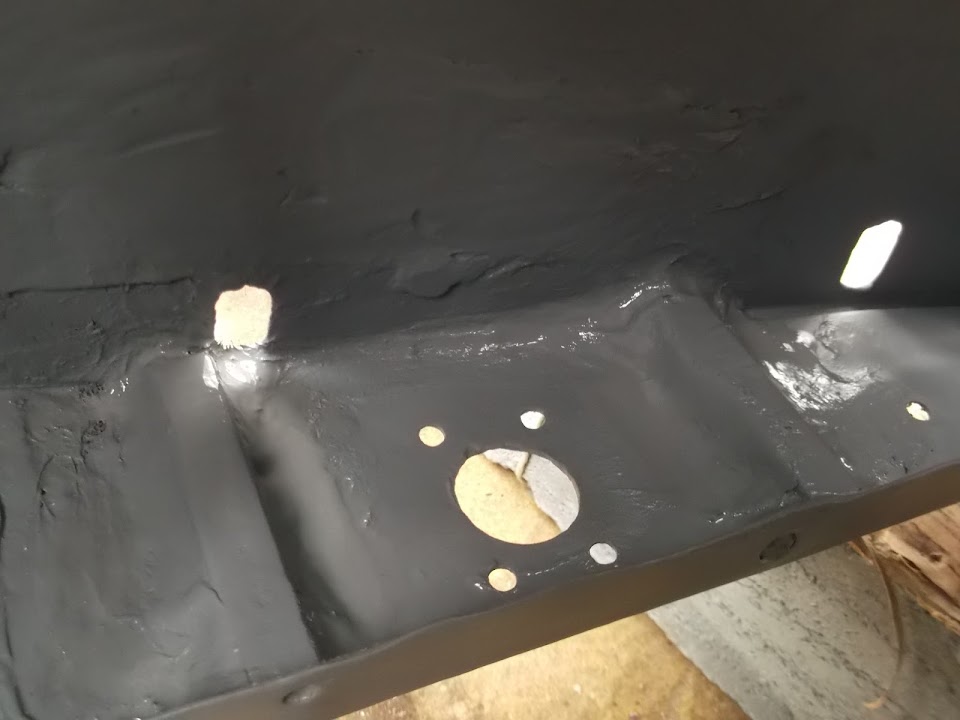
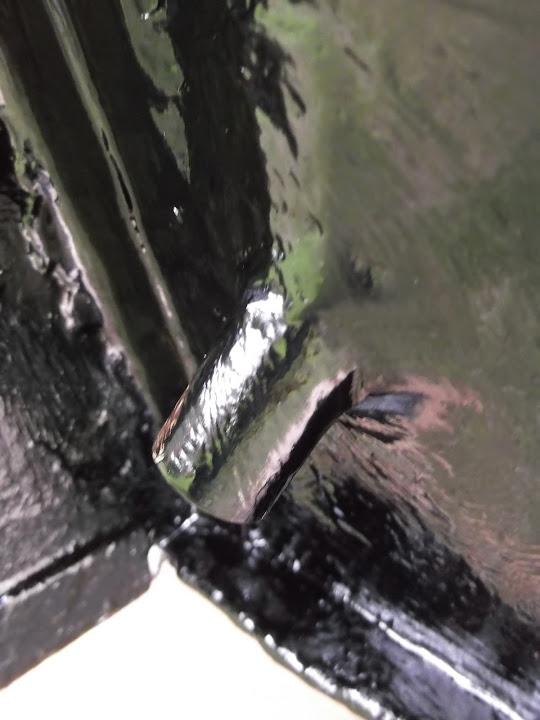
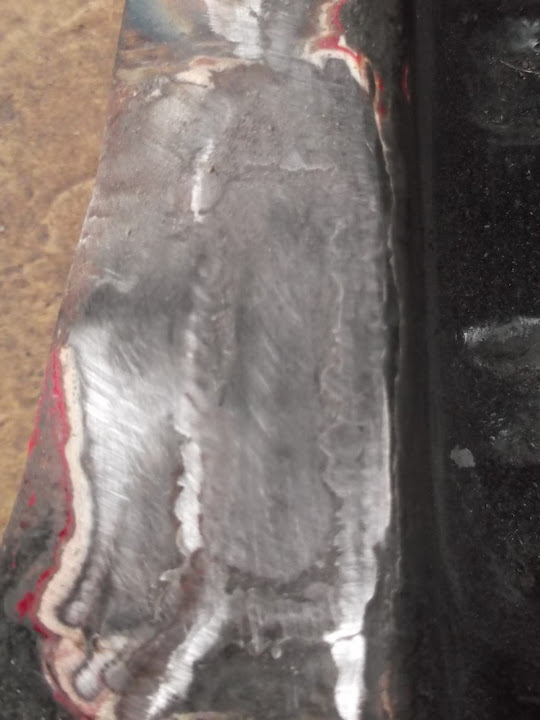
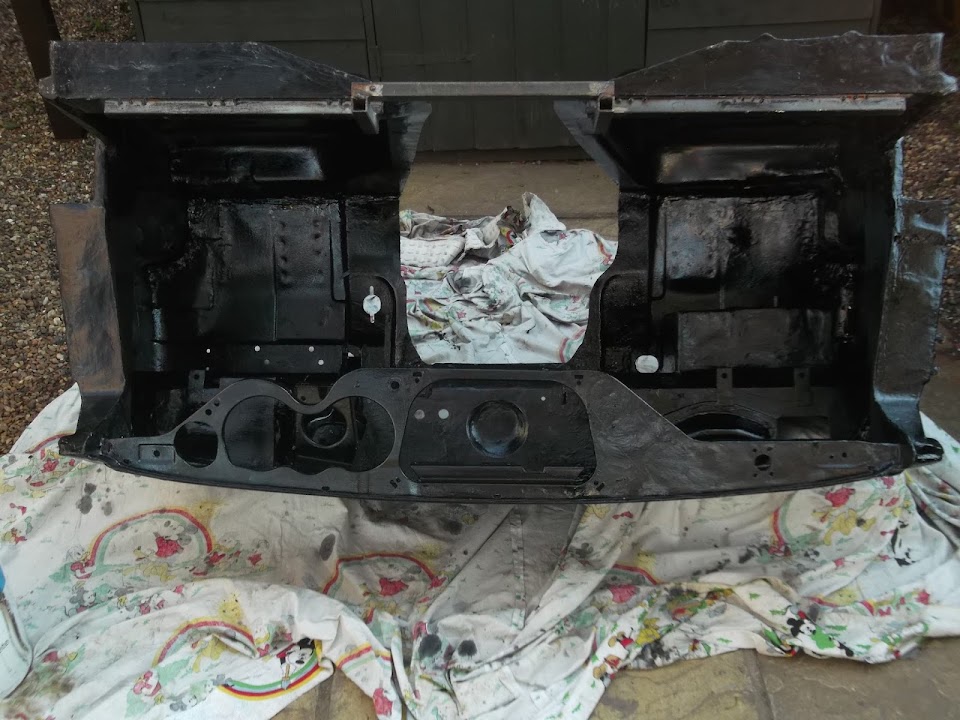
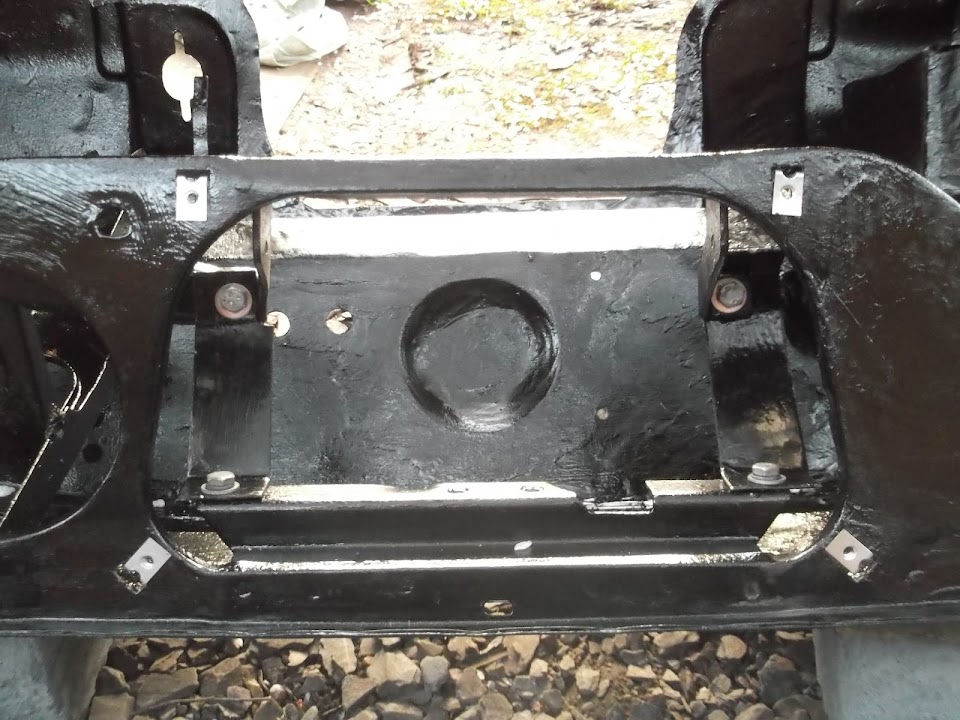
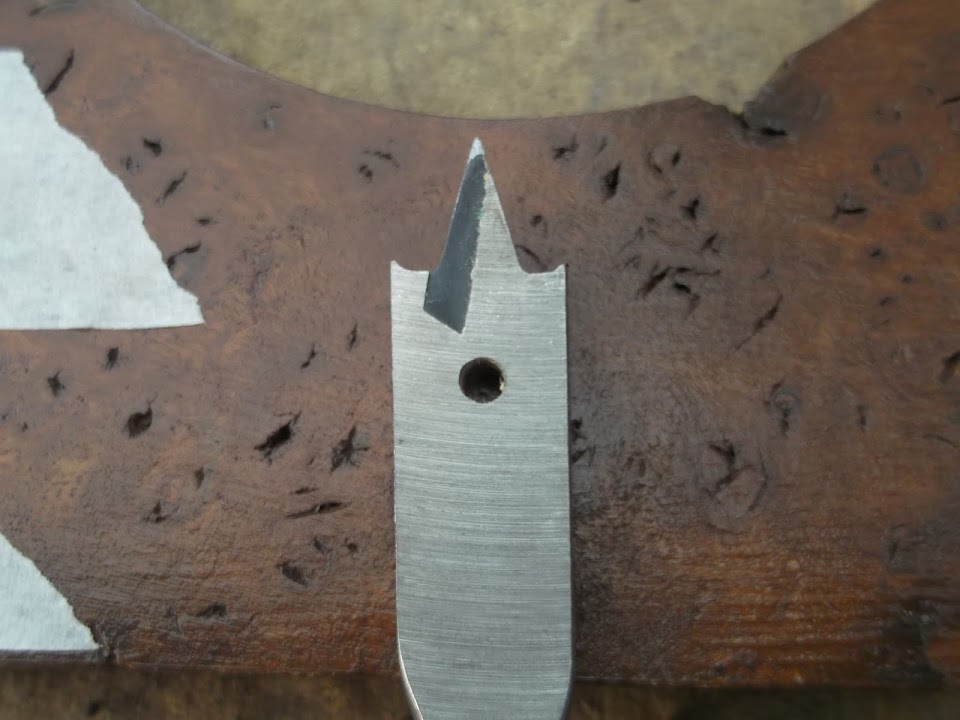
Then I compared the new and old gear box covers.

Then realised that I need to remove the moulding edges of the new plastic one.
( Note: This job isn't even on my "To Do" list.
)

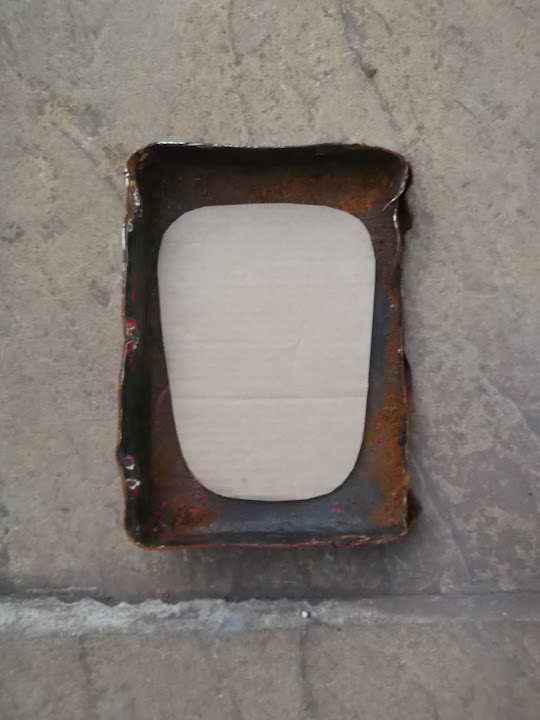
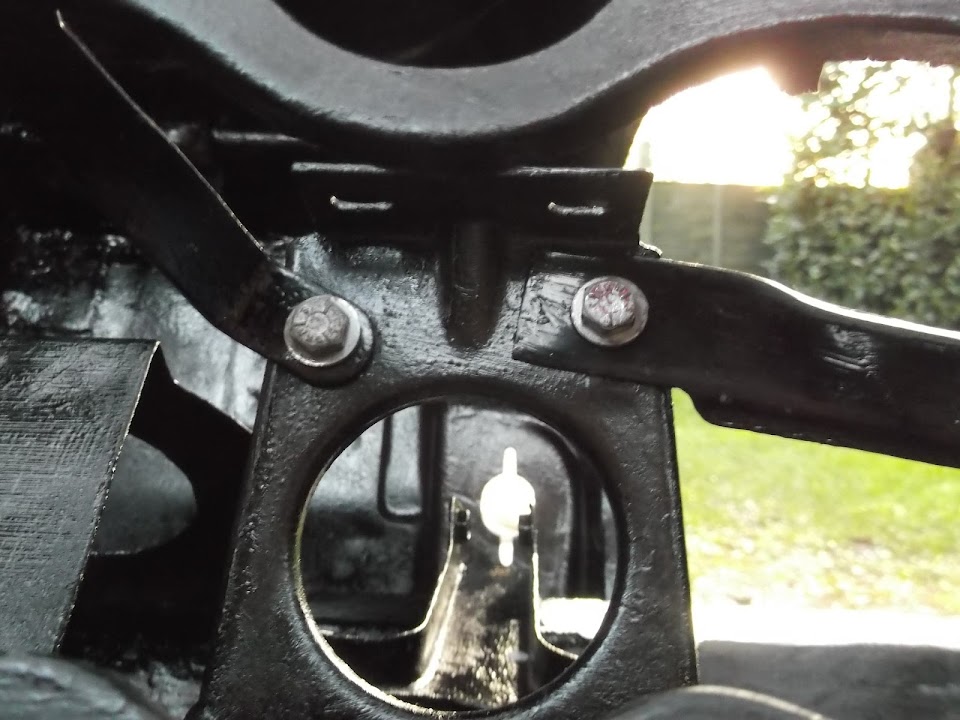
So this is a close up of "Before" & "After".


I then gave it a quick test fit and this confirmed that almost none of the existing holes line up.

Which is not surprising as both the old cover & the bulkhead are like a Swiss cheese in places.
( Sorry the first photo is rubbish. )


So I have decided to simply weld up all the holes in the edges of the bulkhead.
Then I can come back and drill fresh holes of the correct size, in the correct place.
( Not sure this approach will ever catch on.

)
Quick Question:
My original donor Spitfire had sealed this cover with a mixture of a rubber strip & sealant.
( To be honest, this was a pig's ear of a job by the previous owner as the rubber strip had perished. )
Have other builders used just the rubber seal, just sealant, or both, to fix their covers in place?
Cheers, Paul.


 Linear Mode


