|
|
| Sammio Builds and discussions Sammio bodied car builds and specials |

2nd April 2012, 13:35
|
 |
Senior Member
|
|
Join Date: Oct 2011
Location: Surrey
Posts: 363
|
|
 Sticky bits
Tony
Your car's looking great, I agree with all the comments re body fit, Fibreglass I believe stresses or de stresses after it's cured.
Sitting around in garage Not framed up it takes on it's own life but that is the concept and price structuring of the sammio, fettling adjusting fix looking re fixing measuring etc etc.
I built a Hawk 289 cobra some years ago which was a different concept, highly engineered, bespoke finished product, but must be three or four times the price of the sammio.
As you know I am at the stage of sticking my body (car not me) back together did you just use the resin to stick the adjusted panels together and then mat over (from behind) afterwards or did you use some form of bonding paste?
|
2nd April 2012, 14:02
|
 |
Senior Member
|
|
Join Date: Jan 2012
Location: Poole, Dorset
Posts: 615
|
|
Quote:
Originally Posted by Charman.tech

As you know I am at the stage of sticking my body (car not me) back together did you just use the resin to stick the adjusted panels together and then mat over (from behind) afterwards or did you use some form of bonding paste?
|
I was very fortunate that I got my fibreglassing supplies directly form Gary (an advantage of living just down the road) and he gave me matting, resin and bonding paste.
The bonding paste is like fibreglass and resin in a body filler type suspension and you use a catalyst (like the resin) to mix with it. It is extremely pliable to spread around the joints and then you can stick glass matting on it and paint resin over the lot. It makes life very easy as it fills and bonds, and is great to get the matting lined up before coating with resin. I am not sure of the make of the bonding paste, but Gary buys it in bulk. I know a few others have got similar/same from other suppliers and on the net. It is definitely worth getting hold of, and will certainly help you get it together.

|
2nd April 2012, 17:23
|
 |
Senior Member
|
|
Join Date: May 2011
Location: Somerset
Posts: 1,671
|
|
VERY Nice!
From my experiences so far with the edges of my drive I'd say that I'd be much more relaxed with the bottom of the rad not being the lowest point on the car. But from following what you've done so far i reckon that you'll most probably me the same as me and redesign just about everything when the bonnet is on anyway  |
2nd April 2012, 20:16
|
|
Senior Member
|
|
Join Date: Jan 2012
Location: Poole, Dorset
Posts: 615
|
|
Tonight, I had a visit from Gary - I think he is checking up that I am doing it right! He picked up my V5 and form so I can get a date for the inspection.
I cannot fault Gary for the support and service he gives, and although I am only up the road, the stories from other builders are complimentary as well, so I am not considering myself special - it's just his way. How many other suppliers go the extra mile?
Anyway, he spurred me on so I spent a couple of hours in the garage while my motorbike was outside and the daughter is staying round her boyfriends so her moped is out of the way too!
It meant I could get the bonnet in and have a go at the grille. Now, my wife is a hairdresser and luckily she cuts some very useful people's hair, namely John from J&T tubes in Upton, Poole. He kindly bent me up a hoop for the bonnet, and so he is getting the next few haircuts for free!
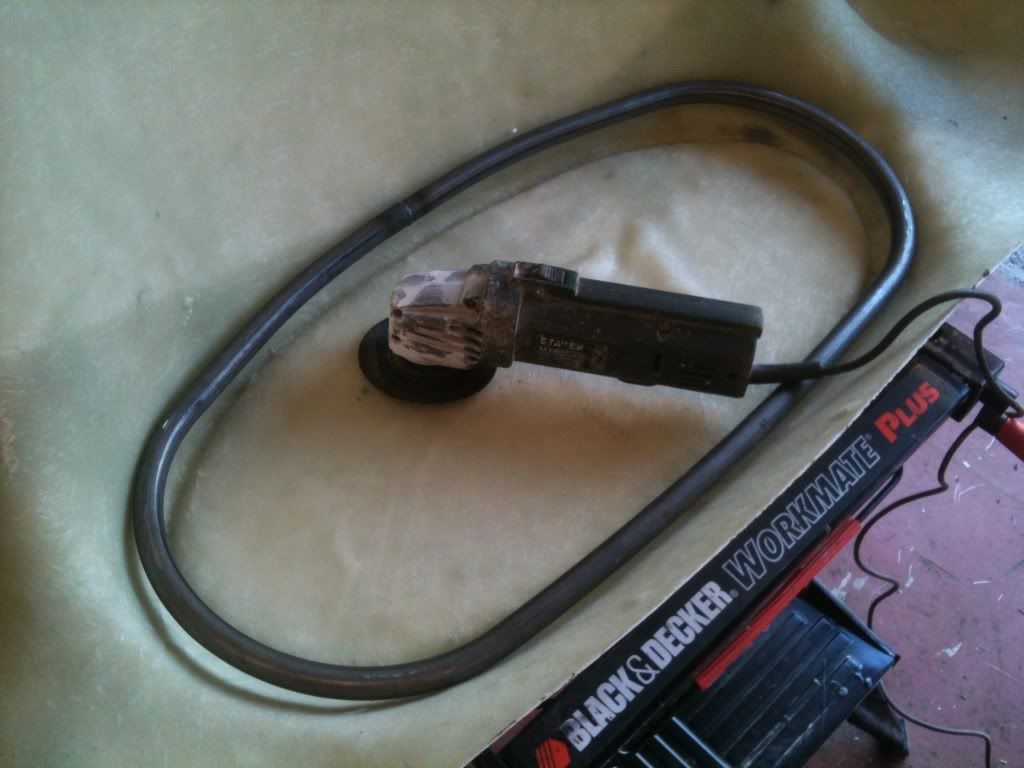
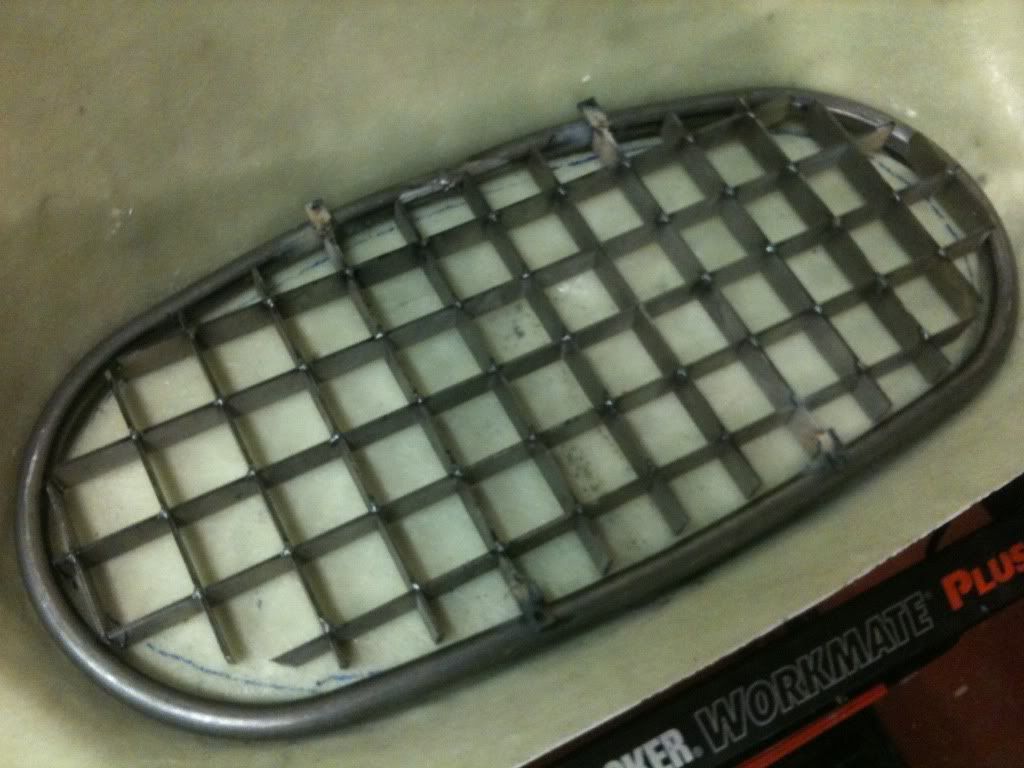
I had a fettle with the tube to get it to fit just right (large rubber mallet and some hefty whacks) and then trimmed the grille Gary supplied with the kit so it fitted inside the hoop. My intention is to make the grille removable so I welded four tabs onto it and these will have self tapping screws or small bolts holding it to the hoop.
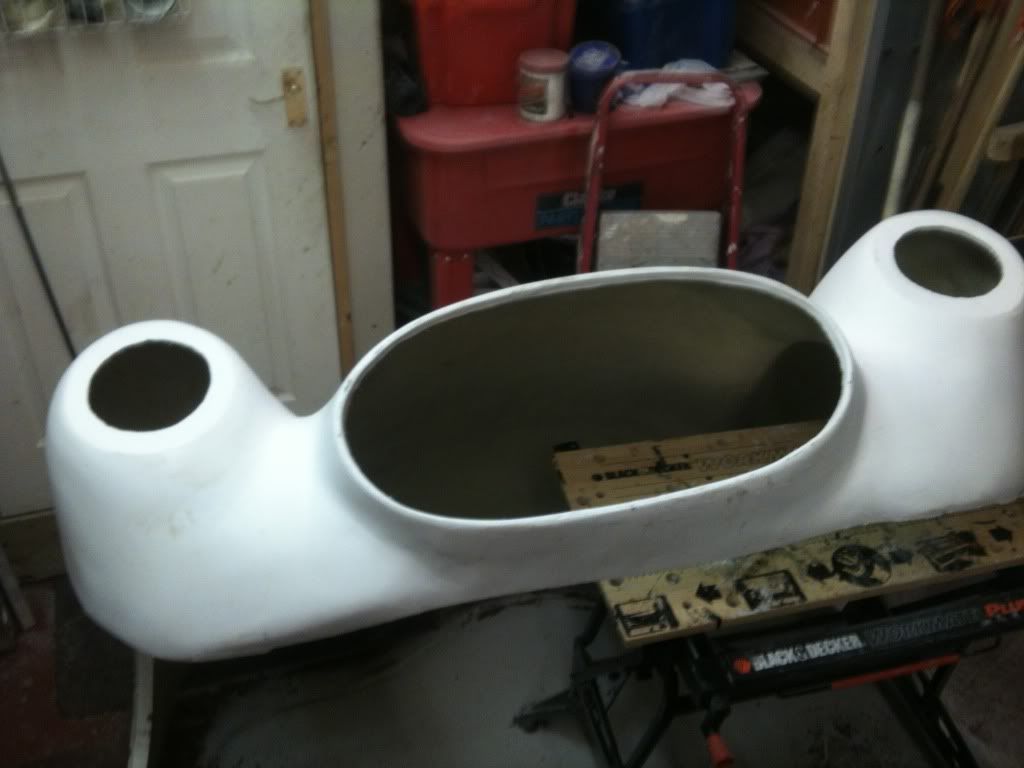
Then I made copious amounts of dust and cut out the grille opening and the holes for the lights. It started to take on a whole new personality.....
|
3rd April 2012, 08:39
|
 |
Senior Member
|
|
Join Date: Jul 2011
Posts: 5,328
|
|
All beginning to look very much like a car. Nice work Tony.
|
8th April 2012, 16:48
|
|
Senior Member
|
|
Join Date: Jan 2012
Location: Poole, Dorset
Posts: 615
|
|
Been away for a day, but did manage to get some stuff done on friday and late today...
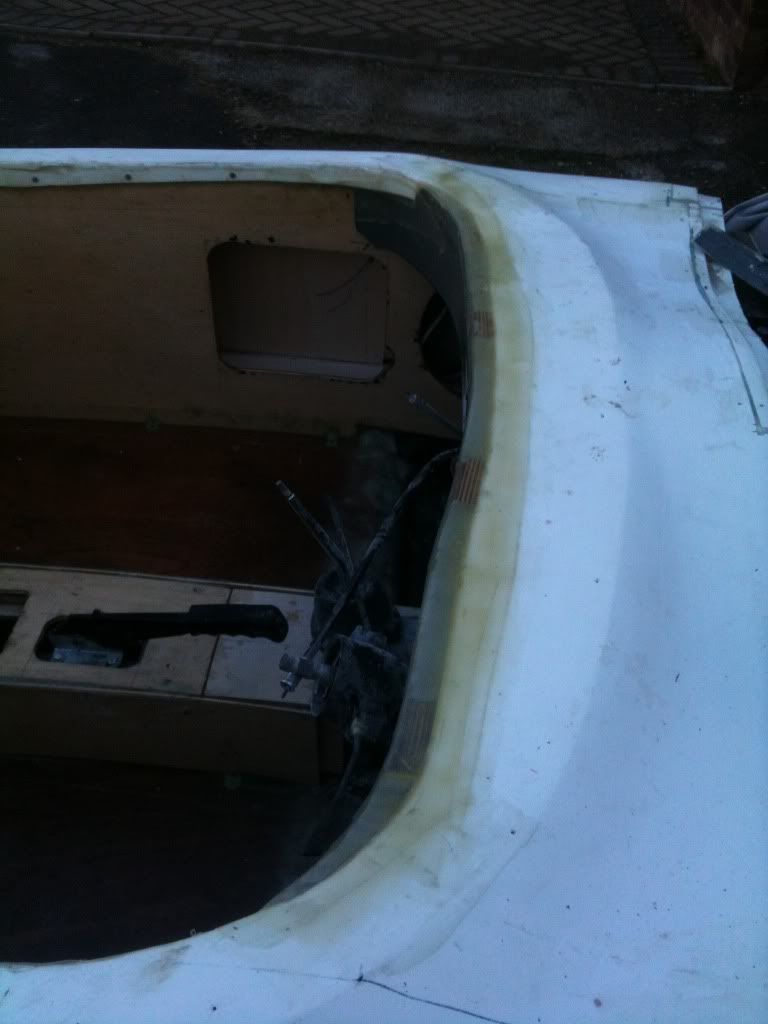
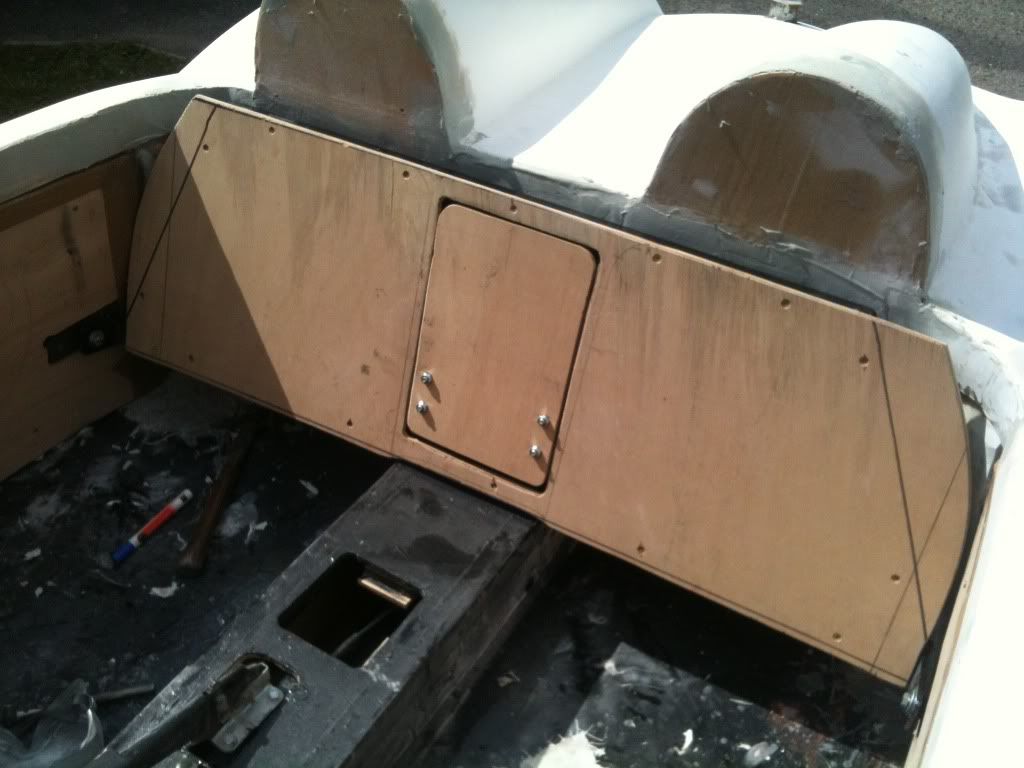
Got the rear panel in with my door for the luggage compartment....
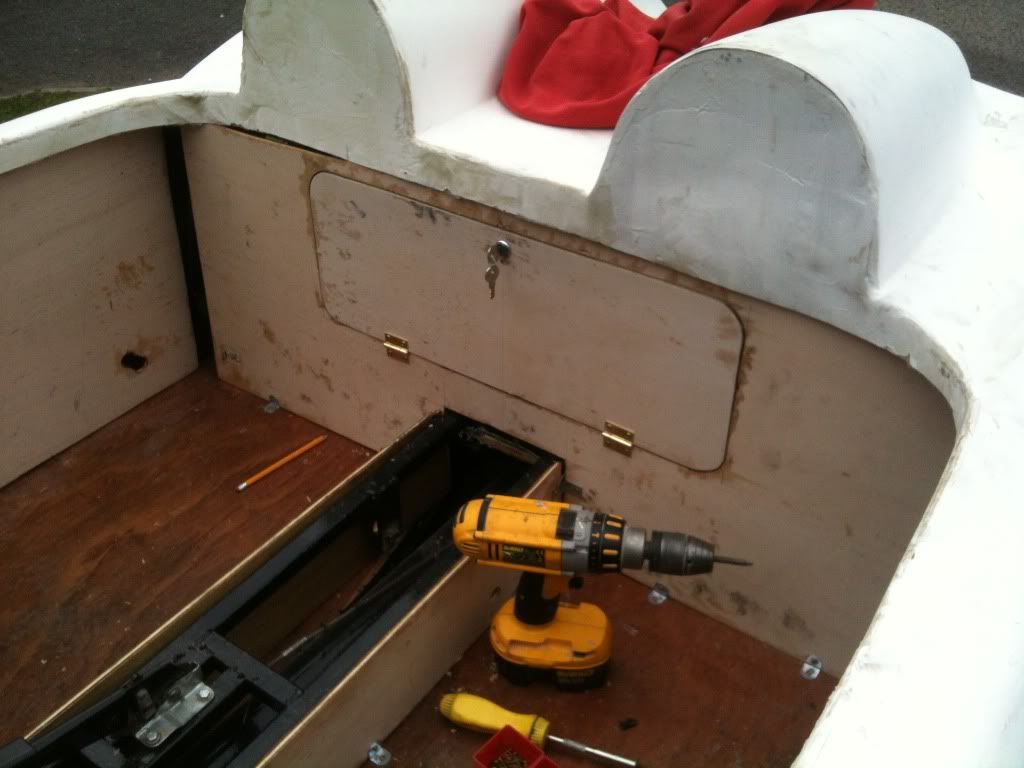
Got the side panels in with pockets........
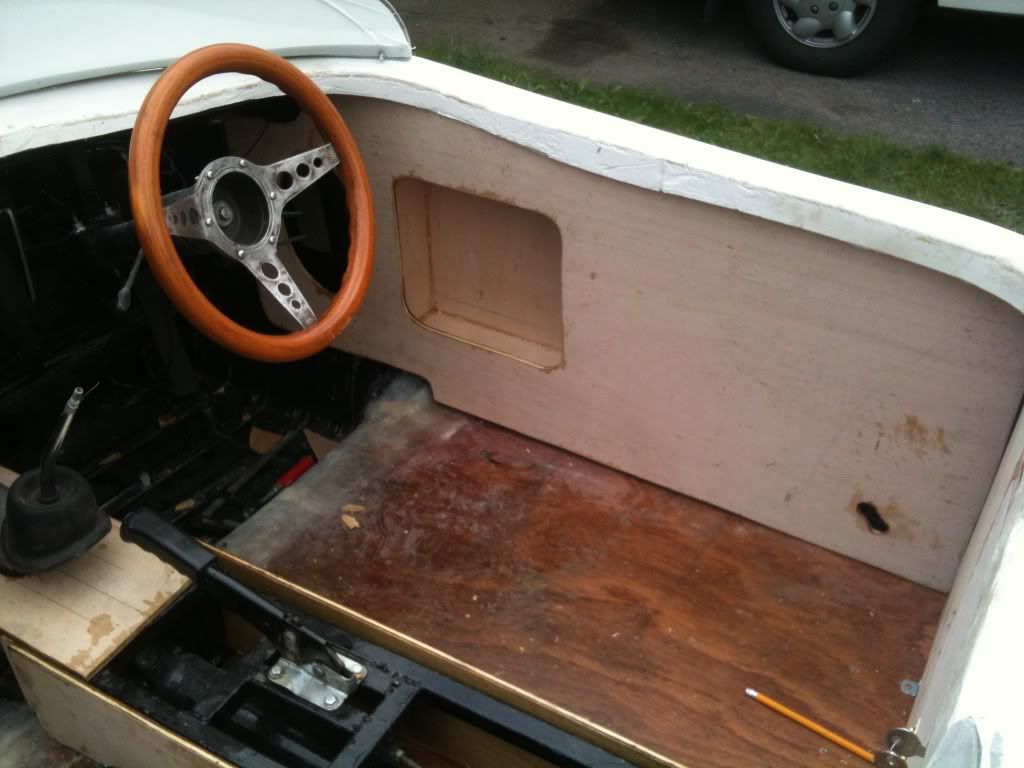
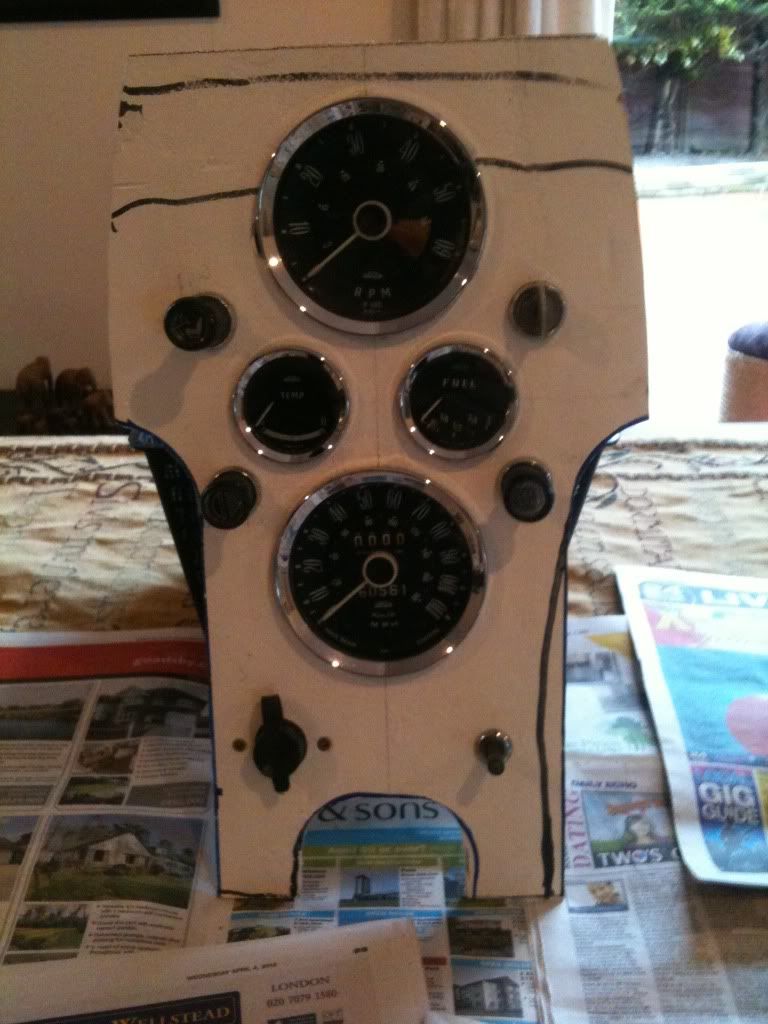
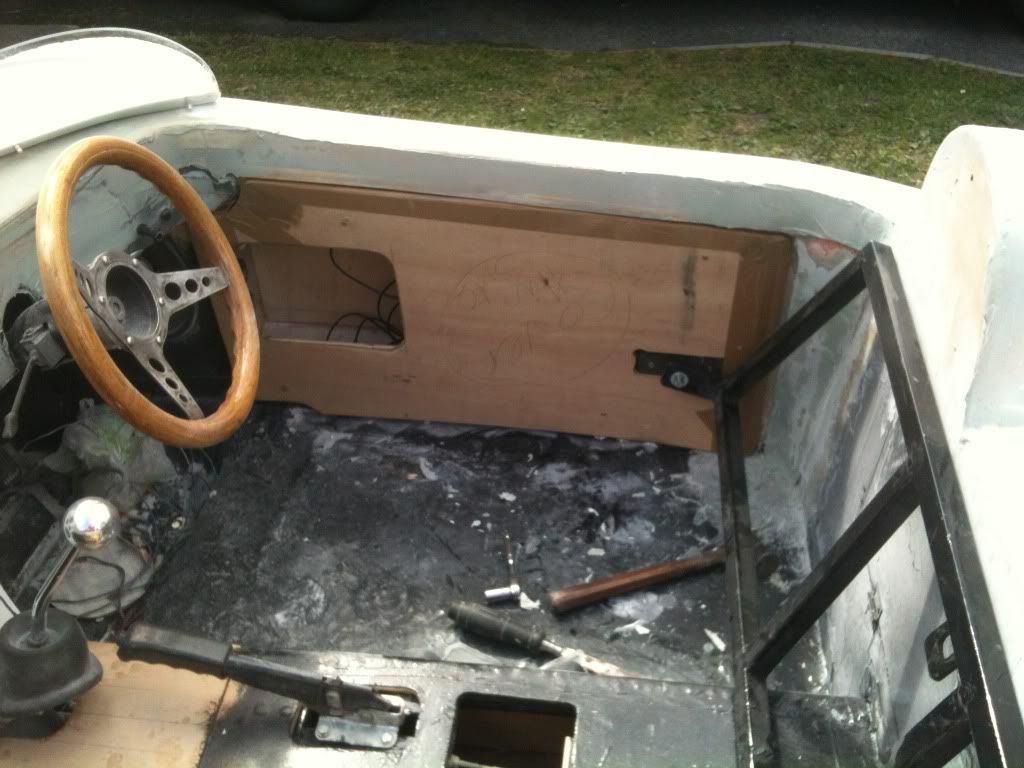
Then had a go at the dashboard.....

And then finally made the hingeing seat back.....
 |
8th April 2012, 17:11
|
 |
Senior Member
|
|
Join Date: May 2009
Location: POOLE , DORSET
Posts: 2,200
|
|
some nice variations on a theme there Tony .....very creative...liking the way this is going...
|
8th April 2012, 18:15
|
|
Senior Member
|
|
Join Date: Jul 2011
Posts: 5,328
|
|
Agreed. There are some neat storage solutions going on there. Keep up the good work!
|
8th April 2012, 19:19
|
|
Senior Member
|
|
Join Date: May 2009
Location: POOLE , DORSET
Posts: 2,200
|
|
Anyone thinking of using their car for touring , here or in Europe etc. could do a lot worse than 'borrow' some of these ideas ....
|
9th April 2012, 08:50
|
|
Senior Member
|
|
Join Date: May 2011
Location: Somerset
Posts: 1,671
|
|
Looking really good! Is that under-dash speaker pods I spy also?
|
9th April 2012, 10:55
|
|
Senior Member
|
|
Join Date: Apr 2012
Posts: 113
|
|
Your lugageroom looks great! I also like the interior panels. Good job!
|
9th April 2012, 11:01
|
|
Senior Member
|
|
Join Date: Jan 2012
Location: Poole, Dorset
Posts: 615
|
|
Quote:
Originally Posted by davecymru
Looking really good! Is that under-dash speaker pods I spy also?
|
Yep. 6x9 speakers which will be hidden behind acoustic cloth and a small 180w amplifier in the drivers pocket to plug my iPod into.
Thanks for all the comments guys, hopefully I am inspiring others! |
9th April 2012, 14:08
|
|
Senior Member
|
|
Join Date: Jan 2012
Location: Poole, Dorset
Posts: 615
|
|
Damn rain is a pain in the arse when you can only work on your car outside!
However, did manage to sort out the centre console and fit the gauges. The bit of fibreglass is the centre piece from the bonnet grille area that you have to cut out! (I love recycling) .. Just got to be covered now...
Oh, and DHL actually delivered today .... my seats arrived. I pondered long an hard about my seats and then came across these on ebay. They are Series 2/3 landrover rear centre seats and come in two parts - ideal for what I need. They are a perfect fit.
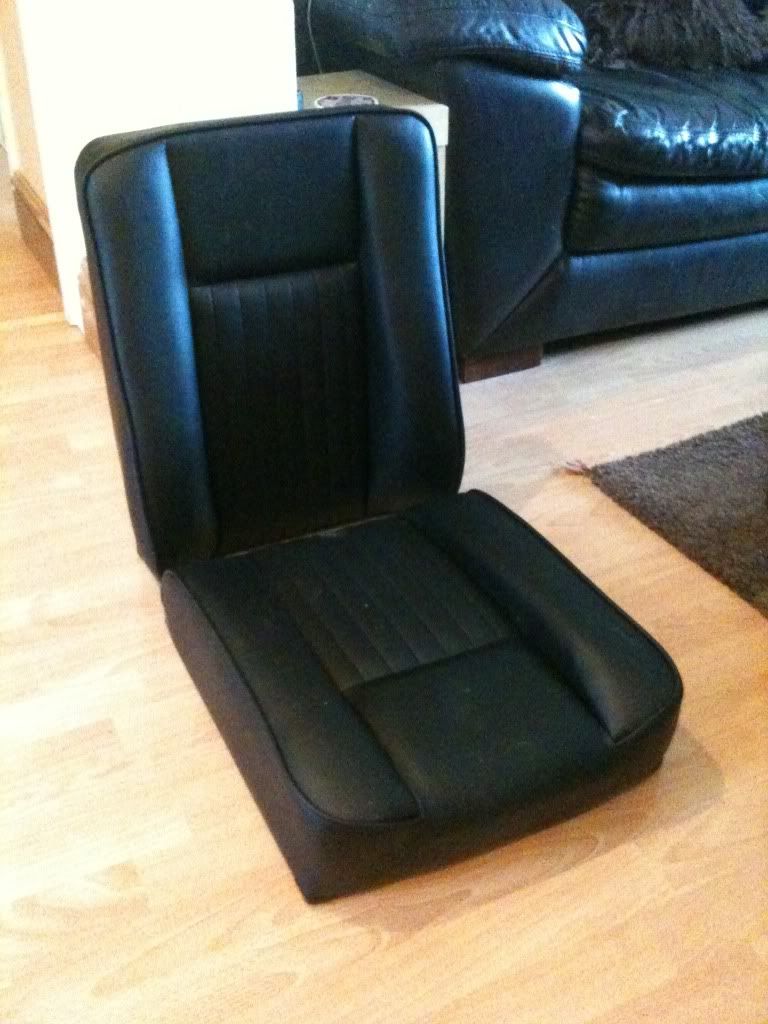
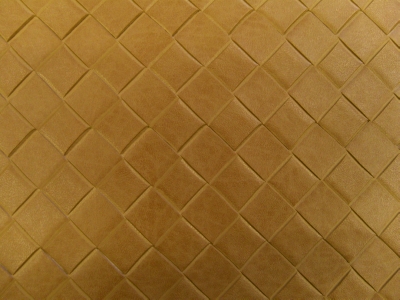
The back parts will be attached to a board on the metal frame I have just built and the squabs will sit directly on the floorpan. I will pad and trim around them in black and cream vinyl.
I am really pleased with them and wish the rain would stop so I can get them fitted to see what they are like! |
9th April 2012, 14:33
|
 |
Senior Member
|
|
Join Date: Dec 2011
Posts: 656
|
|
Yup, this rain certainly slows the outdoor build 
It also costs a fortune as every time I'm confined indoors I find something else on eBay I 'really need'
I've just set up an indoor wash area which currently has my carb pair stripped apart in boxes and awaiting clean, reseal and rebuilding. It's not stopped me buying a set of seat belts though...
Last edited by AndyP57; 11th April 2012 at 08:38..
|
9th April 2012, 14:37
|
|
Senior Member
|
|
Join Date: Jan 2012
Location: Poole, Dorset
Posts: 615
|
|
Quote:
Originally Posted by AndyP57
Yup, this rain certainly slows the outdoor build
It also costs a fortune as every time I'm confined indoors I find something else on eBay I 'really need' |
I know what you mean Andy, I am sitting here ordering vinyl and sponge for my interior! My ebay feedback has gone up by about a hundred since I started the build!  |
9th April 2012, 17:53
|
 |
Senior Member
|
|
Join Date: Jun 2011
Posts: 935
|
|
Quote:
Originally Posted by tlrtone
I know what you mean Andy, I am sitting here ordering vinyl and sponge for my interior! My ebay feedback has gone up by about a hundred since I started the build! |
I also fully understand your situation - i really want the car finished but finding time off from work and family when it isnt raining is frustrating.
Im after diamond stitched vinyl for mine have you spotted any on your ebay searching.
I like your thinking for your interior - unlike all the cobra replicas we will see at stoneleigh - sammios have far more thought and imagination.
I wonder how many sammios we can get together - there is quite a few being built |
9th April 2012, 21:39
|
 |
Senior Member
|
|
Join Date: Sep 2011
Posts: 1,446
|
|
|
15th April 2012, 21:27
|
|
Senior Member
|
|
Join Date: Jan 2012
Location: Poole, Dorset
Posts: 615
|
|
The weather has not been kind over the last week or so, but a couple of evenings and today I did manage to get some more bits done.
I have built out the dashboard by 25mm. This gives me extra room for the gauges and also the rear view mirror. The angle of screen means it is all a bit tight so the extra dash area is useful - also for attaching my tonneau which I have yet to make up...
I then made up some side panels that will be covered and used them to build up the body areas so it looks like they are sunk into the sides. A bit of packing tape around them ensures the filler doesn't stick to them. The will be covered in cream and black vinyl in due course....
The bench seat back got an armrest made up for it, which also hides the catch for locking it into position...
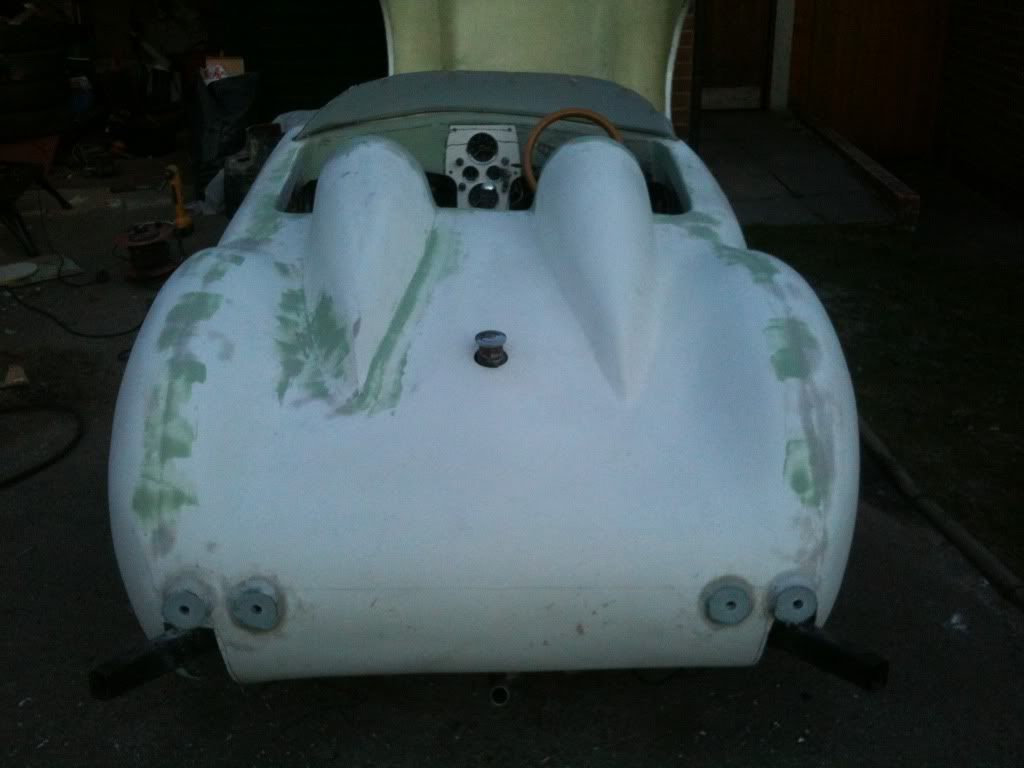
The twin humps took a bit of fettling and I brought them bothe forward a bit to sit in line with the seat back. I also put the screen on to look at how that fits and where I need to fill the body to make it all look nice..

Started to fill a few low spots while I have filler mixed, although I will not start in anger until I have had my inspection on Wednesday this week and fitted the bonnet. I will align everything then attack the bodywork!
Finally I made up the bracket for the exhaust, andbolted it all in position...

Phew, i managed to get quite a lot done when you see it all like that!!

|
15th April 2012, 21:34
|
|
Senior Member
|
|
Join Date: Aug 2011
Location: Emsworth
Posts: 119
|
|
Nice work Tony,
I do like the twin hump look!
|
15th April 2012, 22:07
|
|
Senior Member
|
|
Join Date: Jul 2011
Location: Hampshire
Posts: 146
|
|
Hi Tony,
I have the same problem as you with the passenger side front sill being 50mm forward of the driver's side. I have posted some pictures on my thread today. This is proven when I put the bonnet in place and the driver's side fits whereas the passenger side does not.
I am planning the same sort of cut & shut surgery that you have done. What did you use as a datum to take measurements from? I am not sure how true the front edge of the cockpit is going to be and am wondering about measuring relative to the engine. How did you get your line to cut?
Thanks
Chris
|
|
Currently Active Users Viewing This Thread: 1 (0 members and 1 guests)
|
|
|
 Posting Rules
|
You may not post new threads
You may not post replies
You may not post attachments
You may not edit your posts
HTML code is Off
|
|
|
All times are GMT +0. The time now is 15:44.
|


 Linear Mode

