I thought it was about time to do a reality check and make sure the gearbox actually fitted in my new transmission tunnel. I had to take the hacksaw to one of the unused lugs on the gearbox casing but now it fits with about 1/2" clearance on either side which hope is enough for any movement. And the propshaft fits as well, always a bonus....
 gearbox_fit1
 by
Robin Martin, on Flickr
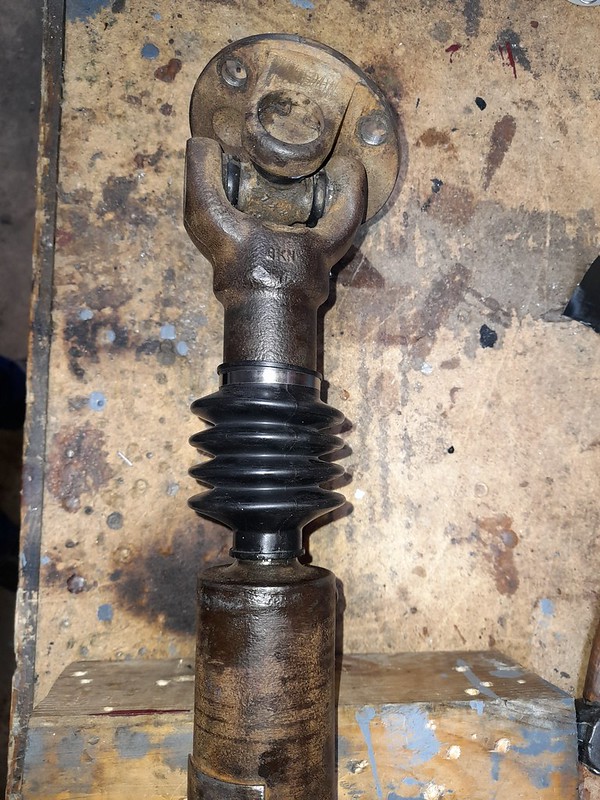
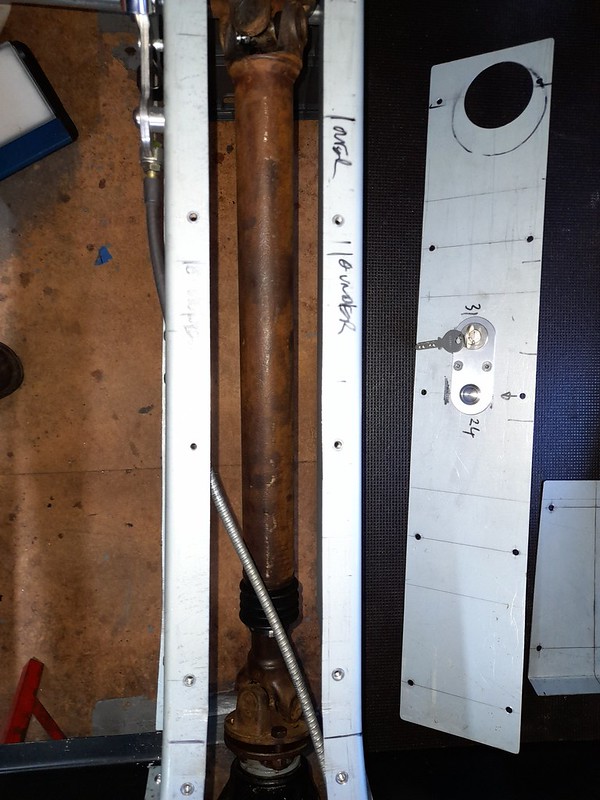 propshaft_check1
 by
Robin Martin, on Flickr
From the front it looks like I may have to adjust the position of the fuel line but I'll wait untill the gearbox is finally fitted before I do that.
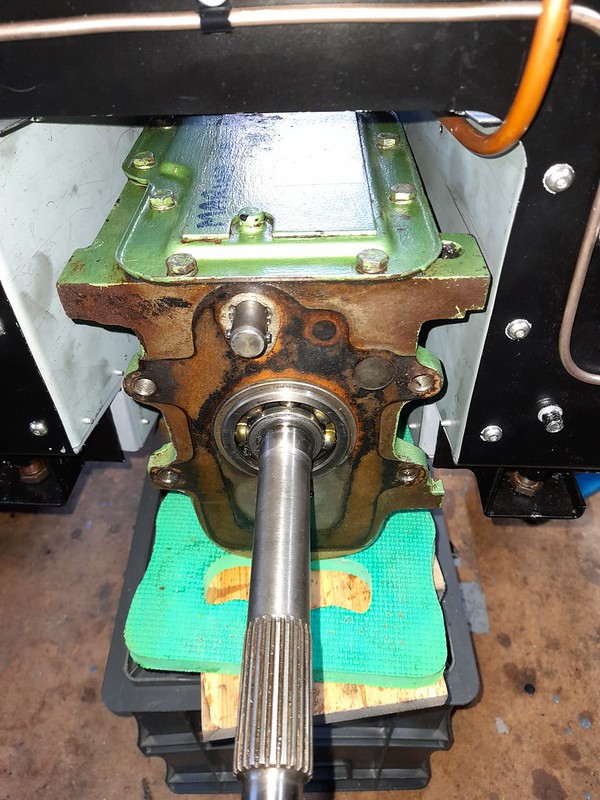 gearbox_fit2
 by
Robin Martin, on Flickr
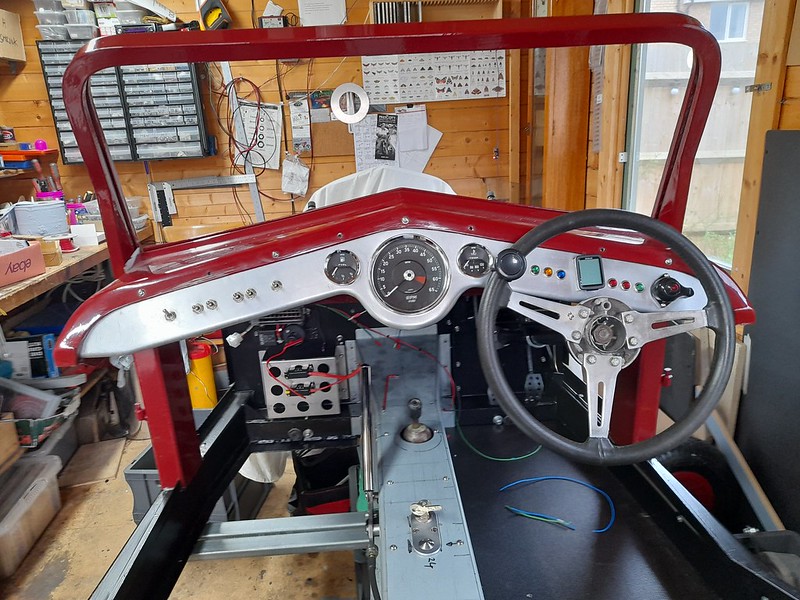
And I have taken the advice of various sages and fixed the tunnel top using M5 screws and rivet nuts. I have put the ignition switch on the top of the tunnel, the idea being all of the wiring is then almost impossible to get at for any would be joy rider. The switch itself is an industrial tamper proof item. NOS from ebay for a bargain tenner.
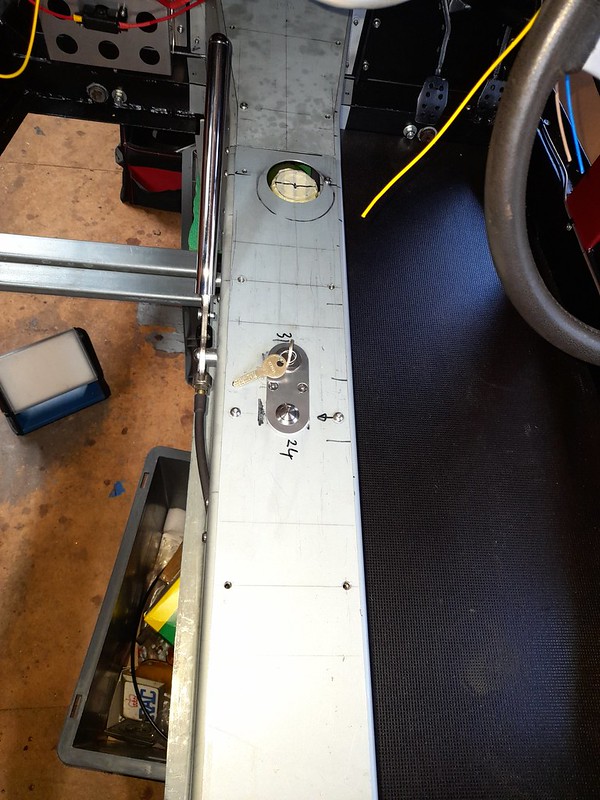 transmission_tunnel
 by
Robin Martin, on Flickr
And yes the gearbox is almost new! It looks like it had been recently fitted before I bought the car from the previous owner and builder.


 Hybrid Mode

