|
|
| Tribute Automotive Builds Discuss your Tribute kit build |

17th November 2012, 20:06
|
|
Senior Member
|
|
Join Date: Jul 2012
Location: Near Penzance cnwll
Posts: 146
|
|
Extra interior lights ! showing your age Nick.
|
17th November 2012, 21:31
|
 |
Senior Member
|
|
Join Date: Oct 2010
Posts: 1,622
|
|
I have tried putting an interior light on a standard MX5 roof, but the screws stuck out of the top of the fabric!  |
17th November 2012, 21:40
|
 |
Senior Member
|
|
Join Date: Nov 2011
Location: Emsworth
Posts: 810
|
|
@ Tribute....keeps the birds off!
@ Peeps....I prefer not to fumble in the dark  |
18th November 2012, 15:33
|
|
Junior Member
|
|
Join Date: Nov 2012
Posts: 12
|
|
Thanks You all for advise  I will find something cheaper and then starts fun with it.
Mx5's are cheaper in PL in winter too :P
I'm in UK every 6months so I will order kit then |
18th November 2012, 17:46
|
|
Senior Member
|
|
Join Date: Nov 2011
Location: Emsworth
Posts: 810
|
|
Quick go this afternoon. Sanded up the roll cage and sprayed two coats satin black. Also splashed a bit around the inside of the vents.
when it was time to go my 'instant spray booth had covered up the lightswitches so it was a fairly chaotic exit![IMG] 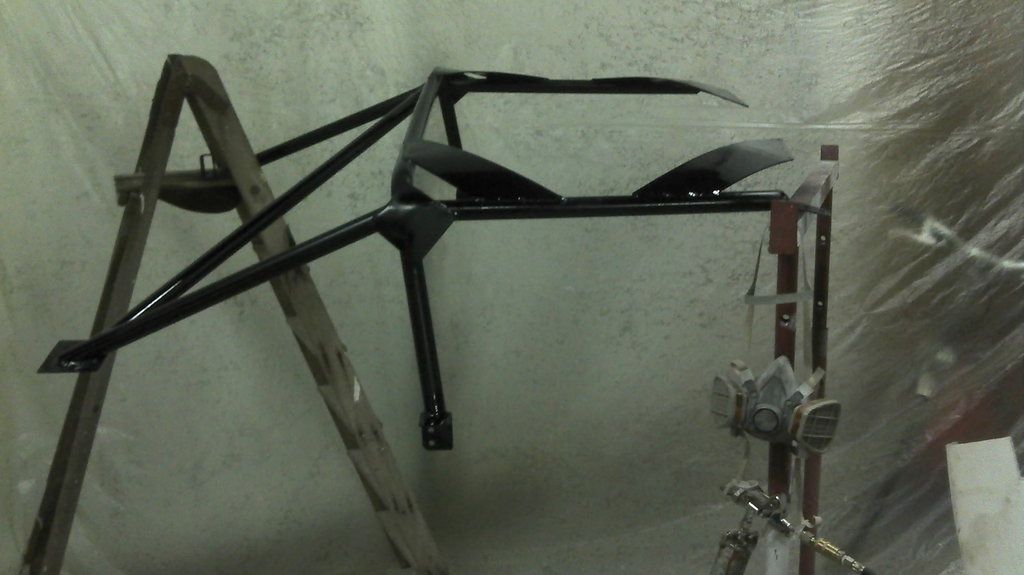 [/IMG]
[IMG]  [/IMG] |
18th November 2012, 20:00
|
|
Senior Member
|
|
Join Date: Jan 2012
Location: Falkirk, Scotland
Posts: 100
|
|
Did you spray the dog too????
|
18th November 2012, 20:07
|
|
Senior Member
|
|
Join Date: Jun 2011
Location: birchington, kent
Posts: 1,769
|
|
As long as it wasn't overspray...
|
18th November 2012, 21:27
|
|
Senior Member
|
|
Join Date: Nov 2011
Location: Emsworth
Posts: 810
|
|
He was al' white before I started  ... |
18th November 2012, 21:34
|
|
Senior Member
|
|
Join Date: Jul 2012
Posts: 576
|
|
Fumes getting to you?
|
24th November 2012, 16:58
|
|
Senior Member
|
|
Join Date: Nov 2011
Location: Emsworth
Posts: 810
|
|
Week 4......and not alot has happened due to serious dose of Man Flu. Not able to cope with the evening sessions!
Fitted some 6mm ply to the rear.
made a patten like this......uding a hot melt glue gun to hold the pattern together...[IMG] 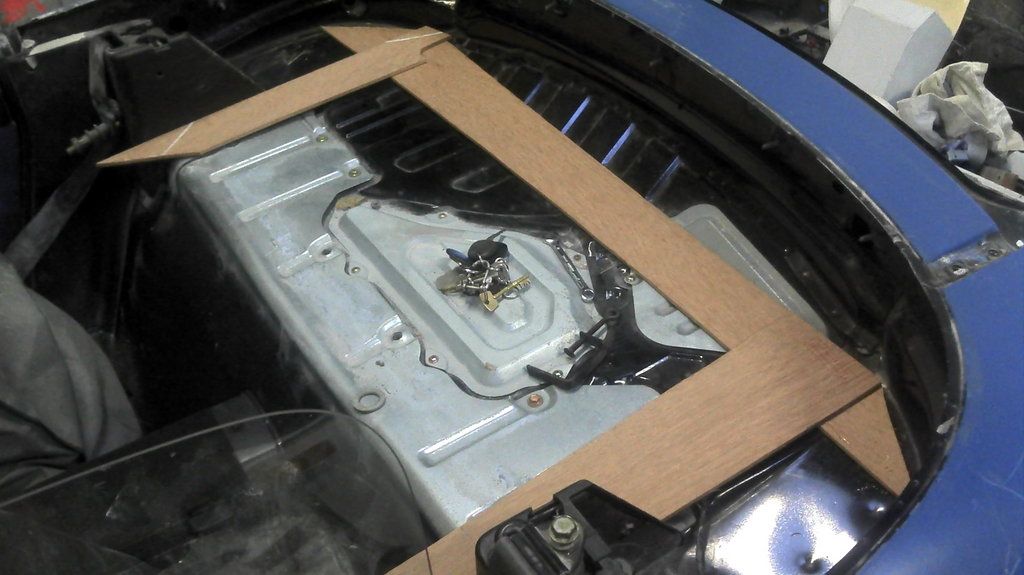 [/IMG].....
Transferd it like this.....
[IMG] 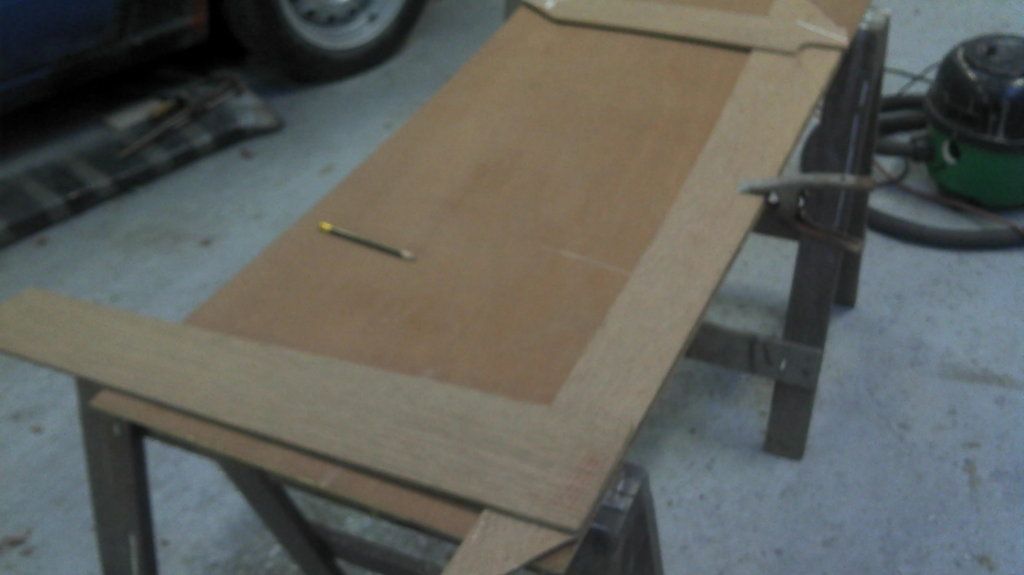 [/IMG]
The ends were done buy rough cutting a bit of ply then using the boatbuilder method to take a patten. A small piece of wood, parraelle sided, is used as a 'dummy stick' to transfer a mark on to the ply (spile board). Then to transfer the marks fix the ply Patten to the finished ply and using the dummy stick again reverse the process. This method is used for everything from planks to locker bottoms, and can be mm accurate.
[IMG] 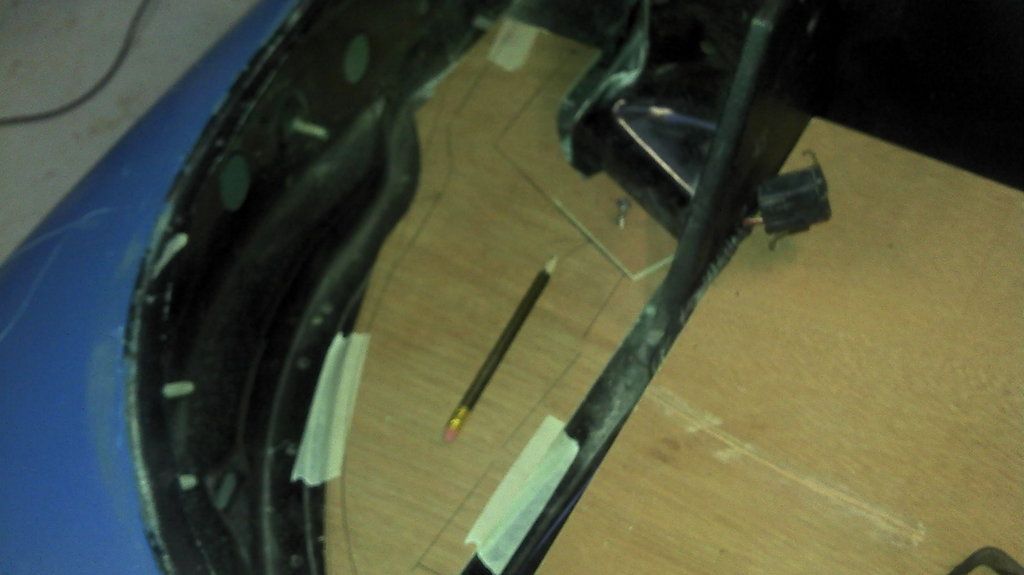 [/IMG][IMG] 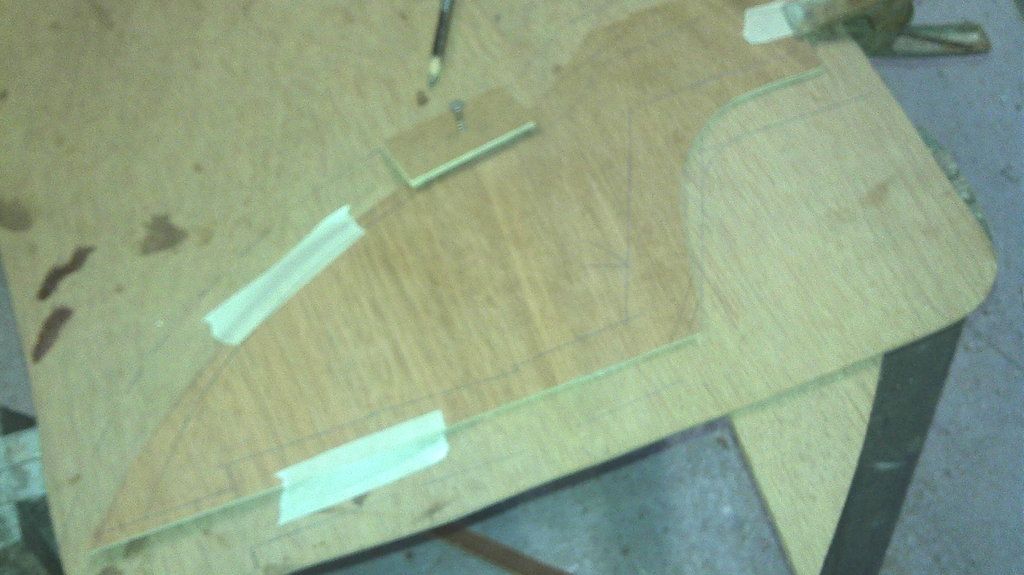 [/IMG]
[IMG] 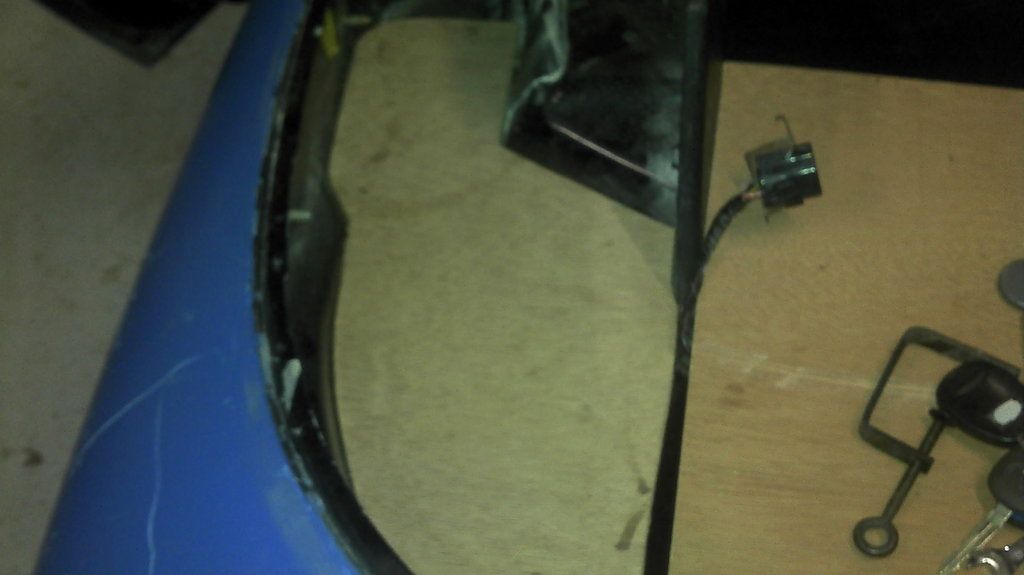 [/IMG]
in this case it nearly worked!
Last edited by seanick; 24th November 2012 at 17:00..
|
24th November 2012, 19:29
|
 |
Senior Member
|
|
Join Date: Dec 2011
Location: Devon
Posts: 550
|
|
Thanks for the helpful tutorial. Get well soon.
|
25th November 2012, 17:17
|
|
Senior Member
|
|
Join Date: Nov 2011
Location: Emsworth
Posts: 810
|
|
Back on form now thanks Froggy, crash diet. Spot the difference....[IMG] 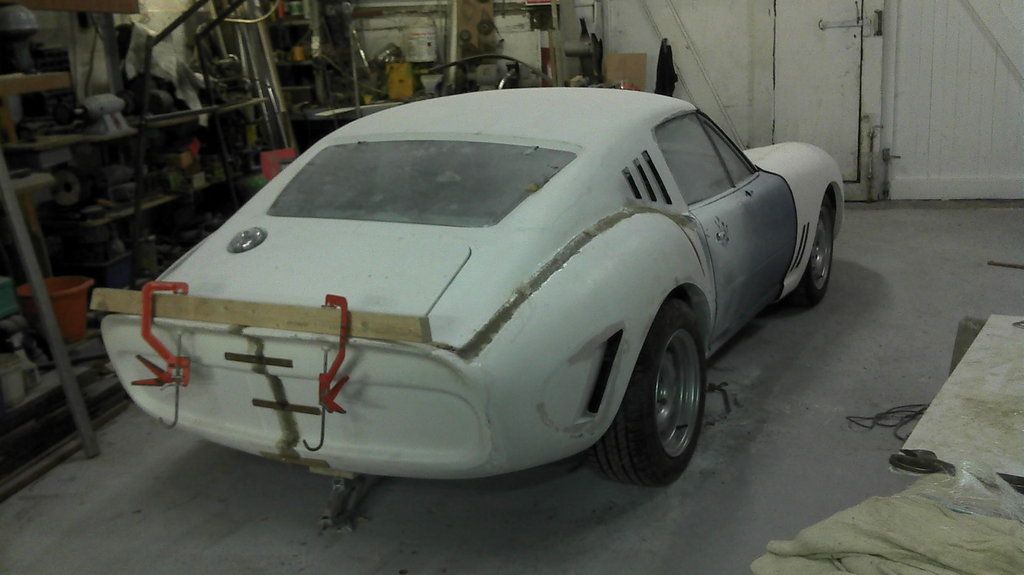 [/IMG] |
25th November 2012, 19:56
|
|
Junior Member
|
|
Join Date: Nov 2012
Posts: 23
|
|
+ 1" each side?
|
25th November 2012, 20:22
|
|
Senior Member
|
|
Join Date: Oct 2010
Posts: 1,622
|
|
Quote:
Originally Posted by seanick

Back on form now thanks Froggy, crash diet. Spot the difference....[IMG] [/IMG] |
Been there, done that! 

Rims bigger than you thought Nick? Looks fabulous whatever the reason  Driving it soon!  |
25th November 2012, 20:27
|
|
Senior Member
|
|
Join Date: Nov 2011
Location: Emsworth
Posts: 810
|
|
No, try again.....(your on the right lines)
Edit......
No, minus 2" each side. Now I dont need wheel spacers!
[IMG] 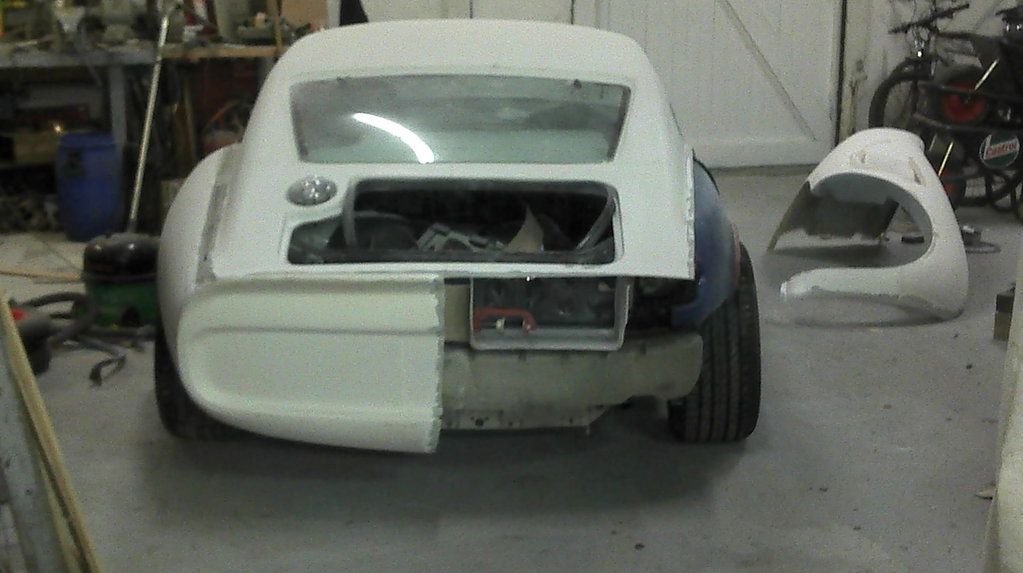 [/IMG]
Shrinking the second side. It was a ''deep breath and cut" moment!
[IMG] 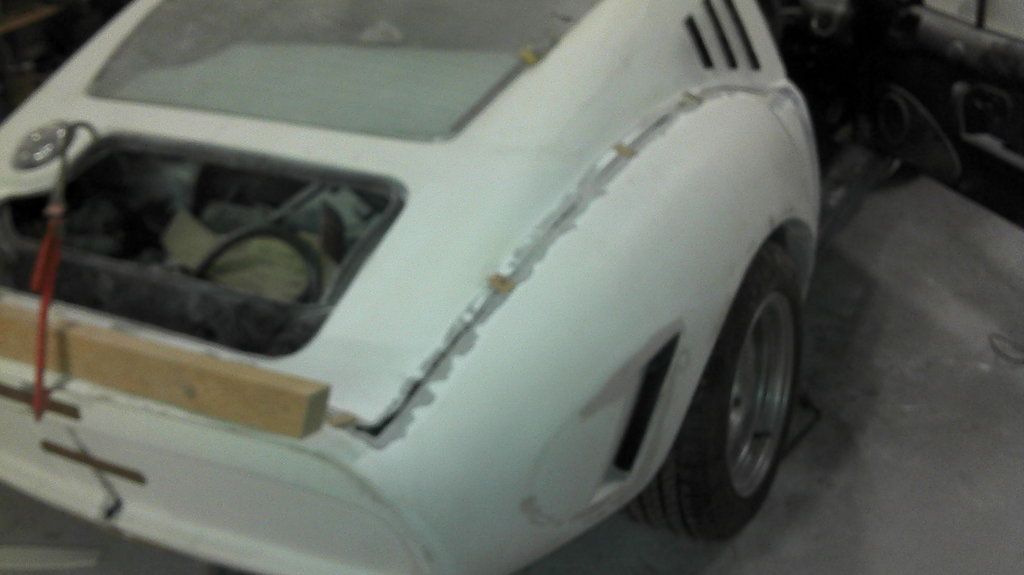 [/IMG]
Last edited by seanick; 16th December 2012 at 10:29..
|
25th November 2012, 20:35
|
|
Senior Member
|
|
Join Date: Nov 2011
Location: Emsworth
Posts: 810
|
|
Hope to have the rear on by this time next week, with a finished interior.
Have new plans for the front... 
@ Chris, did you have to stretch the initial/original mould for the Supra, or did you mould from the finished Supra?? |
25th November 2012, 21:01
|
|
Senior Member
|
|
Join Date: Oct 2010
Posts: 1,622
|
|
Quote:
Originally Posted by seanick
Hope to have the rear on by this time next week, with a finished interior.
Have new plans for the front...
@ Chris, did you have to stretch the initial/original mould for the Supra, or did you mould from the finished Supra?? |
The Supra was a one-off using the original 240Z moulds before modding for the MX5. Sold it as an unfinished project, so no moulds made. Did u want one?
Great work on the narrowing, it looks great. Can't wait for the front end! |
25th November 2012, 21:11
|
|
Senior Member
|
|
Join Date: Nov 2011
Location: Emsworth
Posts: 810
|
|
No, dont want one, I was just trying to understand the evolution of the shape.
Glad you like the narrow version. I reckon I could have taken out 3" per side and it would still look good.
[IMG] 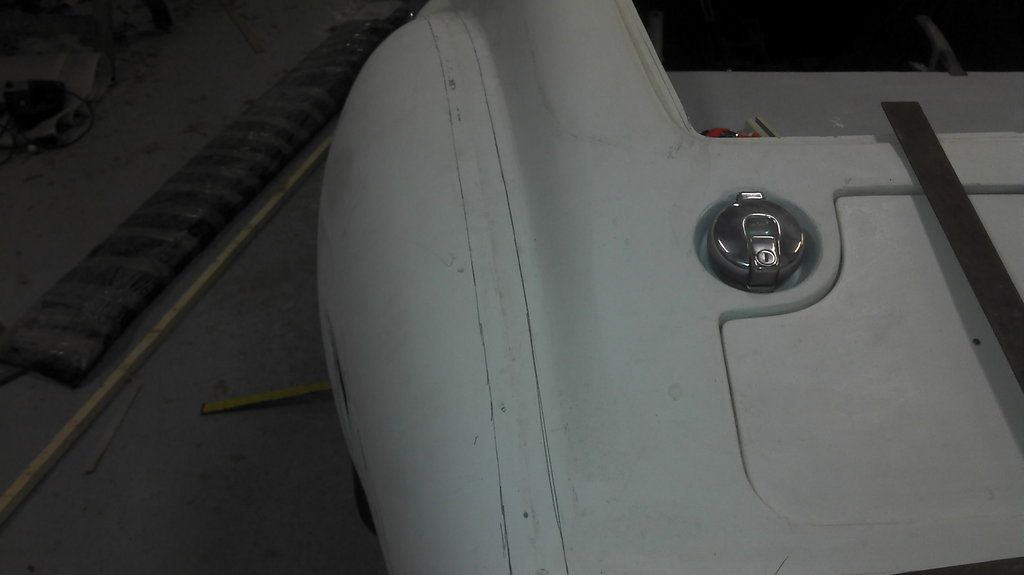 [/IMG]
On advantage is it makes the mid section between the wheels (panal after door) 2" longer too.
[IMG] 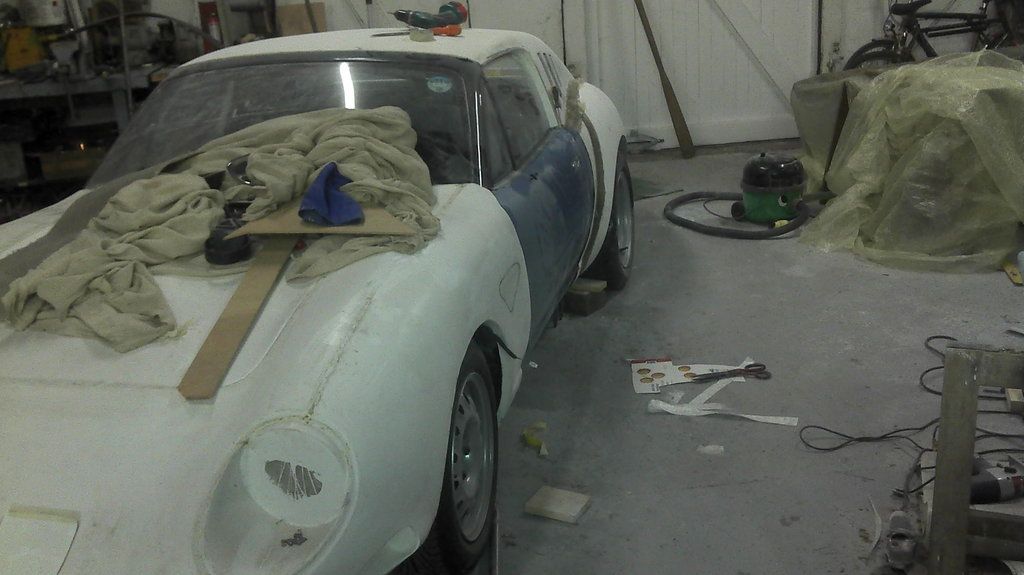 [/IMG] |
25th November 2012, 21:18
|
|
Senior Member
|
|
Join Date: Oct 2010
Posts: 1,622
|
|
Matting on the outside? Fill it over?
|
25th November 2012, 21:31
|
|
Senior Member
|
|
Join Date: Nov 2011
Location: Emsworth
Posts: 810
|
|
Cut, taper outside edge one inch each side of the join to a feather edge. Support, then 3 layers csm. Remove body, clean up inside and glass two layers. Replace body, grind off excess glass to just kiss the original gell then either add more glass or gell coat over. Fill and fair ad infinitum.
Works for boats!
Last edited by seanick; 25th November 2012 at 21:46..
Reason: fresh battery in phone.
|
|
Currently Active Users Viewing This Thread: 1 (0 members and 1 guests)
|
|
|
 Posting Rules
|
You may not post new threads
You may not post replies
You may not post attachments
You may not edit your posts
HTML code is Off
|
|
|
All times are GMT +0. The time now is 07:06.
|


 Linear Mode

