Mister Towed: - Your build thread keeps coming in handy (see below).
Since I got my kit I've read a lot of build threads on here & on other forums.
Given the skills you had to learn & the state of your chassis, your two year build was great.
Your many "challenges" also highlighted how even the simple jobs can take ages.
So I will keep chipping away and it will take how ever long it takes.
- - - - - - - - - - - - - - - - - - - - - - - - - - - - - - -
Spent the day watching films with my youngest daughter who was too ill for school.

Despite the fact it was actually sunny outside, I have no regrets about leaving the car alone.
However, I had a major breakthrough in my build plan this morning that I want to check with you...
Dreams, Nightmares and a Vision:
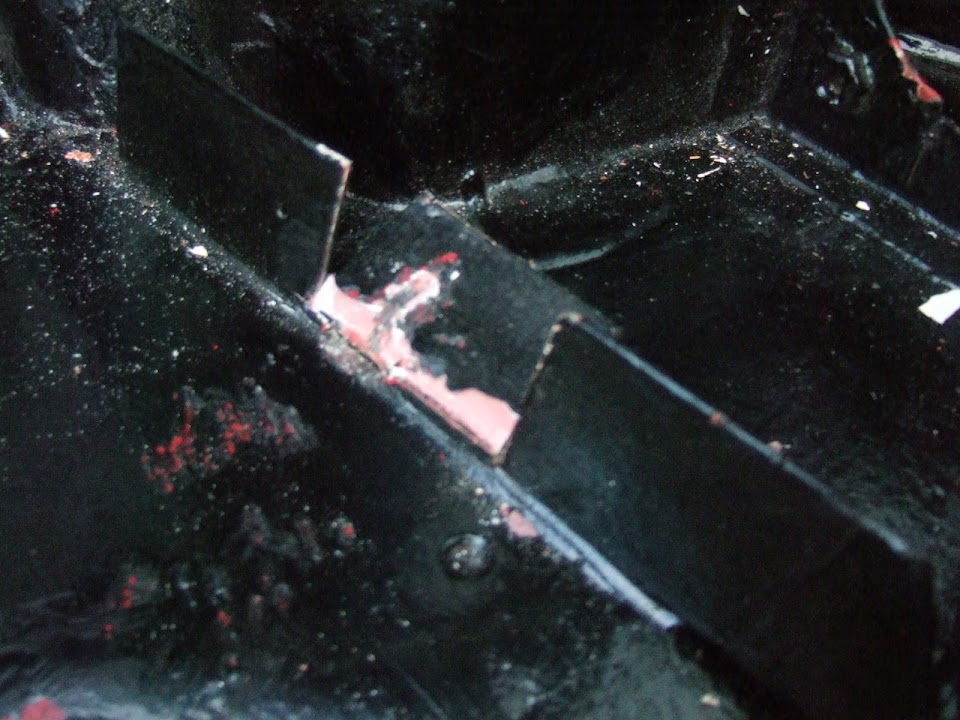
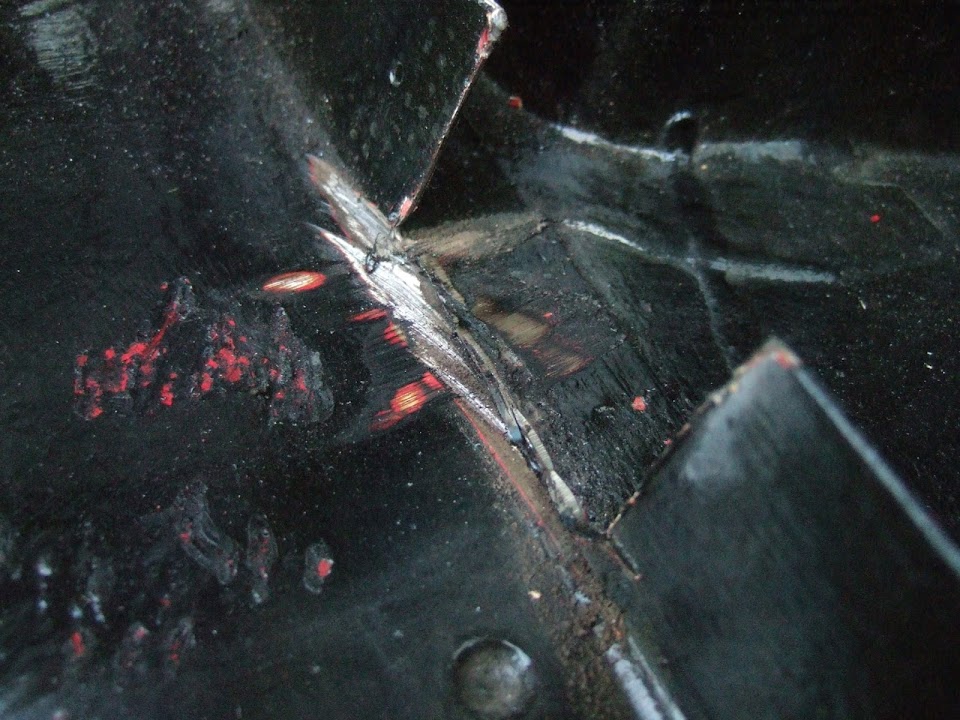
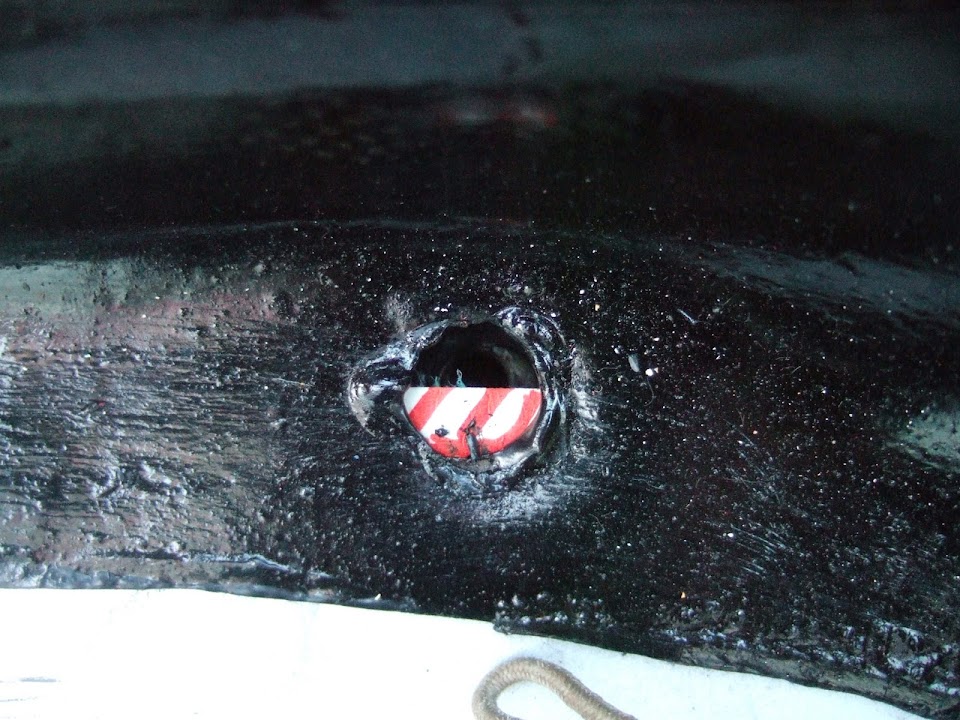
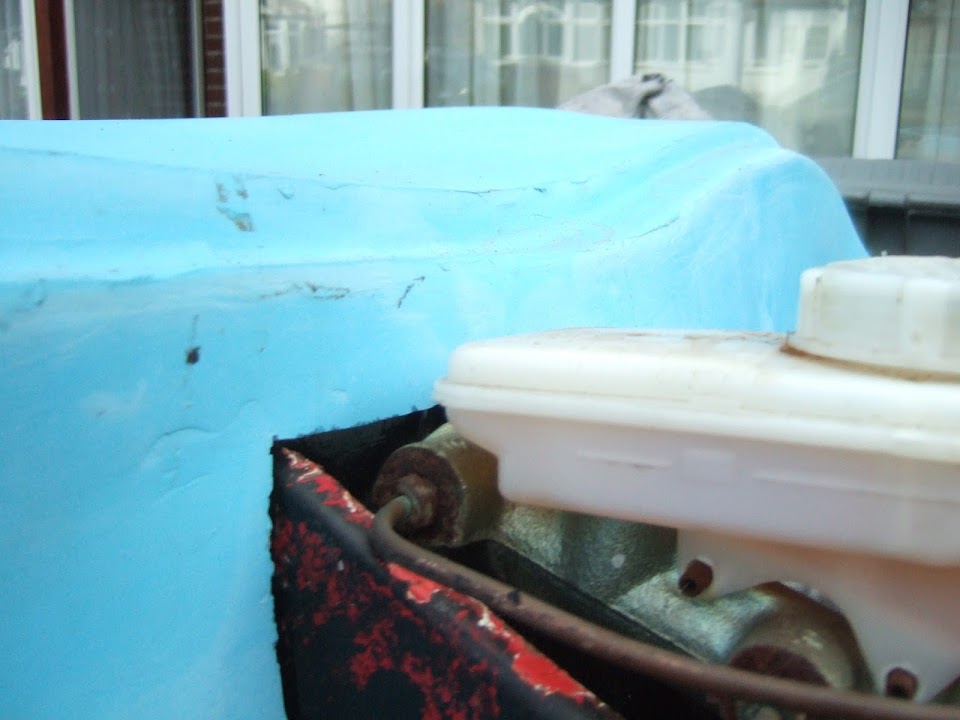
To say I have been worrying about the bulkhead "chop" would be an understatement.
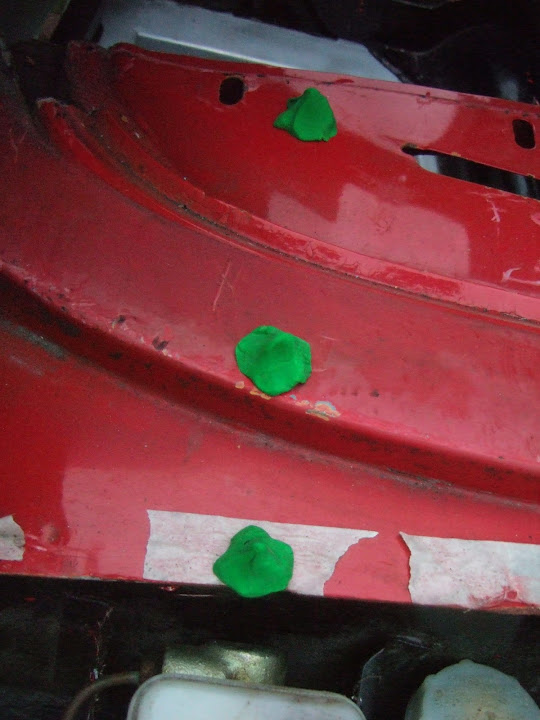
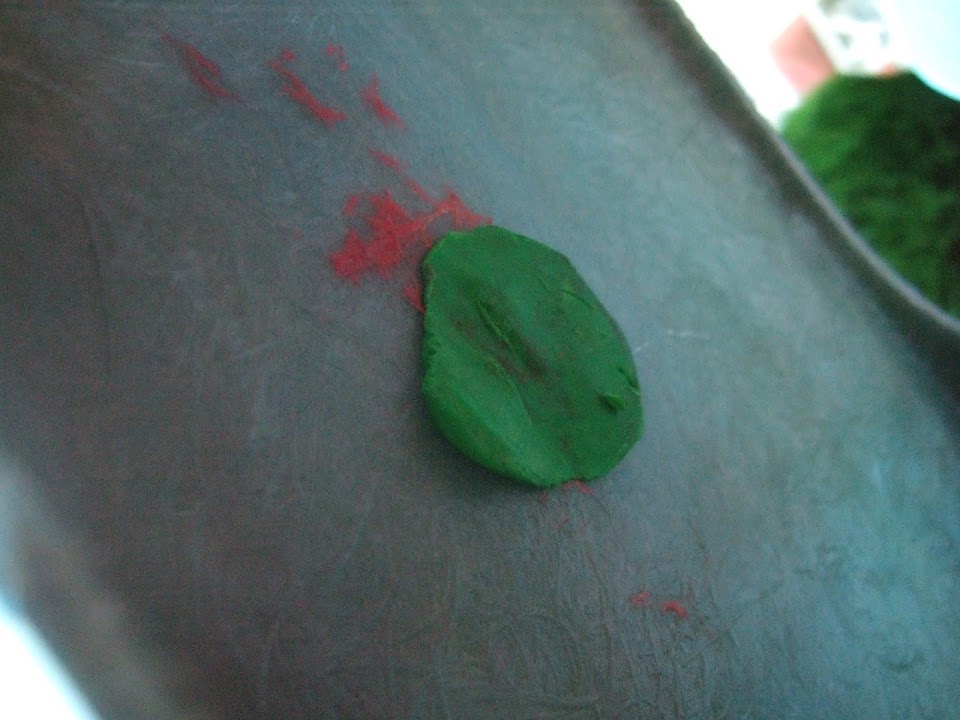
This is just a selection of the photos & notes I've been making trying to work out a plan.

Note:
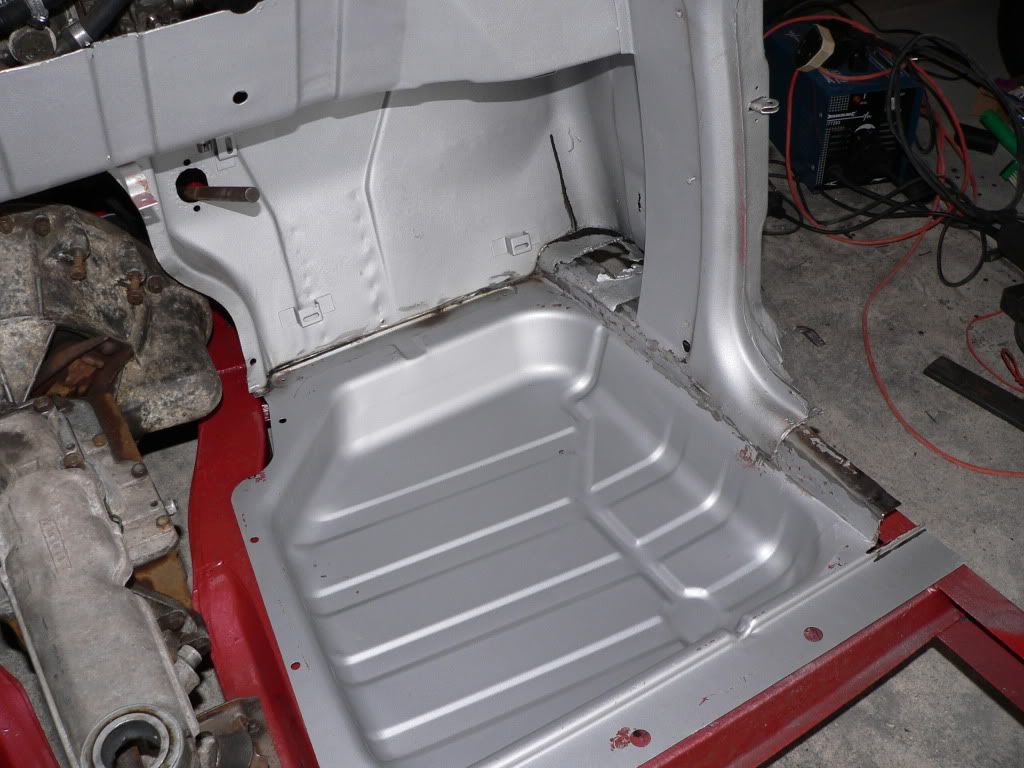
My old digital camera is really on its last legs now, so apologies for the poor quality photos.
These days as I put my head down to sleep I find myself mentally working my way around the bulkhead.
Just when I think I have resolved one issue, another one pops up.

So this dreaming about my bulkhead was really turning into a nightmare for me.
But this morning, it was like I'd been hit by a vision from above.
Why am I going to all this effort to make the bulkhead fit the Cordite body shell?
After all, the body shell isn't exactly symmetrical, or square, in the first place.

I've enjoyed watching how
Micky1Mo has made his shell fit the Spitfire bulkhead.

He was able to simply cut away the top of the bulkhead as he is retaining the windscreen, etc.
But the point is that the Spitfire bulkhead has remained completely intact.

So my "vision" is to simply avoid chopping the Spitfire bulkhead at all.
Instead, I will add a few cms to the Cordite body shell so it can fit over the top.
As well as
Micky,
Oxford, Viatron & christinedmc are currently cutting & re-working their body shells too.
I'm not saying it is easy, as I've never used fibreglass before, but clearly it is possible.
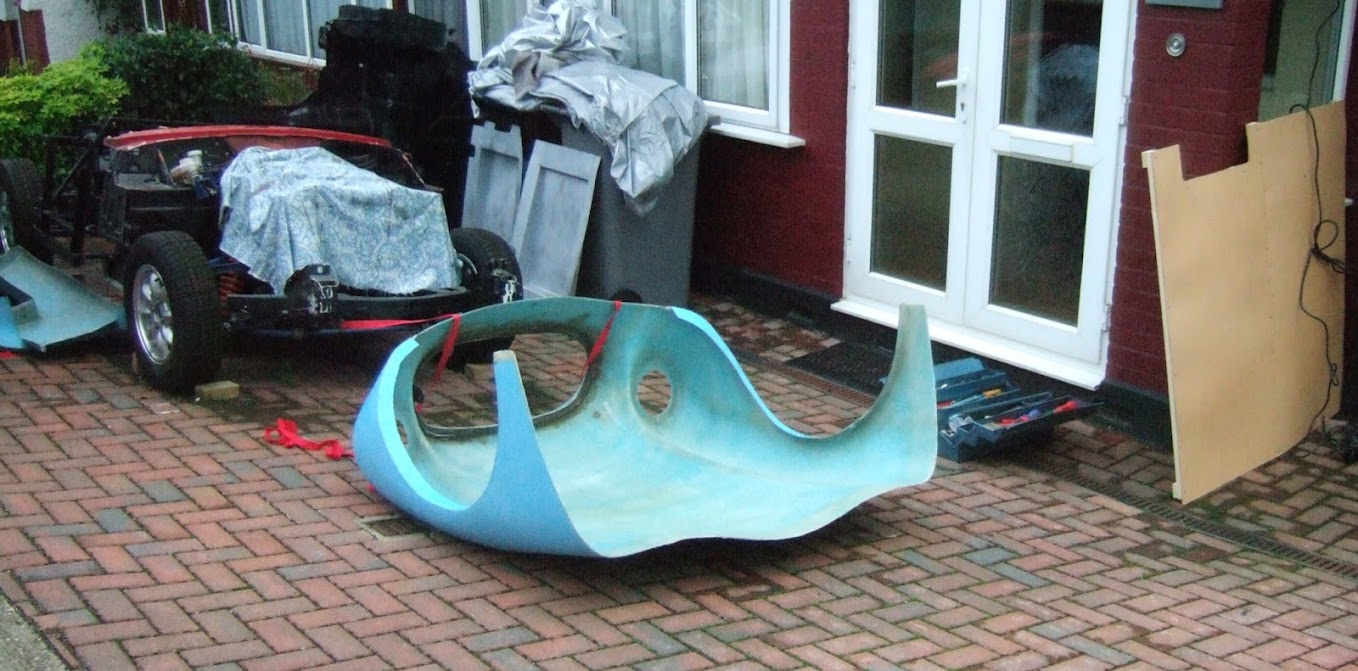
As I don't have Photoshop, it was back to a 'Blue Peter' cutting & sticking approach to illustrate my plan.
I think there are a few steps required to make this work:
- Cut the body shell into two halves.
- Then cut a strip from the bottom of the front half of the shell.
( This is because the body curves under at this point & that needs to match the rear section. )
- Then the gaps need to be filled with fibreglass and the whole repair strengthened.
This would also leave the lip for the bonnet to rest on unchanged.
Which looks quite straight forward on paper.

So what I need to do is simply repair the bulkhead and then fit it.
At this point I will be able to cut the body shell and work out how much of a gap I need.
"If any man on this forum knows of good reason why these two sections of bodywork can not be joined together, let them speak now, or forever hold their peace."
Jokes aside, is this a workable plan?
( I know there will be a lot of filling & sanding required to hide the repair/maintain body shape. )
It seems like a such a KISS approach, I don't know why I didn't think of it before.
Well, apart from the obvious "Can't see the wood for the trees".
Note:
I know this approach will increase the size of the door openings.
But the doors need to be sorted out by a professional anyway, so hopefully not an issue.
Especially as I plan to leave the curves at the bottom of the door openings as they are.
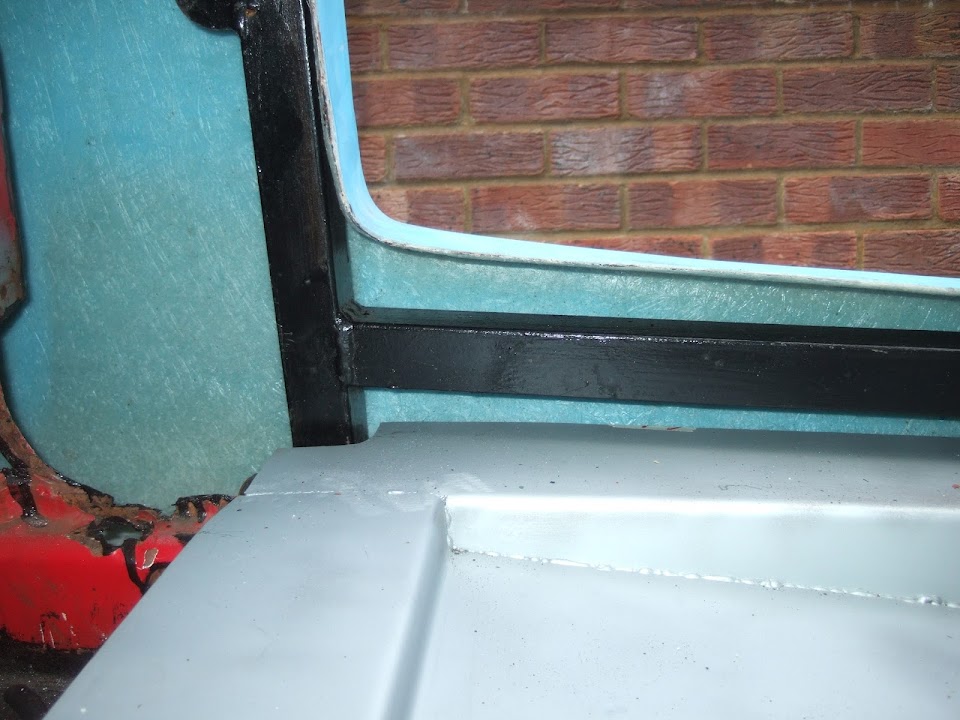
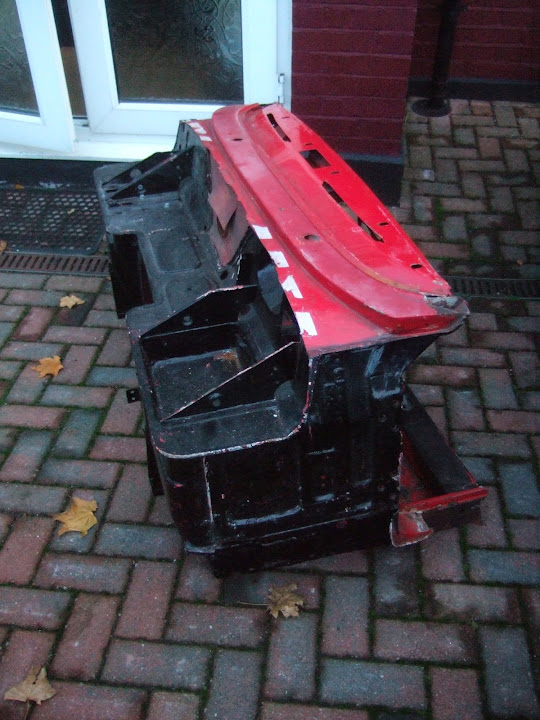
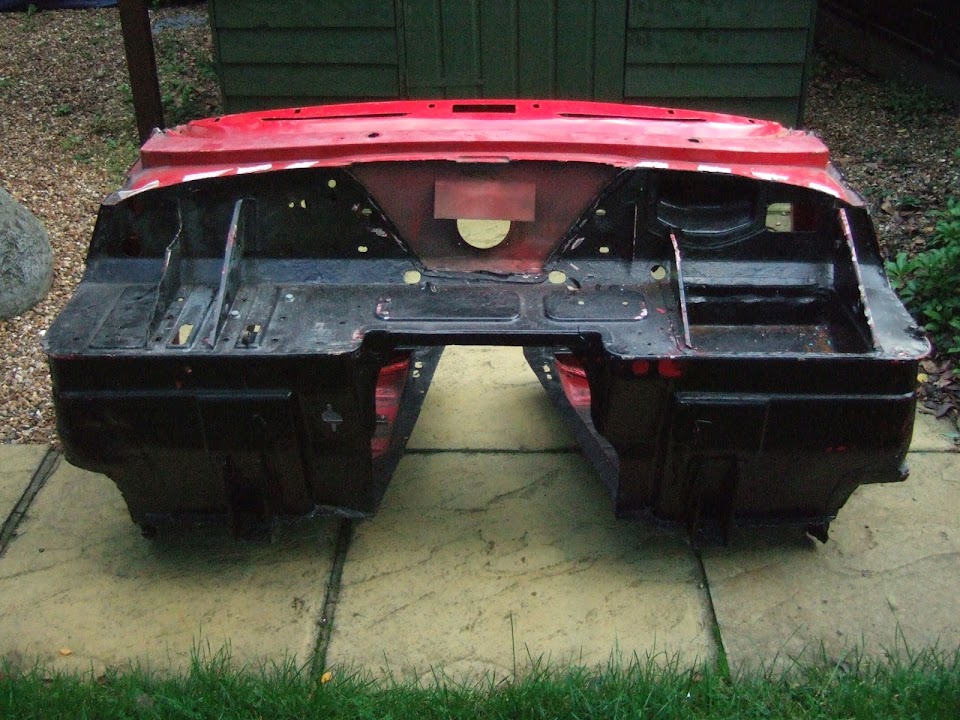
Spitfire Bulkhead Repairs:
If there is no "chop", then I
just need to worry about repairing the bulkhead.
Although I have been thinking about where the rear Cordite frame meets the bulkhead.
Initially I cut the body shell so that the chassis "arm" was boxed in on 3 sides.
But when I was lining up the frame the other day, it was clear it was pressing against the bulkhead.
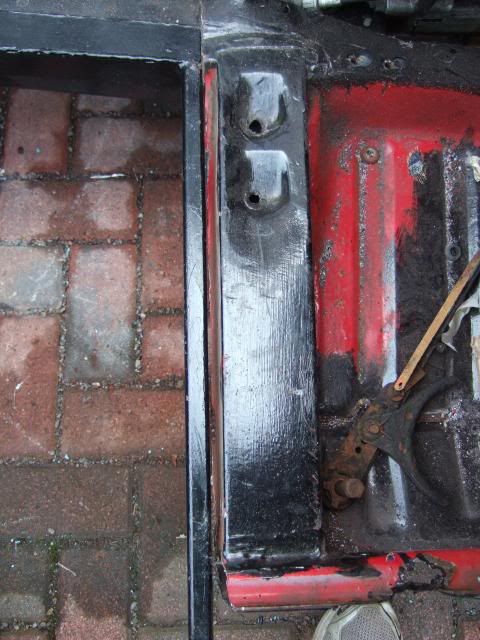
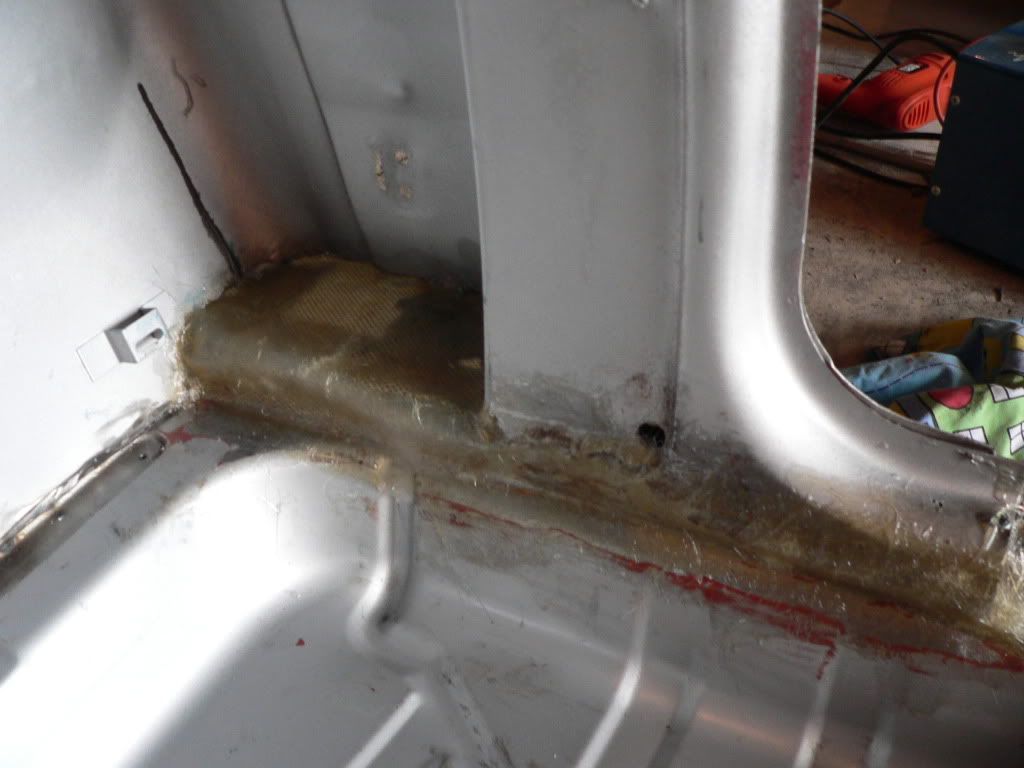
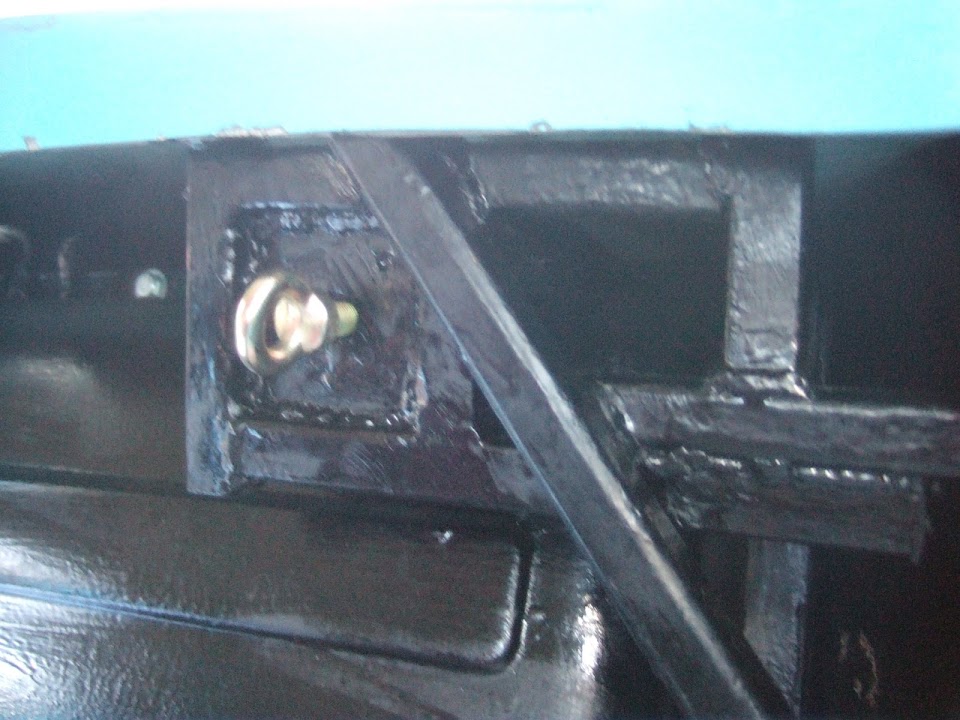
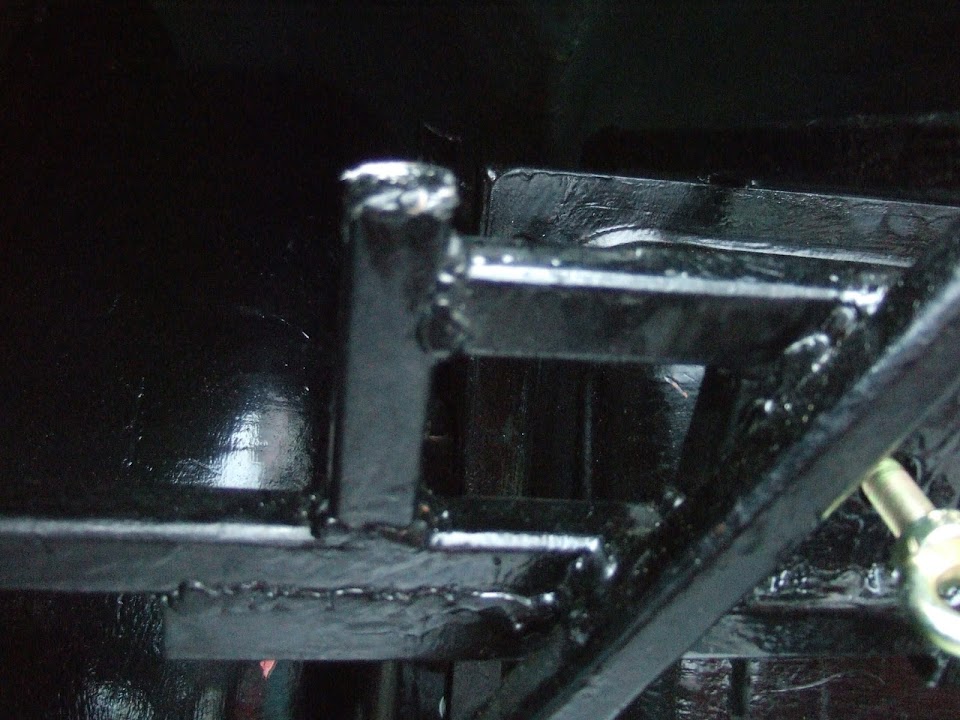
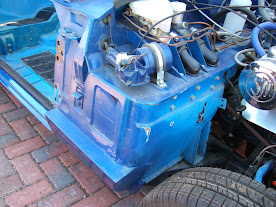
Going through
Mr T's build thread the other day gave me this great photo of his Herald bulkhead.
So I could simply cut the side nearest the rear Cordite frame away from my bulkhead.
Which would still leave the floors supported, & bolted to, the chassis.
Note: Herald chassis rail is full width at this point, unlike the "stubby" Spitfire arm.
However, I will be adding some box section to join the bulkhead to the rear frame.
So it should be possible to add some extra support in this area.
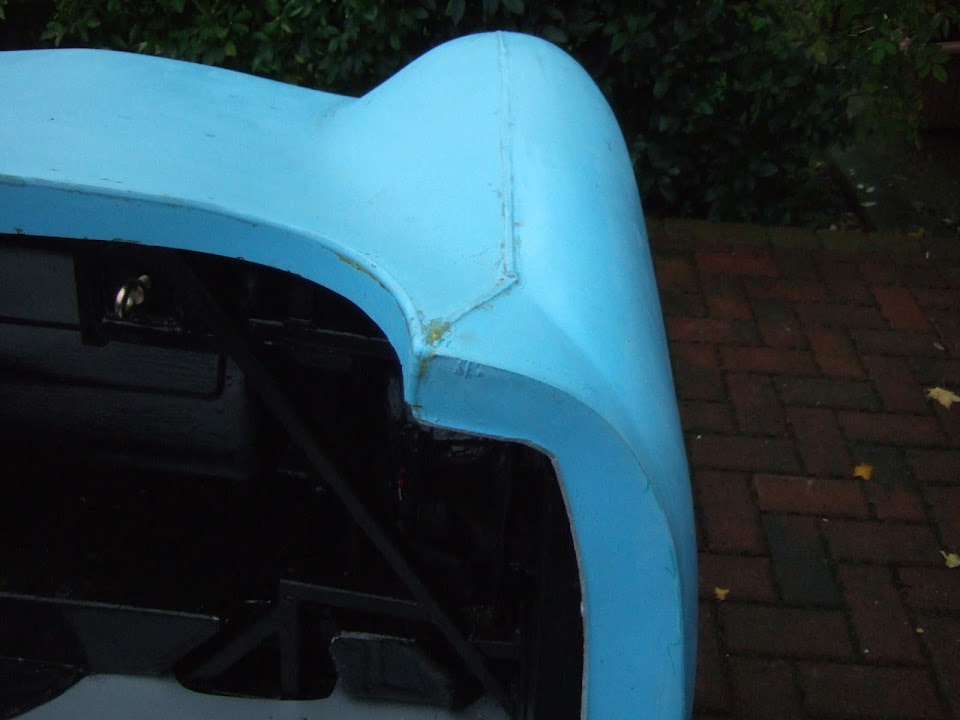
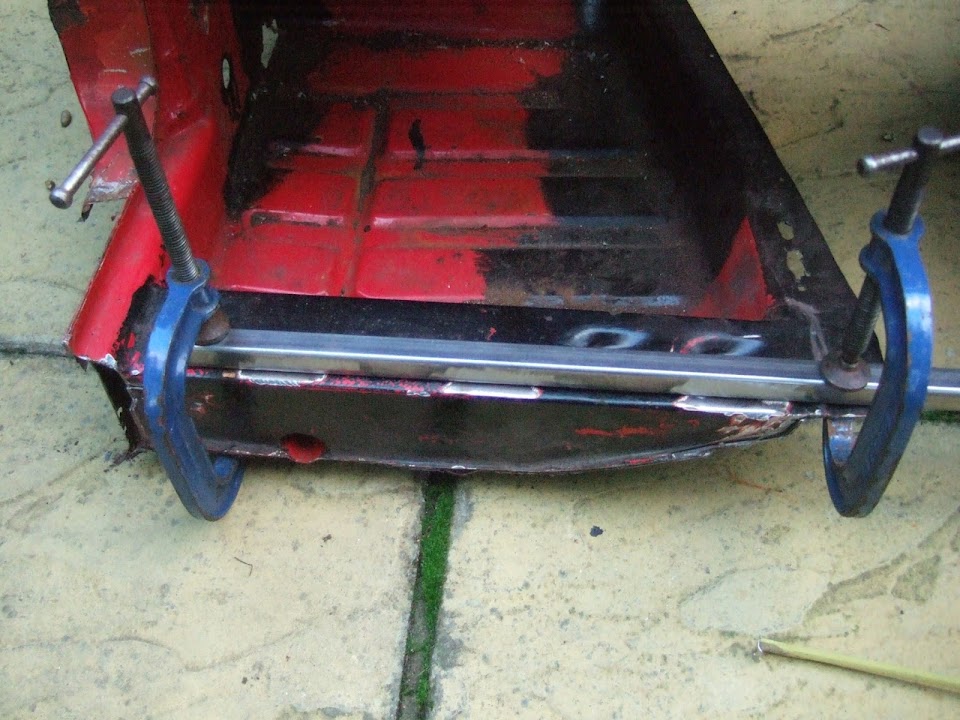
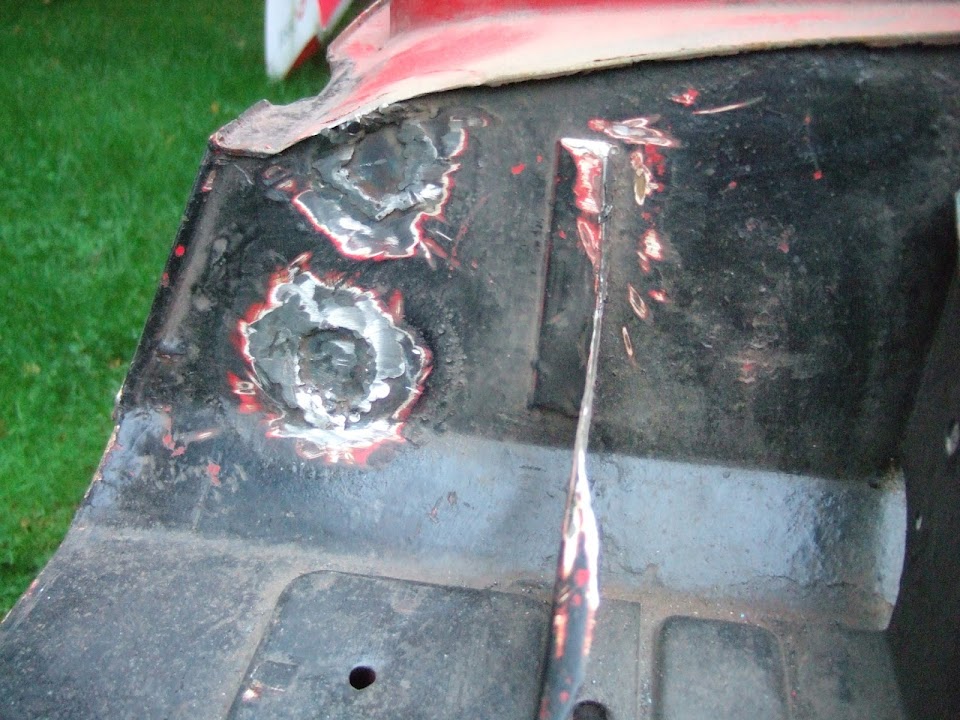
Mr T's build also gave me this great example of a fibre glass repair.
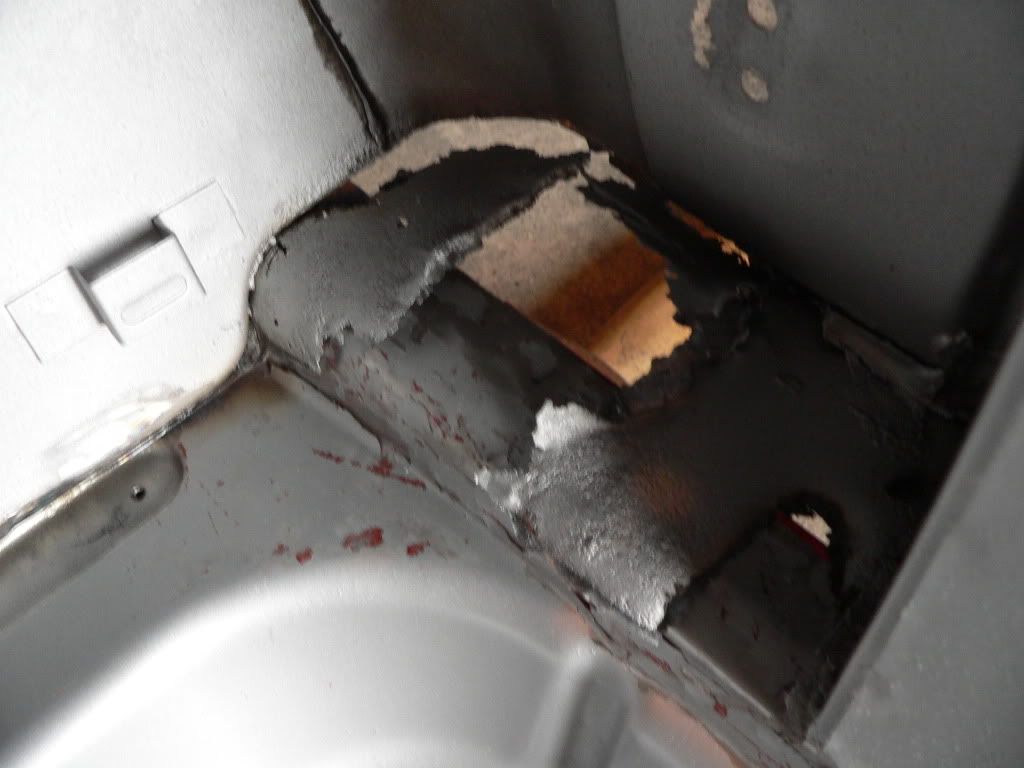
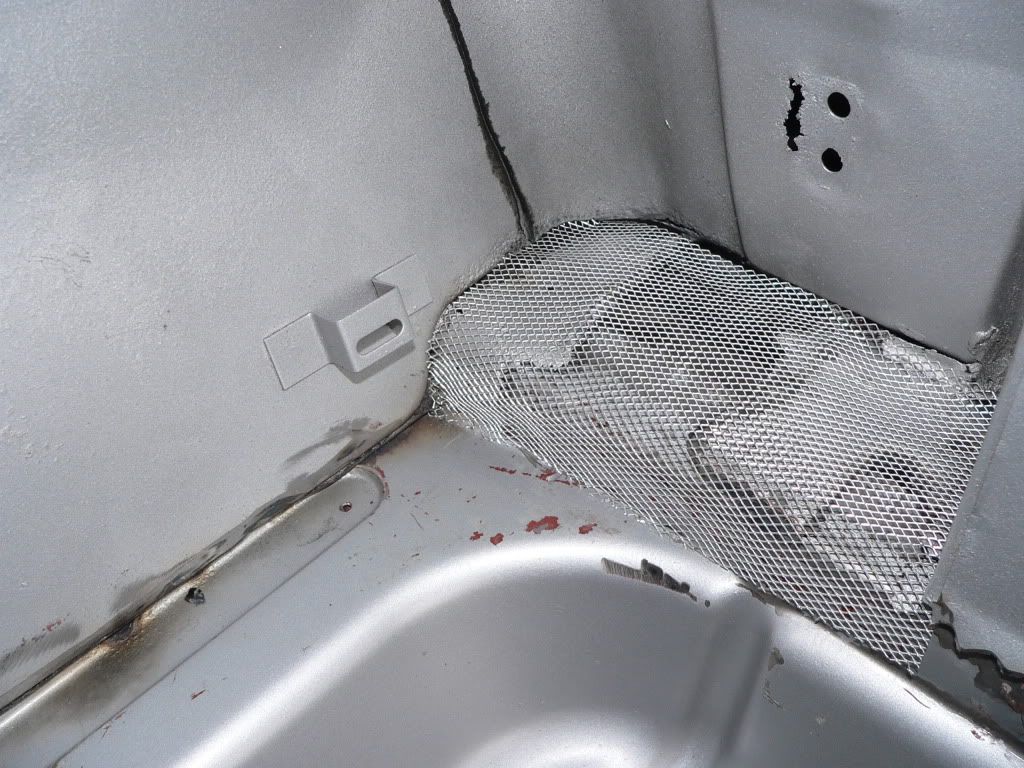
So I will tackle the bulkhead with a mixture of welding extra metal in & fibre glass repairs.
Until next time, take care, Paul.


 things might go a bit quiet for a while on Spyder 125.


 Linear Mode


