|
|
| Sammio Builds and discussions Sammio bodied car builds and specials |

18th February 2014, 12:35
|
|
Senior Member
|
|
Join Date: May 2013
Posts: 2,161
|
|
I fitted a mechanical one on my 7 type car, and
(I'm gonna get roasted for this!)
connected it from the engine to the gauge by a length of clear plastic pipe, and jubilee clips.
It worked for the 5 years or so I kept the car, and seemed quite suited to taking the 80psi pressure okay.
(That was on a Ford 2 liter pinto engine)
It was very easy to do Paul, you should have a go at it.
After all a man of your skills...........
|
19th February 2014, 08:29
|
 |
Senior Member
|
|
Join Date: Feb 2012
Location: Wembley, London
Posts: 5,056
|
|

Scottie - Now you mention it, working with flexible tubing doesn't sound as scary as bending copper pipe to shape. 
So I will finish my list of questions & possible jobs for the Triumph garage and pay them a visit shortly.
- - - - - - - - - - - - - - - - - - - - - - - - - - - - - - -
30 Minutes...
That was the sum total of the time I managed to get outside yesterday, due to a combination of weather and other plans. 
But the good news was that I actually still took those 30 minutes, which all count towards the total build time. 
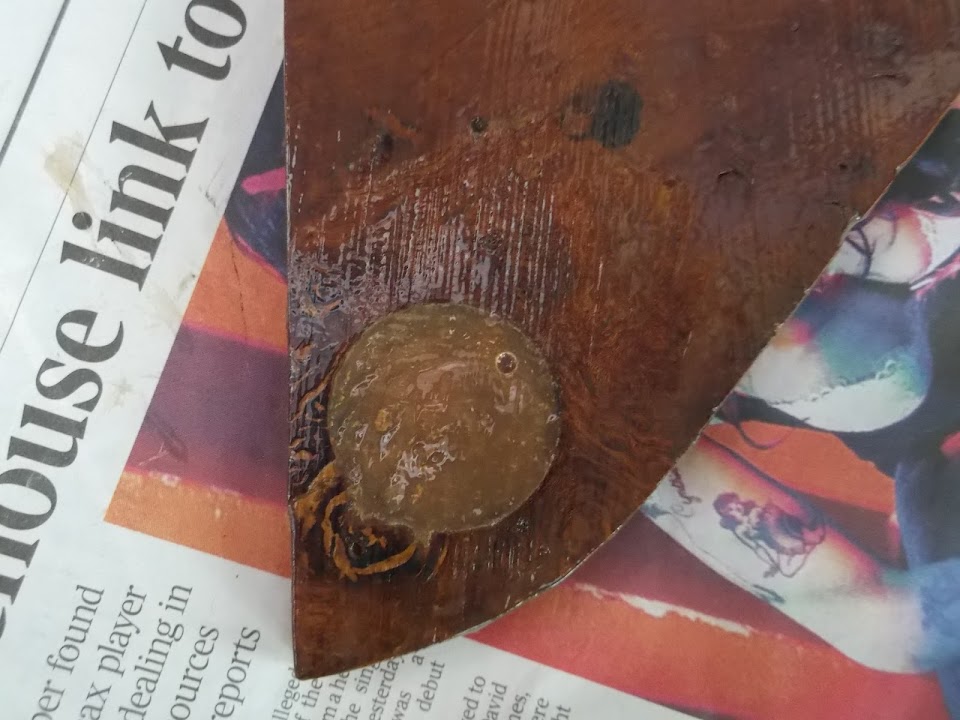
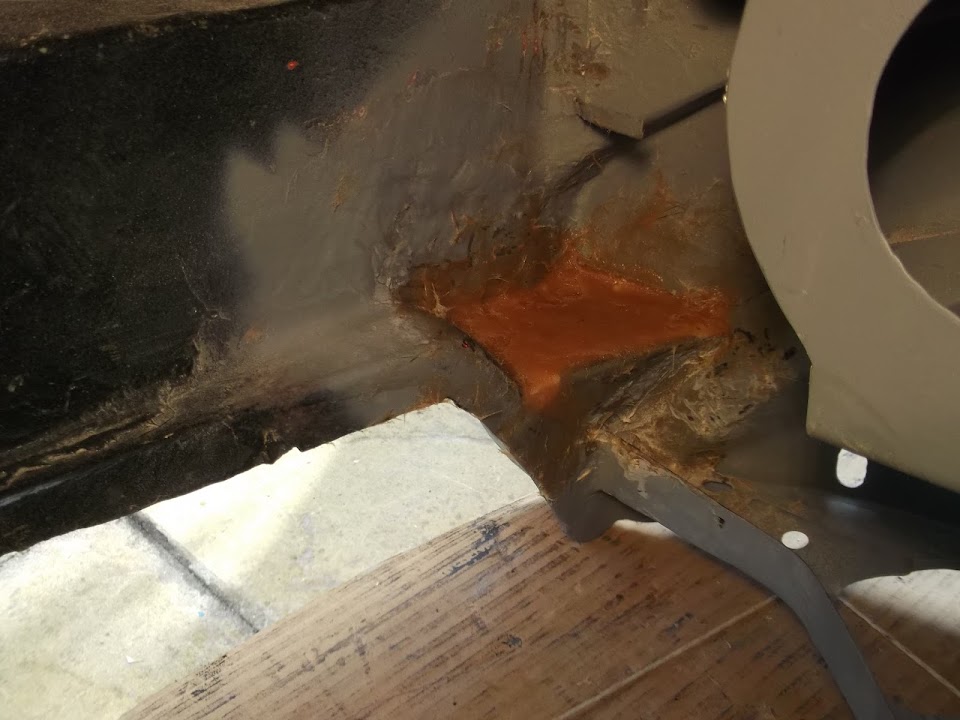
I mixed up and applied some fibreglass filler to the welding work & gaps in the corners of the dash.

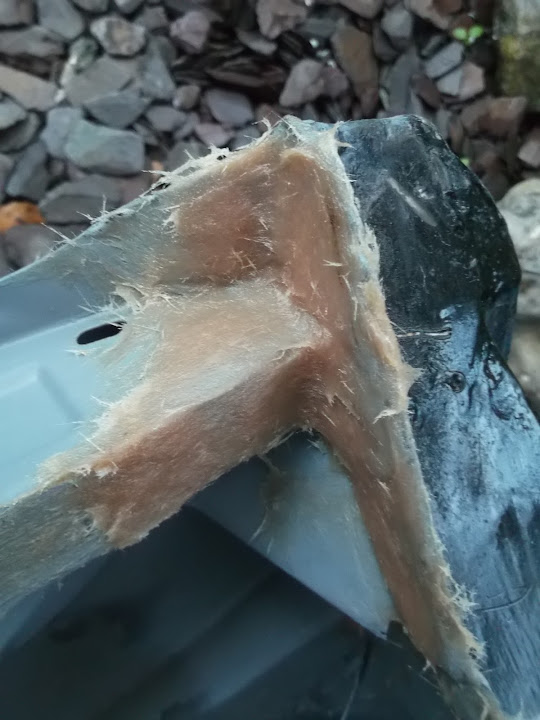
I also blocked up the small holes left at the top of the "A" pillar on driver's side.
( Sorry it is not a great photo. )
You may remember I was planning to box this whole section in with fibre glass over some mesh.

However, this seemed a bit OTT given the fact I'd used filler to seal up the top of the A pillar on the passenger side.
So whilst the driver's side was certainly a bit rougher, it wasn't too hard to fix.
With a bit of luck and working around some family stuff, I might get a bit more done today.
Cheers, Paul. 

|
19th February 2014, 10:59
|
 |
Senior Member
|
|
Join Date: Dec 2011
Location: Devon
Posts: 550
|
|
30 minutes!!!!!!!!!!! How did you ever find the time to go to work???????LOL.
|
19th February 2014, 17:40
|
|
Senior Member
|
|
Join Date: Feb 2012
Location: Wembley, London
Posts: 5,056
|
|
Froggyman - Well its funny how torrential rain outside never stopped me working in an office. 
- - - - - - - - - - - - - - - - - - - - - - - - - - - - - - -
And it all started so well...
The sun was shining, our two cherry blossoms are starting to flower, life is good.

I attacked the filler with my grinder, belt sander & sand paper until, as usual, everything was covered in dust.
But after cleaning up the bulkhead, the next coat of etch primer could be applied.


I was happy to leave the underside of the de-mister vents quite rough, as long as there were sealed.

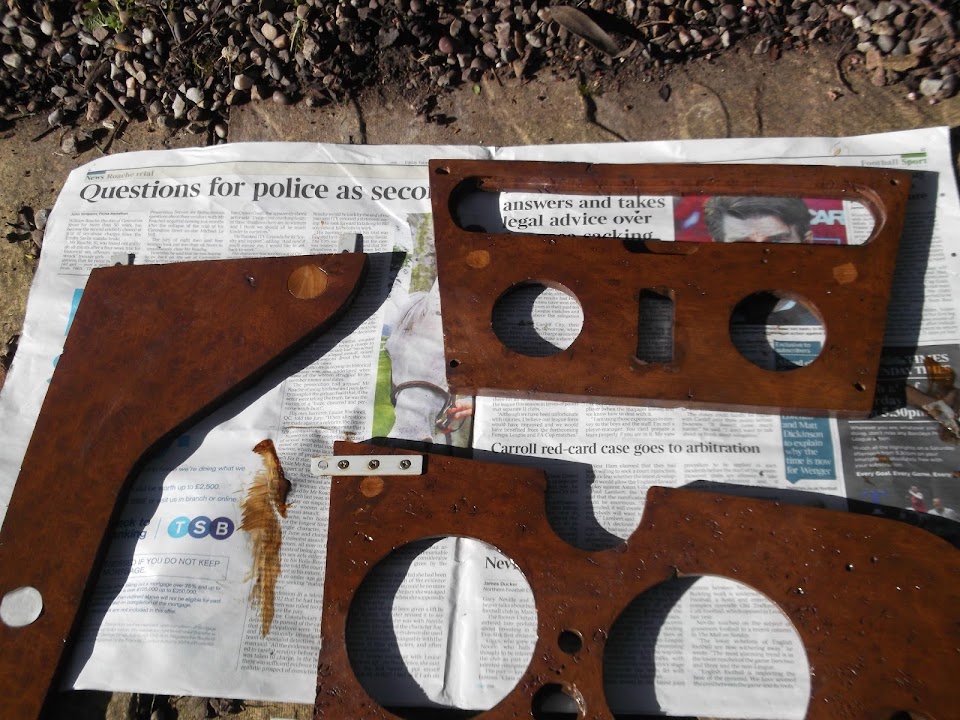
I also got the final coat of wood stain on the front faces of the dash board.


Although I will have to come back and "spot treat" the filler I added in the old choke hole.

Whilst I had the stain out I treated the "caps" of my patent pending removable clothes line system.

But no sooner had I got back to the house to get ready for a family trip to the cinema and the rain returned!! 
So I ran back out and pulled the tarpaulin over the bulkhead where I was working on it.

I also put the dash pieces into the summer house and brushed out the rain drops as best I could.
The light was fading when we got home, but I made an attempt to get some more jobs done.
I used a small brush to add some extra wood stain to the filler in the choke hole.
Try as I might, I couldn't keep the stain in just the middle circle, so had to brush it out a bit.
( Nothing a bit of rubbing down can't fix. )

I also got some more black paint on.

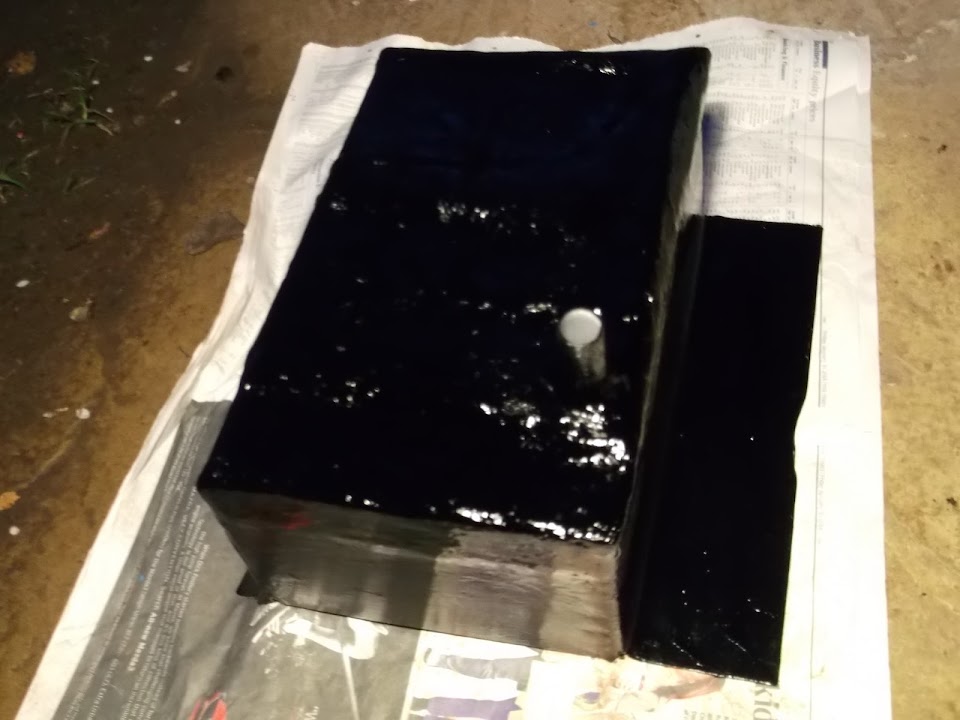
Hopefully this will allow me to put the "blanks" into the central section of the dash.
Which, in turn, will allow me to add the final locating bracket.
Then I made my first attempt to use some expanding foam in the cut off windscreen post "cave" on the passenger side.

Once it had expanded some more, I scraped it flush (ish) using a bit of cardboard while it was still soft.
No idea what it will look like tomorrow, but if it has worked out OK, I'll use some on the driver's side.
Until next time, take care, Paul.
|
20th February 2014, 16:19
|
|
Senior Member
|
|
Join Date: Feb 2012
Location: Wembley, London
Posts: 5,056
|
|
Still chipping away...
Got a very brief break in the rain to work in...
I put the "blank" for the cigarette lighter hole in.

At which point I decided it might actually look better with some wood filler in the hole.
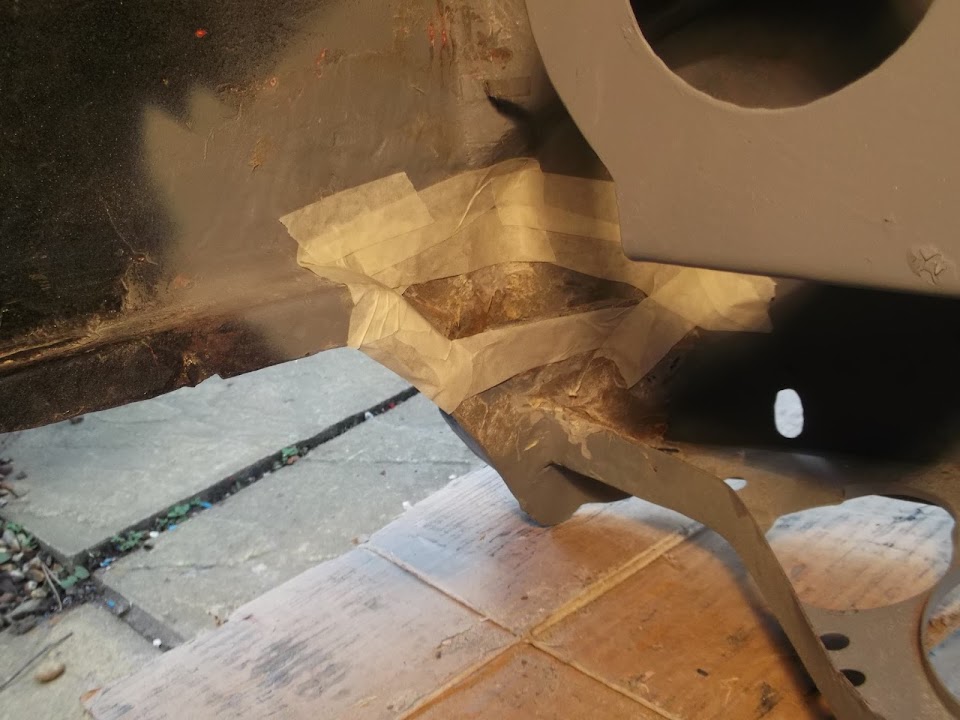
I cleaned up the excess expanding foam & really should have masked off the area first.

I mixed up some filler and covered the back of the cigarette lighter hole "blank".

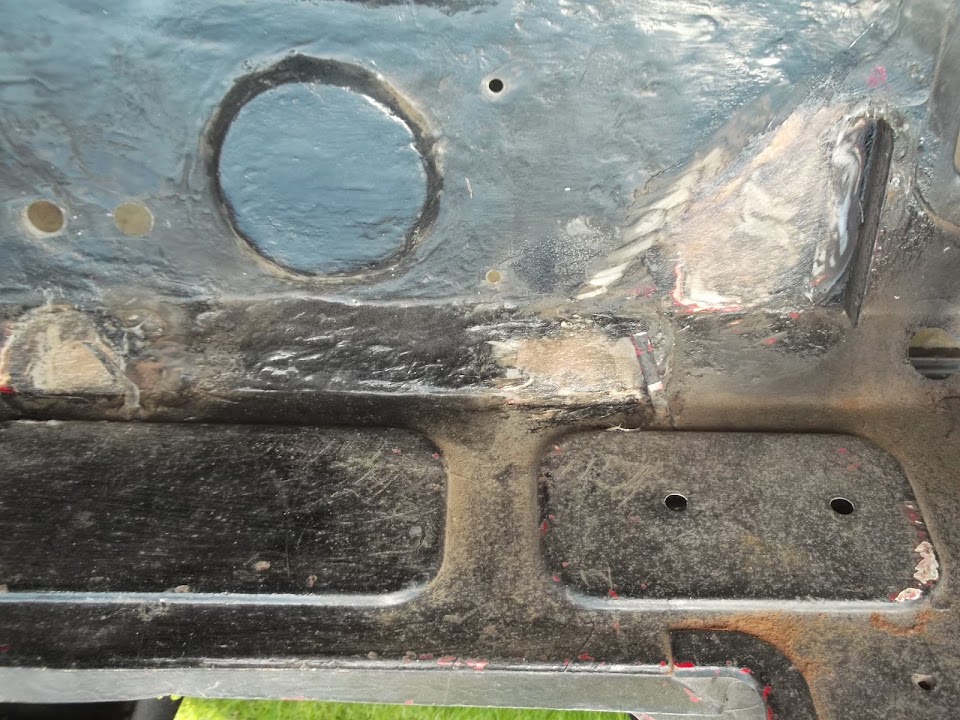
I then covered the top of the expanding foam.
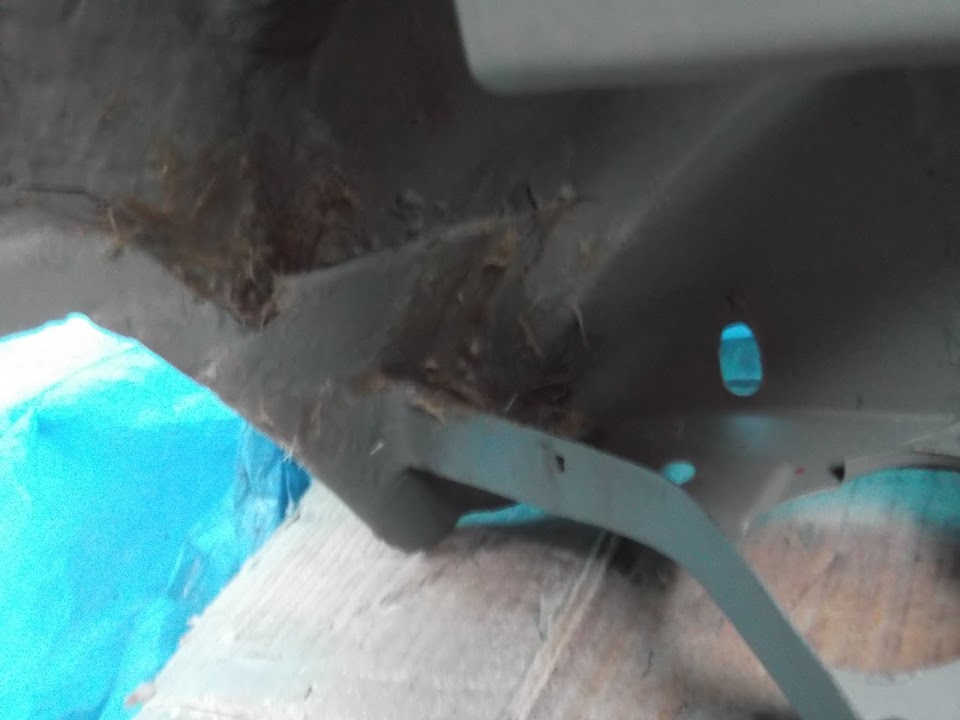
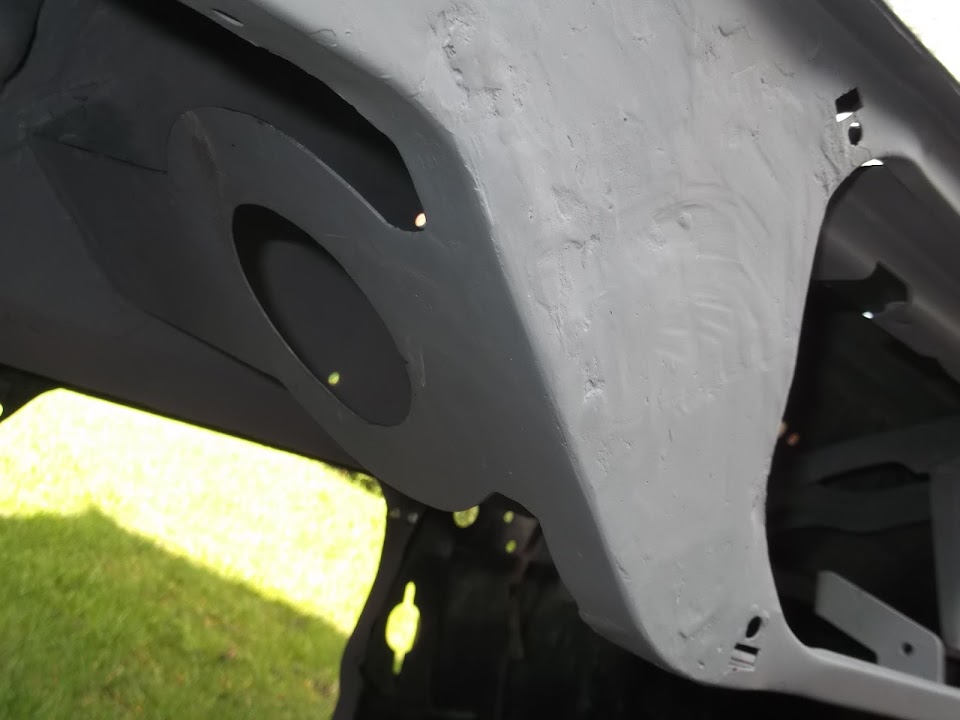
Plus the area behind the end of the dash where I welded in a support bracket the other day.

I did the same behind the end of the dash on the other side too.
( Not a great photo. )
I made templates for the battery cut off switch & two lengths of small box section.

As I want to re-enforce the metal dash before I bolt the switch into place.
I then cut the box section roughly to length, as I will find tune it to fit.

At this point I couldn't see how it fitted in the dash as I'd already covered the bulkhead.
In fact, the sky was so dark, & it had got so cold, I had packed almost everything away.
Sure enough, shortly after that last photo was taken the rain returned.
Until next time, take care, Paul.
|
21st February 2014, 17:18
|
|
Senior Member
|
|
Join Date: Feb 2012
Location: Wembley, London
Posts: 5,056
|
|
Forever and a day...
There came a point today when I simply despaired at how long even the simplest of tasks was taking me.
Thankfully, I quickly pulled myself together and remembered that "one job at a time" is the best I can do.
I believe it has officially been declared the wettest winter on record, so I must see the work I have done as a positive.
So I will keep my focus on the remaining bulkhead jobs as they are slowly, but surely, being ticked off.
My first job of the day was to clean up the filler at the back of the cigarette lighter hole.
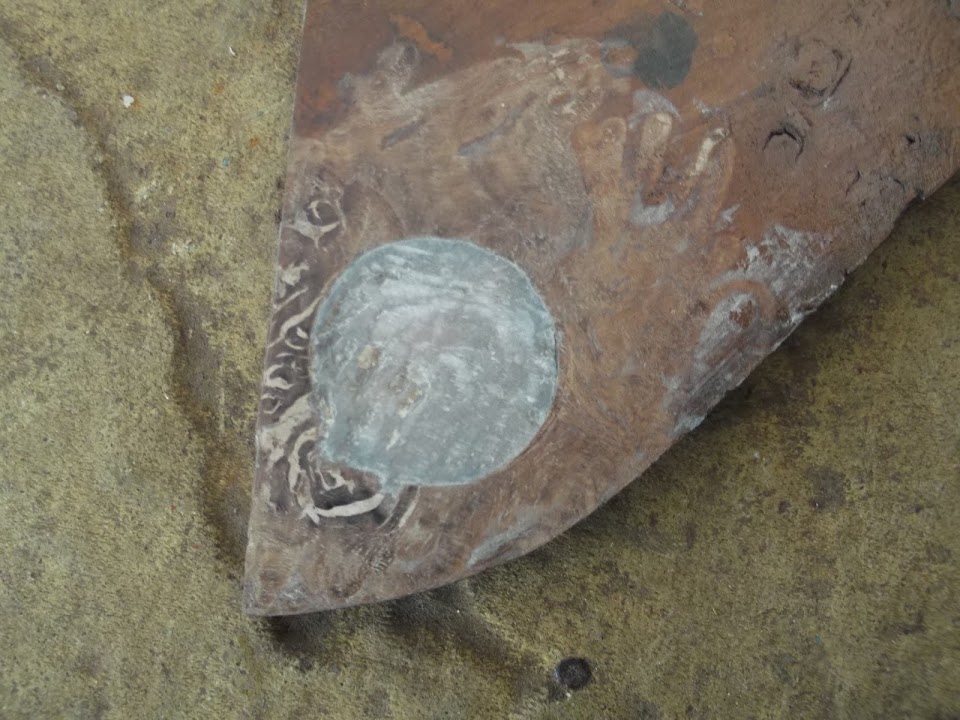
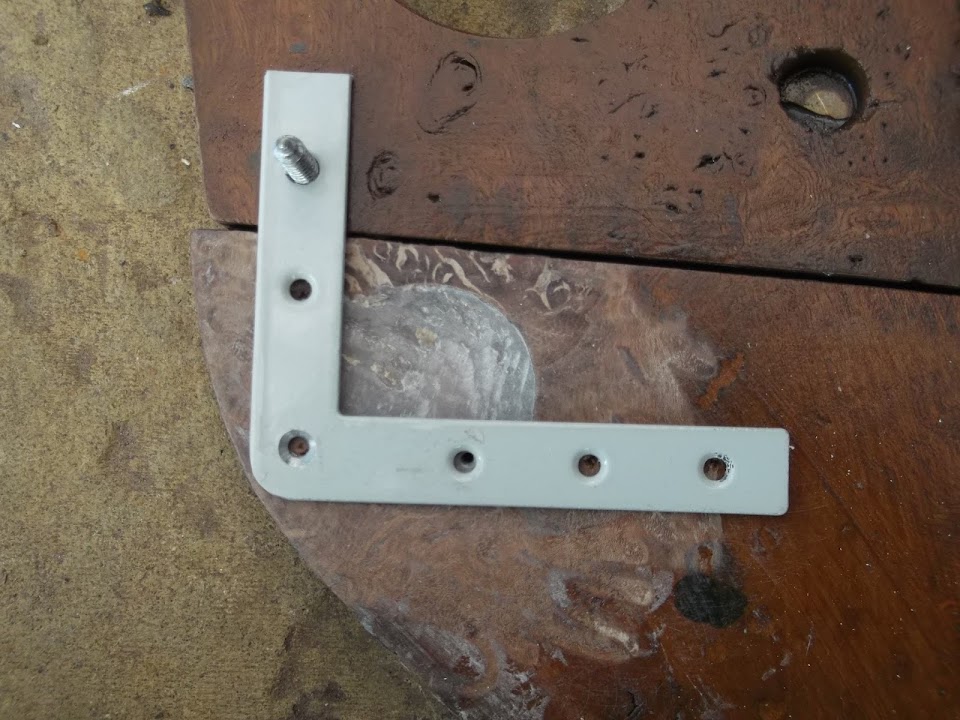
Then I sorted out the final "L" bracket to hold the dash sections together & drilled a pilot hole in the filler.
Then I could put some wood stain on.
I also put the final stain coat on the choke hole filler.

I test fitted the older heater hole blank, whilst I prefer the bare metal look, this will have to do.

I sprayed some etch primer over the filler on the cut off window posts on the passenger side.
I think this will look OK when the whole area is painted black.
I put some masking tape around the same hole on the driver's side.
Before giving that a squirt of expanding foam too.

I screwed the L bracket into place for now & will give this area an extra coat of wood stain later.

I then put some wood filler on the front face of this hole.

I wanted to put an extra sheet of metal behind the battery cut off switch, so back to the cardboard.

Then I cut out the metal required.

Before welding the inside edges of the box section to the sheet metal.

I will weld the outside edges when I weld the whole thing into the back of the dash.
My final job (as it was starting to rain at this point) was to drill 4 holes for puddle welding and start on the switch hole.
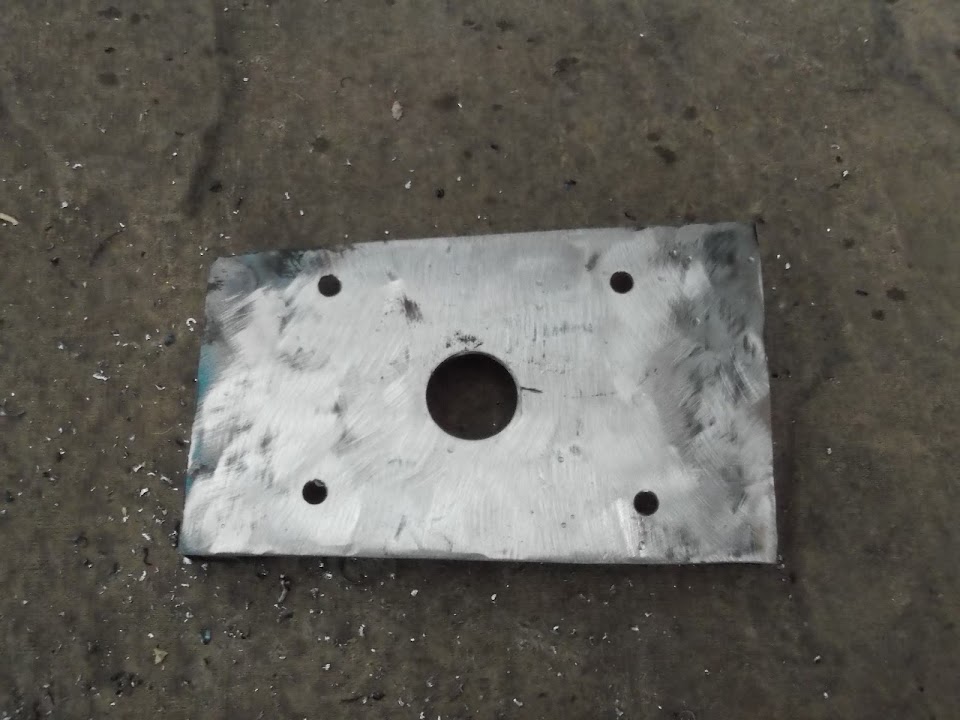
Unfortunately the centre hole is not quite big enough and my hole saw set is rubbish.
So I will have a think about the best way of finishing this off.
Until next time, take care, Paul.
Last edited by Paul L; 21st February 2014 at 18:26..
Reason: Typo
|
21st February 2014, 19:44
|
|
Senior Member
|
|
Join Date: May 2013
Posts: 2,161
|
|
Quote:
There came a point today when I simply despaired at how long even the simplest of tasks was taking me.
I think this thought just about every time I do something on my build, I'm glad to read this Paul!
Hang in there Mate!
Hang in there!
|
22nd February 2014, 07:24
|
 |
Senior Member
|
|
Join Date: Jul 2011
Posts: 5,328
|
|
Don't despair guys, I felt the same way - I seemed to be working on mine every day for ten hours at a stretch but didn't seem to be making any headway.
Then, quite suddenly, everything seemed to slide smoothly into place and it was ready for its mot, which was quite scary.
Once it passed and I got over that initial heart-in-mouth feeling you only get from extreme sports, like abseiling down an Afghan cliff under fire from the Taliban, getting forcibly strapped into an electric chair or driving a car you've built yourself at speed amongst a bunch of badly driven HGV's, I quickly started to enjoy every minute behind the wheel.
There was, though, a bit of a sense of loss for the satisfaction obtained from actually building the thing. For me, in constructing my own car, getting there really was half the fun.
So keep plugging away guys and remember to enjoy the experience.
For my part I'd love to do another, maybe with a Mercedes C230 Kompressor motor and six speed manual, but I really couldn't afford the divorce...
|
22nd February 2014, 07:41
|
|
Senior Member
|
|
Join Date: Mar 2012
Posts: 159
|
|
Hello Paul,
I haven't placed much comments lately, largely because I'm spending all the time I have to my build. I have to work hard to get the car finished for painting. Which will be in a few weeks BTW.
But I'm too enjoying your report. Great (amount of) work.
Michiel
|
22nd February 2014, 19:09
|
|
Senior Member
|
|
Join Date: Feb 2012
Location: Wembley, London
Posts: 5,056
|
|
Scottie, Mr T & Michiel - Thanks for the kind words gentlemen, they mean a lot to me.
Part of me has accepted that it is going to take me a long time to finish this build and that is OK.
So I will try to keep my spirits up, keep chipping away and the MOT day will arrive eventually.
- - - - - - - - - - - - - - - - - - - - - - - - - - - - - - -
We shall over come...
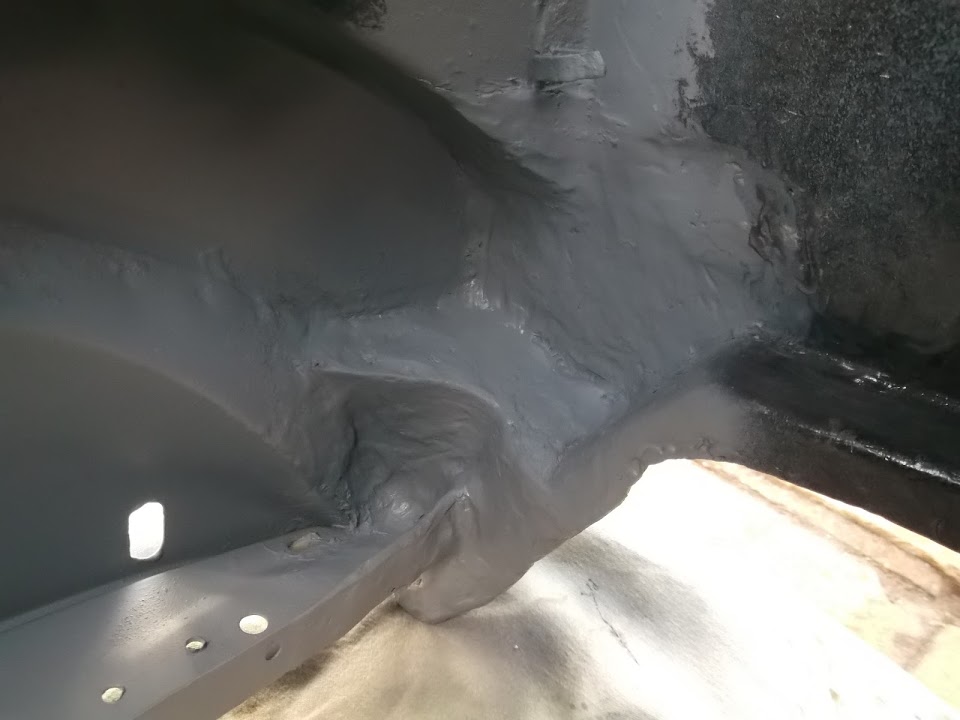
I mixed up some filler and covered the expanding foam in the driver's side windscreen hole.
I then used up the rest of the filler on a number of other areas...
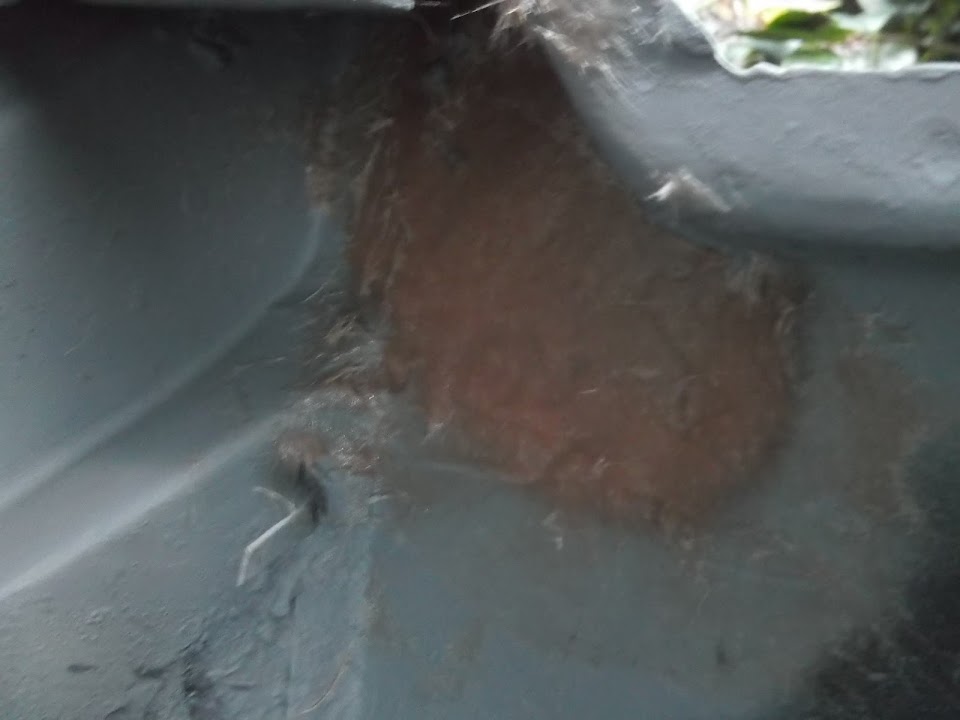
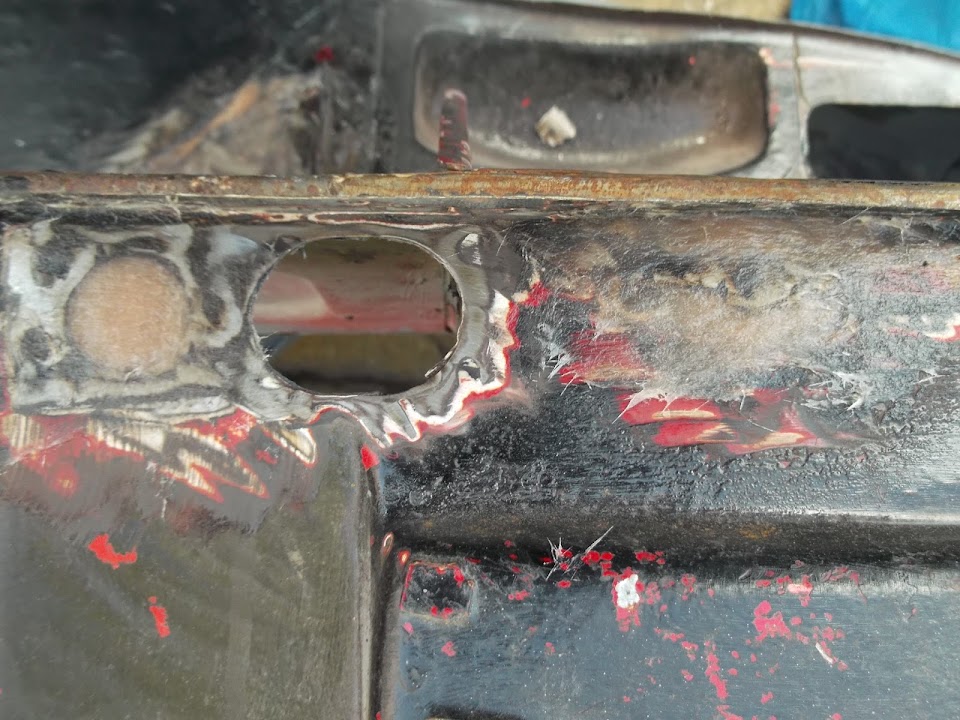
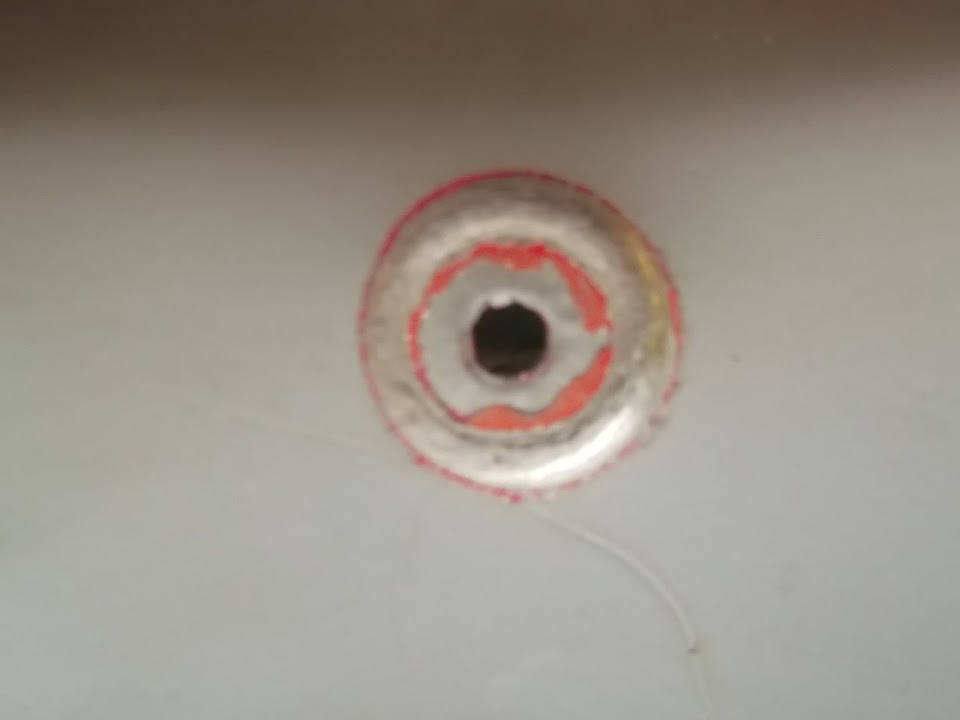
The engine bay side of the old heater pipe holes (not a great photo due to reflections).
Inside & out of the welded up surplus hole in the bulkhead.

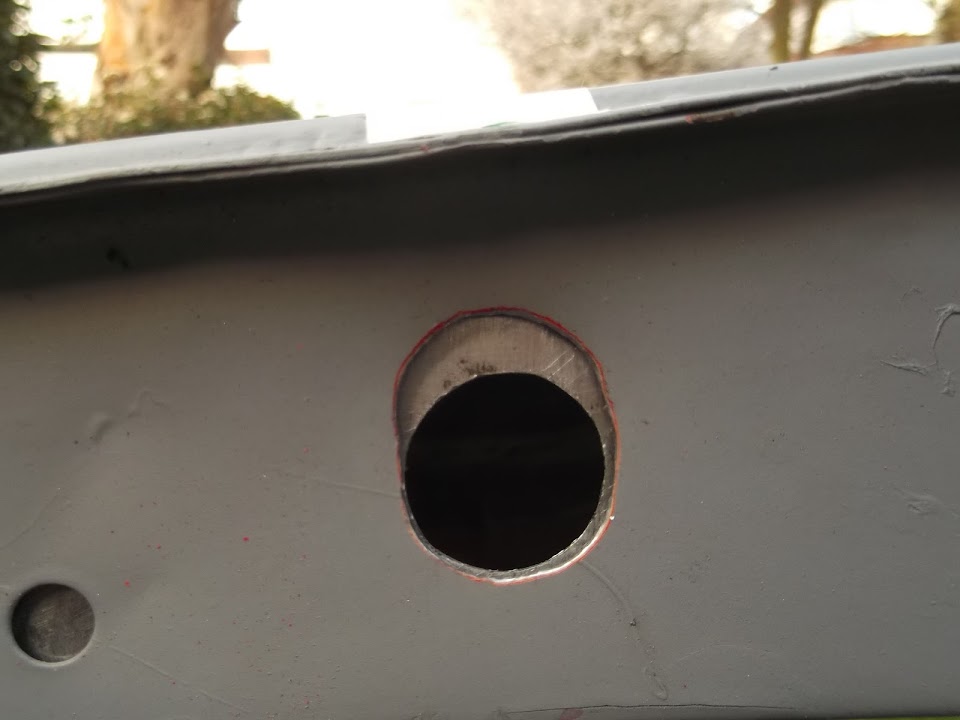
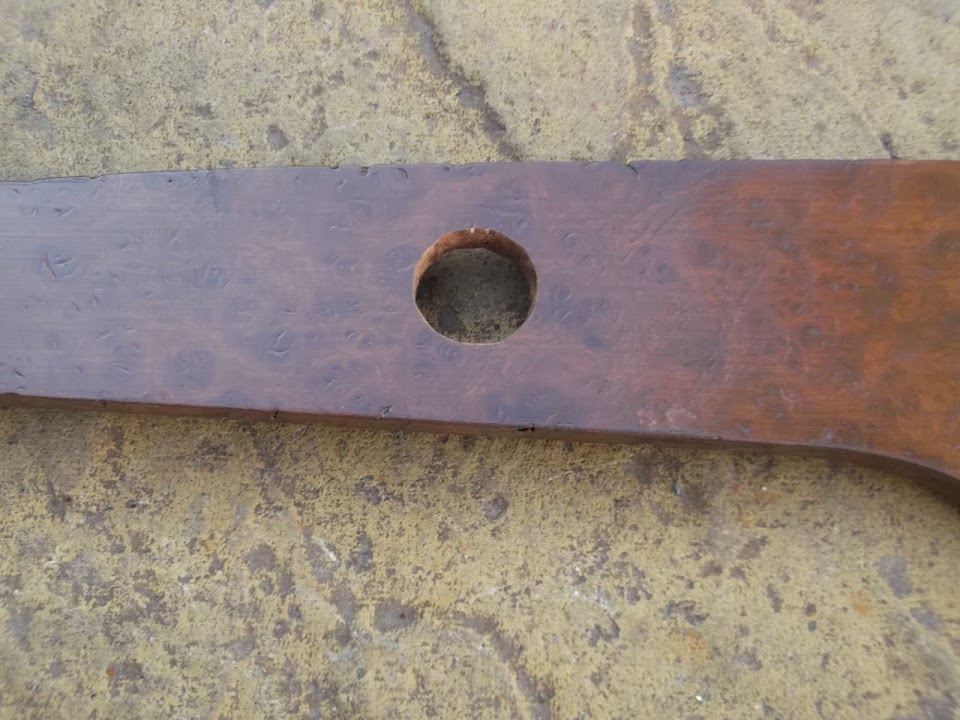
Then I turned my attention to the battery cut off switch plate & enlarged the hole slightly.
This allowed me to mark up the dash & drill a pilot hole.

I thought I'd give the hole saw set another go, but it is still rubbish.
So back to my step drill bit set (a great bit of kit) and a final enlargement of the hole.

At this point I realised I'd made a serious school boy error.
Whilst the hole is in the middle of the metal dash, the wooden dash doesn't cover all of it!
The marking tape circle shows that the hole would be a bit close to the top edge of the wood.

So a real "despair" test very early on in the day.
Initially, I thought "stuff it", just put the switch in the middle of the section I had repaired and be done with it.

Unfortunately, the heater vent panel is so well hidden from view, I'd forgotten it was there!
So I needed a Plan C, which would obviously take me ages to resolve, but I got there in the end.
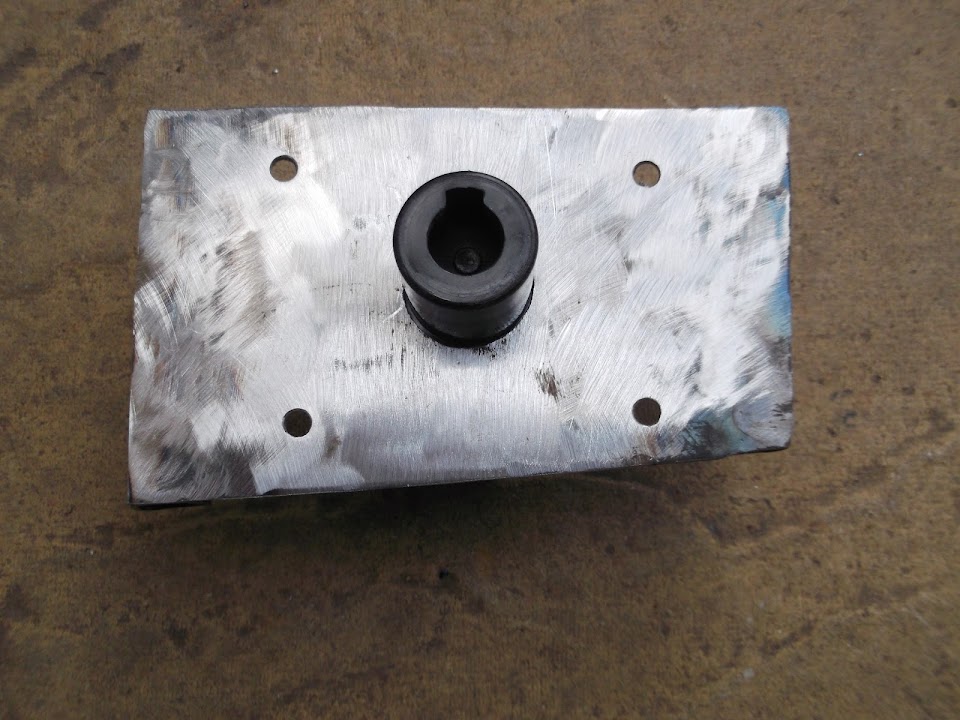
The switch started off looking like this, with a couple of old bolts put in so I could see how much space I needed.
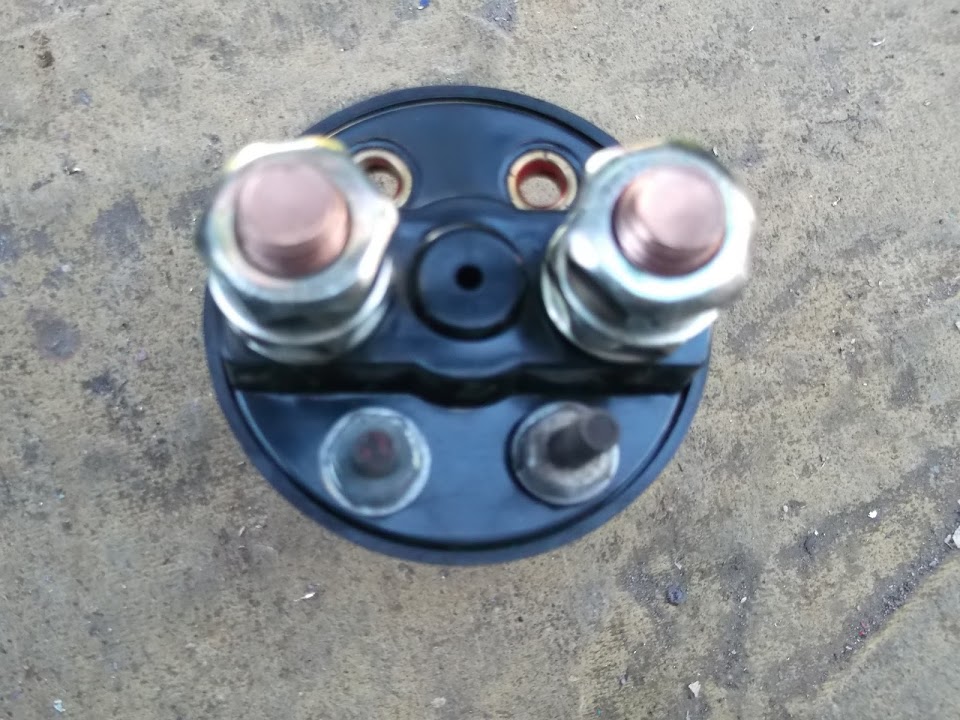
After grinding away the bottom of the switch it looked like this.
Then I had to remove a bit from the bottom edge of the support plate.
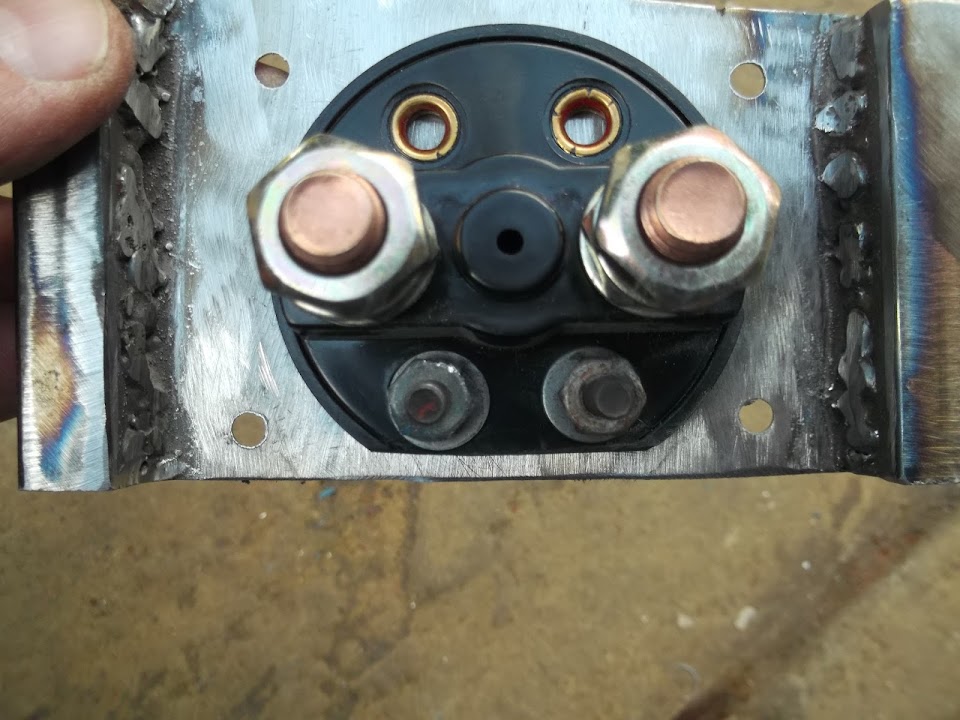
Finally I had to lower the hole in the dash itself.
Note: The hole is the supporting plate has remained the correct size.
The net effect of all these changes lowers the hole in the wooden dash like so.

Which should be solid enough when it is drilled out.
I then drilled some holes in the dash for puddle welding.

Finally I cleaned up the filler and put a coat of etch primer on it.
The above work was completed during two separate sessions outside, in between other stuff.
My final session outside ended in the dark as I cleaned up the back of the dash around the cut off switch hole.
This was a major pain as there was very little room to get any power tools in, so I sanded it by hand.
I know I have been on this bulkhead for months, but it really is getting closer to being done.
Until next time, take care, Paul.
|
24th February 2014, 13:01
|
|
Senior Member
|
|
Join Date: Feb 2012
Location: Wembley, London
Posts: 5,056
|
|
Blink and you'll miss it...
Family time has taken priority lately and I have no problem with that, as it is the way things should be.
However, I did get a few minutes to myself and got another tiny step closer to the, still distant, finish line.
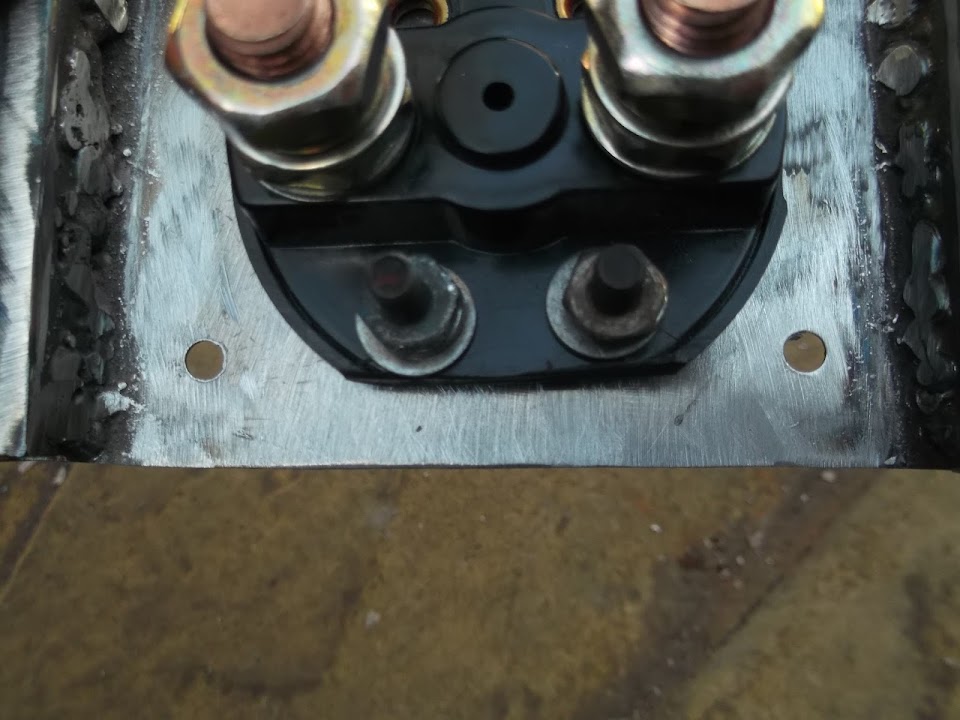
I clamped the supporting plate in place & start welding.

After cleaning up the front face, it was looking like this.

The other side was not as pretty, as my power tools can't reach inside.

The good news is that this will be completely hidden from view anyway and the main thing is that this section of dash is very solid.
So I will simply give this area some anti-rust treatment and a coat of filler next time I get the chance.
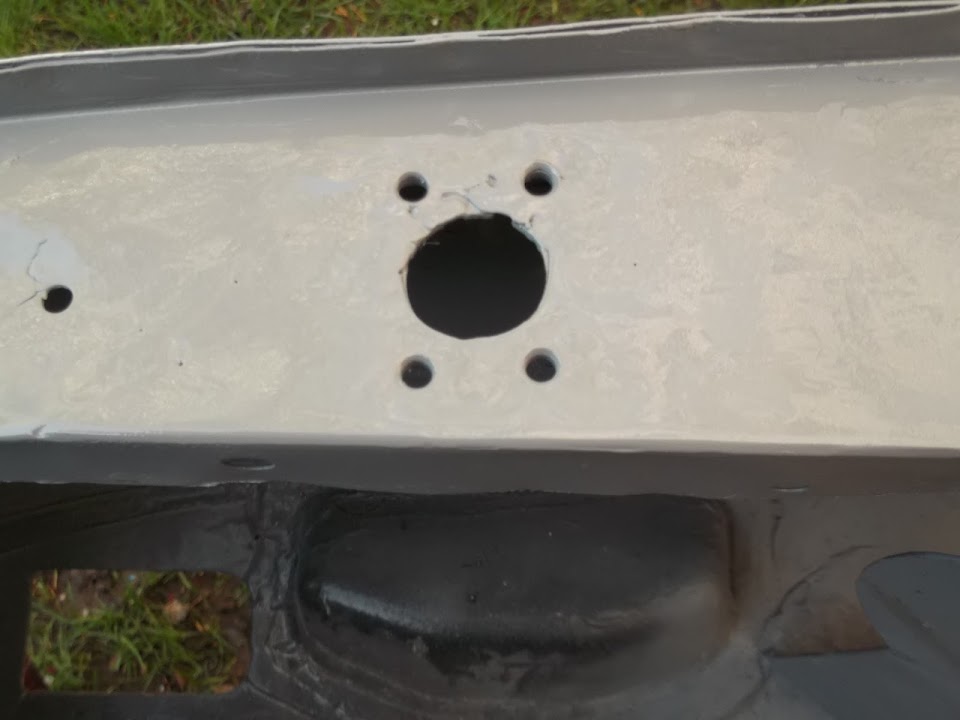
Next, I marked up the 4 holes required to mount the switch.

After drilling them and putting a coat of etch primer on, the front looks like this.
I also touched up the wood stain on the wood filler on various panels.
- Cigarette lighter hole (front face)
- Choke hole (rear face)
- Two warning light holes (rear face)
This was part of a wide wood staining job that I had to do while the sun was out.

Anyway, I supposed to be doing something else now, so I'd better go.
Cheers, Paul.
|
25th February 2014, 15:20
|
|
Senior Member
|
|
Join Date: Feb 2012
Location: Wembley, London
Posts: 5,056
|
|
Whose dumb idea was it to try to build a car without a garage?
Oh yes, it was mine. So just so there is no room for doubt...
Do not try this at home!
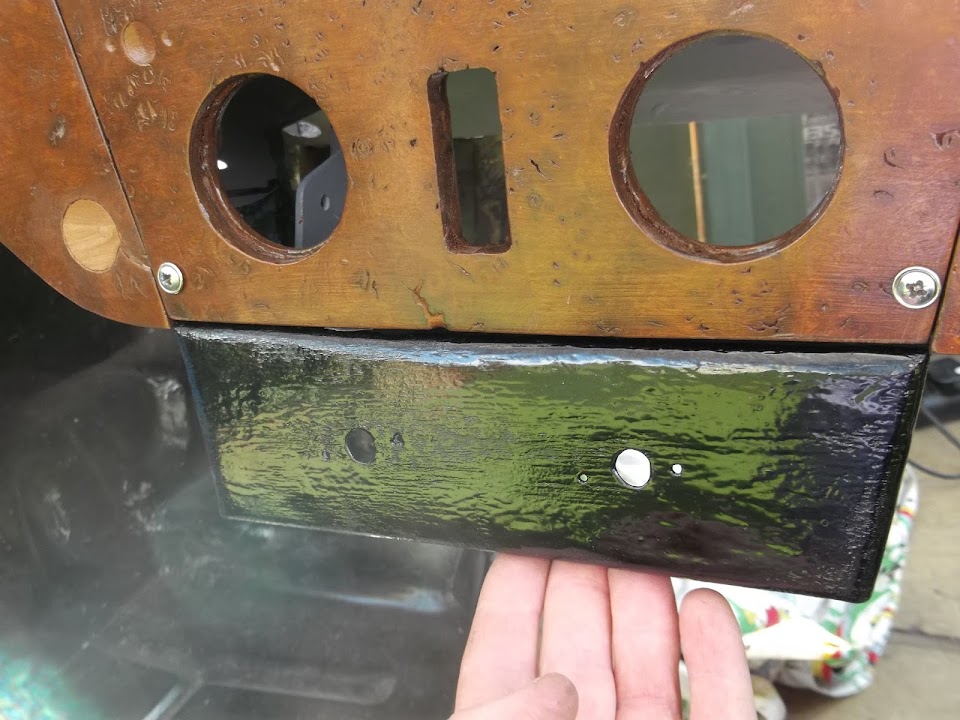
Bought some bolts to fix the battery cut off switch, then needed to enlarge one hole ever so slightly so all the bolts would fit.
Then I increased the depth of the counter sinking & tidied up the edges.

After a small bit of grinding on the other side, I slapped on some Kurust.
The bolts were a tad long, but nothing a quick wizz with the angle grinder couldn't fix.

And yes, the dark drops on the paving slab is rain returning.
Thankfully I had a bit of shelter to clean up the filler on the inside of the battery box.

I just need to cut the rubber sheet on the right to size and it can replace the old battery mat I had.
After masking off the clean metal edges that I will be using to weld the box into the bulkhead, I sprayed on some etch primer.

And just so you can see how little space I had to work in...

And that was after I had put all my tools away.
Until next time, take care, Paul.
|
26th February 2014, 15:19
|
|
Senior Member
|
|
Join Date: Feb 2012
Location: Wembley, London
Posts: 5,056
|
|
Sunshine & Showers...
Got some etch primer on the inside of the battery cut off switch panel.
- I know the welding along the edges looks poor, but it was hard to get the welding touch in.
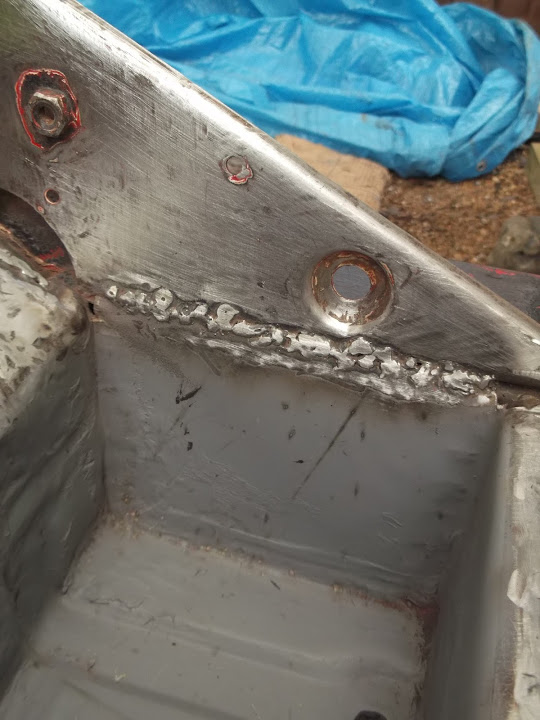
- The good news is that the puddle welding went much better and really holds its in place.

Then I cleaned up the bulkhead where the battery box is going to go.
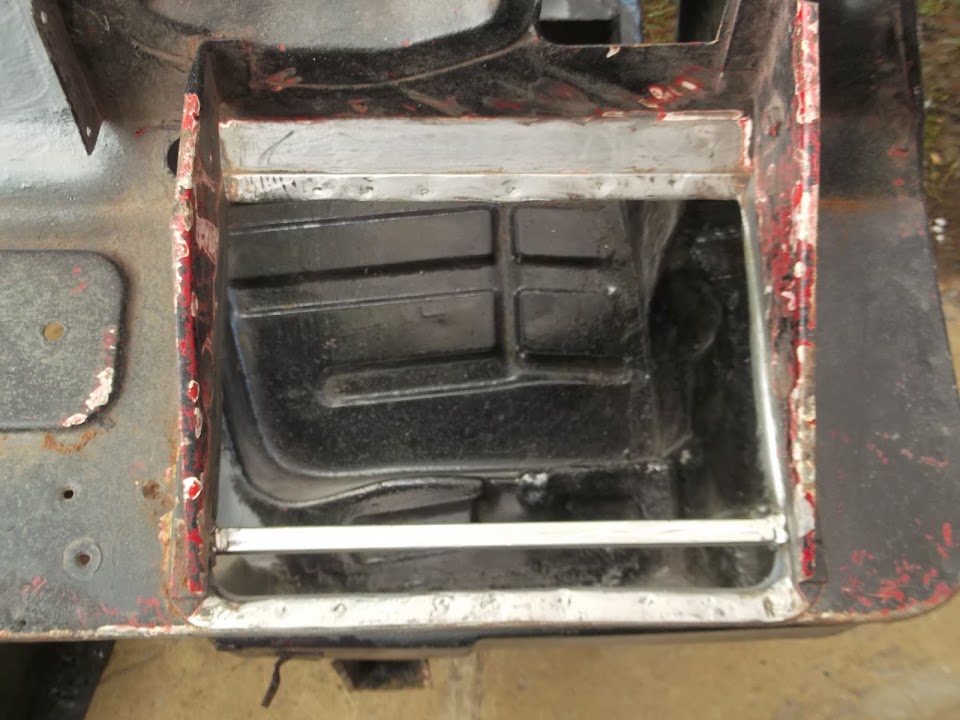
Drilled some holes in the battery box for puddle welding and slotted it into place.

Decided it was best to weld it into position starting at the front.
This allowed me to clamp / hammer the rear panel to match the slope of the bulkhead.

Then I could hammer the sides of the battery box to join the inside edges of the bulkhead.
I still need to come back and finish the welding as the clouds had gathered and I had to pack up for the day.
( Both the weather and other chores got in the way today. )


But even at this stage, the whole thing is rock solid.
Until next time, take care, Paul.
|
26th February 2014, 16:00
|
|
Senior Member
|
|
Join Date: Jun 2011
Location: birchington, kent
Posts: 1,769
|
|
The welds came out really well, like a spot welder.
|
27th February 2014, 19:15
|
|
Senior Member
|
|
Join Date: Feb 2012
Location: Wembley, London
Posts: 5,056
|
|
Gary - Cheers, I was very happy with those "spot" welds.
Some of the other welding wasn't quite as good, as the wind kept messing me about.
- - - - - - - - - - - - - - - - - - - - - - - - - - - - - - -
Curtains & Cars
I'll admit they are not a common mixture, but that is how my day went...
Before breakfast I was moving the sitting room into the dining room.

Then I had to dismantle our old bay window curtain pole system as it wasn't working properly.
( We have since found out that our window is too wide, but no one mentioned this at the time. )

Then the professionals arrived to put up a new, stronger, one piece rail, which is miles better.
( Although they had to take the end finials away as they had a problem. )

Note: You can see the rest of the car sitting outside the window.
When I eventually got to play outside things came together very nicely for a change.
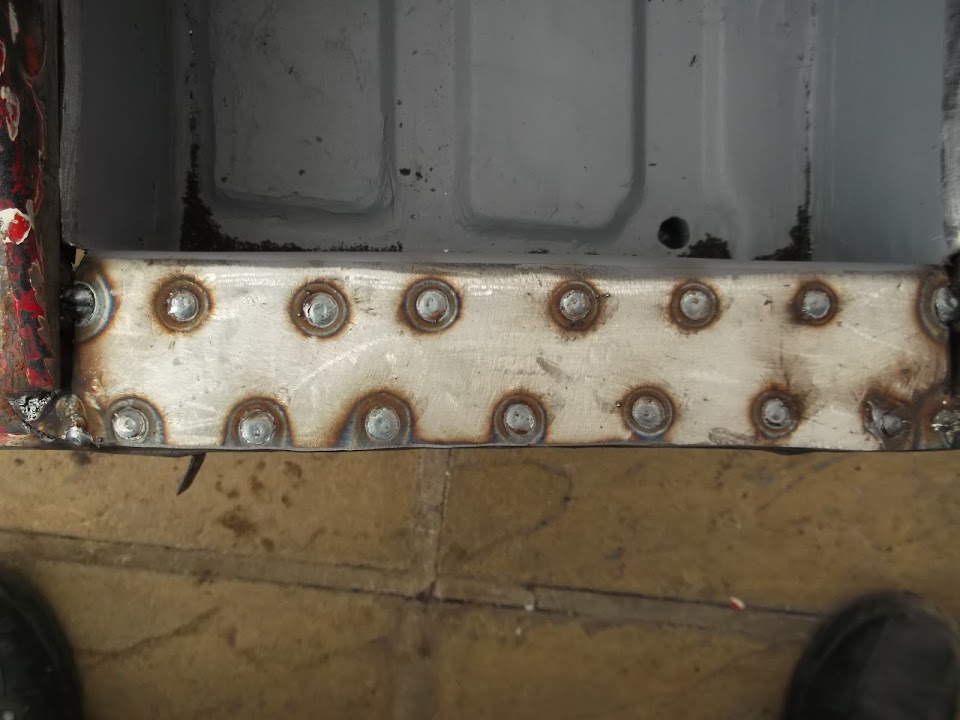
I finished all the welding on the battery box, including the front lip, and cleaned up the metal.
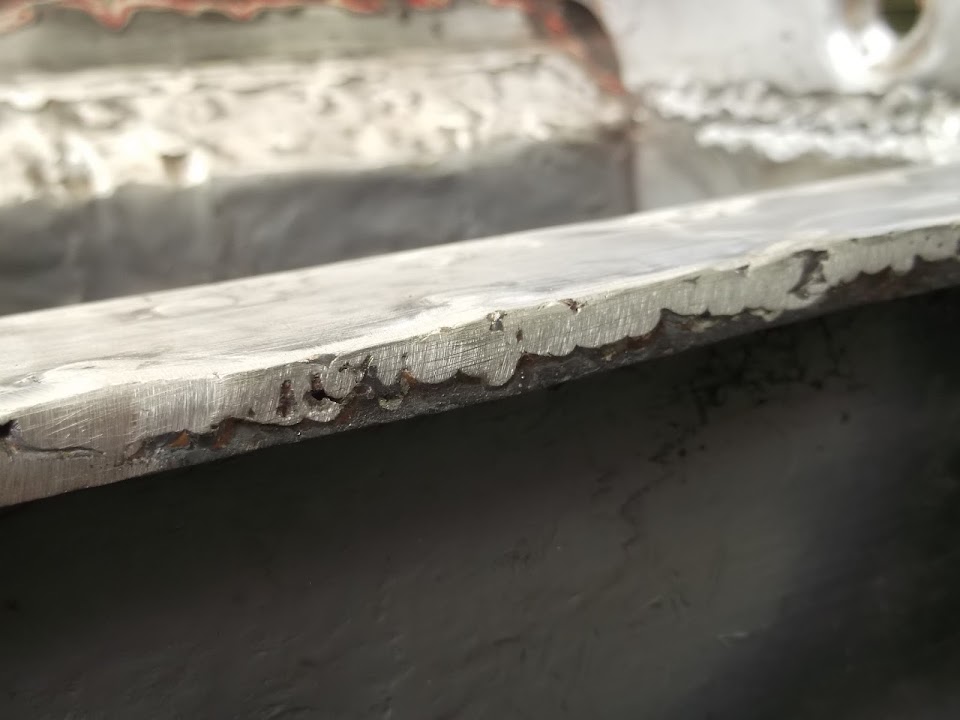


Then it was on with the Kurust and just before the end of the day I got some etch primer on too.

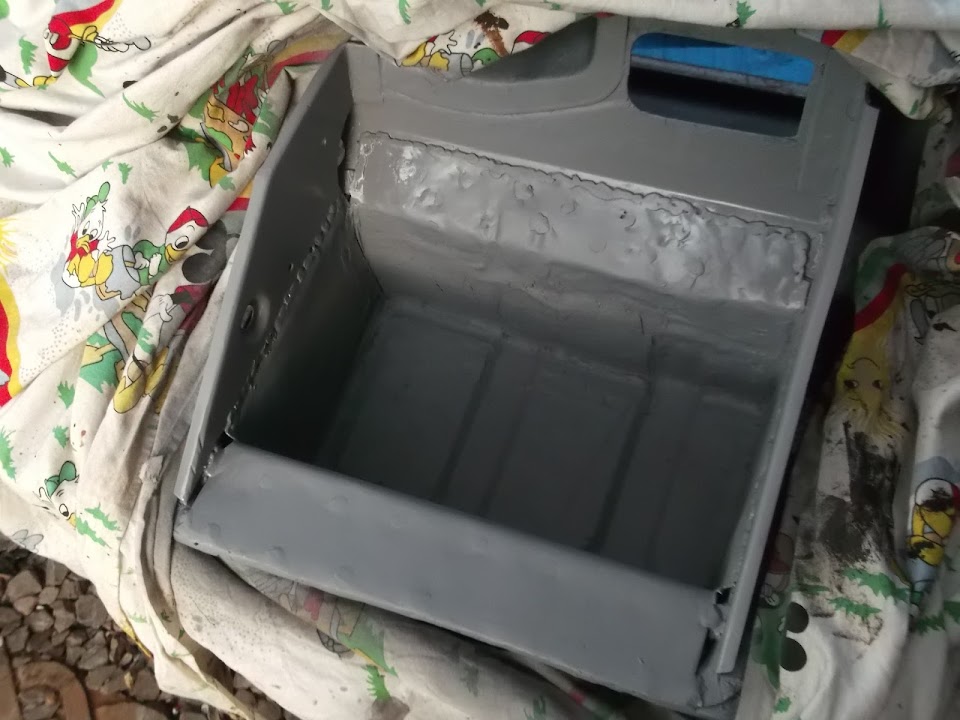
The next job here will be to get some fibreglass filler over the welds.
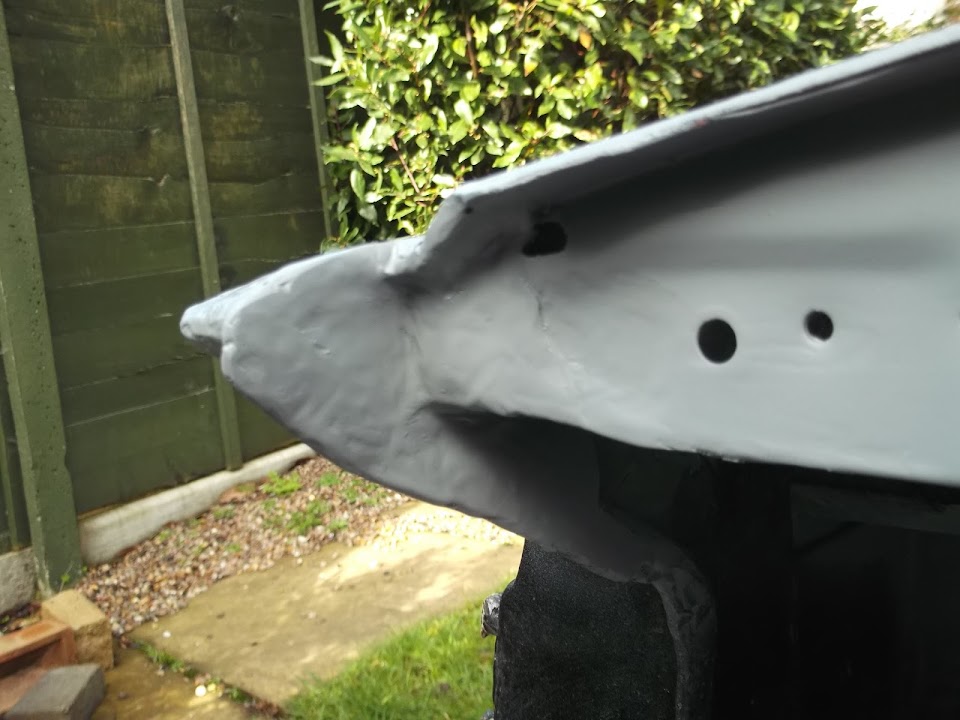
My first attempt to fit the wooden dash board ended with a trip to the angle grinder.
As the driver's edge needed a small adjustment:
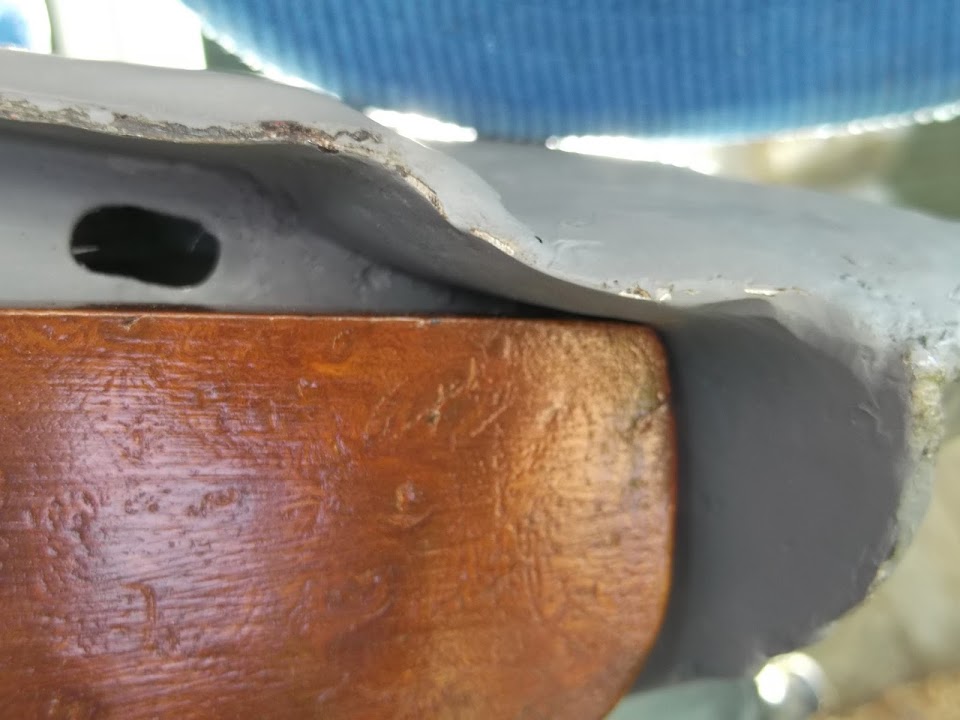
At this point I have no intention of re-working the metal bulkhead.
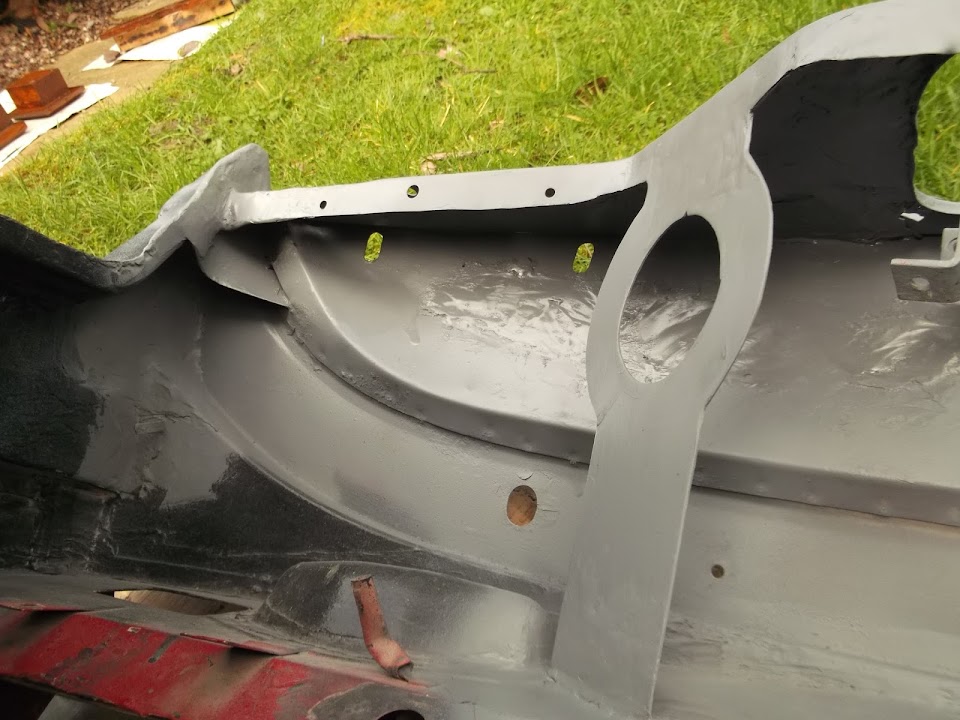
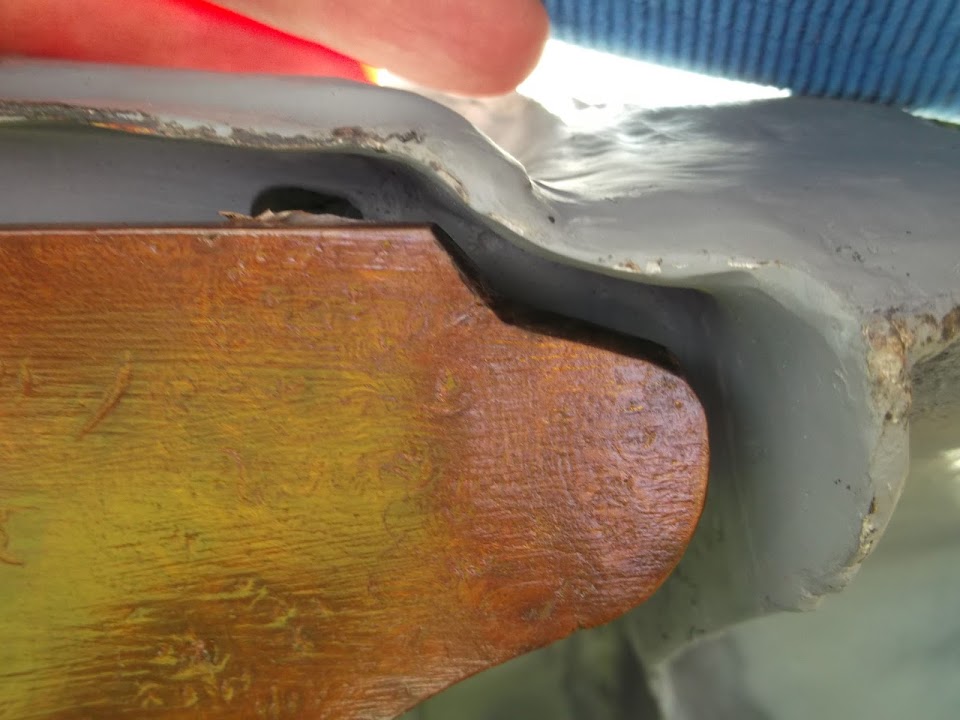
After this little mod, I could fit all 3 sections using the the new central locating brackets.

This in turn allowed me to mark up the locations of the mounting points on each end of the dash.
Once I had fitted these, I removed them to treat the rusty metal.
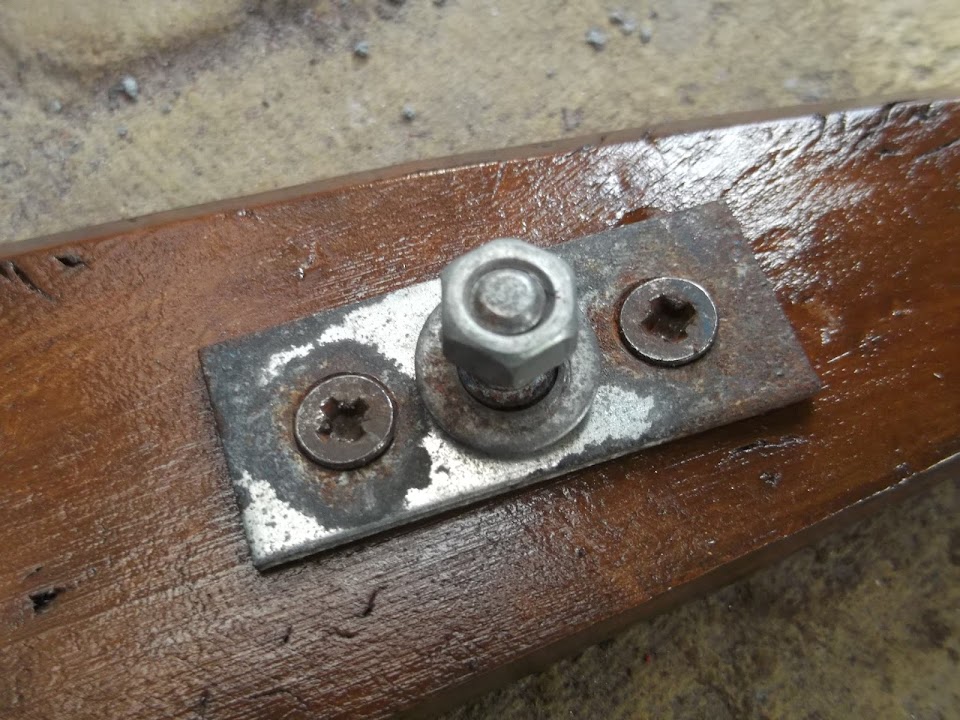
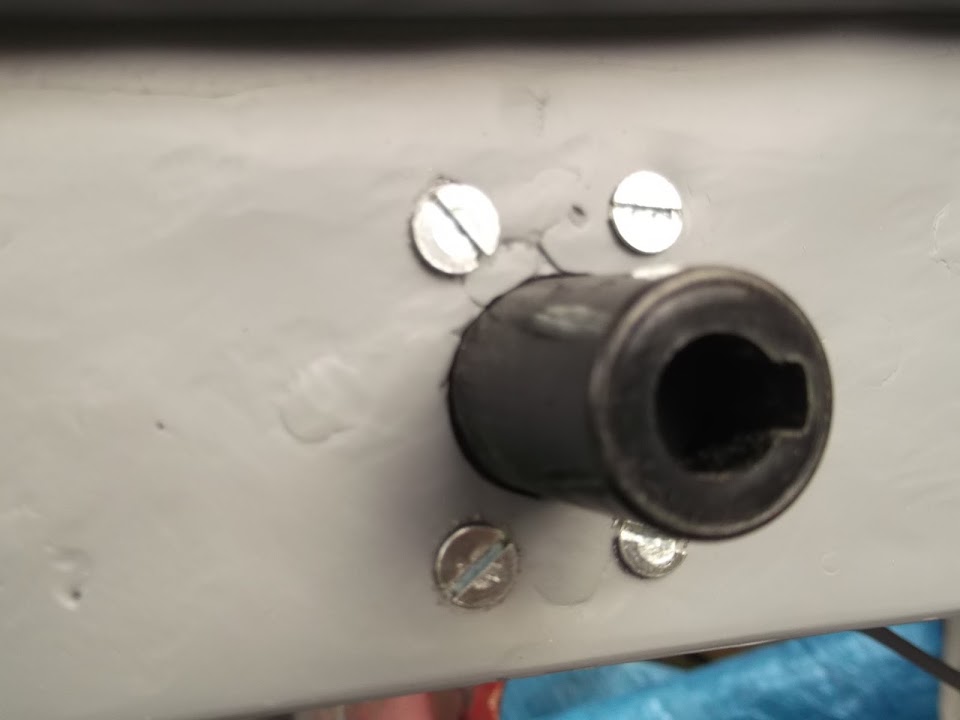
I also marked up the position of the battery cut off switch and drilled a hole.
Unfortunately I didn't have a wooden drill bit the right size, so I drilled a smaller hole & filed it to size.
And this is what it looks like with the switch in place.

I also marked up the new heater control panel, but didn't get a chance to drill the mounting holes.
But I did get some primer on the two dash mounting brackets when the Kurust had dried.

I know it isn't much, but this was a very positive day for me, as some things finally started to fall into place.
Until next time, take care, Paul.
Last edited by Paul L; 28th February 2014 at 11:26..
Reason: Putting a better photo in place
|
27th February 2014, 20:02
|
|
Senior Member
|
|
Join Date: Mar 2012
Posts: 159
|
|
Hey Paul,
Swell looking.
Michiel
|
27th February 2014, 20:10
|
|
Senior Member
|
|
Join Date: May 2013
Posts: 2,161
|
|
Your's is coming along quite well too Paul!
We've got to keep plugging away.......
|
28th February 2014, 11:29
|
|
Senior Member
|
|
Join Date: Feb 2012
Location: Wembley, London
Posts: 5,056
|
|
Michiel & Scottie - Thanks gentlemen.
It is nice to finally get away from all those bulkhead rust repairs.
- - - - - - - - - - - - - - - - - - - - - - - - - - - - - - -
The eye of the storm...
Took a chance when the rain finally stopped to get a little bit done, before the rain returned.
I got some filler over the welds and "bumps" in the battery box.

And this was just how conscious I was of the rain returning any minute.
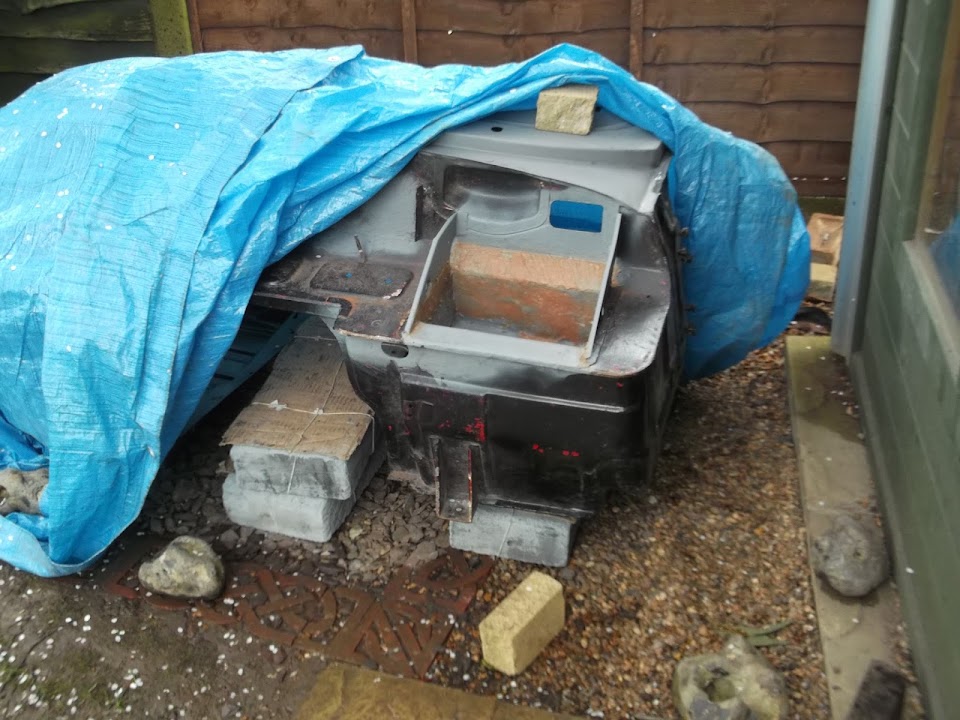
As before, the bricks help to keep the tarpaulin from sticking to the fresh filler.
The only other news to report is that I picked up some more insulation foam from a local skip.

That should be more than enough to "line" the cockpit side walls between the fibreglass bodywork and the plywood panelling.
( Although when I'll get to that stage is any ones guess. )
Anyway, I'd better go as if I can get lots of domestic stuff done today, I'll get to play outside at the weekend. 
Cheers, Paul.
|
1st March 2014, 17:05
|
|
Senior Member
|
|
Join Date: Feb 2012
Location: Wembley, London
Posts: 5,056
|
|
The sun has got his hat on...
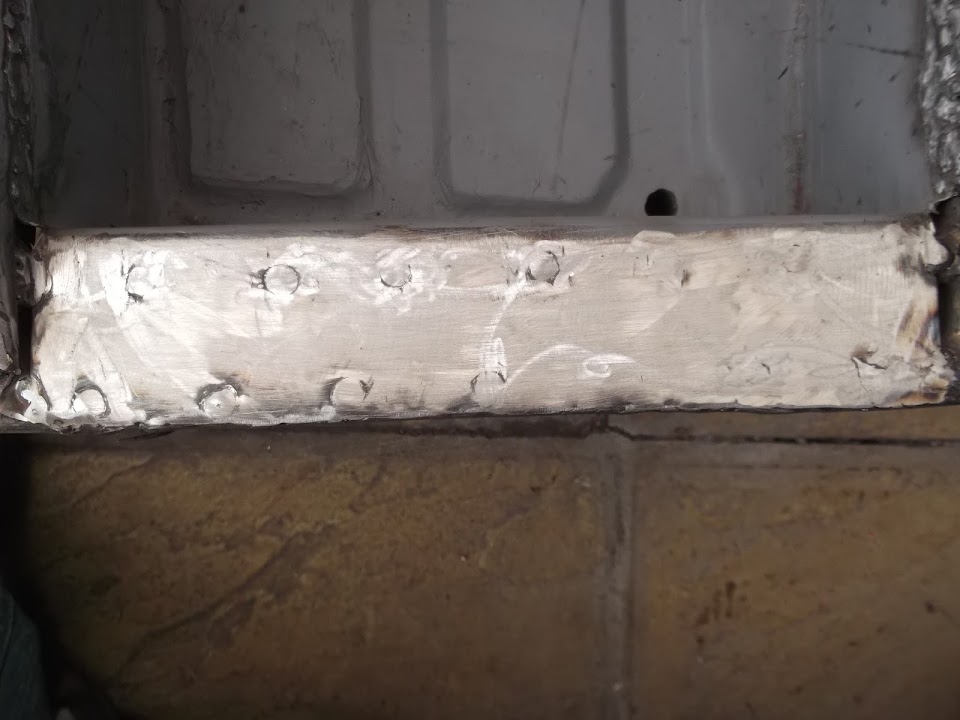
Sanded down the filler in and around the battery box and got a coat of etch primer on.
As always, I am not looking for a perfect finish, rough & ready is fine by me.

It always amazes me just how messy this is and I dread to thing what prepping a car for paint is like.
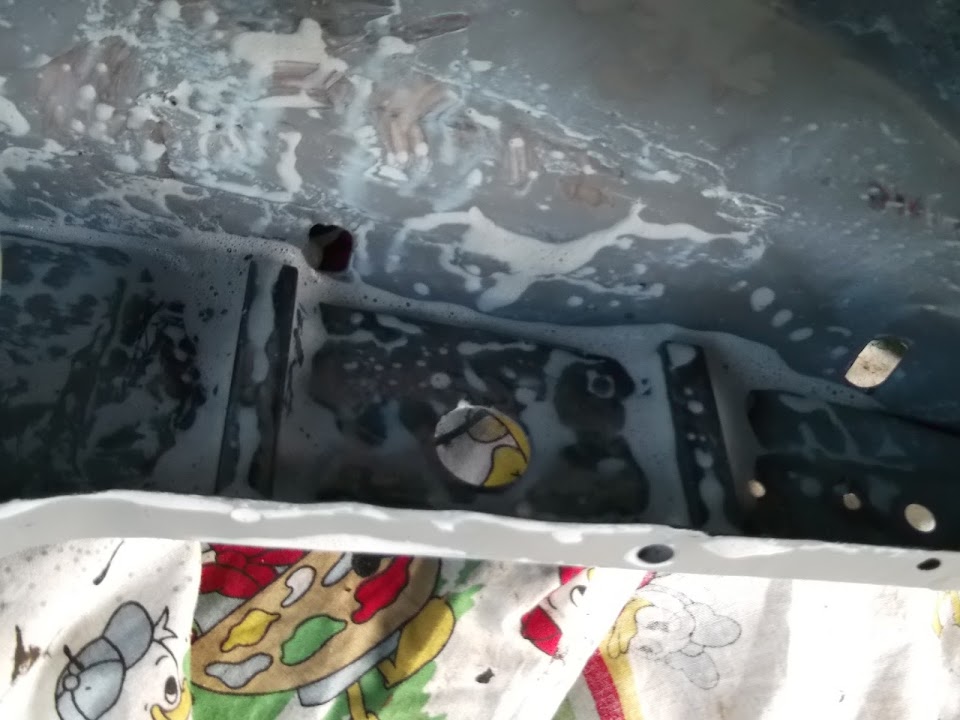
This was the pile of dust that came through the battery box drain hole.

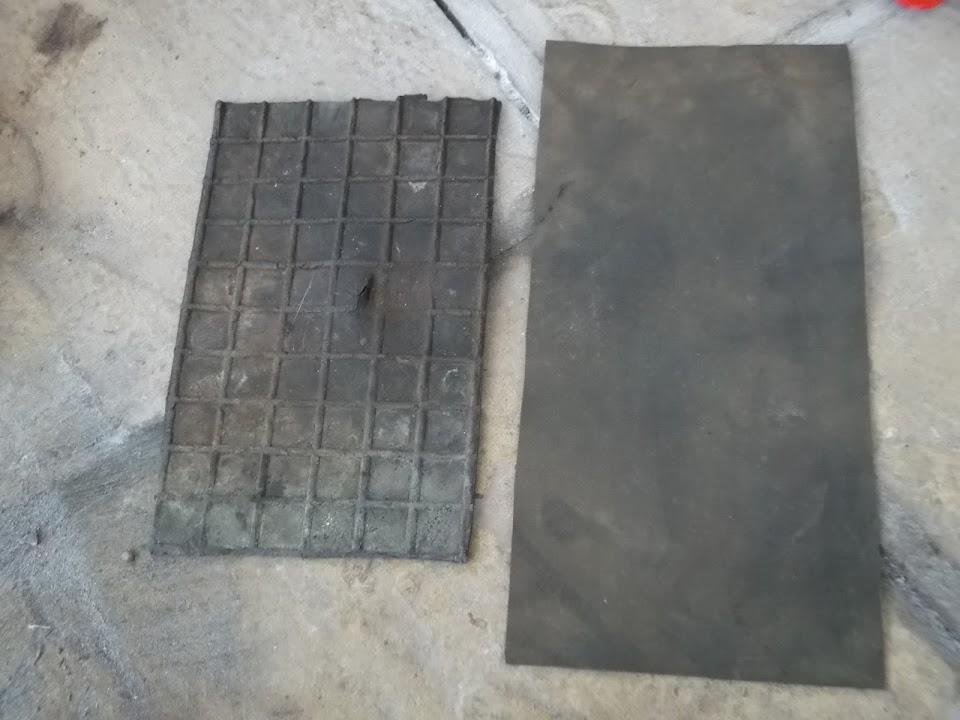
I trimmed the new sheet of rubber I will rest the battery on to the right size.

I got another coat of wood stain on the front of the dash panels.
I have to seal the edges of the battery box inside the bulkhead in two stages.
The first involved spraying some etch primer on the edge nearest the bulkhead.
As this had been cleaned back to bare metal for the welding.
Sorry, but there was no chance of getting a decent photo.
The next stage was to prepare the other three edges and get some filler on.


While I had the filler out, I did the back of the battery cut off switch panel.

Which reminded me of another job I needed to do involving an old mountain bike inner tube.
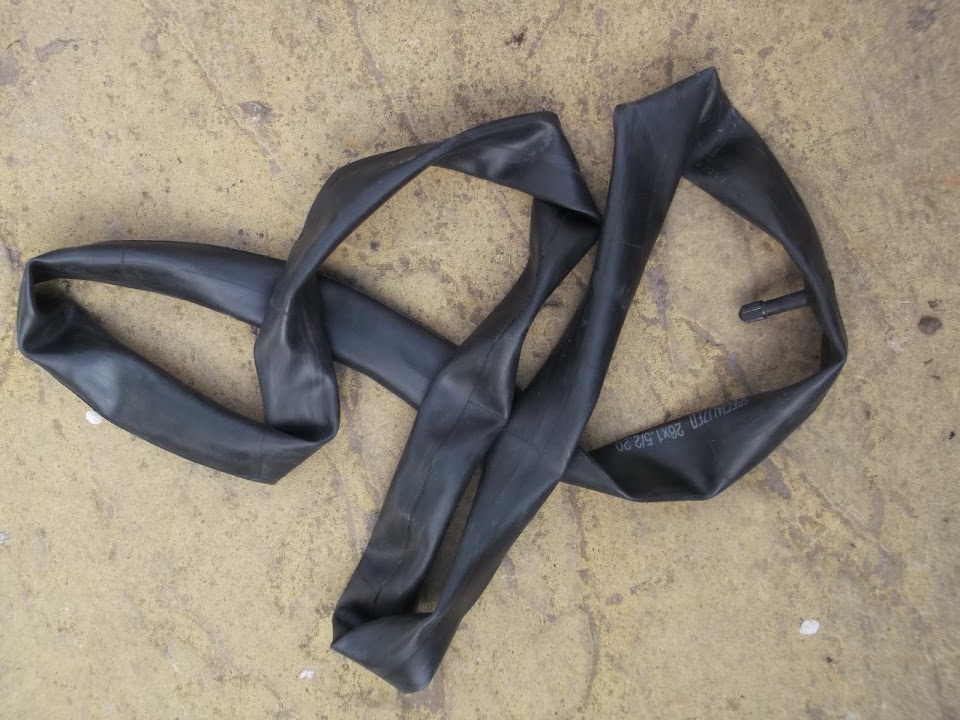
I cut a couple of sections out of this to make some seals for the switch itself.

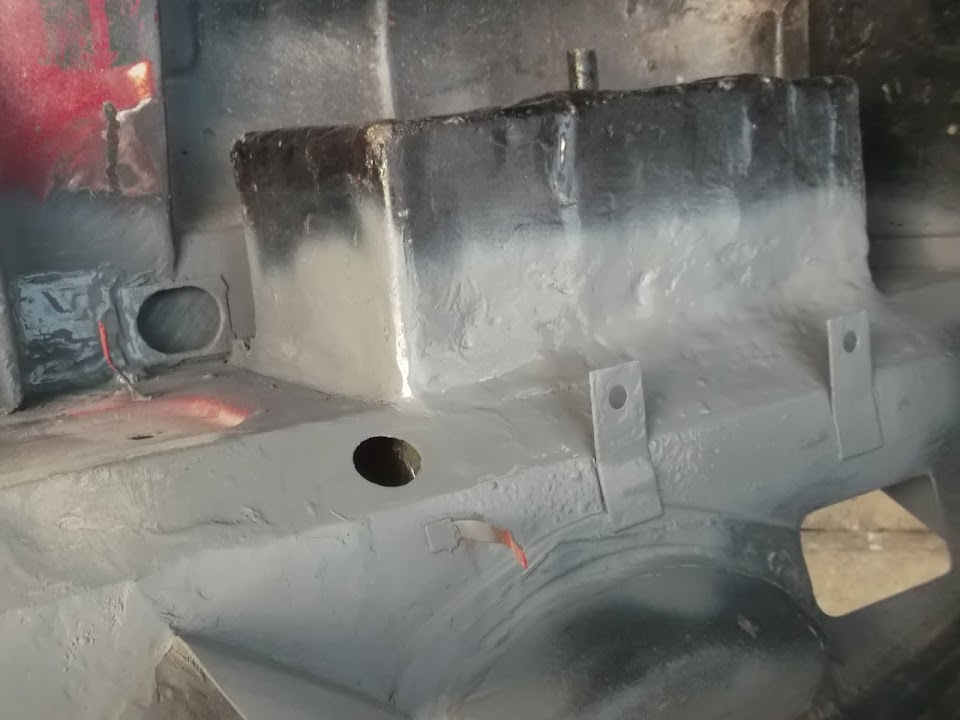
Next I turned my attention to the battery box drain pipe.
I started by checking an old photo of how my original donor's bulkhead fitted.

I then spent a lot of time messing about with a section of heater hose before committing to an escape route.
Then I cut off a section of my metal tubing.

And cut a hole in the bulkhead before cleaning everything up and welding the section of pipe into place.
View from the outside.

View from the inside (sorry it is a bit blurred).

This allows me to connect a section of heater hose like so.


Obviously this is another example of over-engineering a simple thing, but at least it works.
I can either fit some more hose to the outside pipe, or just leave it open.
Just before I packed up for the day, the filler around the battery box had set.
So I cleaned that up and got some etch primer on it.
Unfortunately, I forgot about the filler on the battery cut off switch.
But with a bit of luck I will be able to sand that down and prime it tomorrow.
Slowly, but surely, this bulkhead is finally coming together.
Take care, Paul.
|
1st March 2014, 17:15
|
|
Senior Member
|
|
Join Date: Sep 2012
Posts: 424
|
|
Hi Paul, starting to take shape now, looking good.
Keep up the great work mate.
|
|
Currently Active Users Viewing This Thread: 4 (0 members and 4 guests)
|
|
|
 Posting Rules
|
You may not post new threads
You may not post replies
You may not post attachments
You may not edit your posts
HTML code is Off
|
|
|
All times are GMT +0. The time now is 01:37.
|


 Linear Mode

