|
|
| Sammio Builds and discussions Sammio bodied car builds and specials |

4th July 2014, 07:08
|
 |
Senior Member
|
|
Join Date: Feb 2012
Location: Wembley, London
Posts: 5,056
|
|
Oxford - Unfortunately, your list of carbs. looks like a foreign language to me. 
But at least I can see your new toy does look very nice and shiny. 
Hope this helps your bonnet clearance issues.
Good luck, Paul. 
|
4th July 2014, 09:32
|
|
Senior Member
|
|
Join Date: Mar 2012
Posts: 1,152
|
|
Quote:
Originally Posted by Paul L

Oxford - Unfortunately, your list of carbs. looks like a foreign language to me.
|
Thankfully, micky1mo speaks that language and we have done a deal for the lot. I sense tea and hobnobs and a car chat down at The Glade for us tomorrow. |
5th July 2014, 20:55
|
|
Senior Member
|
|
Join Date: Apr 2012
Posts: 1,163
|
|
Oxford, fitted the bonnet today and the good news is....it's tight, very tight but no blister required.....I think!
Mac
|
6th July 2014, 07:06
|
|
Senior Member
|
|
Join Date: Mar 2012
Posts: 1,152
|
|
Quote:
Originally Posted by Viatron
Oxford, fitted the bonnet today and the good news is....it's tight, very tight but no blister required.....I think!
Mac
|
Mac - That's good news. My manifold is on order and should arrive in a week or so.
Spent the afternoon at The Glade yesterday. No progress this time, just a three hour 100%-car-chat with micky1mo. Thanks for the hobnobs, Mike, and enjoy the carbs!
Last edited by oxford1360; 6th July 2014 at 08:05..
|
6th July 2014, 08:01
|
 |
Senior Member
Enthusiast
|
|
Join Date: Dec 2006
Posts: 1,130
|
|
[QUOTE=oxford1360;57159No progress this time, just a three hour 100%-car-chat with [B]micky1mo[/B]. QUOTE]
Hi Rob, that was'nt chit-chat that was serious "Research & Development" for future projects 
Tea and hob-nobs went down well  |
16th July 2014, 10:53
|
|
Senior Member
|
|
Join Date: Mar 2012
Posts: 1,152
|
|

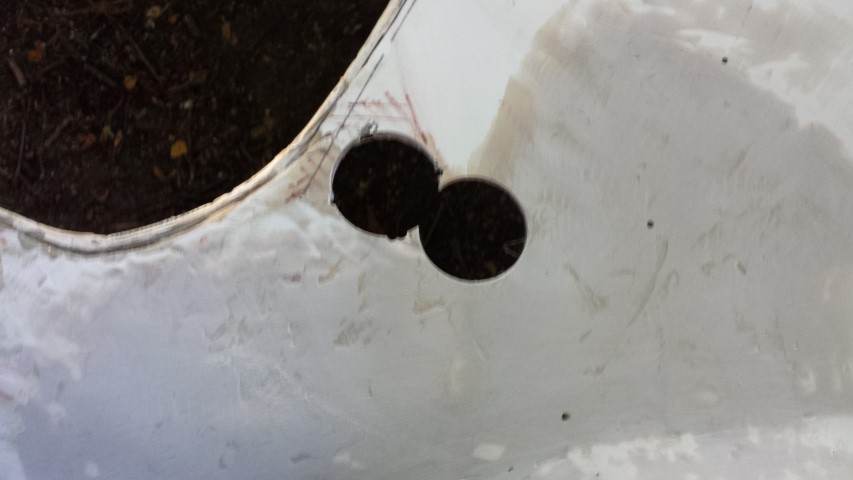
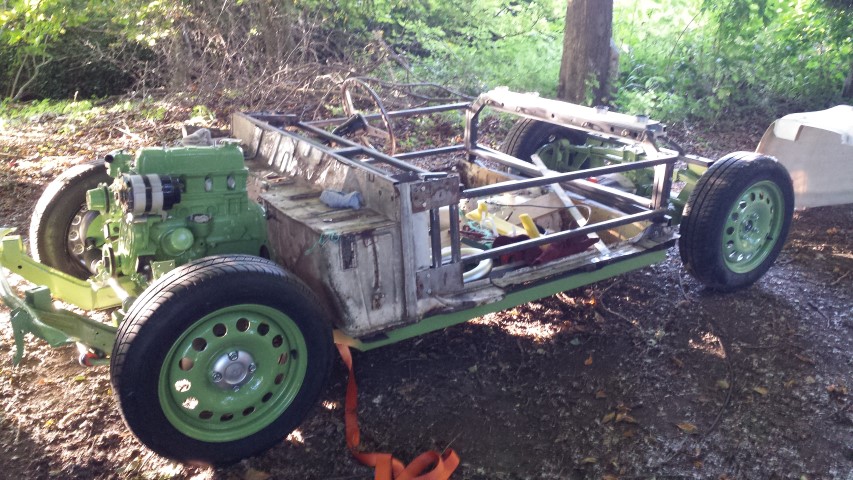
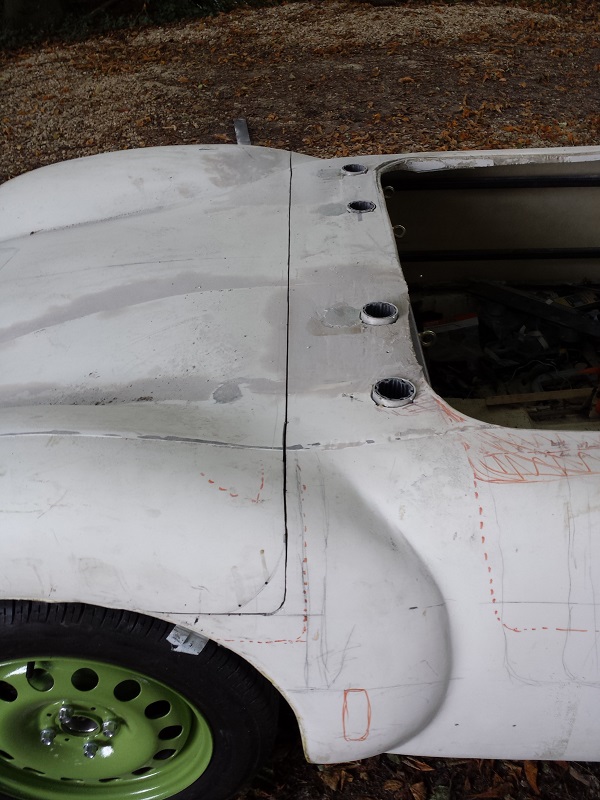
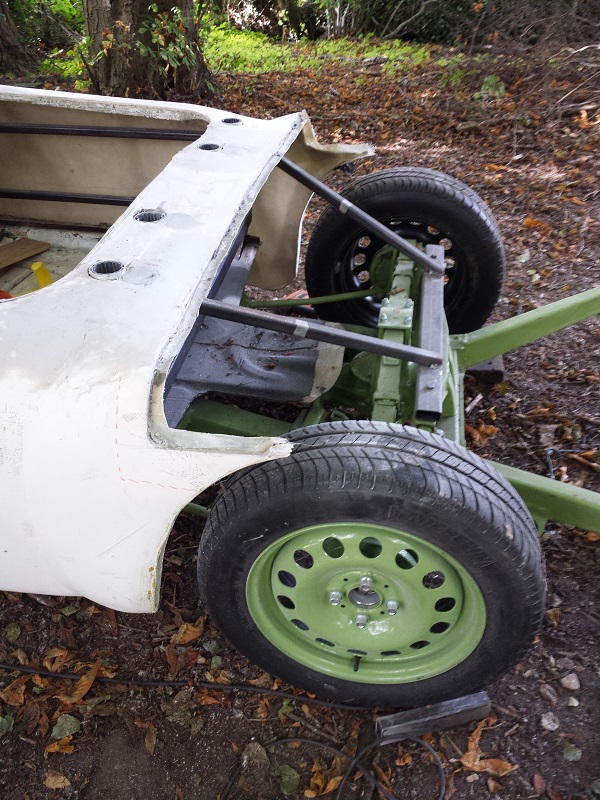
A fair bit of progress of late but not a lot to show in pics just yet.
Garyh - I have a new phone so here are some pics, but the dappled light from the tree-cover is still there.....and I must learn to hold the phone still.
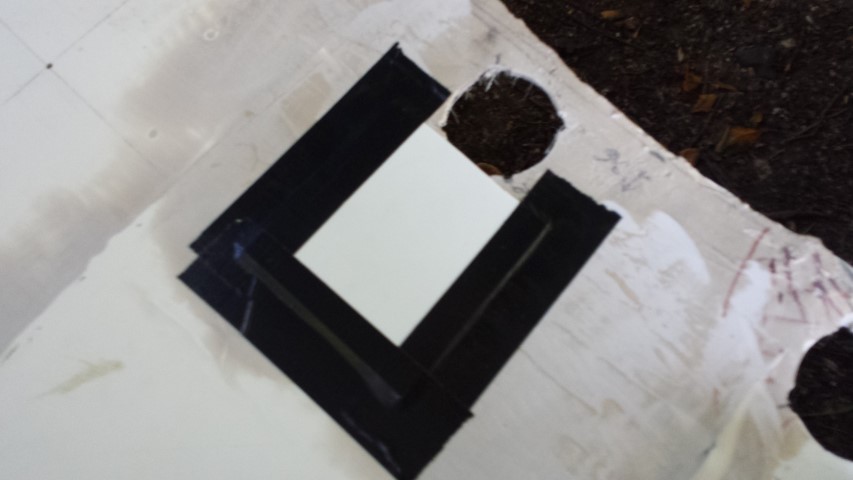
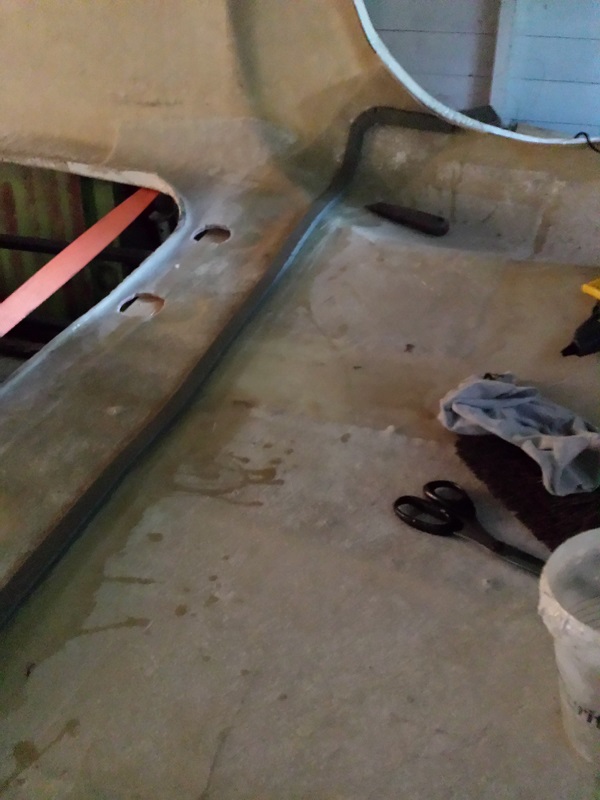
When I was cutting holes for my roll hoops I had brain fade and managed to cut three (!!!!) before I realised that I was following the wrong line. So, it was time to fill these. Feather the underside with the grinder and lay some plastic card over the top.
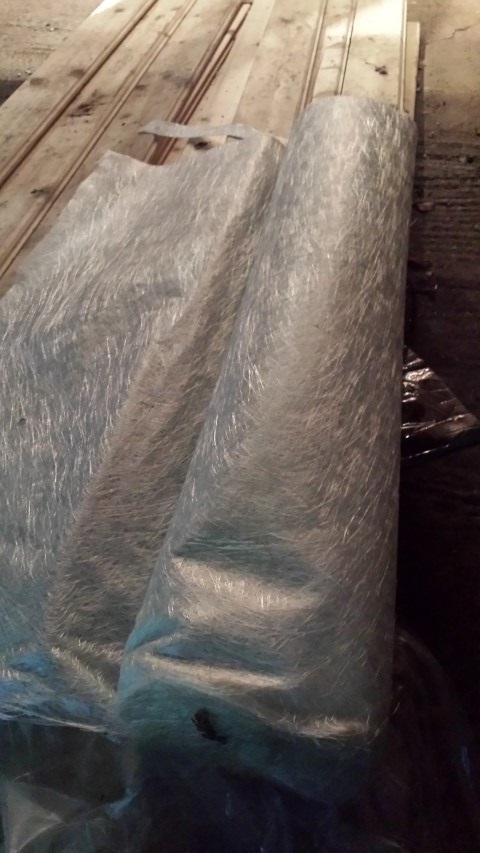
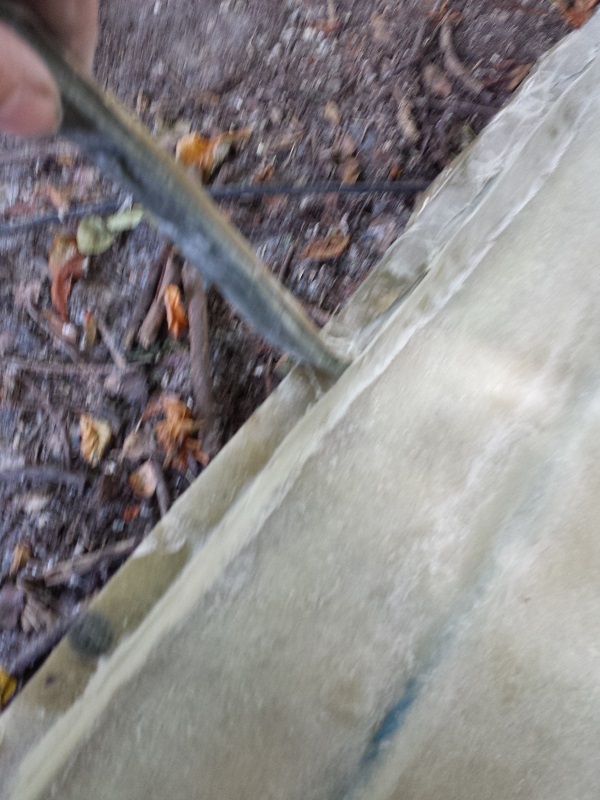
Then get out your massive roll of CSM and cut some lengths and lay it up across the inside.
But, hang on a minute......why is he laying up all across the rear deck........because the bl**dy idiot is preparing to cut-off the back so that it can flip up. Yes, I am strengthening the line of the cut and I will also put a return on it before I cut.
And, a non-milky gratuitous pic with the body off. I can't wait until the bulkhead and floor go off to be blasted. It looks such a mess.
Tonight I hope to get a bit more glassing done. Softly, softly, catchy monkey.
Last edited by oxford1360; 16th July 2014 at 11:01..
|
16th July 2014, 13:10
|
|
Senior Member
|
|
Join Date: Jun 2011
Location: birchington, kent
Posts: 1,769
|
|
How will you be attaching body to frame/bulkhead? Also, the bolts that go through to the chassis - can you access from inside still.
|
16th July 2014, 13:22
|
|
Senior Member
|
|
Join Date: Mar 2012
Posts: 1,152
|
|
I haven't finalised how I shall fit the body but the aim is to do so in a manner which will allow me to remove it. That is one of the reasons that I am going for a flip back - so that the middle tub is a manageable size.
By hook or by crook, the chassis bolts will be accessible. This may mean access holes or panels, but I am not fixing anything that I can't undo.
The internal cockpit panels will act as the bracing/fixing around the top of the cockpit. I plan to add a large horizontal flange along the inside of the side panels and these will sit on the sills and sandwich a thin layer of sealant and be bolted.
The rear deck has a neat fixing courtesy of the roll hoop appendages.
The bulkhead will be attached via flanges and ali panelling.
Please note: The above information was correct at the time of going to press and will almost certainly change completely within the next 24 hours and each subsequent 24-hour period.
|
16th July 2014, 15:04
|
|
Senior Member
|
|
Join Date: Mar 2012
Posts: 745
|
|
great job so far ....love the green .....
|
16th July 2014, 15:37
|
|
Senior Member
|
|
Join Date: Apr 2012
Posts: 1,163
|
|
That needs a pair of Lewis guns mounted on a gimbal in the cockpit! Nice work, good luck with the chop.
Mac
|
17th July 2014, 14:52
|
|
Senior Member
|
|
Join Date: Mar 2012
Posts: 1,152
|
|
Quote:
Originally Posted by Viatron
That needs a pair of Lewis guns mounted on a gimbal in the cockpit! Nice work, good luck with the chop.
Mac
|
Now, there's a good idea. It does look like a Dingo prototype. Just needs a bit more armour. |
18th July 2014, 09:09
|
|
Senior Member
|
|
Join Date: Feb 2012
Location: Wembley, London
Posts: 5,056
|
|
Oxford - I am looking forward to seeing how this flip up rear end will work.
Good luck, Paul.
PS
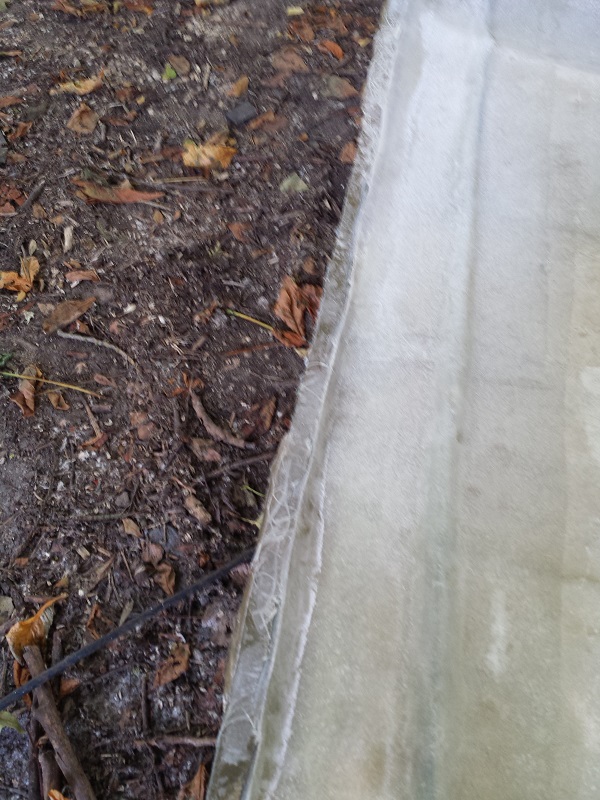
Looks like your roll of CSM has the same creases at the bottom that mine has.
|
18th July 2014, 17:50
|
 |
Senior Member
|
|
Join Date: Jul 2011
Posts: 5,328
|
|
Quote:
Originally Posted by Paul L
Oxford
Looks like your roll of CSM has the same creases at the bottom that mine has.
|
Mine was the same. It must take them ages to iron them all in. |
27th July 2014, 17:23
|
|
Senior Member
|
|
Join Date: Mar 2012
Posts: 1,152
|
|
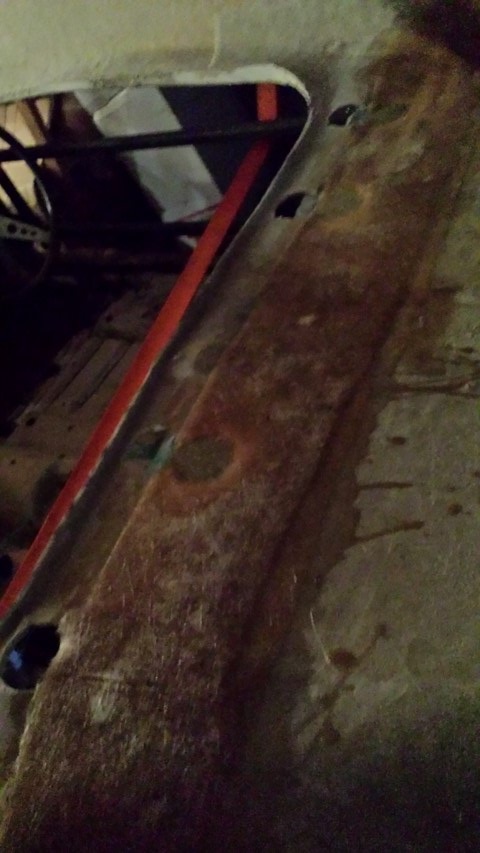
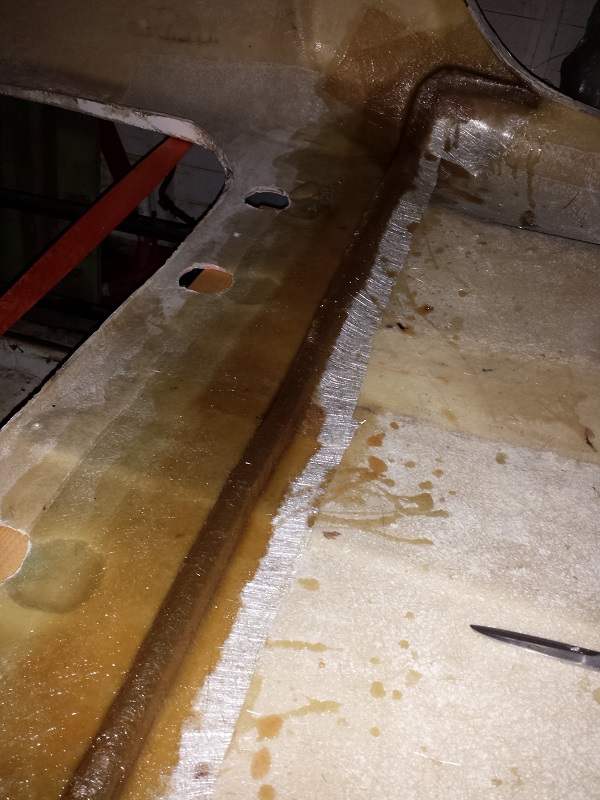
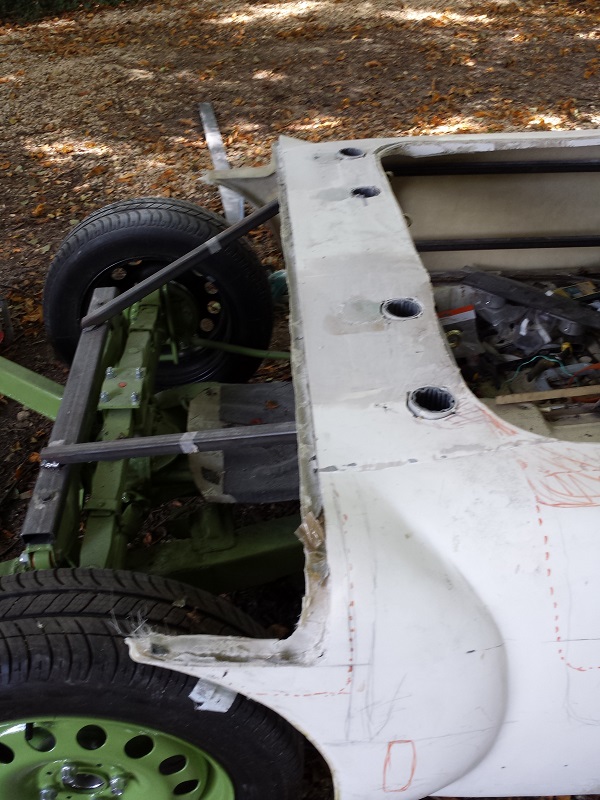
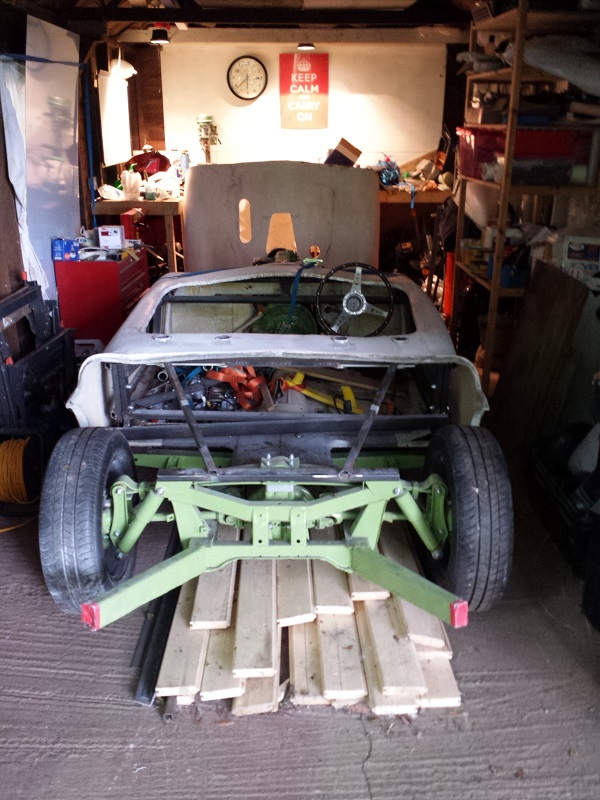
A few evenings and this afternoon have given me the chance to make some progress with the rear end. This may turn-out how I hope, or it may be my biggest mistake so far. I don't think anyone else has done this, and there may be a reason........
So, I hot-glued some closed-cell foam along the line of the cut and covered it in parcel tape and releasing agent.........
Glassed it over........and went home.
The following night I hot-glued some 10mm nylon rope and glassed over to act as a rib and provide some extra rigidity.
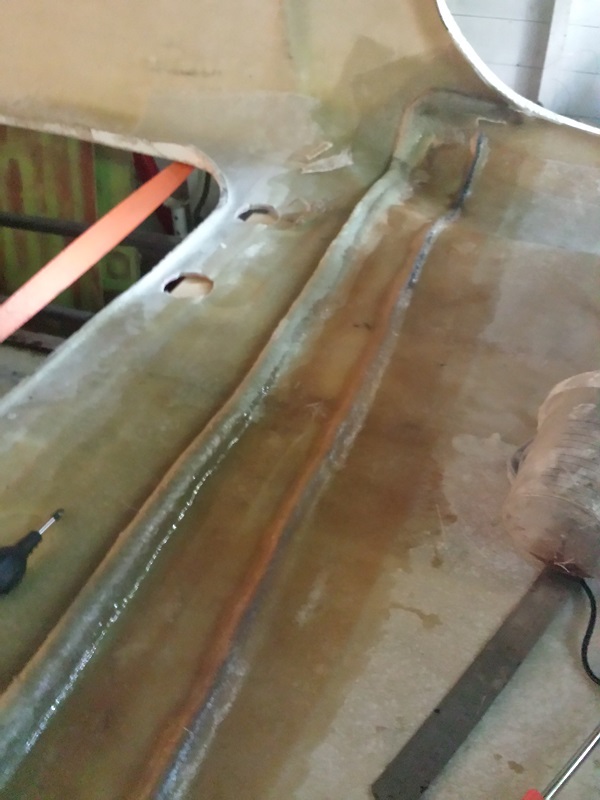
Today the angle-grinder came out.........
The foam remained attached the the rear deck......
And it pealed off easily.........
New-look tub.......
And a third part of the bodywork........
A new view in The Glade.
I plan to do the same as Mac and add the bottom legs of the bonnet to the main tub. These horns will be at the same height, but more prominent than those on the rear.
One reason for doing this now was to make the tub easier to manhandle. I have no assistance down in the woods, so this move will make life easier.
I have the hinge system ready for the new rear deck to flip so as I can get at the fuel tank and rear suspension.
Next up is sorting out the cockpit surround to give me more shoulder room and to square things up (ha ha) a little.
Last edited by oxford1360; 29th July 2014 at 15:47..
|
27th July 2014, 17:38
|
|
Senior Member
|
|
Join Date: Jul 2011
Posts: 5,328
|
|
I like what you're doing with the flip back end, very race car! Can't see any reason why it wouldn't work |
27th July 2014, 17:44
|
|
Senior Member
|
|
Join Date: Feb 2012
Location: Wembley, London
Posts: 5,056
|
|
Oxford - Glad to see I am not the only one who looks like this with an angle grinder in their hand.


Jokes aside, great job.
My fibre glassing book mentioned making a rib like yours for extra strength.
Although it didn't occur to me to use "normal" rope to do the job.
Can I just ask if the closed-cell foam came as a strip, or did you have to shape it yourself?
Good luck, Paul.
|
27th July 2014, 18:13
|
|
Senior Member
|
|
Join Date: Jun 2011
Location: birchington, kent
Posts: 1,769
|
|
Clever stuff, O. Are the hinges from a car? What will you use to it down?
|
27th July 2014, 18:43
|
|
Senior Member
|
|
Join Date: Mar 2012
Posts: 1,152
|
|
I've got some 5/8" ex-MOD pins that are really neat. These will act as the hinge pin. They can be removed easily to take-off the back.
There will be a steel frame on which the rear deck sits. This will have adjustable gate hinges at the fulcrum -
http://www.ebay.co.uk/itm/1910749494...84.m1439.l2649
More to come in the next week or so........ |
27th July 2014, 19:32
|
 |
Senior Member
|
|
Join Date: Dec 2013
Posts: 839
|
|
Nice work Oxford, i like your train of thought for the edge solution, another twist to this kit and i look forward to seeing this develop.
|
28th July 2014, 06:53
|
|
Senior Member
|
|
Join Date: May 2013
Posts: 2,161
|
|
Clever stuff Oxford!
When I did my boot-lid rain channel, it was all done in ally, I did not even consider using fibre-glass.
I think it would have been easier for me to have done what you did!
|
|
Currently Active Users Viewing This Thread: 1 (0 members and 1 guests)
|
|
|
 Posting Rules
|
You may not post new threads
You may not post replies
You may not post attachments
You may not edit your posts
HTML code is Off
|
|
|
All times are GMT +0. The time now is 23:37.
|


 Linear Mode

