|
|
| Tribute Automotive Builds Discuss your Tribute kit build |

3rd November 2016, 22:37
|
|
Member
|
|
Join Date: Sep 2016
Posts: 41
|
|
 Darren's MX250
Hi,
I picked my MX250 Kit up from Chris yesterday so am looking forward to getting started - although I have already stripped all the non-needed parts off the car and have changed my brake calipers, discs and pads whilst waiting for the kit.
I'm building a coupe kit and basing it on a 2001 mk2.5. Luckily the chassis rails are pretty good but I've rubbed down some minor rust patches and have taken the crash cans off, waxoyled inside and am in the process of undersealing the outside.
I've not done anything like this before and I spent some great time walking through the build with Chris and getting my questions answered, I would definitely recommend it to anyone.
That said, I'm definitely going to need ongoing support, so am starting my own thread hoping you'll all be gentle with me. I'm a bit of a plodder, so I do not expect to make quick progress, but I'll get there eventually!
So hi to all, I'm looking forward to getting more involved and I'll try to update regularly - or at least when I make any significant progress.
Darren (Based near Basildon, Essex)

|
3rd November 2016, 23:01
|
 |
Senior Member
|
|
Join Date: Jun 2011
Posts: 935
|
|
If you need a hand im just around the corner
|
4th November 2016, 07:37
|
|
Senior Member
Enthusiast
|
|
Join Date: Jun 2015
Location: Reading, Berkshire
Posts: 688
|
|
Good luck Darren. We needed a new build thread for us all to watch (while saving up our own pennies).
Never done a build myself either - but will offer words of encouragement 
Dave |
4th November 2016, 07:48
|
|
Senior Member
|
|
Join Date: Nov 2011
Posts: 3,558
|
|
Welcome to the Tribute Owners Club
|
4th November 2016, 09:07
|
|
Senior Member
|
|
Join Date: Nov 2015
Posts: 278
|
|
Welcome, and have fun building
|
4th November 2016, 09:19
|
|
Senior Member
|
|
Join Date: Jan 2015
Posts: 132
|
|
Good luck with the build , I'm in Brentwood if you need a hand
|
4th November 2016, 15:33
|
|
Junior Member
|
|
Join Date: Mar 2016
Posts: 26
|
|
Good luck hopefully will get round to ordering my kit early next year.
So will be following this thread for tips.
|
5th November 2016, 06:45
|
|
Member
|
|
Join Date: Aug 2014
Posts: 66
|
|
Well my build is progressing slower than hoped, but I now finally have it off road and in the garage so should get a move on now! I'm based in South Woodham near Chelmsford so it seems lots of us are right near you! Maybe we should have an Essex Tribvute meet!
|
5th November 2016, 15:05
|
|
Senior Member
|
|
Join Date: Jan 2013
Posts: 429
|
|
I'd be up for that, not far to Essex from where I am in Cambridgeshire.
|
5th November 2016, 17:36
|
|
Member
|
|
Join Date: Sep 2016
Posts: 41
|
|
Thanks Roadster and Ned for your offers of help, I very well may take you up on them. Ned, I think I met you at the kit car show last May, and asked you lots of questions then - but I didn't realise you were so close.
So I realise that I still have quite a bit of faffing to do before starting the kit in earnest. Today I finished spraying my crash cans and tow hooks, as they were pretty rusty, and I filled where I had ground out the surface rust on the chassis rails, ready for undersealing tomorrow. I also want to bleed the brakes tomorrow and I want to get underneath and change the gearbox oil and transmission oil.
I've also just ordered a set of coilovers to put on, primarily because I want to lower the height a little.
So I've been thinking about preparing the roll-cage. I will probably just spray satin black, but what have people used to rub it down, and what primer should I use?
By the way, as a complete novice, everything has been a learning experience even in the dismantling process, so if anyone needs any help in describing things in detail, then I can probably help with that.
|
5th November 2016, 20:31
|
|
Member
|
|
Join Date: Sep 2016
Posts: 41
|
|
Excellent - Thank-you
|
7th November 2016, 16:05
|
|
Senior Member
|
|
Join Date: Jan 2015
Posts: 132
|
|
Maybe we should have an Essex Tribvute meet![/QUOTE]
Would be up for that,don't make it too soon though,i need to clear the 3000 roof tiles , 1500 bricks , blocks , cement mixer , lintels, wood and various other bits that are in front of the garage so i can get the GTO out  |
8th November 2016, 21:48
|
|
Member
|
|
Join Date: Sep 2016
Posts: 41
|
|
Hi, a Couple more questions
- I need to remove the seal at the upper edge of the windscreen where the soft top front edge normally rests. It looks like it is one piece all the way round and down the A pillars. If so, presumably I need to cut it, but does anyone have a picture of where the cut needs to go exactly?
- What have people primed and sprayed the front wheel arch extenders with?
Thanks!
|
14th November 2016, 19:15
|
|
Member
|
|
Join Date: Sep 2016
Posts: 41
|
|
Hi,
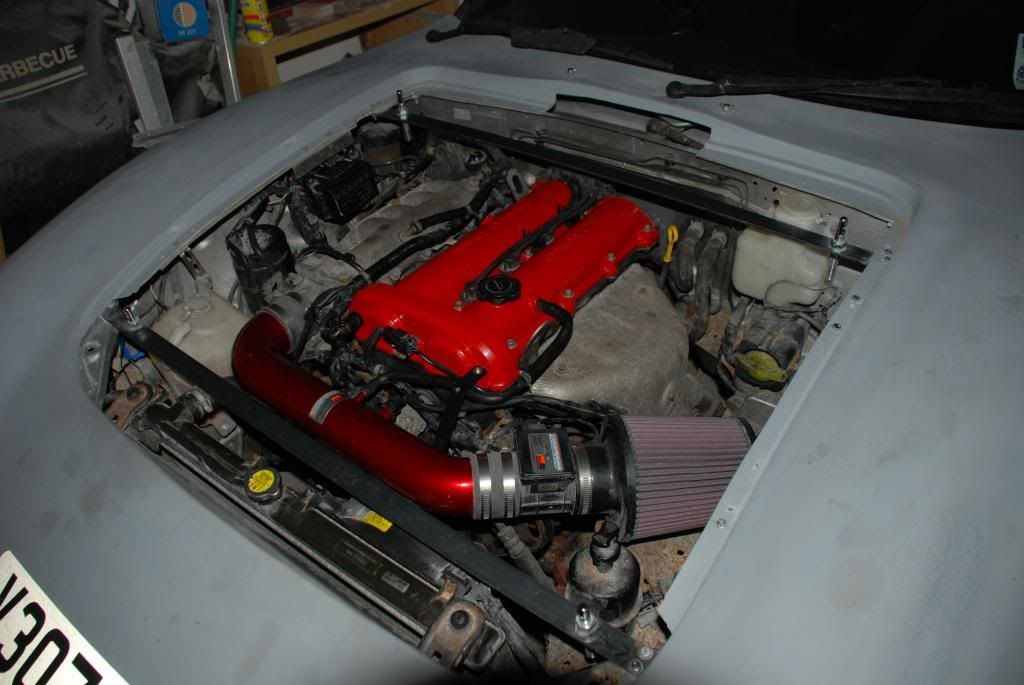
Mk2 builders. How have you relocated your fuse box out of the way? My Fuse box is in 2 parts the main fuse box and then a smaller secondary fusebox on a bracket (see photos). But the area is so cluttered between the brake fluid reservoir and the fuel can thingy, and the wire does not have enough overlength that I can't seem to move it far enough to clear the wing extension. any ideas?
|
14th November 2016, 19:58
|
|
Senior Member
|
|
Join Date: Jan 2013
Posts: 429
|
|
This doesn't show my solution very well but it's on bracket mounted to the wing extenders. I'll try and get some better pictures at the weekend when there is some sunshine.
 |
14th November 2016, 22:18
|
|
Member
|
|
Join Date: Sep 2016
Posts: 41
|
|
Thank-you, that will help a lot. Have you separated the large fuse box from the smaller one behind, or are they still together on the same bracket? Did you have to do anything with the wire, as I have very little movement at present?
|
15th November 2016, 05:00
|
 |
Senior Member
Enthusiast
|
|
Join Date: Oct 2004
Location: Basildon, Essex
Posts: 1,800
|
|
Hi there and welcome to the forum.
Did not realise there were so many kit car builders in the area. From Basildon myself.
Though not a tribute builder, happy to lend a hand, friendly chat over a cuppa etc if you want.
|
15th November 2016, 15:44
|
|
Senior Member
|
|
Join Date: Jan 2013
Posts: 429
|
|
When you say the small fuse box do you mean the relays on the gold coloured mount? I left these where they were. It's a PitA to get to them if they fail but as I had to replace all three during my build I would hope they will last a while.
In terms of the wiring, I "gently" pulled the main fuse box until there was enough length to mount it where I wanted. There isn't a great deal of spare length on the wiring but with some gentle teasing it does come further out.
|
15th November 2016, 19:53
|
|
Member
|
|
Join Date: Sep 2016
Posts: 41
|
|
Hi Limpabit. That's very kind and I'm sure as I get further into it, I will be glad of some help and advice!
Hi Fatbloke. I had a go at the fusebox again tonight. I took the 3 connectors and gold bracket off and I was able to get to the wiring loom underneath. I separated the two main strands a little where they are taped and re-taped them. This gave me quite a bit more flex. I re-installed the 3 connectors. on your vehicle it looks like you've taken the other gold bracket out near the fuel can? For now, I've also twisted the front part that holds the fuel pipes through 45 degrees which brings the black connector away from the strut top to give more space. I also reversed the grey connector and the small black hitatchi box through 180 degrees which also brings that wiring out of the way. So at least the fuse box can be brought far enough out of the way for now, but may need to tweak later.
|
|
Currently Active Users Viewing This Thread: 1 (0 members and 1 guests)
|
|
|
 Posting Rules
|
You may not post new threads
You may not post replies
You may not post attachments
You may not edit your posts
HTML code is Off
|
|
|
All times are GMT +0. The time now is 05:55.
|


 Linear Mode

