|
|
| Sammio Builds and discussions Sammio bodied car builds and specials |

13th July 2012, 11:56
|
 |
Senior Member
|
|
Join Date: May 2011
Location: Somerset
Posts: 1,671
|
|
Looks really good matey and i completely agree about that dash, less is more!
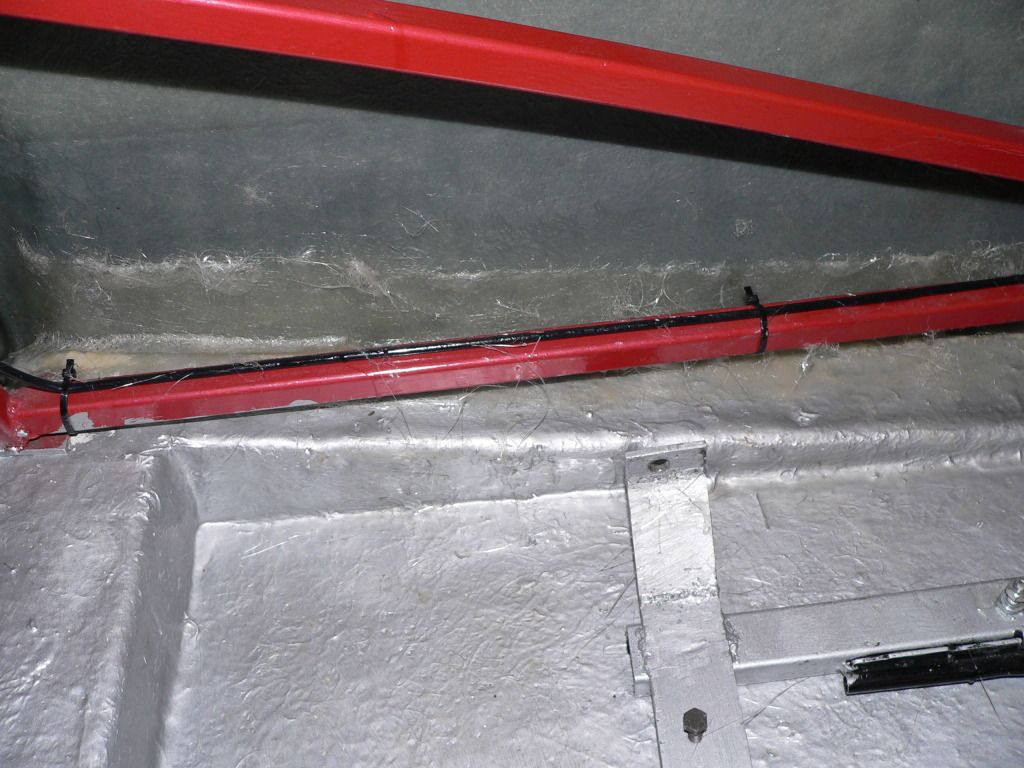
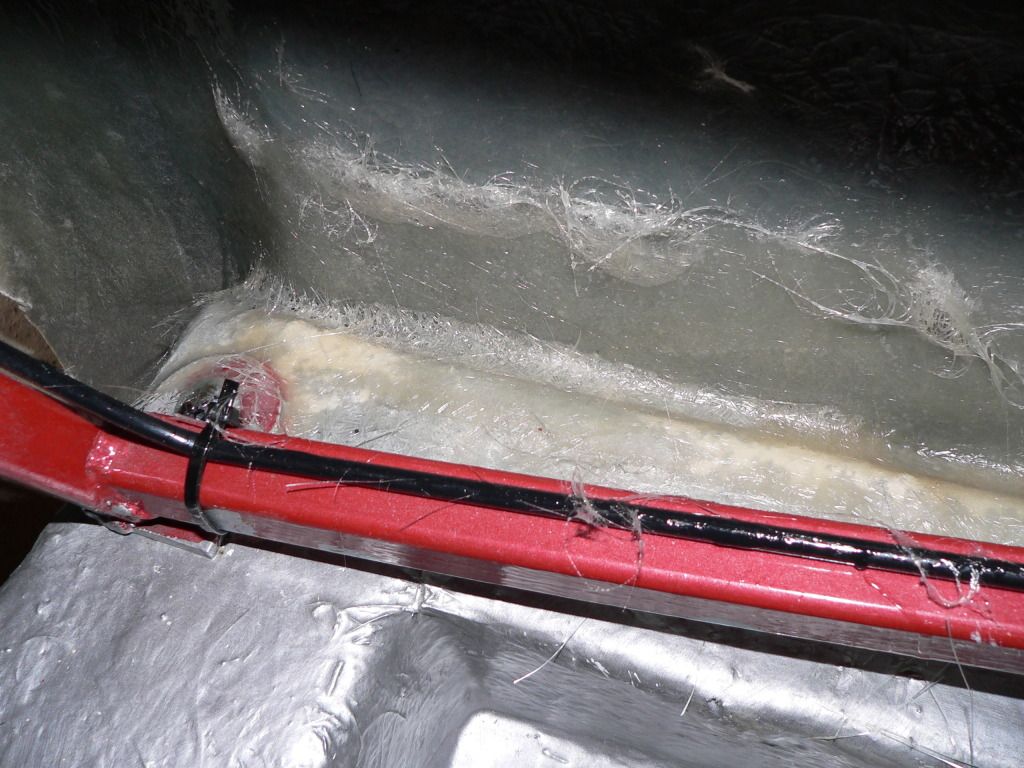
I notice that your shell doesn't lip under the front of the chassis rails and it sits about the same as mine. A bit of black paint on the exposed rail sorts that a treat!  |
13th July 2012, 12:49
|
|
Senior Member
|
|
Join Date: Nov 2011
Posts: 3,558
|
|
Target dates are like deadlines, they make a lovely whooshing noise as they pass!
My original target of June 30th has been revised to June 90th but at least it will still be June and probably before the summer arrives ;-)
|
13th July 2012, 13:10
|
 |
Senior Member
|
|
Join Date: Jul 2011
Posts: 5,328
|
|
Quote:
Originally Posted by davecymru

Looks really good matey and i completely agree about that dash, less is more!
I notice that your shell doesn't lip under the front of the chassis rails and it sits about the same as mine. A bit of black paint on the exposed rail sorts that a treat! |
Yes, my bodyshell doesn't cover the chassis rail on the driver's side but then Phil and Barry's cars are exactly the same. I've given the rail on that side a lick of silver to match the final body colour. If it still stands out once the paint's on then it'll get a coat of matt black.
Incidentally, I've just spent a couple of hours drooling over Barry's car round at Phil's place now it's practically road ready. I love the colour, it's a 1963 E Type shade apparently and looks much darker in the flesh than in the photos. Phil's done a great job imho, but judge for yourselves -
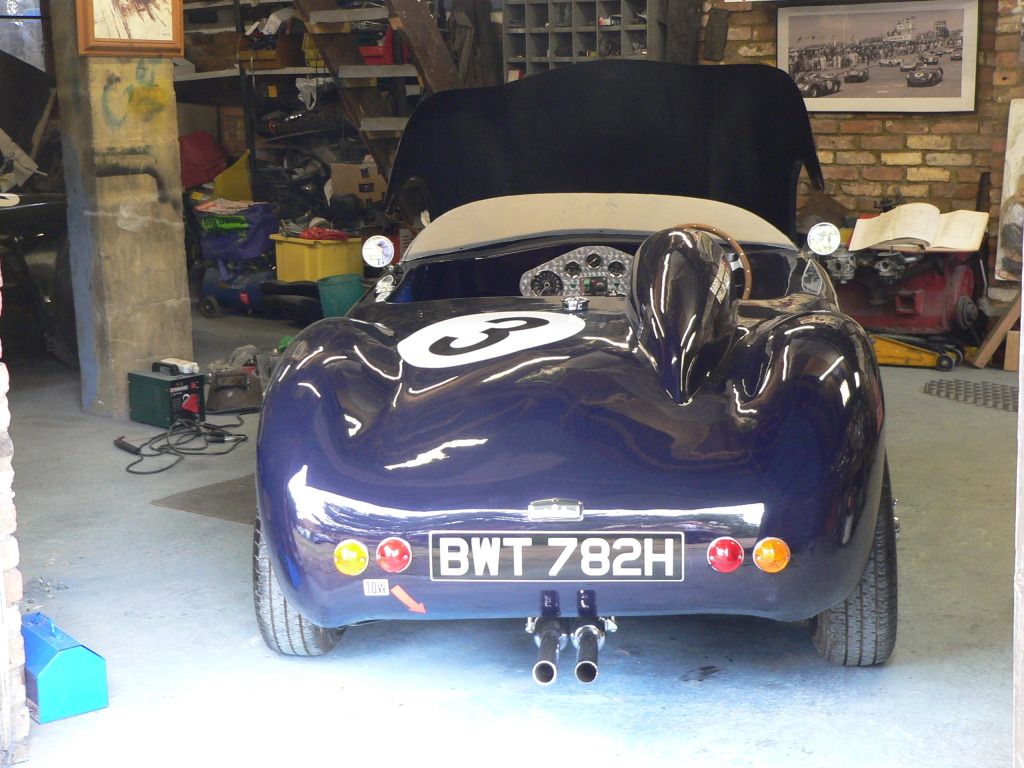
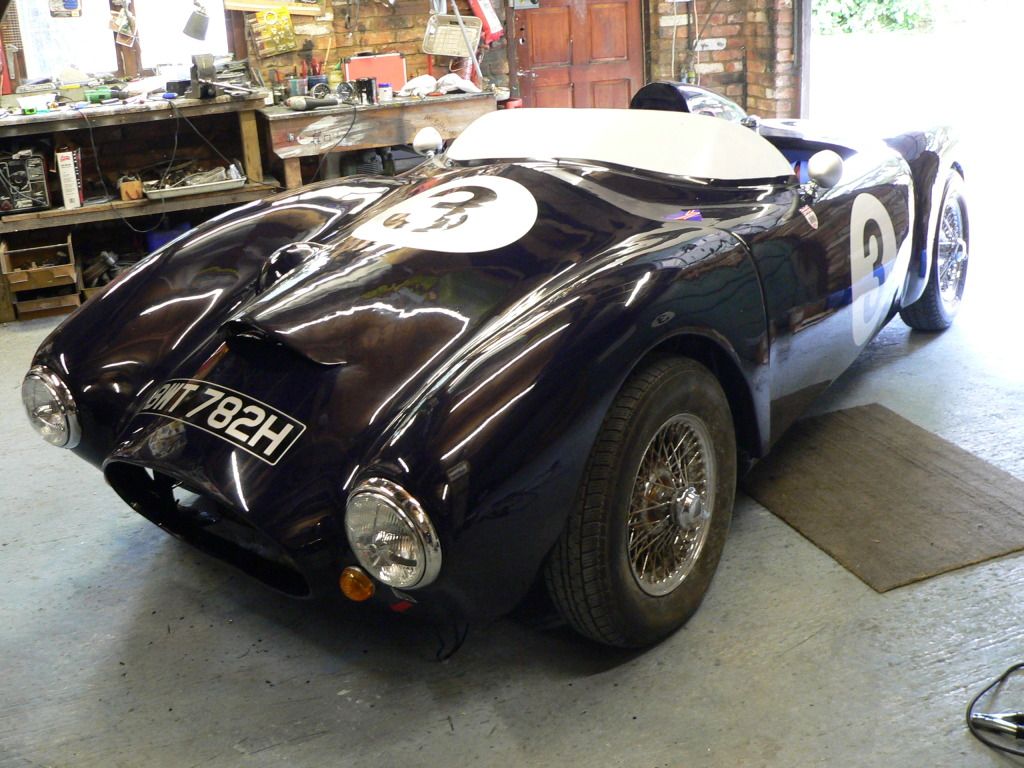
And my personal favourite -
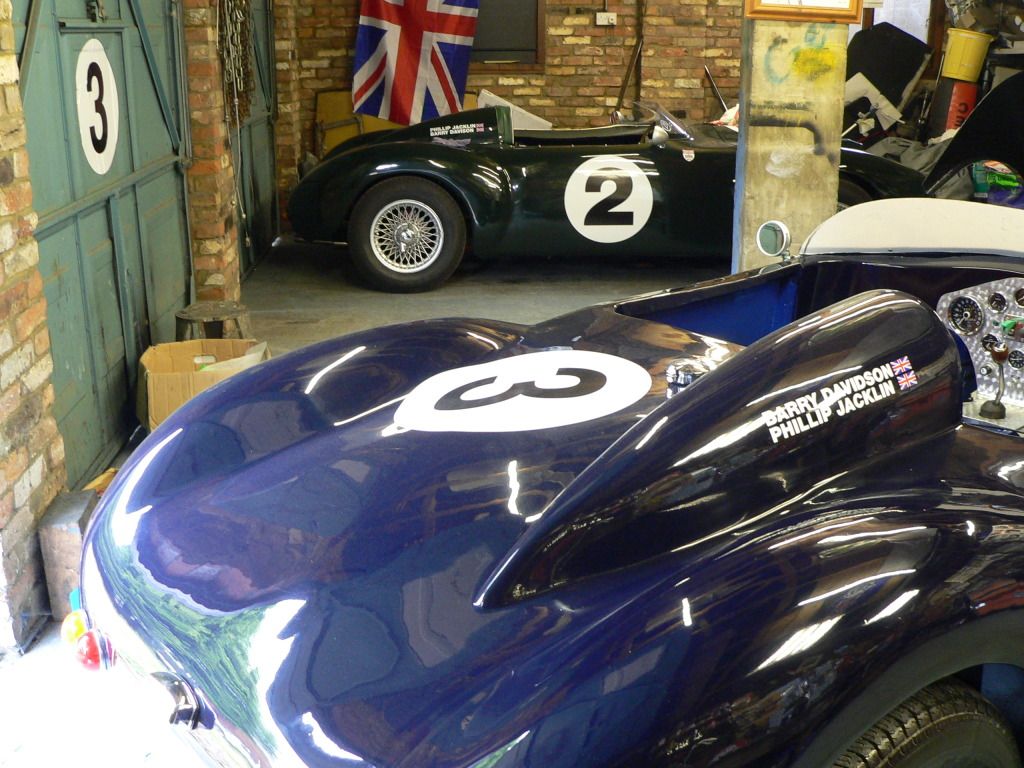
Inspirational stuff, and thanks for the tea Phil |
13th July 2012, 13:17
|
|
Senior Member
|
|
Join Date: Mar 2012
Posts: 1,152
|
|
Thanks guys. When you are ate the bare chassis stage and it's p*ssing with rain outside, photos like this keep me going. Seeing two together is very nice indeed. Very, very 1950s. They look terrific.
Well done, chaps. And thanks Mr T for sharing.
|
13th July 2012, 14:46
|
|
Senior Member
|
|
Join Date: Jul 2011
Posts: 5,328
|
|

Quote:
Originally Posted by oxford1360
Thanks guys. When you are ate the bare chassis stage and it's p*ssing with rain outside, photos like this keep me going. Seeing two together is very nice indeed. Very, very 1950s. They look terrific.
Well done, chaps. And thanks Mr T for sharing.
|
No problem. By the end of September I'm hoping that we'll have three of these lined up outside the gates of Sandringham for a 'gentlemen, start your engines' photo. Mine should be first away from the pits though as I've fitted electronic ignition and it starts first time every time while Phil's takes a fair bit of churning before it'll fire...
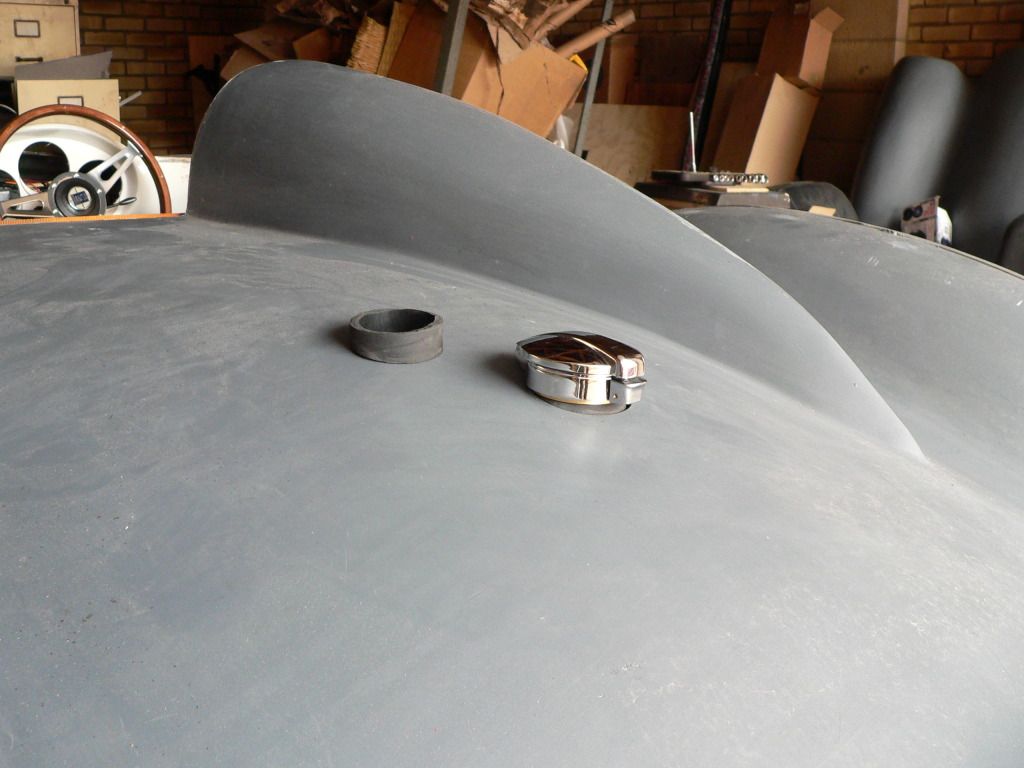
So, lazy day today after I had a bit of a hectic shift last night, but I have tackled the dog's dangly bits at full mast fuel filler. Just cutting another 3/4" off the hose has made quite a difference -
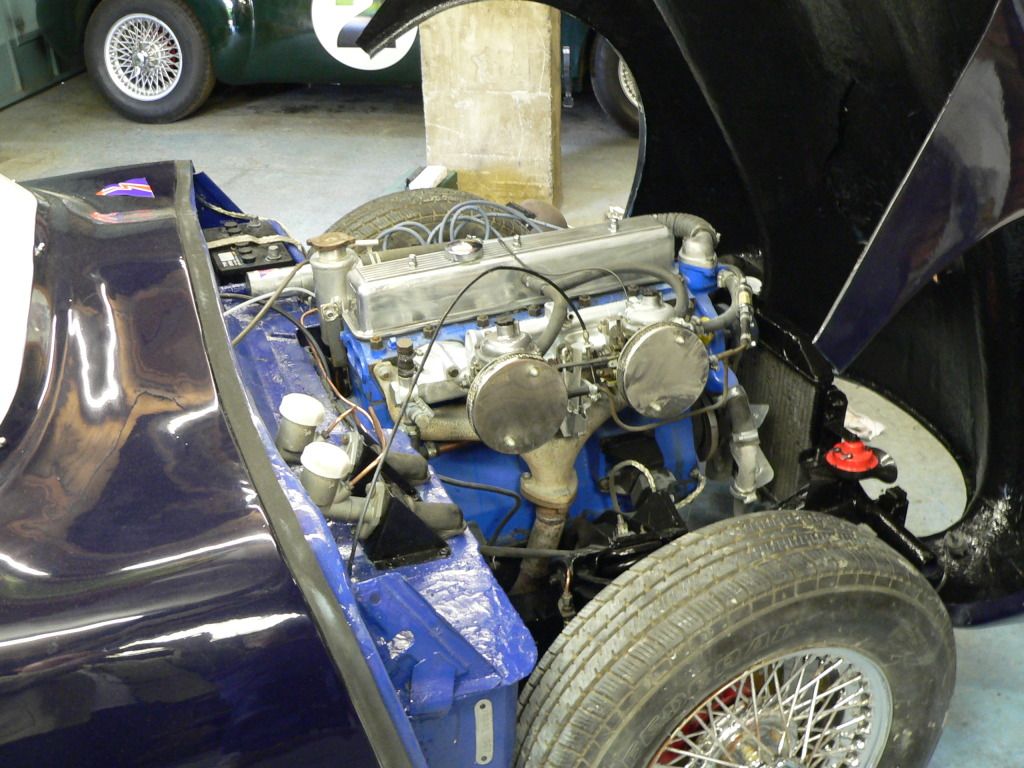
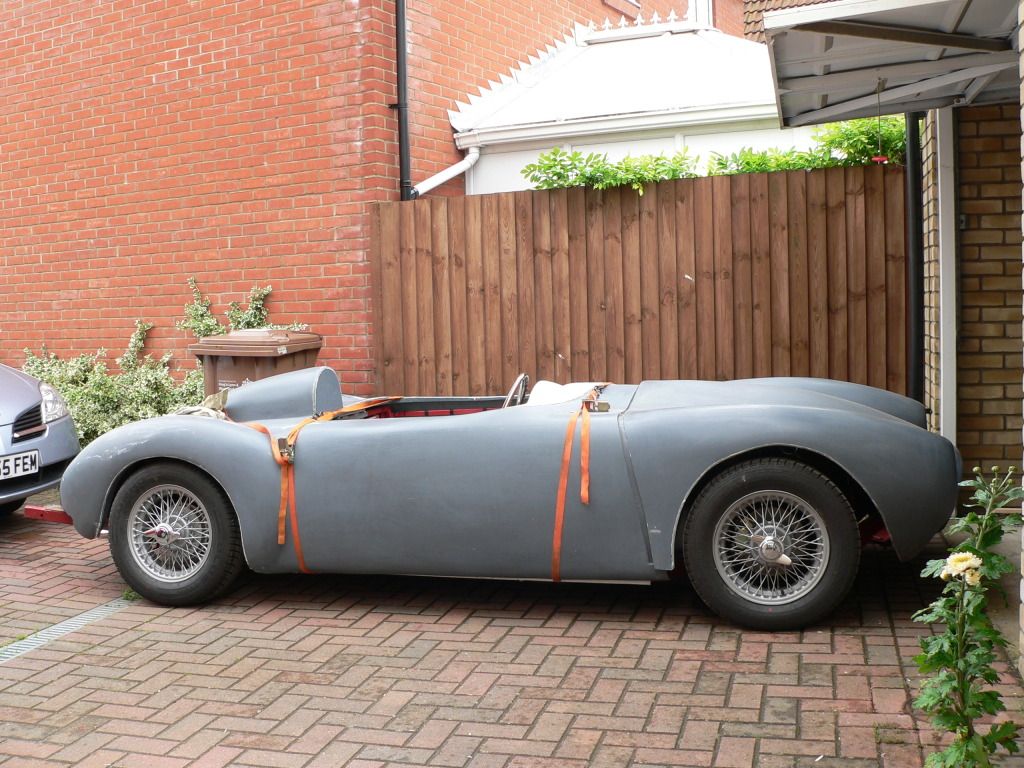
I also took five minutes to plonk the bonnet on to see if I was going to have any fouling issues. It's a little awkward with the ends of the front cross member still in place as that restricts how far back you can push the bonnet until they 'fall off.'
The question was answered when I started depressing the bonnet above the engine to see if there was any resistance and it cracked directly over the engine to radiator top hose connection (circled).
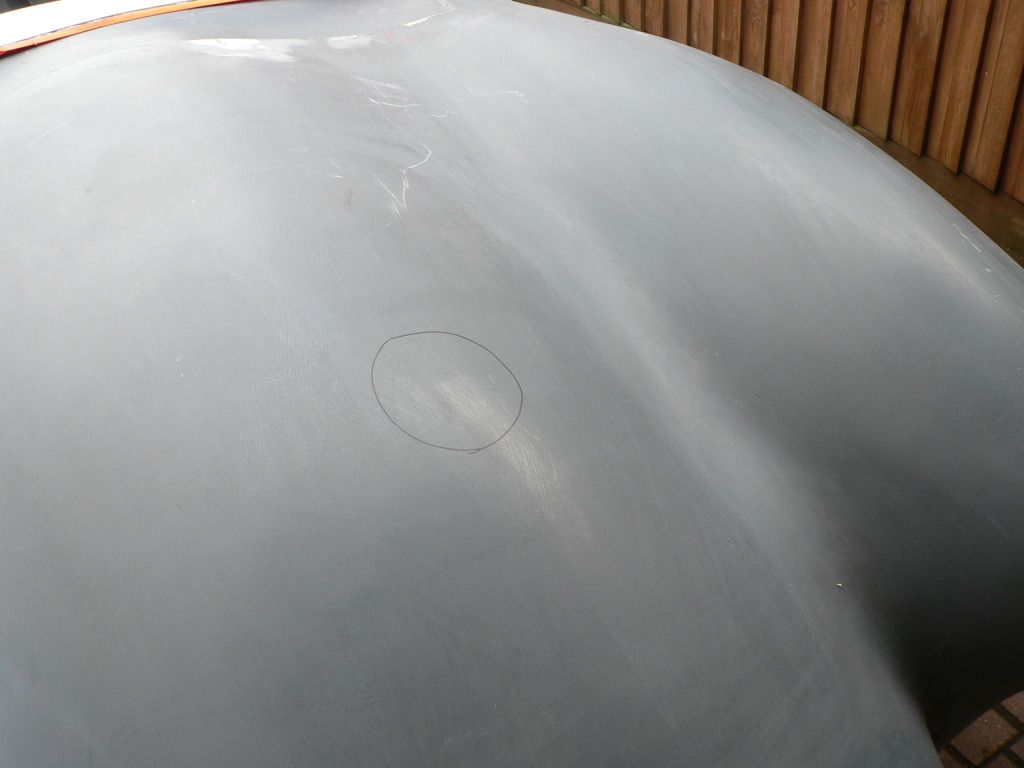
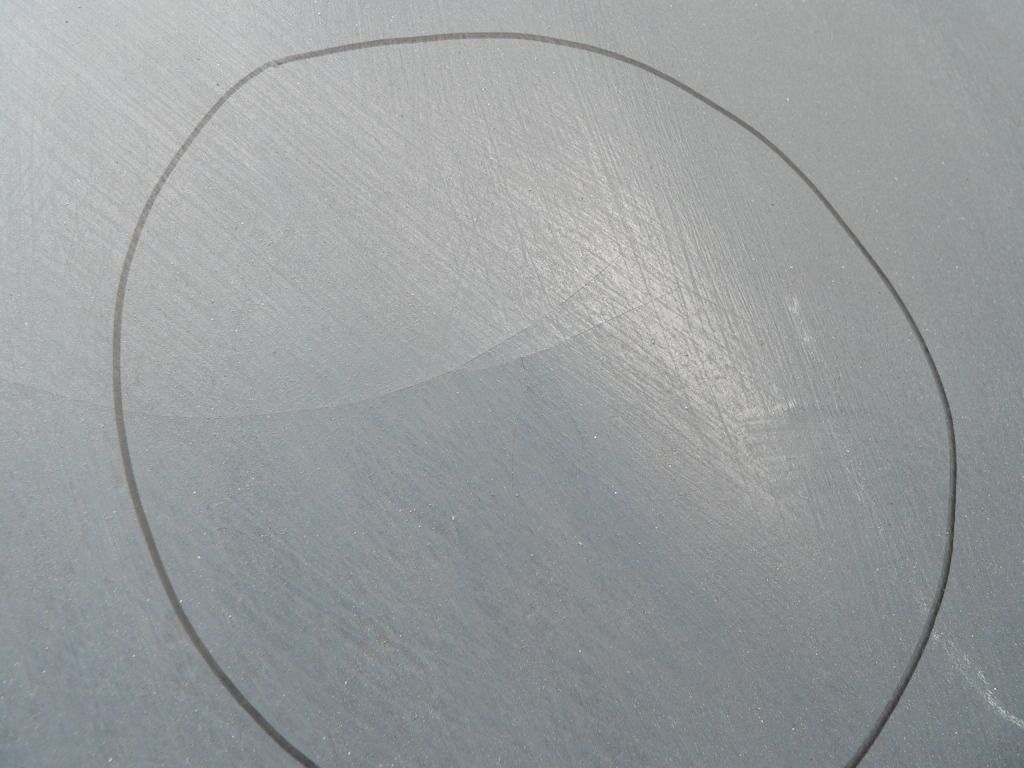
Oh well, I'm not too worried about the crack as I'll just cut a hole there for clearance and then decide whether to put a scoop or a blister over the top.
Should be a bit more positive progress on Sunday and Monday if all goes to plan...

|
13th July 2012, 15:20
|
|
Senior Member
|
|
Join Date: Mar 2012
Posts: 745
|
|
again thanks for help in out with pics and good to see you
 |
13th July 2012, 15:56
|
|
Senior Member
|
|
Join Date: May 2011
Location: Somerset
Posts: 1,671
|
|
ohh, that's where my bonnet is moded as well
As far as your fuel filler is going it looks a lot better with the shorter pipe, but it still looks like it could do with "something". Perhaps along the lines of what i did with a metal flange/collar around it and may also help to hold it in place? just an idea. |
13th July 2012, 16:13
|
|
Senior Member
|
|
Join Date: Jul 2011
Posts: 5,328
|
|
Quote:
Originally Posted by davecymru
ohh, that's where my bonnet is moded as well
As far as your fuel filler is going it looks a lot better with the shorter pipe, but it still looks like it could do with "something". Perhaps along the lines of what i did with a metal flange/collar around it and may also help to hold it in place? just an idea. |
Yes, I've been experimenting with a polished alloy steering wheel top ring to embelish the fuel filler but it's a bit too big. Might have to fabricate something in alloy...
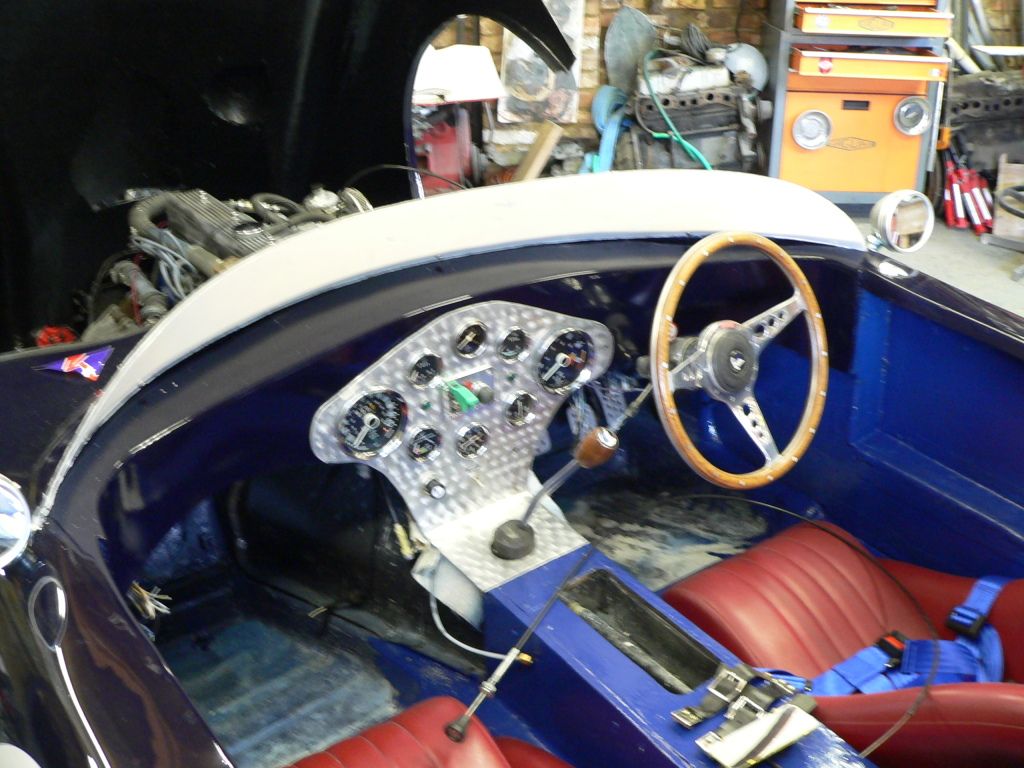
I've just trial fitted my wind deflector to check the seating position - not a great photo I'm afraid, but I'm very happy with the driving position: raise head to look over the screen, lower chin(s?) to look through it. 
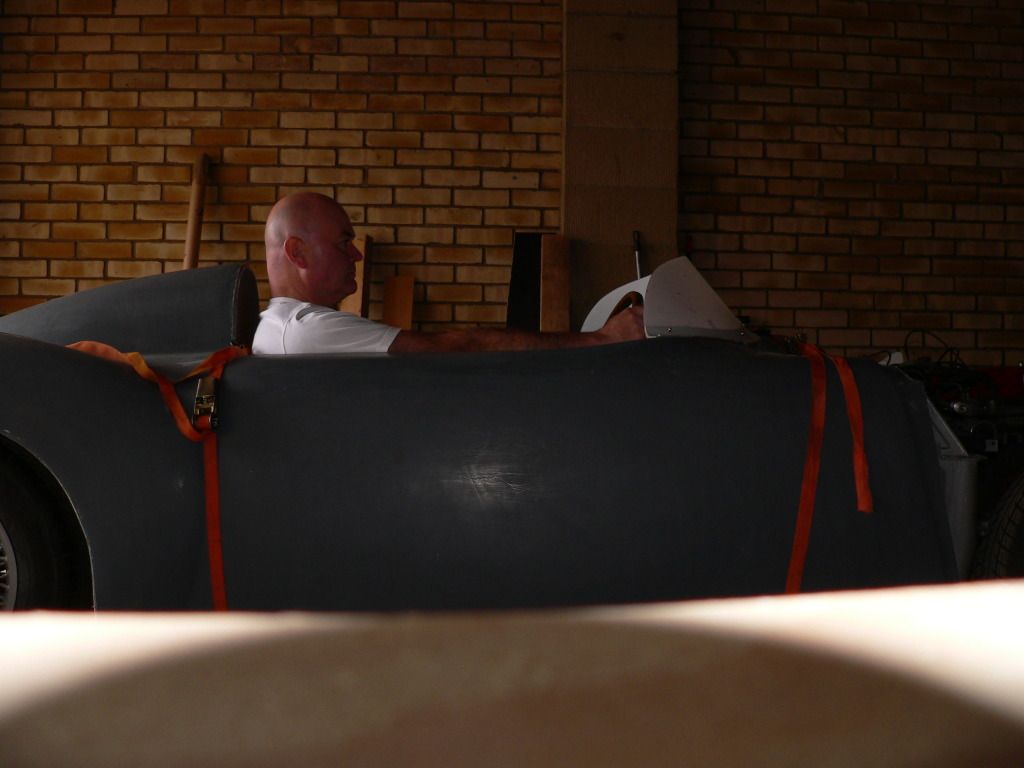
At least it's shown me that I can get into the car in less than ten seconds as that's the longest delay on my camera!
I'm like a dog with two tails now it's starting to look like a car. I can't help constantly popping out to the garage and just sitting in it... These cars look fantastic, really  while to me Cobras look a bit, well, 
|
13th July 2012, 20:41
|
|
Senior Member
|
|
Join Date: Jul 2011
Posts: 5,328
|
|
Quote:
Originally Posted by WorldClassAccident
Target dates are like deadlines, they make a lovely whooshing noise as they pass!
My original target of June 30th has been revised to June 90th but at least it will still be June and probably before the summer arrives ;-)
|
Hmm, I guess the revised completion date is about the 300th of January 2012... |
15th July 2012, 14:25
|
|
Senior Member
|
|
Join Date: Jul 2011
Posts: 5,328
|
|
Connected up the vacuum hose for the brake servo this morning. I've replaced the standard vacuum connector on the manifold with a new one fitted with a non-return valve from Rimmers. Simple job, undo the old, tighten down the new. I've ordered a cone filter to go on the engine breather outlet to replace the rather clumsy standard Triumph set up. The servo gives a 1.9:1 boost, and I've fitted it so my Spyder has the same pedal feel as you get in a modern car. This will prevent the OMG moment you get when you need to stop in an old car, gently depress the middle pedal and f ck all happens.
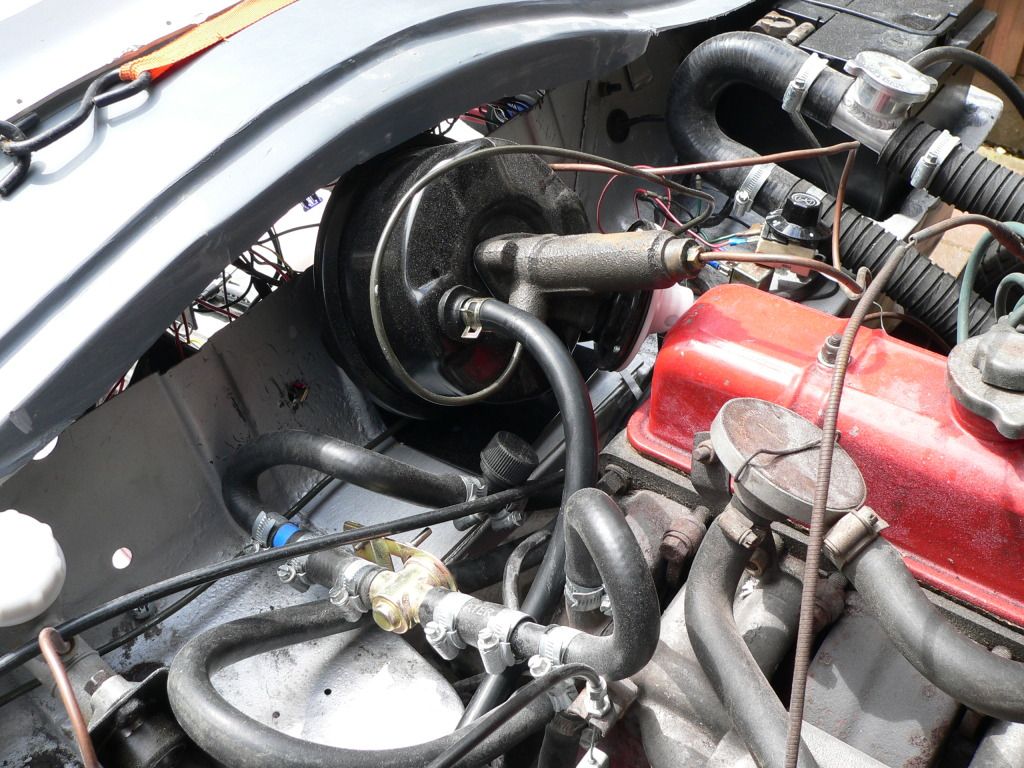
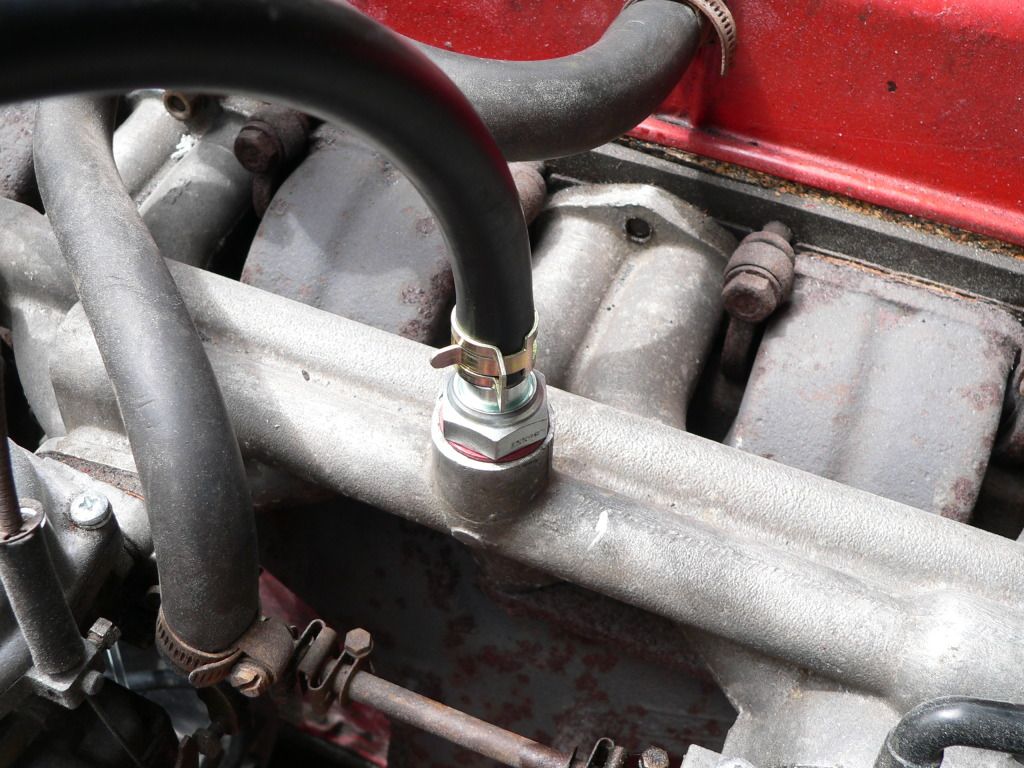
More tomorrow... |
15th July 2012, 14:37
|
|
Senior Member
|
|
Join Date: Mar 2012
Posts: 745
|
|
keep up the good work ,so we can get out for a run in the sun [well maybe] if we get some that is......
|
15th July 2012, 18:02
|
|
Senior Member
|
|
Join Date: Jul 2011
Posts: 5,328
|
|
Cheers Phil, looking forward to getting all the Norfolk Spyders together for a blast round the coast.
|
16th July 2012, 17:20
|
|
Senior Member
|
|
Join Date: Jul 2011
Posts: 5,328
|
|
Floors 'glassed to the inside of the body today and made a start on the interior panels -
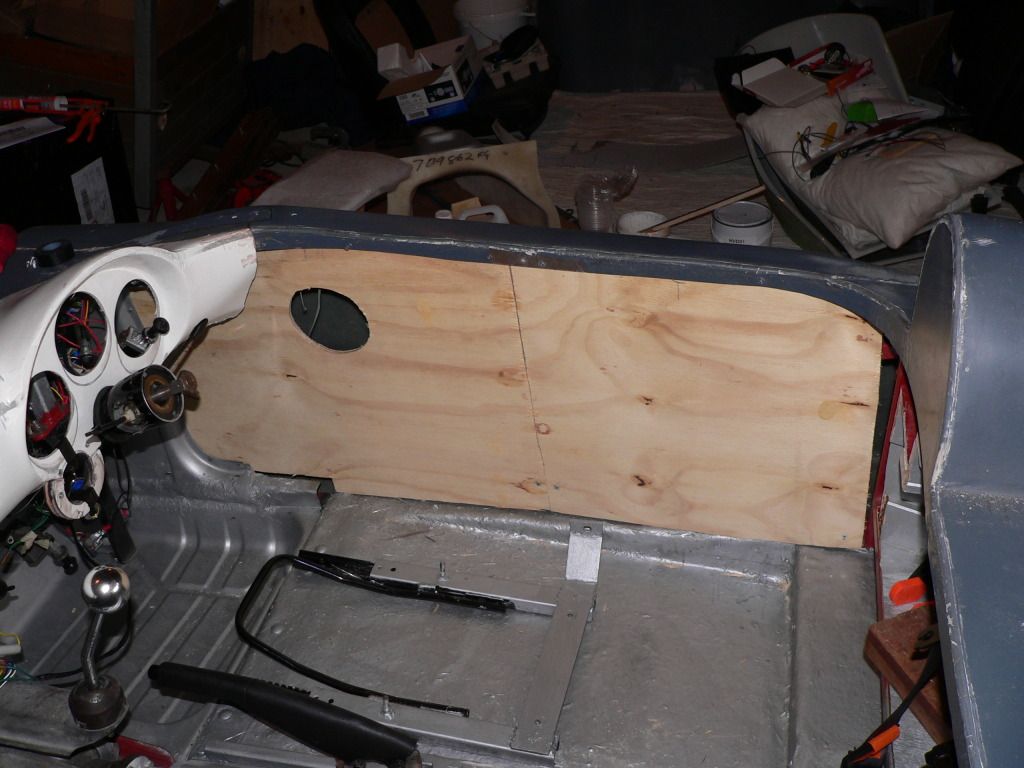
It's starting to feel really solid now, even though I haven't bonded the panels in yet, only trial fitted them with a couple of screws.
Work tomorrow and Wednesday but more progress over the weekend hopefully.
Oh, and it's not for sale.  |
16th July 2012, 18:22
|
 |
Senior Member
|
|
Join Date: May 2009
Location: POOLE , DORSET
Posts: 2,200
|
|
nice work towed......looking very good indeed ....thanks for the Barry pics as well ....those two cars look very sweet...
|
16th July 2012, 18:25
|
|
Senior Member
|
|
Join Date: Jul 2011
Posts: 5,328
|
|
Yep, Phil really knows what he's doing. Both cars look fantastic.
I'm quite pleased with the way mine's turning out too.  |
18th July 2012, 17:34
|
|
Senior Member
|
|
Join Date: Jul 2011
Posts: 5,328
|
|
Got the rear panels prepared today. They're now all out of the car and soaking in wood preservative as the outsides will be exposed to the elements and I don't want them to rot, especially if I'm going to be buried in it one day. Should be bonding them in tomorrow once they're dry.
Current plan is to fibreglass over the panels once they're in, then sand them down smooth so I can have a bare painted finish to the sides. I'll probably carpet the rear bulkhead though, mainly to hide the luggage compartment door.
Time consuming but satisfying work at this stage.  |
18th July 2012, 18:48
|
|
Senior Member
|
|
Join Date: Jul 2011
Posts: 490
|
|
Looking good...
|
19th July 2012, 06:20
|
|
Senior Member
|
|
Join Date: Mar 2012
Posts: 745
|
|
look in good come all at once now ..... barry s car off for mot friday post some pics soon
|
19th July 2012, 07:25
|
|
Senior Member
|
|
Join Date: Jul 2011
Posts: 5,328
|
|
Cheers Phil, good luck with Barry's MOT tomorrow.
|
19th July 2012, 14:03
|
|
Senior Member
|
|
Join Date: Jul 2011
Posts: 5,328
|
|
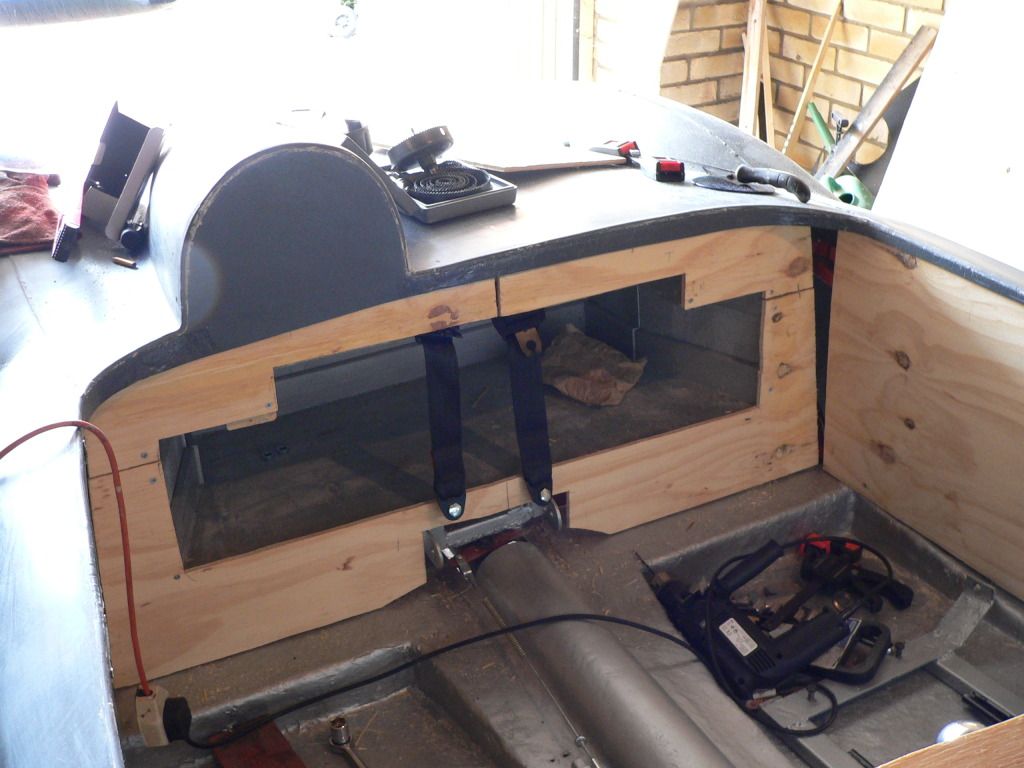
The inner panelling is now bonded in place and I've tacked in some stainless mesh to help form the curved corners. Once the bonding paste has set tomorrow I'll be fibreglassing over the whole lot.
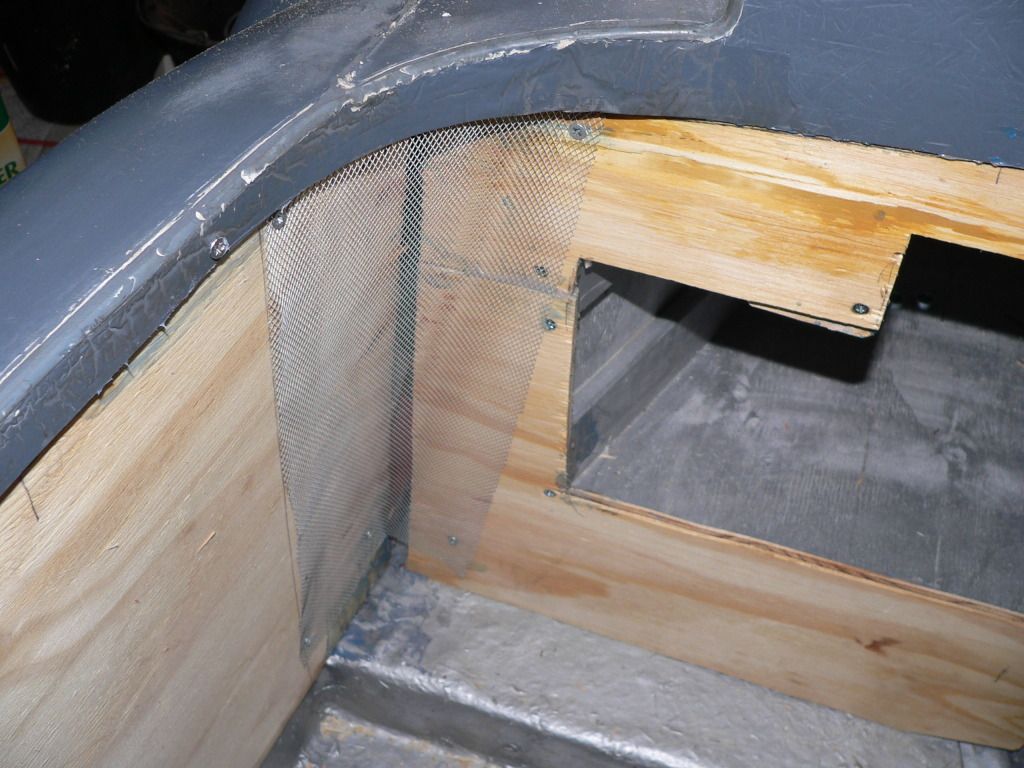
I also trial fitted the driver's seat to make sure there's enough clearance to the side panel, which there is.
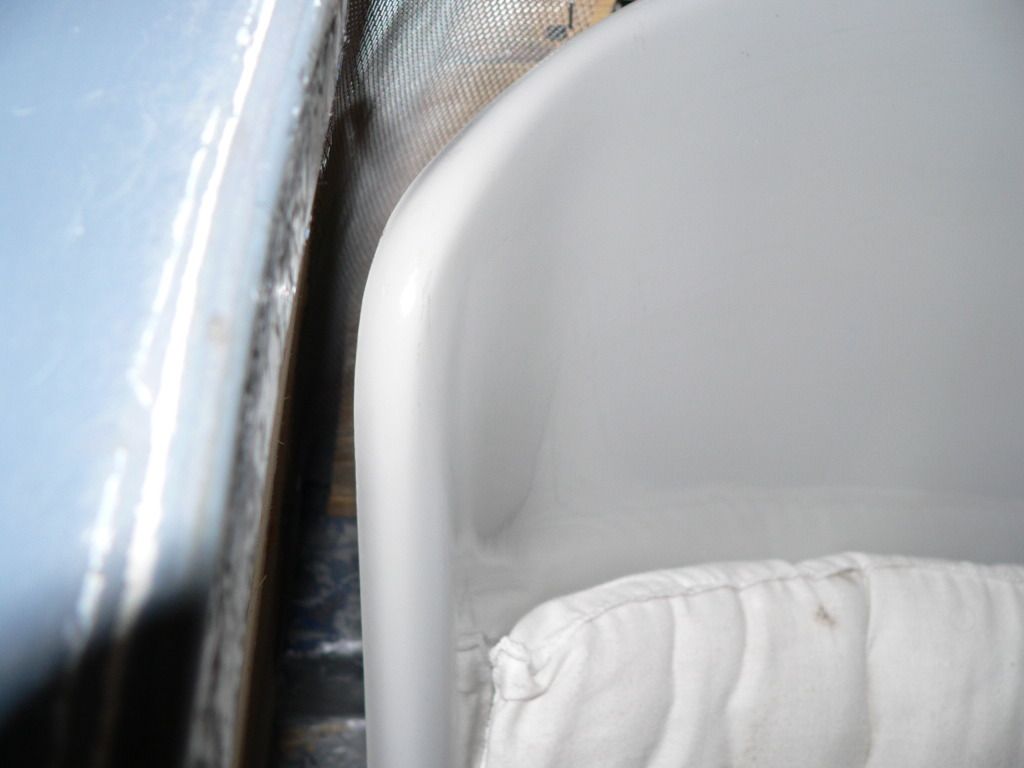
I had to cut the side panels in two down the centre line in order to get them up inside the return at the top of the bodyshell without breaking it, but it turns out to have been a masterstroke as it's allowed the panels to naturally sit at a slight angle to one another, pushing them further outboard than if they were straight. This has freed up extra space in the cockpit making it a very comfortable place to be.  |
|
Currently Active Users Viewing This Thread: 1 (0 members and 1 guests)
|
|
|
 Posting Rules
|
You may not post new threads
You may not post replies
You may not post attachments
You may not edit your posts
HTML code is Off
|
|
|
All times are GMT +0. The time now is 17:18.
|


 Linear Mode

