Thanks for the info Robin, I have been playing...
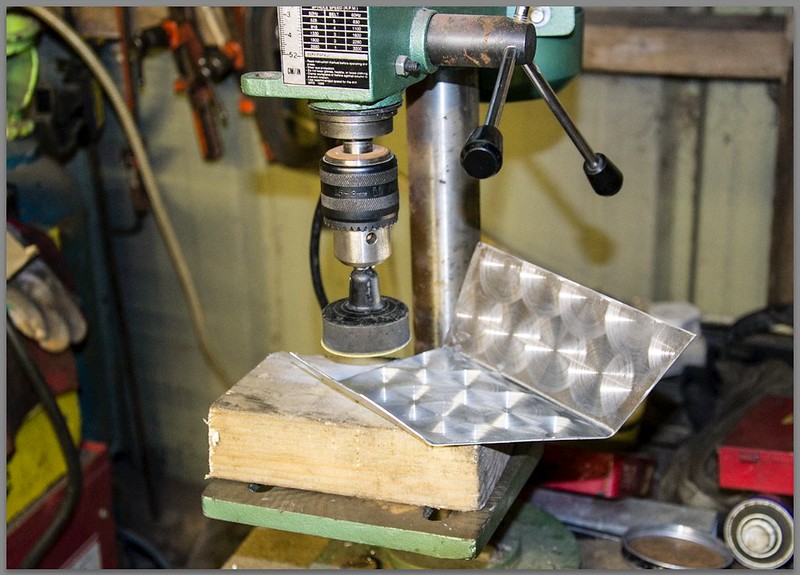
I had a rummage in the loft and found a 50mm velcro sanding attachment from my wood turning days. I have something similar which has some very rough Scotchbright type pads which click onto a special mandrel but I couldn't find them, they were what I was actually looking for... Anyway the sanding attachment seems to work well enough, so I think I will go with what I have. The pads I have are 240g it looks good, I will try some furniture polish if I can find any! :roll eyes:
I have a silly idea of using a 115mm coarse Scotchbright polishing flap-disk to create a border around the speedo and tacho 100mm apertures by making up a special mandrel and clamping the facia down on a boards it can't move. It would make a large circular disk around each dial of about 7mm, which would save the expense of buying bezels.
We have been busy riveting the bonnet hinge in. It's taken most of the day and been extremely fiddly. It's done now and very solid. The hinge gutter seems to be OK although it will need some adjustment once the bonnet is final fitted.

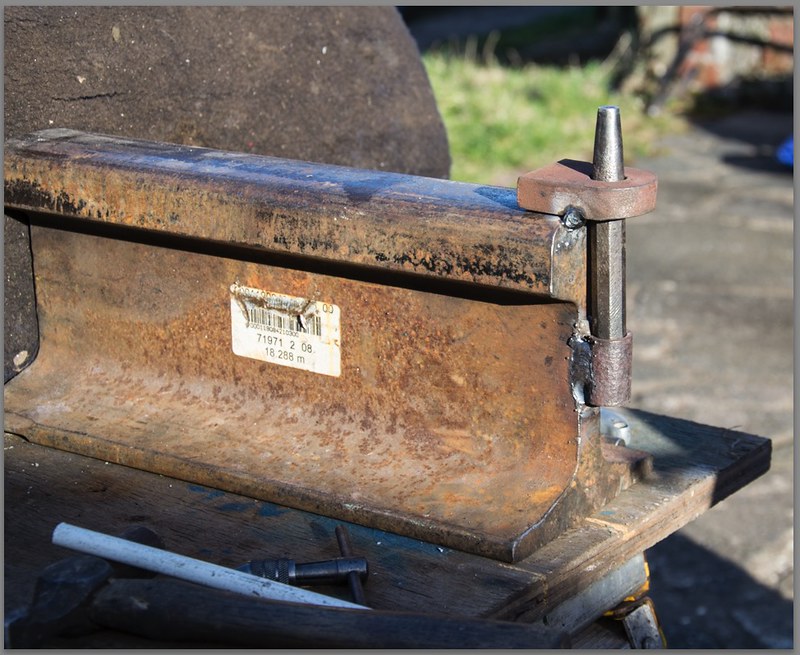
The Anvil which I made up to support the rivet snap which I use to settle the rivet head in as I peen the other end.
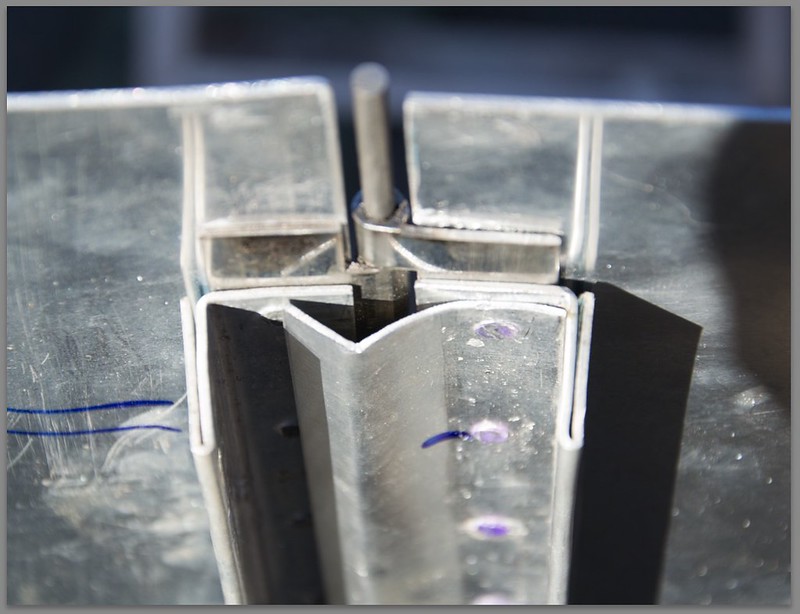
A close up of the hinge joint showing the layers of the assembly and the hinge gutter to keep the engine dry.
This evening, Michael peeling the protective film off the back bulkhead while I played with the dashboard.


 Threaded Mode
