8 Valve Ed - Cheers, I've certainly learned a lot of new skills working on this project.
So hopefully I should be able to complete the remaining jobs a bit quicker now compared to when I first started.
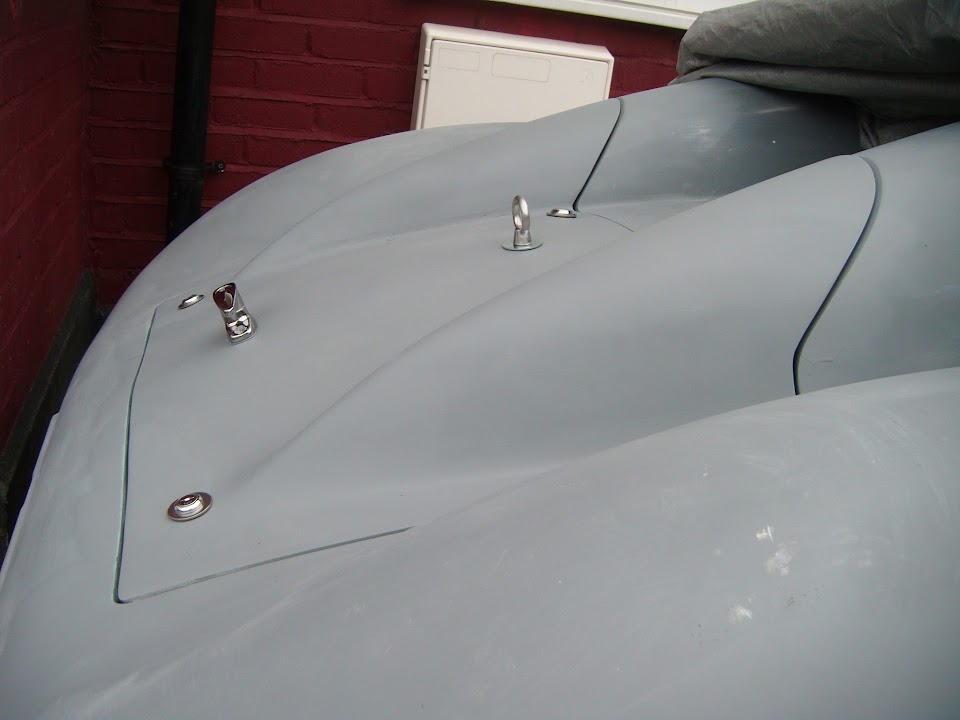
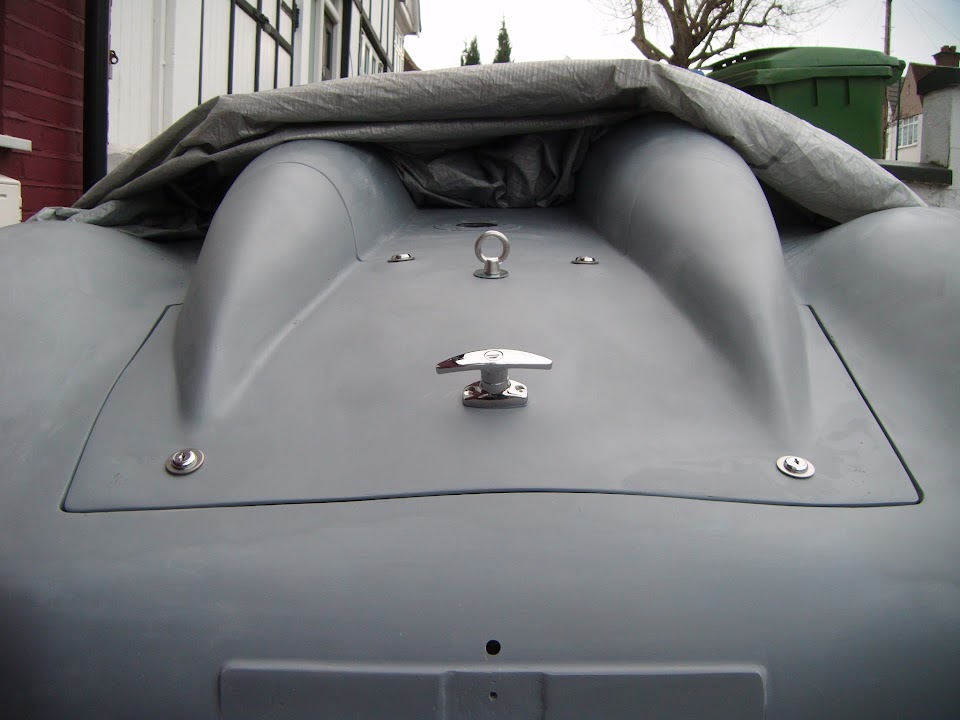
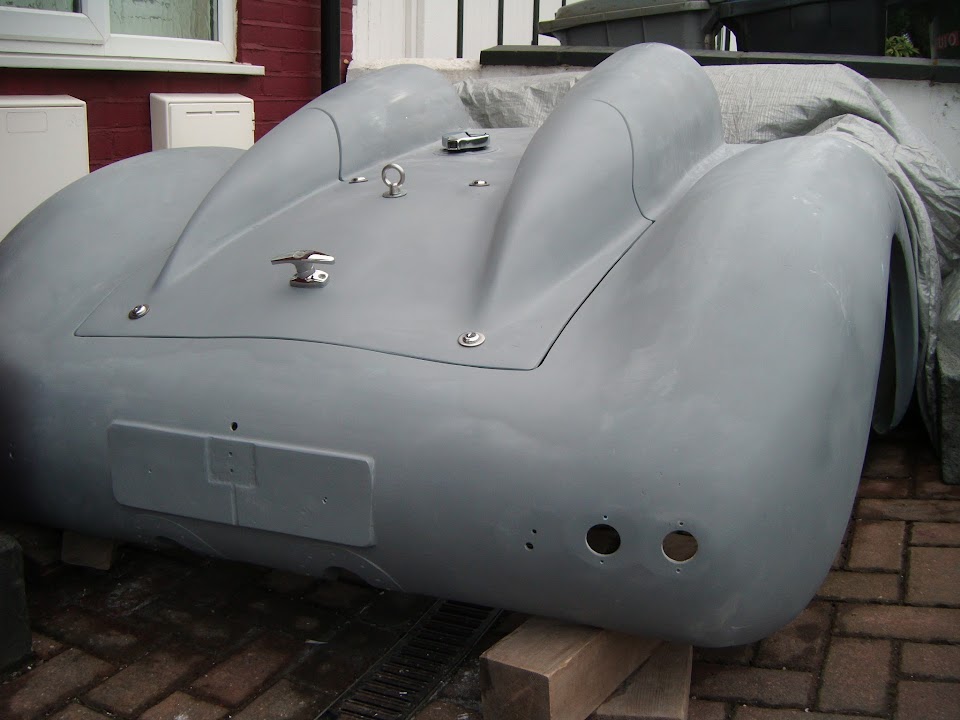
RedRatBike - I am still amazed at the difference seeing things in one colour (even if it is grey) makes.
I already have a tub of brush on seam sealer that I first used during the bulkhead repair work.
ufo17 - Thanks, seeing the overall shape finally coming together is a great boost.

I am pleased with what I have managed to achieve so far, especially given the circumstances.
My really frustration come from how much work I still have left to do, as it often seems relentless.
The house in France looks great and I would love a big garage / workshop like that to play in.
Good luck with the sale.
- - - - - - - - - - - - - - - - - - - - - - - - - - - - - - -
Little & Often - Part 1:
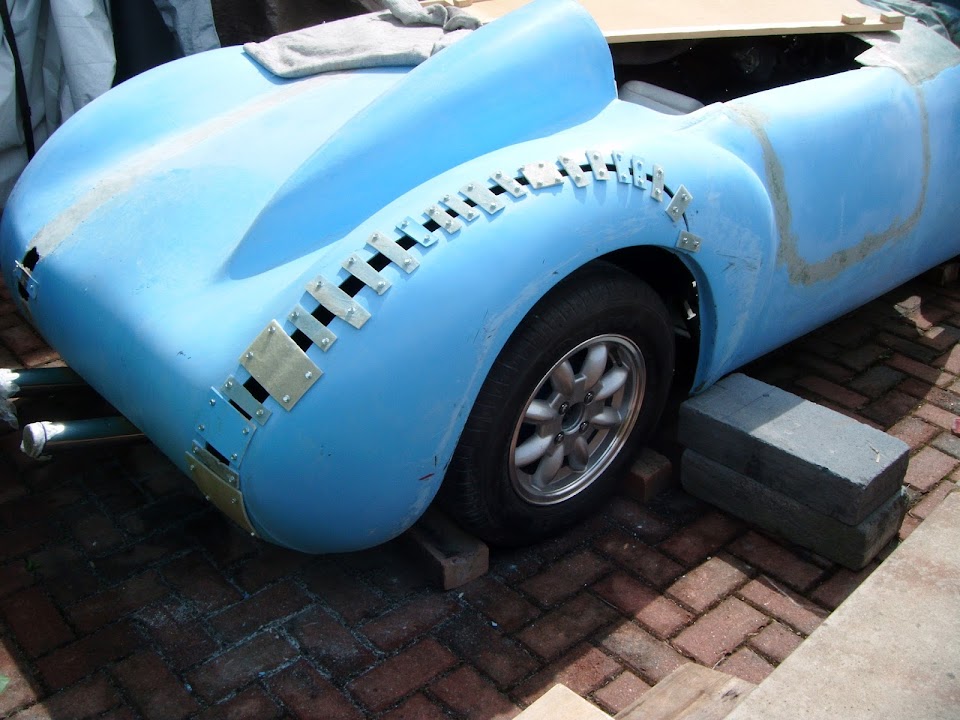
Although there are a few small jobs left to do on the boot lid, I've started on the 101 little jobs the framework needs.
In no particular order...
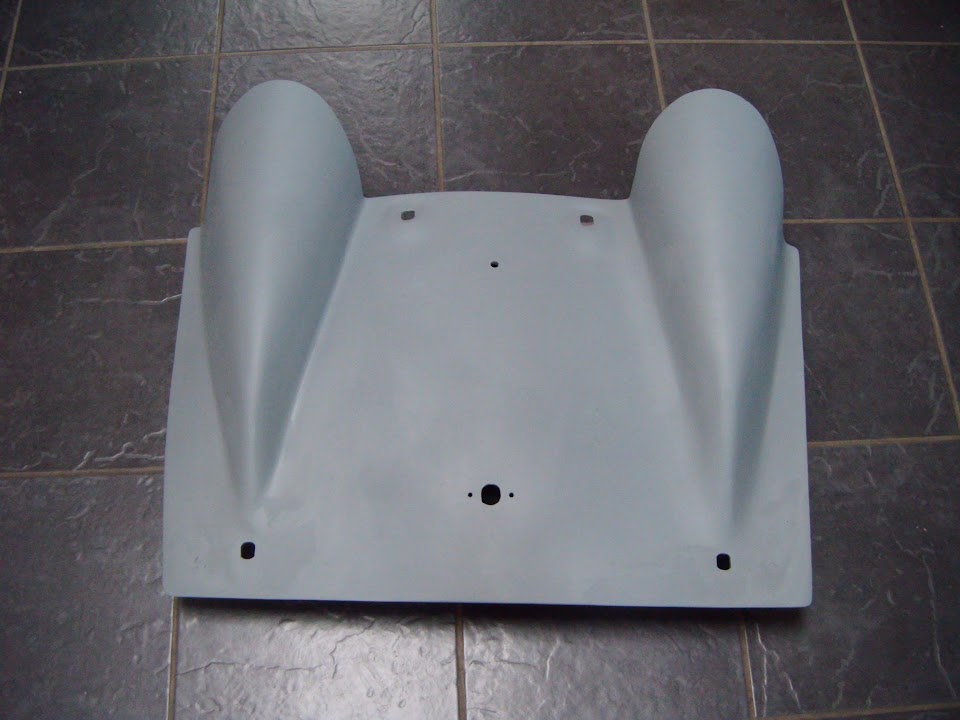
Gear Box Cover:
I drilled the 6 horizontal holes required in the bulkhead.


Doing this work reminded me that I hadn't order a new rubber seal for the, so that now on its way from Rimmer Bros.
While looking on line for this seal, I also noticed this parts guide from Canley Classics.

And it would seem that my donor car was missing Part #608563.
Which is why there is currently a gap here:

Unfortunately, this part is no longer available & it seems you now use a section of the other seal I've just ordered.
Anyway, back to the gearbox cover and I can't drill the 5 vertical holes needed until the seal arrives,
Even then I might have a bit of extra work to do, as whilst the cover fits needed along the top edge,


There is no way of getting the bottom corners any closer than this due to the shape of the cover.

But I will worry about that another day when I can see how thick the rubber seal is.
I also tidied up the underside of the holes I drilled in the bulkhead and got some Kurust on them.

I then covered some scrapes on the bottom of the bulkhead with Kurust while I was at it.
I also put some on the fixing brackets for those holes.
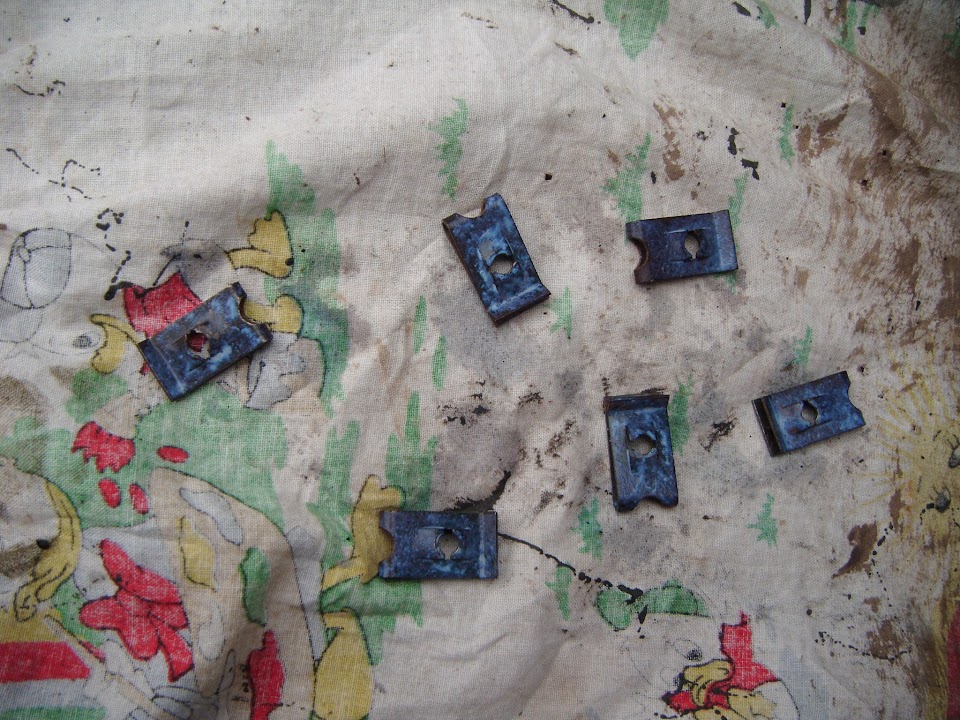
Top Tip:
Don't keep small parts like this on a small corner of a sheet you are mainly using for something else.
I had forgotten all about them until I heard "pinging" sounds when I shook the sheet to start folding it.
Thankfully I was able to find all 6 brackets scattered around the driveway.
- - - - - - - - - - - - - - - - - - - - - - - - - - - - - - -
Hand Brake Panel:
I spent a while staring at this gap trying to work out the best thing to do.

I appreciate
8 Value Ed's point about welding it up the first time, but these parts were never designed to be joined.
I was able to weld the Spitfire hand brake panel from above and keep the original shape.
But I knew this was not going to sit flush on the other side, hence removing this to seal it in the first place.
In the end, I decided to use the seam sealer than I already have, so I masked the area off first.
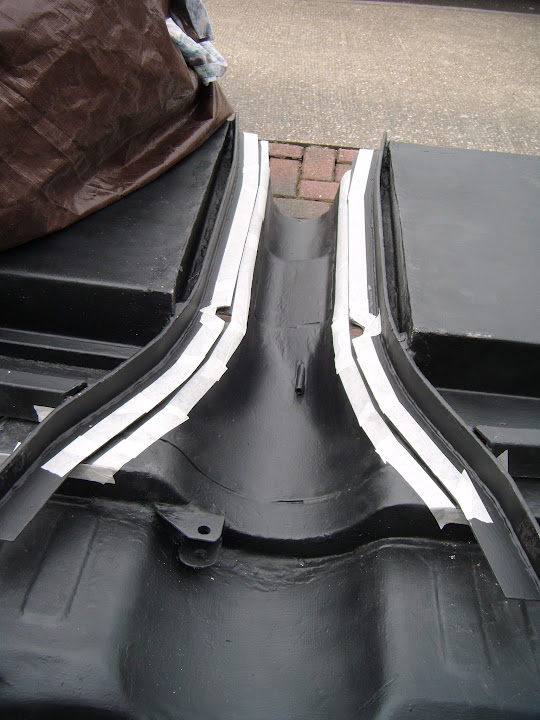
Then used a spatula to really push the sealer into the gap as best I could.

I'll now leave that to dry before trimming the edges and removing the masking tape.
- - - - - - - - - - - - - - - - - - - - - - - - - - - - - - -
Hard Fuel Line:
I found a new grommet that will fit snugly around the fuel line.
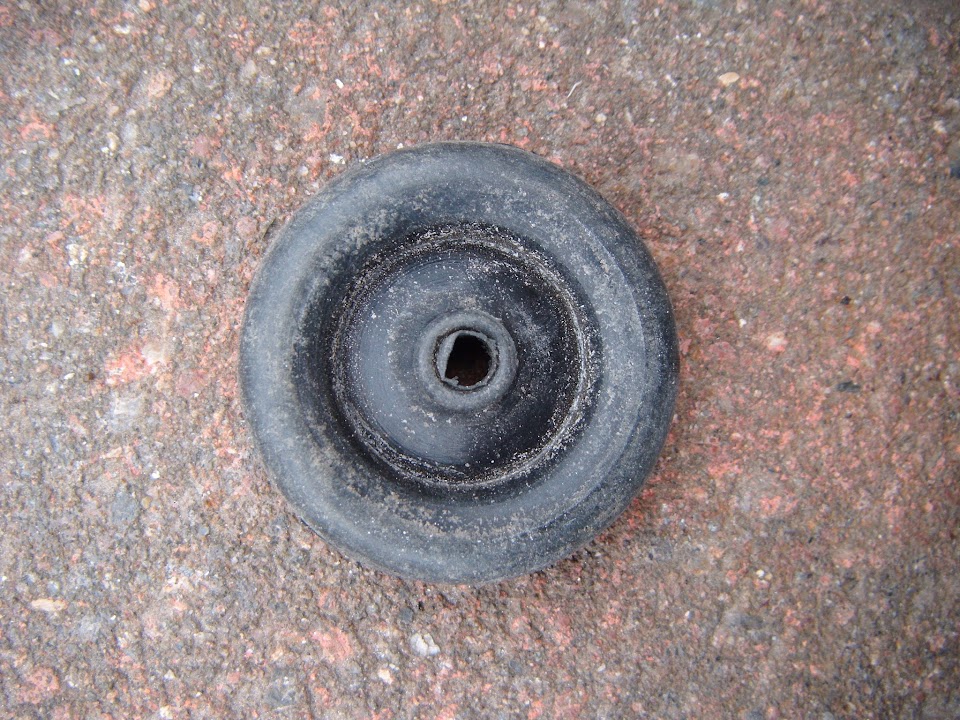
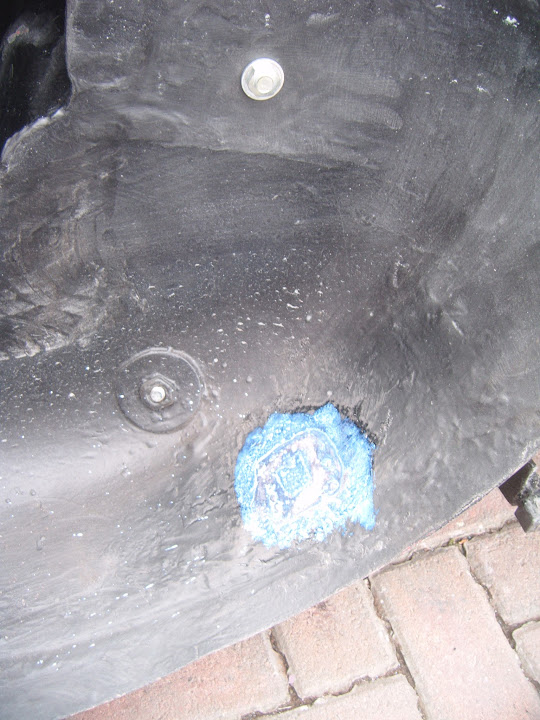
There is one drain hole left in the boot floor.

Which was just the right size for this grommet.

So now I know what size hole I need to drill here at some point.

- - - - - - - - - - - - - - - - - - - - - - - - - - - - - - -
End of Part 1...


 Linear Mode


