I've been putting off completing the gearbox cover so decided it was best to complete the mods on the propshaft tunnel first.
The Sabre is designed to use the Ford Sierra handbrake and cable. This is mounted to a steel plate mounted above the propshaft tunnel.
Since the BMW engine and gearbox are mounted higher up to clear the front chassis crossmember the propshaft runs higher in the tunnel and now fouls on the handbrake mechanism.
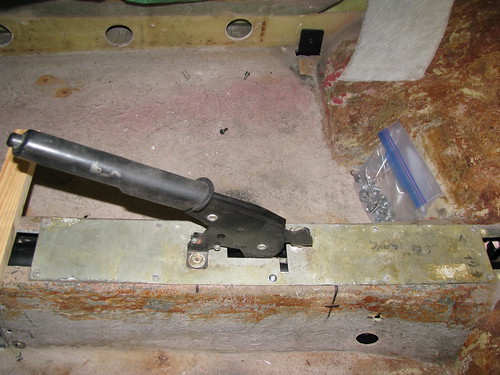 Handbrake
 by
Sabrebuilder, on Flickr
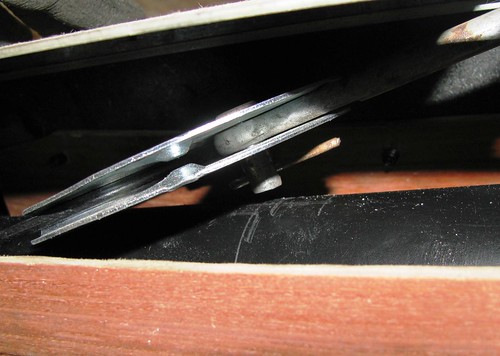
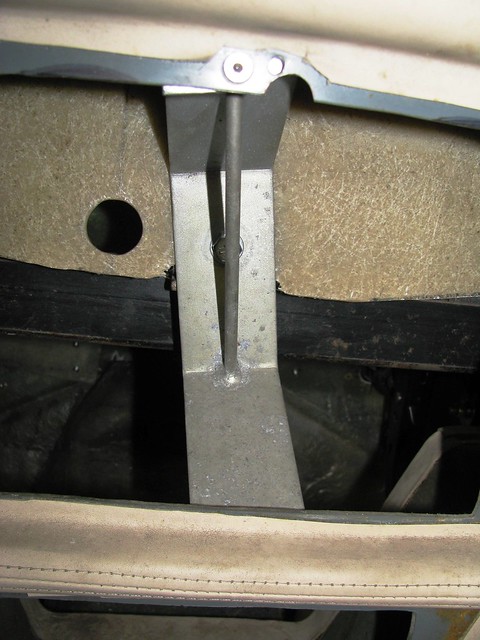
Here you can see where the handbrake clevis pin fouls on the propshaft.
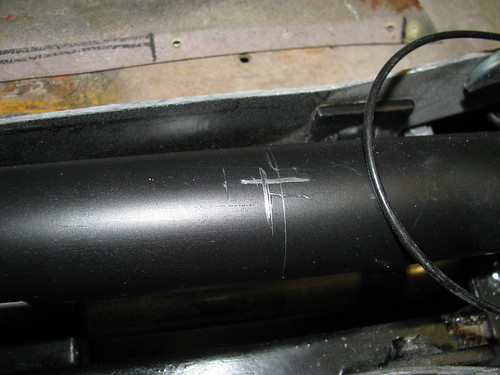 Handbrake Tunnel Mods
 by
Sabrebuilder, on Flickr
I tried raising the handbrake by putting 20mm square section ali tube between the tunnel top and the handbrake mounting plate but the handbrake cable half moon bracket fouled on the top of the tunnel. So I decided to cut the top of the propshaft tunnel of with a slitting disc in my angle grinder to allow me to raise it by 20mm.
 Handbrake Tunnel Mods
 by
Sabrebuilder, on Flickr
I then prepared two strips of 3mm plywood to temporarily hold the tunnel tops raised by 20mm. Here is the plywood strip fixed with self tappers on the passenger side.
 Handbrake Tunnel Mods
 by
Sabrebuilder, on Flickr
With the passenger side tunnel top fixed and the handbrake refitted I could now see the problem better from the drivers side. Despite raising the top of the tunnel by 20mm, the clevis pin was still resting on the propshaft.
 Handbrake Tunnel Mods
 by
Sabrebuilder, on Flickr
I didn't want to raise the tunnel anymore but realised I could raise the handbrake on its mounting plate without the puller rod fouling on the plate, so I cut and fitted two 10mm spacers.
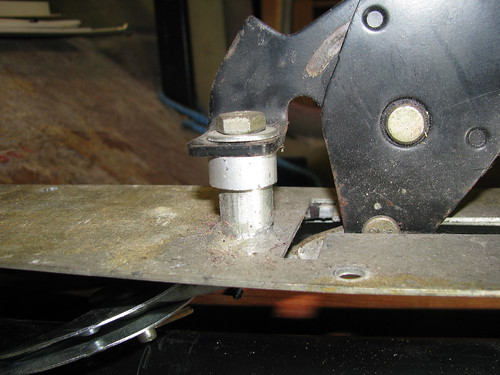 Handbrake Tunnel Mods
 by
Sabrebuilder, on Flickr
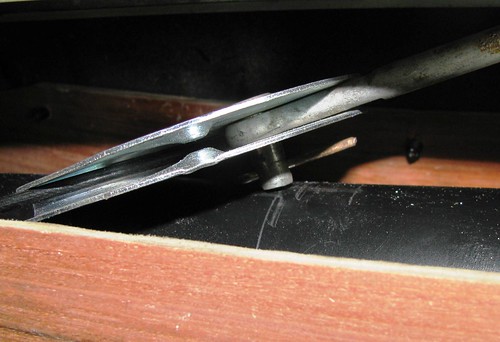
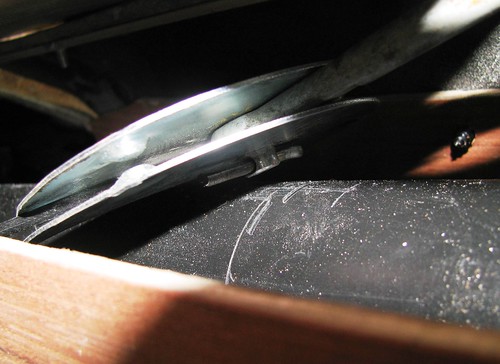
With the tunnel raised and the spacers fitted the clevis pin was just clearing the propshaft but still a bit close. The clevis pin is not a standard Ford part and was fitted by the original builder.
 Handbrake Tunnel Mods
 by
Sabrebuilder, on Flickr
I cut the clevis pin down and re-drilled another hole making it a better fit. I plan to replace the old split pin with an 'R' clip or maybe try to source an original Ford pin with a circlip. This picture shows the clearance with the handbrake in the off position. It's even better with the handbrake pulled on.
 Handbrake Tunnel Mods
 by
Sabrebuilder, on Flickr
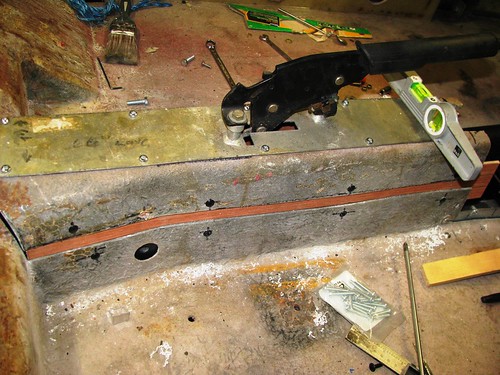
Here's the handbrake and tunnel fixed with the plywood former on the drivers side.
 Handbrake Tunnel Mods
 by
Sabrebuilder, on Flickr
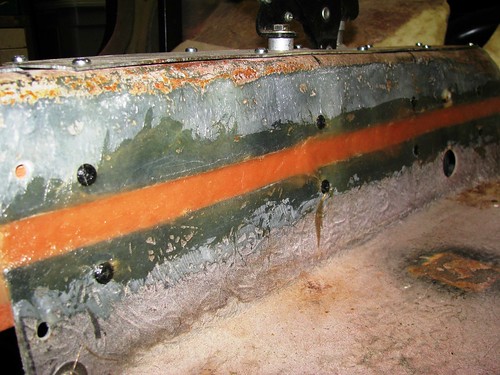
I then dismantled it all and cleaned up the surfaces of the tunnel with a flap wheel in the angle grinder. Then re-assembled with brown packing tape applied to the plywood to stop the fibreglass sticking to the plywood formers.
I've filled the gaps with P40 GRP filler. I will then overlay both sides with a few layers of GRP to restore the original strength of the tunnel.
 Handbrake Tunnel Mods
 by
Sabrebuilder, on Flickr
When the the tunnel is finished and in its final position I can then move on and tackle the gearbox cover.
...peter


 Hybrid Mode

