|
|
| Tribute Automotive Builds Discuss your Tribute kit build |

29th November 2013, 17:07
|
|
Junior Member
|
|
Join Date: Nov 2013
Posts: 13
|
|
 Marks MX250
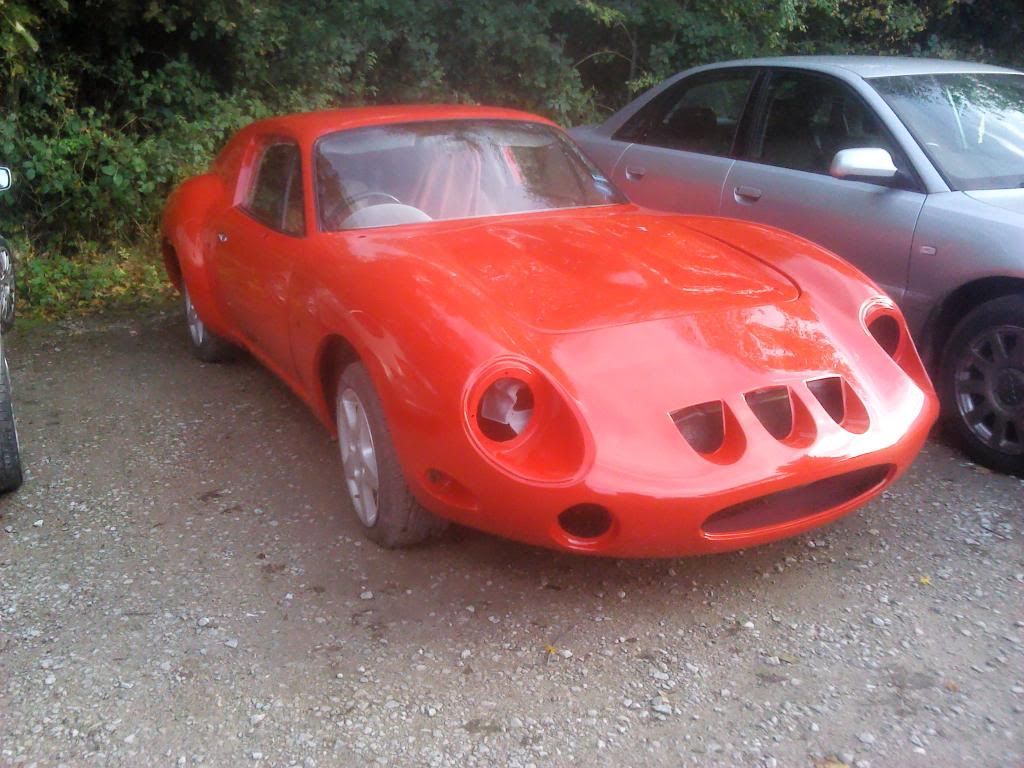
Hi, My car is starting to take shape, so I thought I would post up some pics.
[IMG] 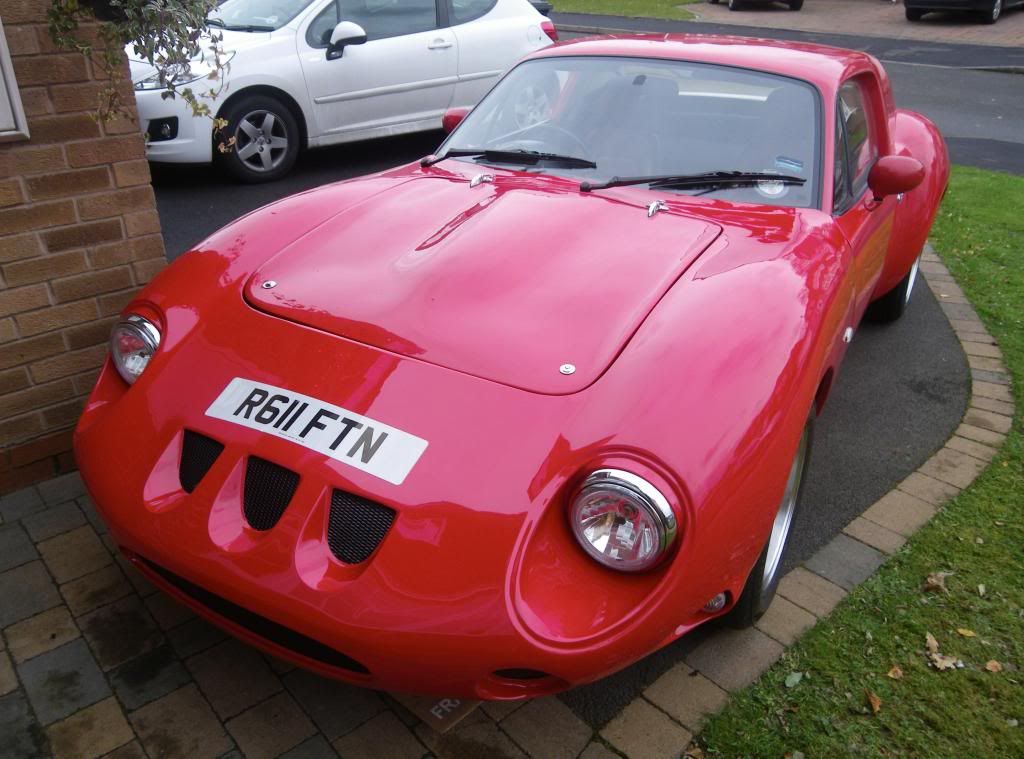 [/IMG]
[IMG] 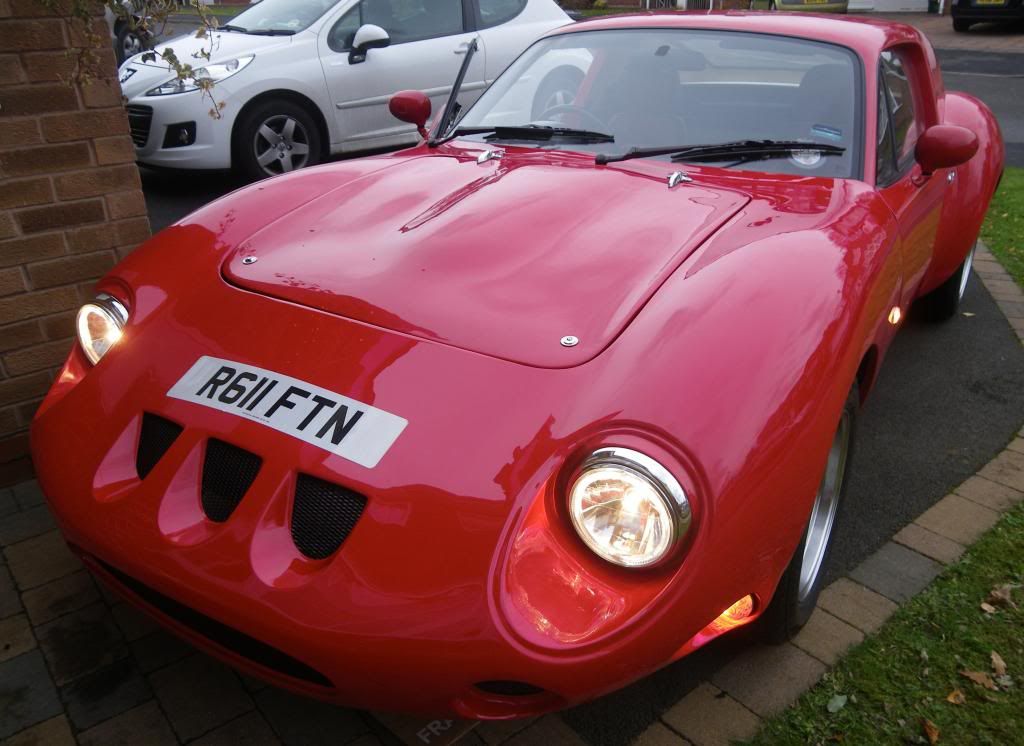 [/IMG]
[IMG]  [/IMG]
[IMG] 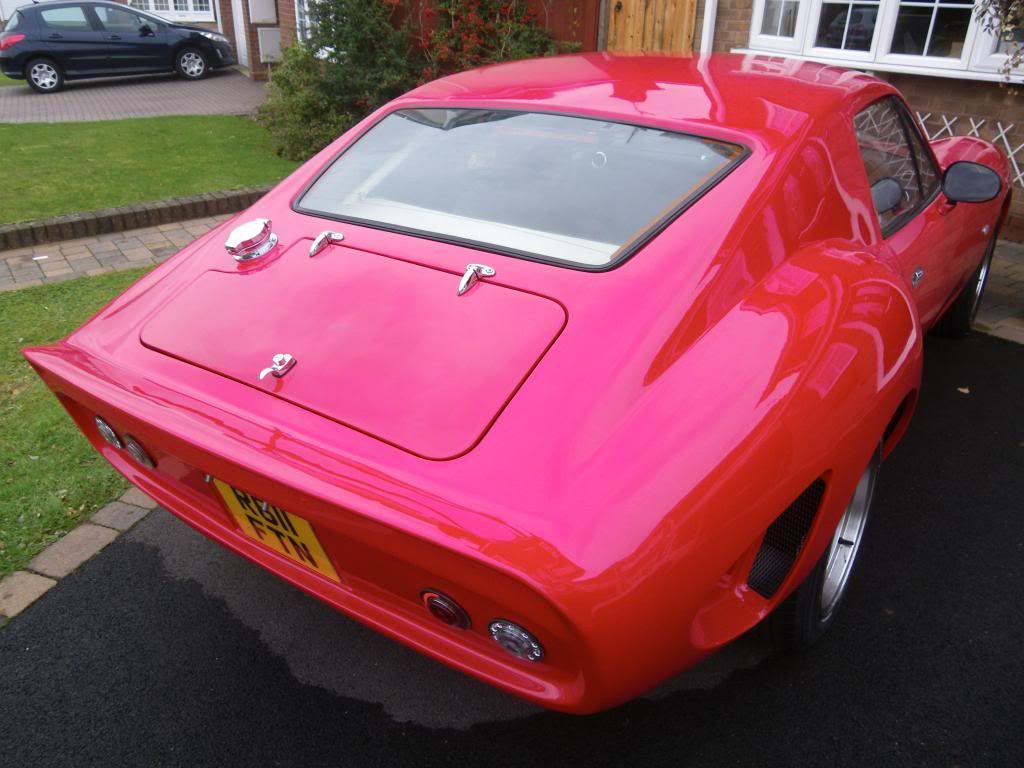 [/IMG]
[IMG] 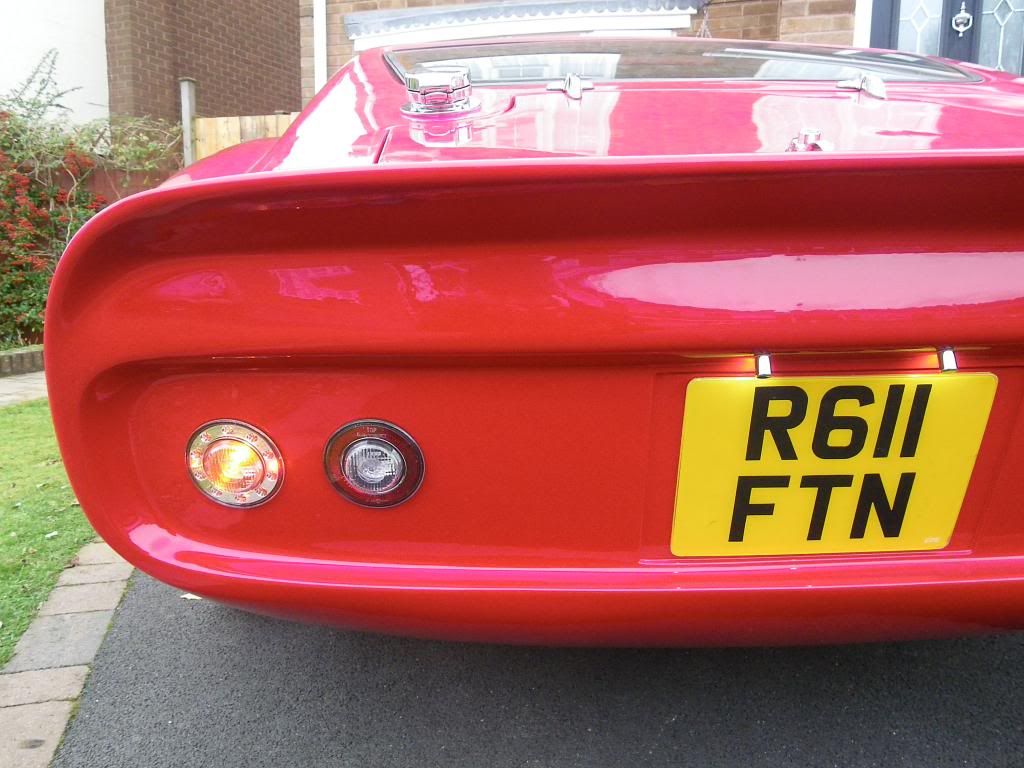 [/IMG]
[IMG] 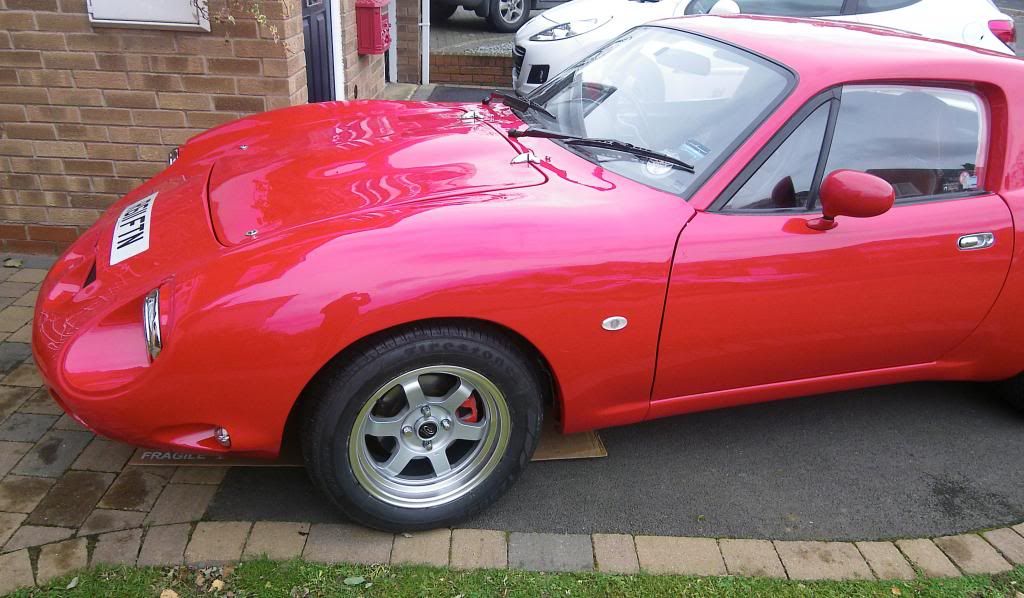 [/IMG]
[IMG] 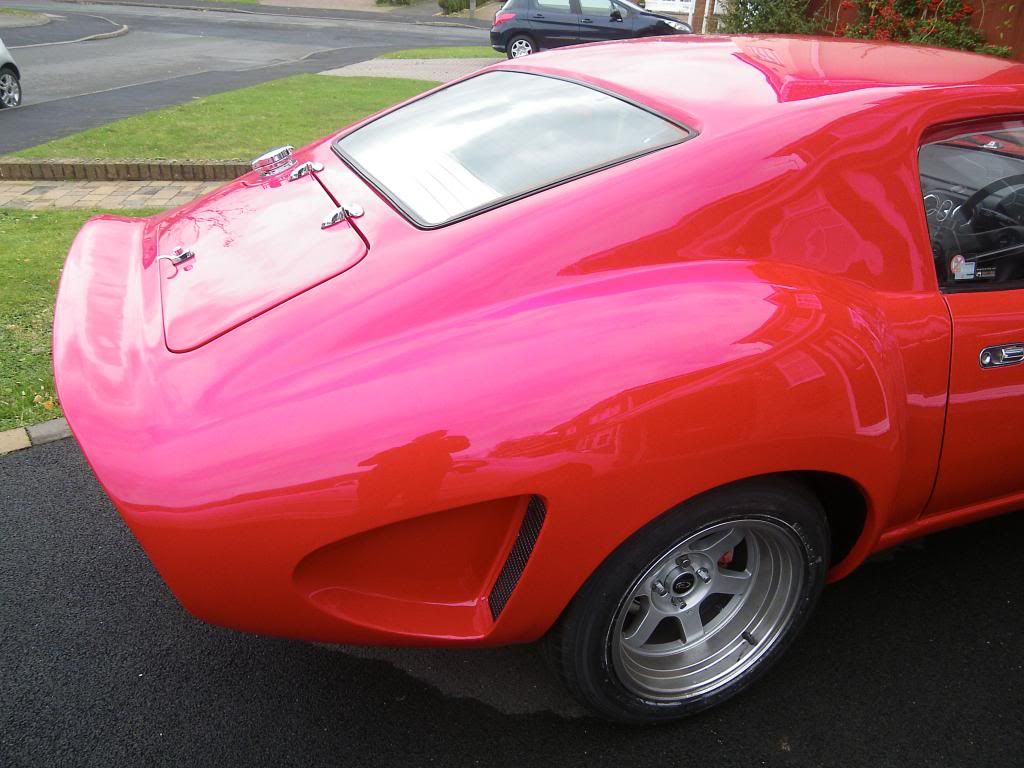 [/IMG]
[IMG] 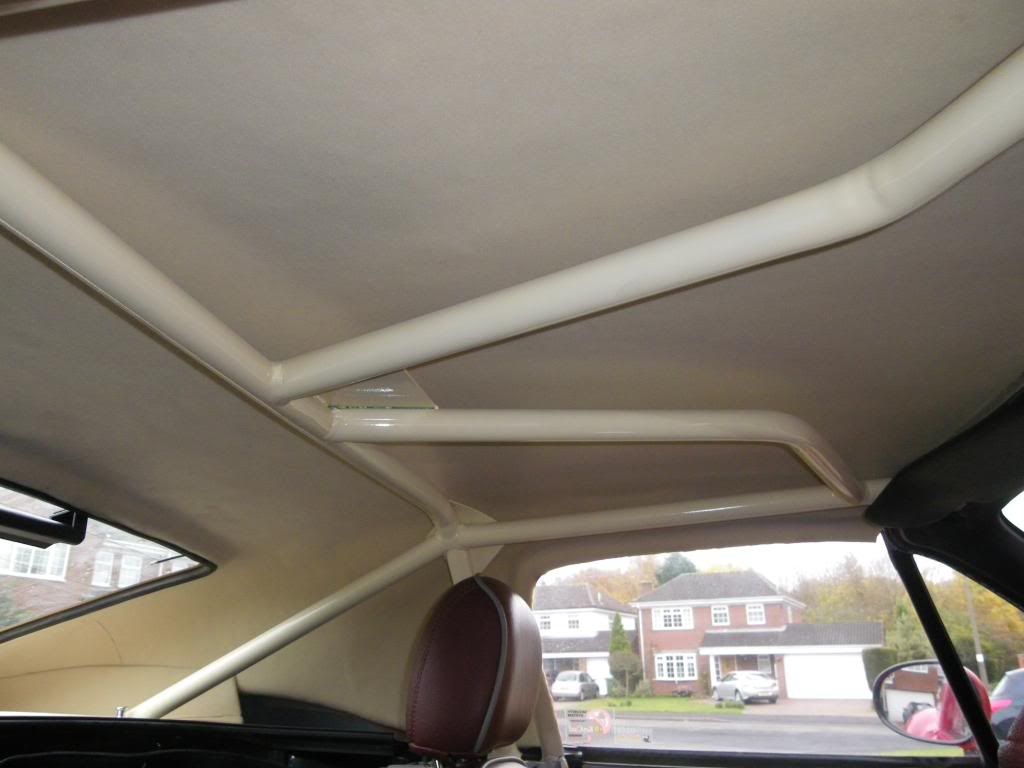 [/IMG] |
29th November 2013, 17:49
|
|
Senior Member
|
|
Join Date: Mar 2013
Location: Coventry and the Limousin
Posts: 549
|
|
Nice start to your build!
|
29th November 2013, 18:02
|
|
Senior Member
|
|
Join Date: Nov 2011
Posts: 3,558
|
|
Not bad for a first posting but when are you going to make a 'proper' start?
You didn't even fail to post pictures three times before asking!
We do have standards on this forum.
Joking aside, that looks real nice
|
29th November 2013, 19:38
|
|
Junior Member
|
|
Join Date: Nov 2013
Posts: 13
|
|
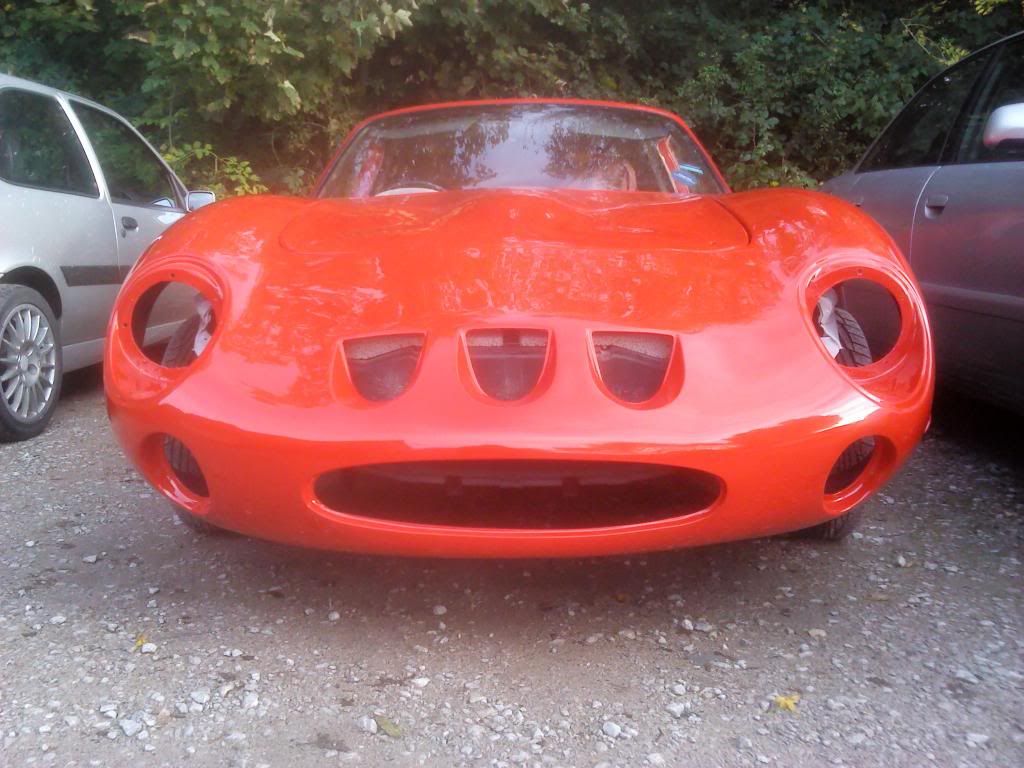
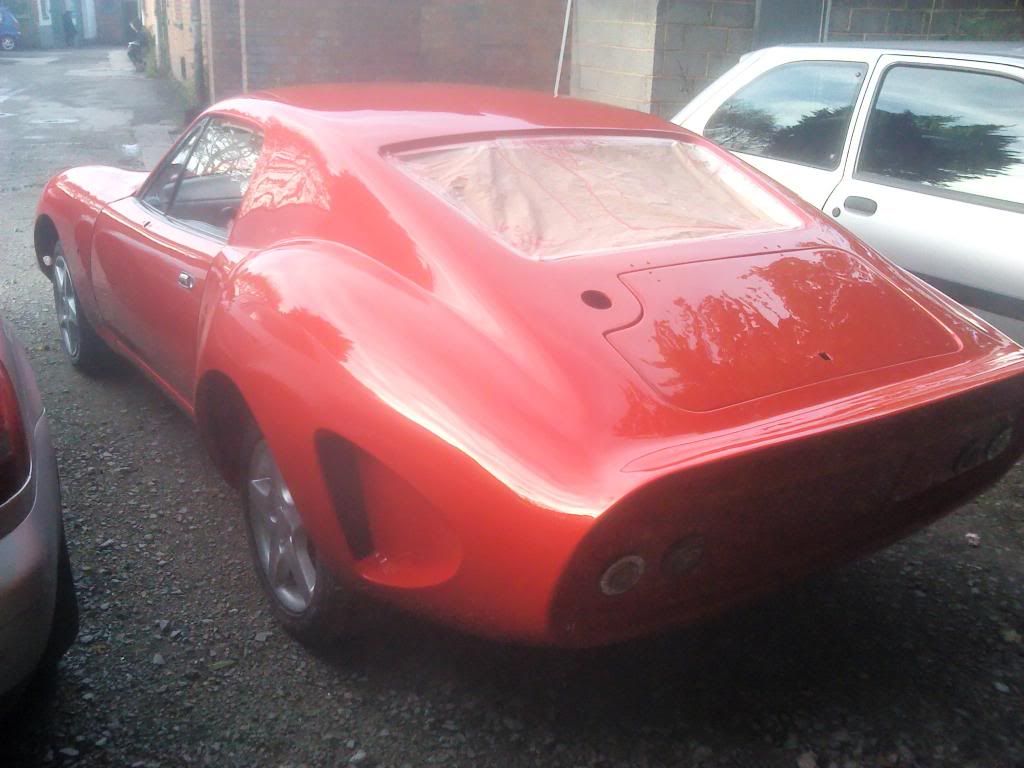
Thanks, I have read pretty much read every thread on here, and the info has helped a lot with my car. It has taken me about 7 months to get to this stage, and Its great to be finally able to drive the car. Still a lot to do though before I can say its finished, I have the rubber seals around the door windows, finish bonnet seal, door cards, might get some chrome ring surrounds cut for the rear lights, and paint still needs some attention with the odd run on the sills, and all the rest of the trim. Overall im happy with how its turned out, and here's a few more pics of the car after it had been sprayed.
[IMG]  [/IMG]
 |
30th November 2013, 21:17
|
 |
Senior Member
|
|
Join Date: Oct 2010
Posts: 1,622
|
|
Hello Mark.
Forgive my memory, or lack of. but which Mark are you?
Your car looks great BTW and I love what you have done with the cage and headliner.
|
30th November 2013, 22:10
|
|
Junior Member
|
|
Join Date: Nov 2013
Posts: 13
|
|
Hi Chris,
We met at Stoneleigh this year, and it was the end of may, when me and my dad John picked up the kit from you. We last spoke when I had issues with the headlights. I am now on to the stage of trying to fit the hard top seals for the door windows, as its getting a bit chilly when driving.
|
1st December 2013, 19:29
|
|
Senior Member
|
|
Join Date: Oct 2010
Posts: 1,622
|
|
Quote:
Originally Posted by Mark87

Hi Chris,
We met at Stoneleigh this year, and it was the end of may, when me and my dad John picked up the kit from you. We last spoke when I had issues with the headlights. I am now on to the stage of trying to fit the hard top seals for the door windows, as its getting a bit chilly when driving.
|
Thanks for jogging my memory Mark. You have gotten on really well, and you are driving it too, brilliant 
Please give me some info on the wheels, can't see a spacer on the rear. |
2nd December 2013, 16:16
|
|
Junior Member
|
|
Join Date: Nov 2013
Posts: 13
|
|
Thanks Chris. The wheels are Rota Grid-V, 15" 9j ET0 on rear, and 7j ET20 on the front, with no spacers. I think with the offset, the wheels come out far enough, and I don't think I need to fit spacers.
|
18th January 2014, 16:53
|
|
Junior Member
|
|
Join Date: Nov 2013
Posts: 13
|
|
Has anybody connected the heated element of the mx250 rear screen and got it to work?
[IMG] 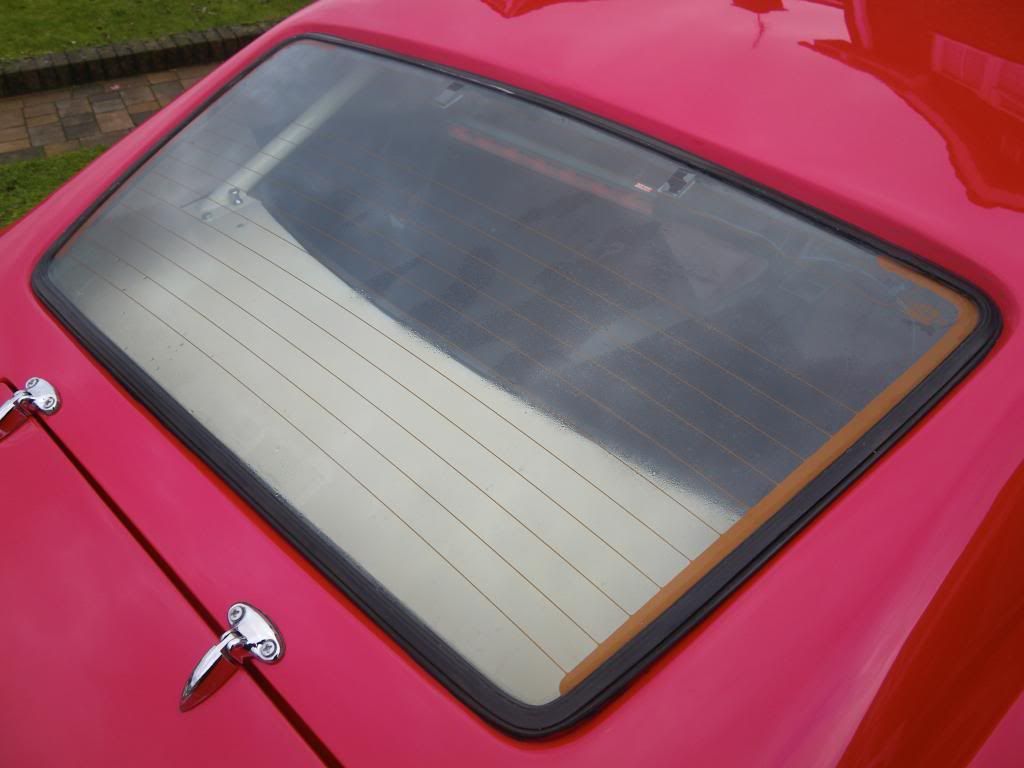 [/IMG]
This is what I've done so far. I had to buy the switch, relay, and fuse block as my car wasn't fitted with them. The connector for the switch I found loose behind the headlight adjuster switch which I have now changed for the defog one.
[IMG] 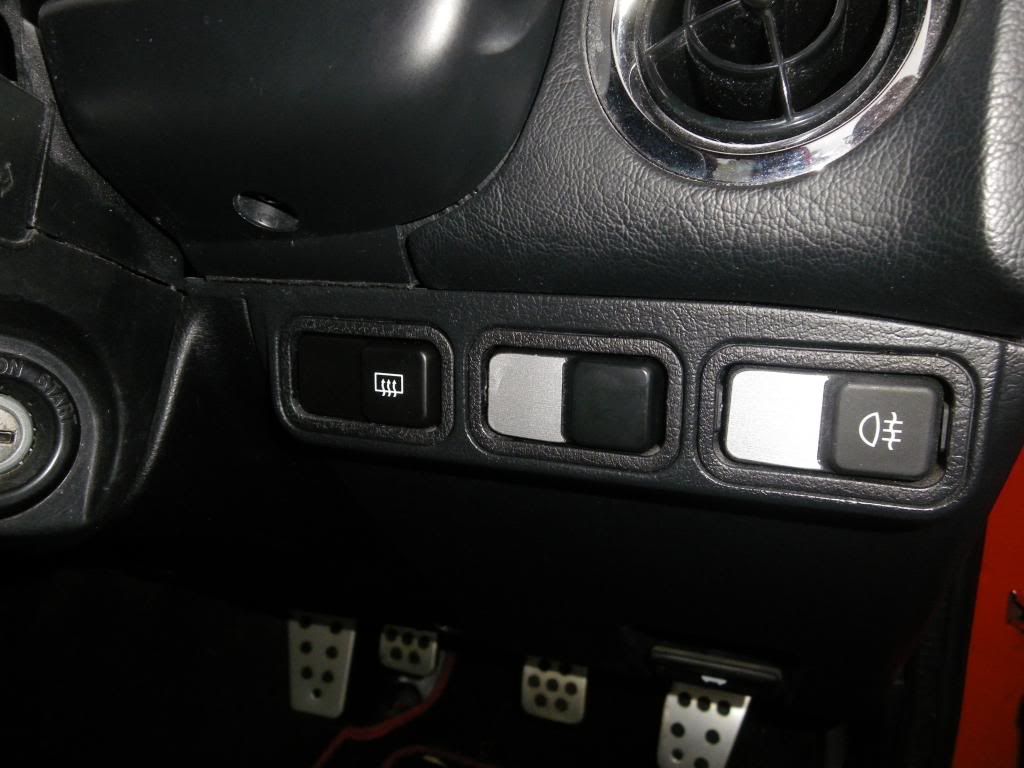 [/IMG]
The relay plugs into a connector behind the carpet near where the lock was originally in the boot. the fuse block connects near the battery. Their is also a slot in the main fuse block under the drivers foot well, slot 20 for the defog. I haven't bought the wiring loom that goes from the connection behind the passenger seatbelt, to the screen, as it costs 70 quid, which for a cable is stupid, and also not even ideal as the connectors on the Renault screen are a lot wider apart than on the mx5. So instead have tried to wire it myself. Their are 3 wires on the connector behind the seatbelt, red, black, and yellow. I have connected the red and yellow wires together and connected it to the left side, and the black to the right.
[IMG] 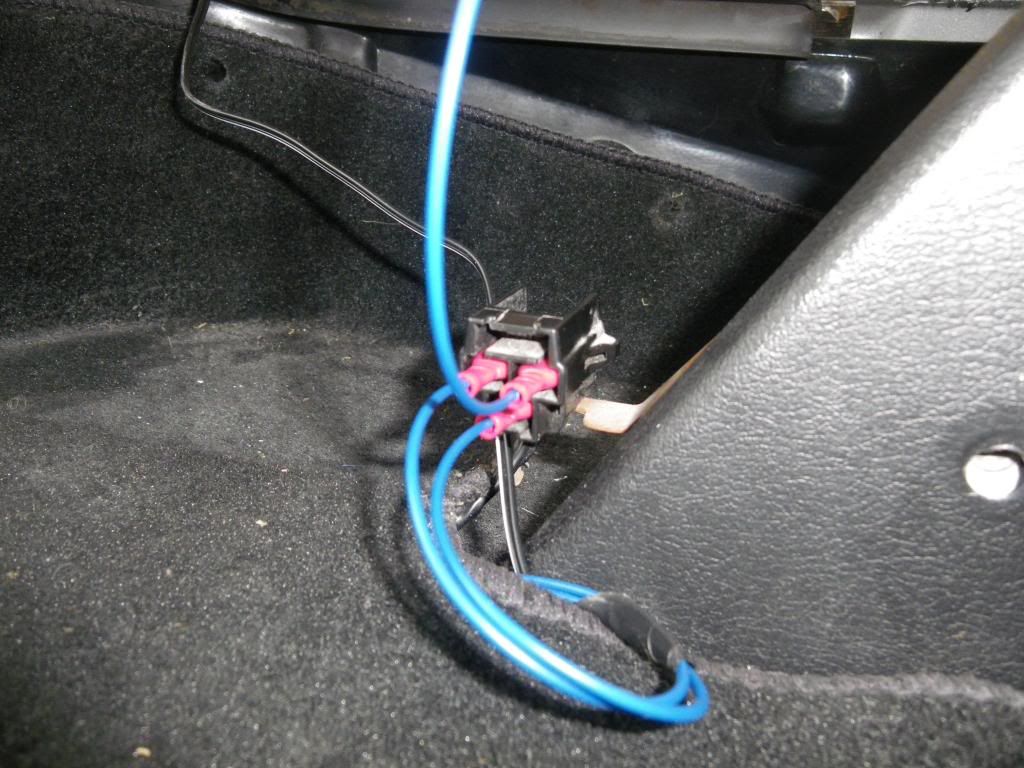 [/IMG]
I don't think its working yet but hard to tell as the screen wasn't even misted up, but I expect it should have at least warmed up the surface slightly, but it just stayed cold. When turned on though, the light at least is coming on the dash.
Does anyone know if it matters which way around the connections are on the screen, and I have just realised the screen is upside down compared to when on the Renault 5, so maybe it needs the black left, red & yellow on right.
[IMG] 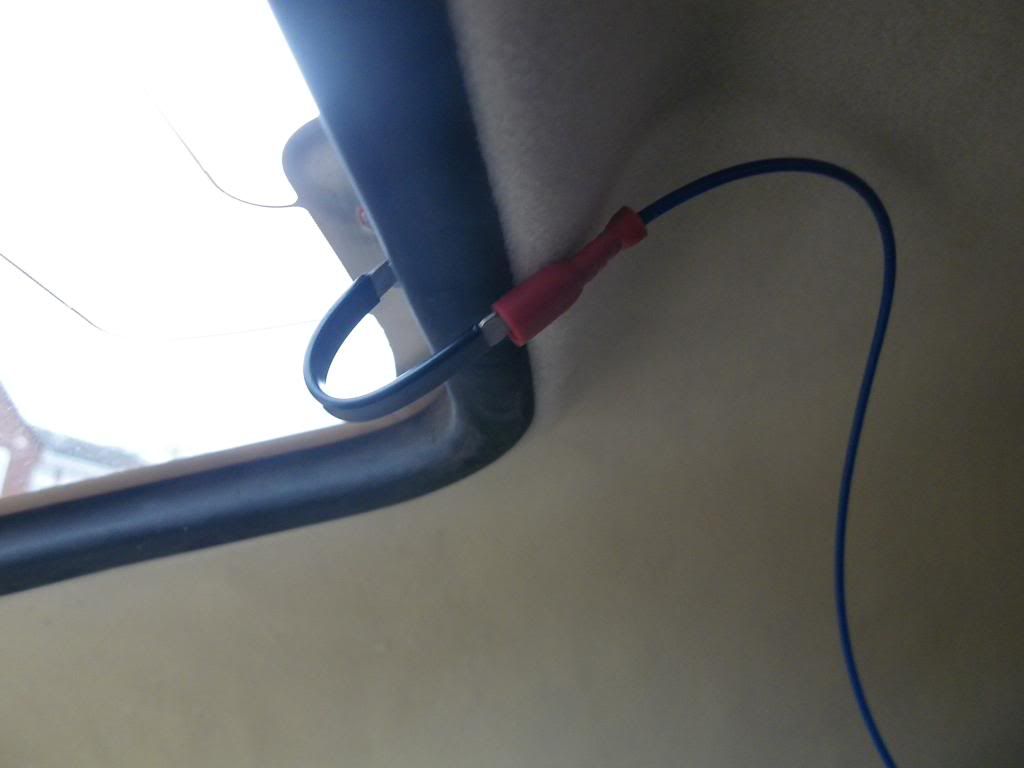 [/IMG]

|
18th January 2014, 18:21
|
 |
Senior Member
|
|
Join Date: Dec 2011
Location: Devon
Posts: 550
|
|
Put a test lamp or multimeter between the two wires you have connected to the screen and make sure you have power. If not check the live feed through the multimeter or test lamp with the other end to a known good body earth. If you now have a light or reading then the earth to the screen is no good. If you still have no power feed however then check the output from the relay.
Car looks great by the way.
|
18th January 2014, 23:27
|
 |
Senior Member
|
|
Join Date: Nov 2013
Location: essex
Posts: 193
|
|
I'm going to plug my screen in tomorrow, my donor had a heated rear screen already wired up, the same switch and dash lamp I'll have a look at the relay/screen connections and post some pics tomorrow if you can't get it working
|
19th January 2014, 10:47
|
|
Junior Member
|
|
Join Date: Nov 2013
Posts: 13
|
|
Thanks for the advice. I've just tried connecting a bulb across the live & neg, and got nothing. Also the light on the dash doesn't come on, until I connect the other earth(yellow) cable to the neg, but still no light. I think this is telling me that the earth is good, but their is another issue in the circuit. I feel this is going to need a fair bit of testing to find out what's wrong. I think my prime suspect might be the used relay I bought, but really I haven't got a clue yet.
|
19th January 2014, 18:03
|
|
Senior Member
|
|
Join Date: Oct 2010
Posts: 1,622
|
|
Dan usually does our wiring, and I'm no expert on electrics, but it won't make any odds which way around you put the wires to the rear window. Is it worth running a new circuit?
|
19th January 2014, 19:27
|
|
Junior Member
|
|
Join Date: Nov 2013
Posts: 13
|
|
I finally got the all clear back from the DVLA, and was quite surprised they accepted all the changes without wanting to inspect it. I've also got my v5 back and my car is now down as a Mazda MX250 GTO.
I expect the circuit should all be in place, well I hope so, but I suppose I could run a new circuit if I cant get it to work. But my first plan maybe tomorrow is to see if the relay is dodgy. I found out after a bit of searching, their are two identical relays one in the main fuse box for the fan, and one on the side near fuse box for the horn. So I think I will swap it with the horn relay to see if its faulty or not.
|
8th September 2014, 22:36
|
|
Senior Member
|
|
Join Date: Apr 2014
Location: Midlands
Posts: 405
|
|
Hi Mark, just realised it was you car I was taking pics of at Donnington the other week. Did you manage to sort the heated window issue?
|
8th February 2015, 12:38
|
|
Junior Member
|
|
Join Date: Feb 2015
Location: Bussum,The Netherlands
Posts: 1
|
|
Interior Info !
Wow,its looking cool.
Im starting my mod in a month or two,any info you can give me about doing the interior.
I will keep it all black and hope to cover the fiberglass inside with some type of material. What is the best glue to use ?
Any tips/photos would be appreciated.
|
8th February 2015, 14:15
|
|
Senior Member
|
|
Join Date: Jan 2015
Posts: 132
|
|
hi ,cars looking really good what material did you use for the headlining ?
|
8th February 2015, 18:17
|
|
Junior Member
|
|
Join Date: Nov 2013
Posts: 13
|
|
Thanks, well the interior was looking good then, but now not so much now. The exact headlining I bought was Cream Brushed Nylon Foam Backed Headlining 3m x 1.37m from AS-Trim.co.uk. I used a spray adhesive, which is now not so great, as its now started to sag. Also unless you get a great seal on the windows, and drive the car regular, go for vinyl, as the lining will get damp. That's mostly down to me though, as my one window has a great seal, I just need to sort out the other side.
Honestly though I don't know what the best adhesive to use on the headlining would be, but if like me you sprayed primer on the inside, you need to roughen up the surface for the adhesive to get a good grip.
When I get chance I will probably be changing mine to vinyl, although not so easy now its on the car. may have to cut the roof off and start again  |
9th February 2015, 22:16
|
|
Senior Member
|
|
Join Date: Jan 2015
Posts: 132
|
|
Thanks for the tip on the headlining i have some vinyl but it will be awkward with the roll bar and roof in though....im looking to get the hardtop seals to make it watertight so that should help, but i need to wire up the rear window first to hide the wiring under the vinyl..fingers crossed
|
10th February 2015, 09:05
|
|
Junior Member
|
|
Join Date: Aug 2014
Location: South west.
Posts: 4
|
|
Try looking here: http://www.hawkehouse.co.uk/
They sell fabrics and glue for boats where the issue of damp is many times worse. I used their products when I replaced the headlinings on a yacht and everything worked perfectly. |
|
Currently Active Users Viewing This Thread: 1 (0 members and 1 guests)
|
|
|
 Posting Rules
|
You may not post new threads
You may not post replies
You may not post attachments
You may not edit your posts
HTML code is Off
|
|
|
All times are GMT +0. The time now is 16:31.
|


 Linear Mode

