Another Lovely Day - Part 2:
Then I gave the new rivets and the hollow in the number plate plinth a coat of etch primer.

Which means the whole back end is finally coming together nicely.


Somewhere along the line I need to check how the rear lights will sit and build small plinths for them as well.
Next I wanted to brace the splash mould I am making of the front scuttle.
So once again, the pink yoga mat came to my rescue.

Although getting the matting to fall nicely around the foam is still a major pain in the

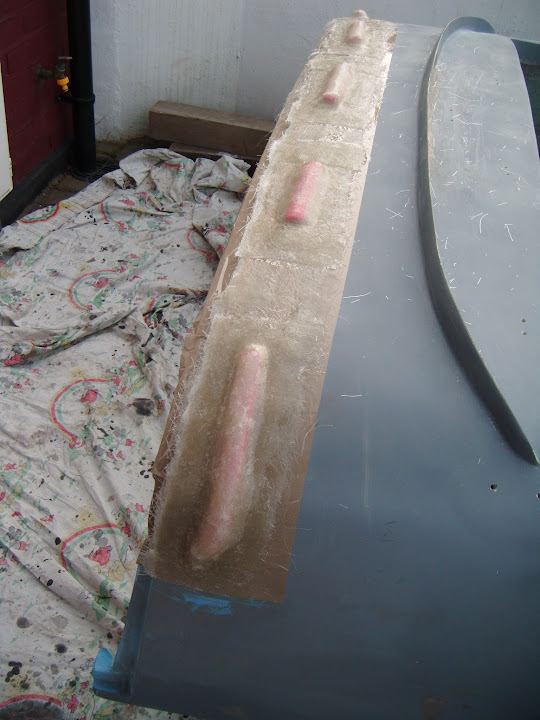
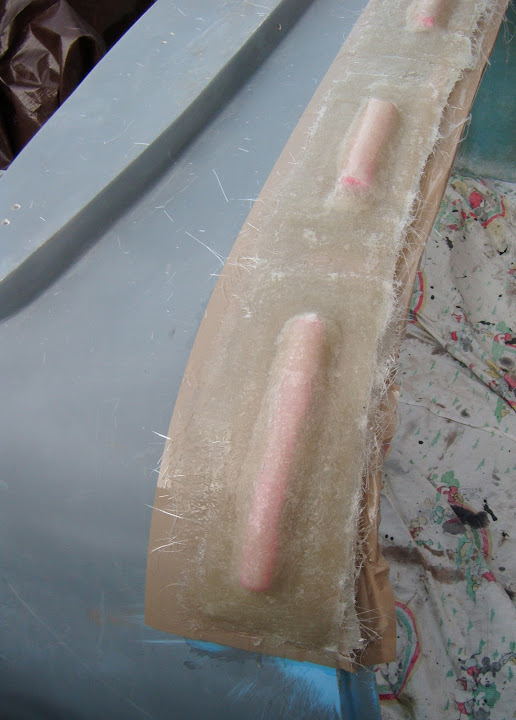
Just like yesterday, I am building this up in stages, so it just needs one more session before it is done.
While I was doing this work, I also re-enforced the back of the number plate plinth.
The area in the middle of the plinth, where I had ground out the hollow was
wafer thin.
Not a great photo, but you still get a good idea of just how thin it was.


So I added 3 layers of matting over this area, although this is another poor photo.

I will re-drill the fixing holes when this has set.
The final jobs for today were sanding down the filler work I did earlier.
Obviously the eye bolt was been bonded into place, along with the over sized washer.

But I was able to remove it after a little bit of persuading and a gentle tap with a lump hammer!

I've left this section rough until I can test fit the lid and check the gap.

The inside edges of the number plate mount.

Plus the top edge.

Note:
I will switch the light I've used for all the mocking up for the other one which is cleaner.
I know that sorting this out turned into a major headache, but I am happy with this final design.
Quick question:
Do you think the metal would look better painted black to match the light, or BRG to match the body shell?
Either way, that's all for now, take care, Paul.


 Threaded Mode
