|
|
| Tribute Automotive Builds Discuss your Tribute kit build |

15th March 2013, 15:51
|
|
Senior Member
|
|
Join Date: Jul 2012
Location: Near Penzance cnwll
Posts: 146
|
|
 The suns coming
Hey Nick
All comes together once you paint it one colour , looks really good. How did the high build cover the imperfections ?  |
15th March 2013, 15:54
|
 |
Senior Member
|
|
Join Date: Nov 2011
Location: Emsworth
Posts: 810
|
|
Hi Peeps,
Untill I flat back its hard to say, but the primer does makle you see lots of bits you have missed, and I mean real howlers! When its all colours its hard to see whats what after a while, but then primer gives you an idea of how far you have got. It fills in scratches and pin holes, but anything larger shows up more clearly so you can get it next time. I recommend a coat of primer just to regain ones sanity!!! 
How is yrs coming along? |
15th March 2013, 16:11
|
|
Senior Member
|
|
Join Date: Jul 2012
Location: Near Penzance cnwll
Posts: 146
|
|
Been away  so not much done. i want to get it outside as the dust is killing me. The garage is like ice, dampens the enthusiasm ! think I am going soft ! |
16th March 2013, 04:54
|
 |
Senior Member
|
|
Join Date: Mar 2012
Posts: 294
|
|
Quote:
Originally Posted by seanick

Hi Peeps,
Untill I flat back its hard to say, but the primer does makle you see lots of bits you have missed, and I mean real howlers! When its all colours its hard to see whats what after a while, but then primer gives you an idea of how far you have got. It fills in scratches and pin holes, but anything larger shows up more clearly so you can get it next time. I recommend a coat of primer just to regain ones sanity!!!
How is yrs coming along? |
Looks blimn awesum in primer. You can see all the hard word and attention to detail really pays off.
Your customers are lucky to have found you as their pride and joy will be in good hands 
Last edited by AcC8braman; 16th March 2013 at 04:57..
|
20th March 2013, 21:00
|
|
Senior Member
|
|
Join Date: Nov 2011
Location: Emsworth
Posts: 810
|
|
There goes my last bit of two pack primer!
poor car!
[IMG] 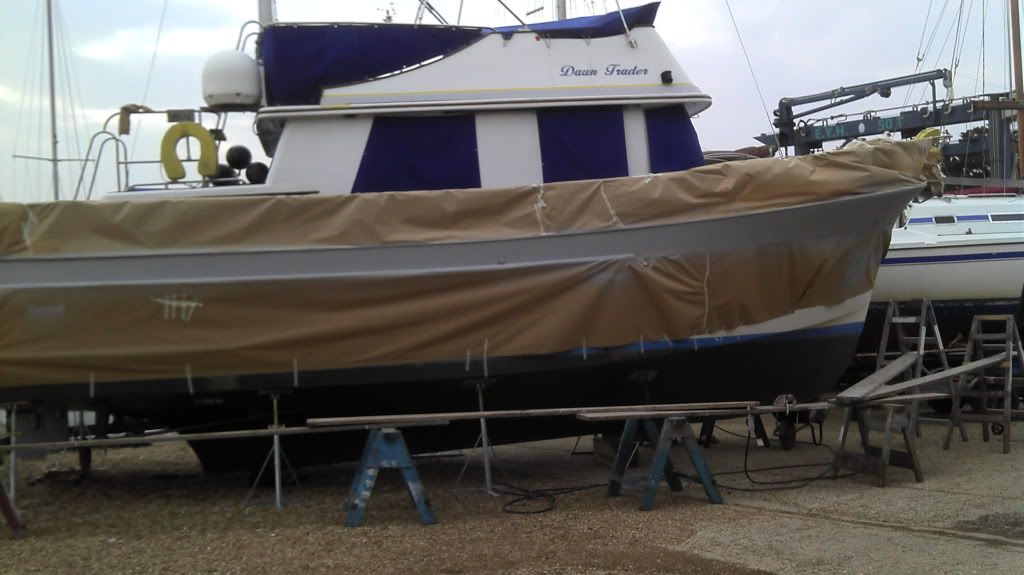 [/IMG] |
21st March 2013, 08:01
|
|
Senior Member
|
|
Join Date: Jun 2011
Location: birchington, kent
Posts: 1,769
|
|
I can see you were walking the plank...
|
22nd March 2013, 19:42
|
|
Senior Member
|
|
Join Date: Nov 2011
Location: Emsworth
Posts: 810
|
|
Now this is walking the plank! (and its quite a long way down!)
[IMG]  [/IMG] |
23rd March 2013, 08:31
|
|
Senior Member
|
|
Join Date: Nov 2011
Posts: 3,561
|
|
Alll held together with trigger clamps, what could possibly go wrong...
;-)
I now see why you had so many clamps available in that earlier photo you posted.
|
27th March 2013, 15:09
|
|
Senior Member
|
|
Join Date: Dec 2012
Location: Alton, Hampshire
Posts: 451
|
|
Nick do you still have those primera vents mate? Cash waiting....
Last edited by Hammy; 27th March 2013 at 15:13..
|
30th March 2013, 13:24
|
|
Senior Member
|
|
Join Date: Dec 2012
Location: Alton, Hampshire
Posts: 451
|
|
Nick how much clearance do you have from tyre rear arch mate?
|
14th April 2013, 22:52
|
 |
Senior Member
Enthusiast
|
|
Join Date: Nov 2005
Location: Cheshire
Posts: 404
|
|
Stoneleigh?
Hey Nick,
Only 3 weeks 'til Stoneleigh.....do you think that your masterpiece may make an appearance? (I hope so)
Rich
|
15th April 2013, 18:35
|
|
Senior Member
|
|
Join Date: Nov 2011
Location: Emsworth
Posts: 810
|
|
Hi Hammy, finally pulled up the covers. Tyre to arch clearance is 40mm, although 50 mm on the center. Hope that's enough!
Big Rich, re stonleigh, um, not sure, if yes then it will be in primer!
REALLY busy work wise, held up by the cold weather, so working eves and six days a week :-)
Mind you, bit of room in the shed now this one is in
[IMG]  [/IMG]
Last edited by seanick; 15th April 2013 at 18:38..
|
16th April 2013, 20:18
|
|
Senior Member
|
|
Join Date: Dec 2012
Location: Alton, Hampshire
Posts: 451
|
|
Quote:
Originally Posted by seanick
To do the edges I stripped the foam off where the door seals will grip it to reduce the thickness.
Went around the door shuts and rear window.
[IMG] 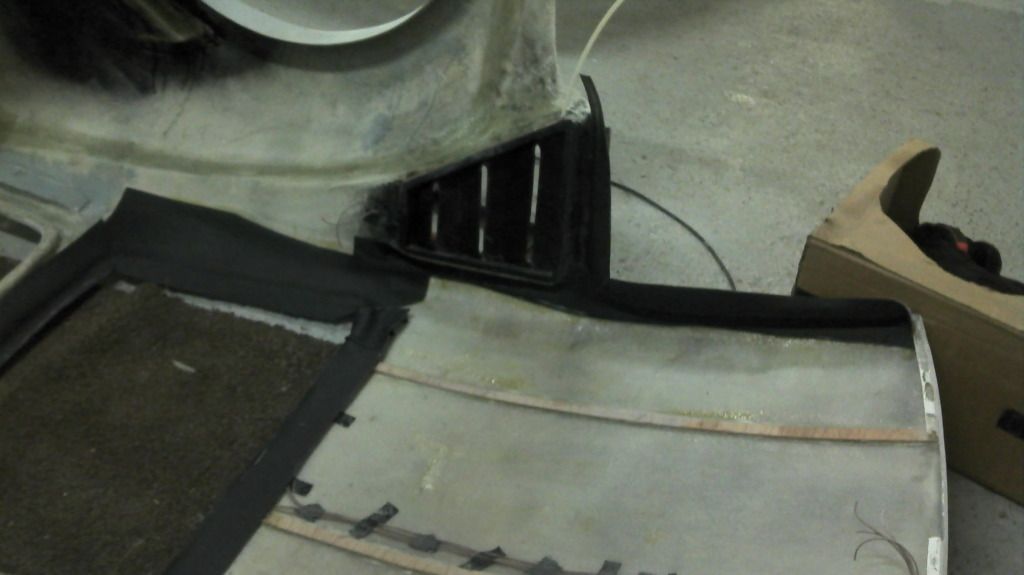 [/IMG]
[IMG] 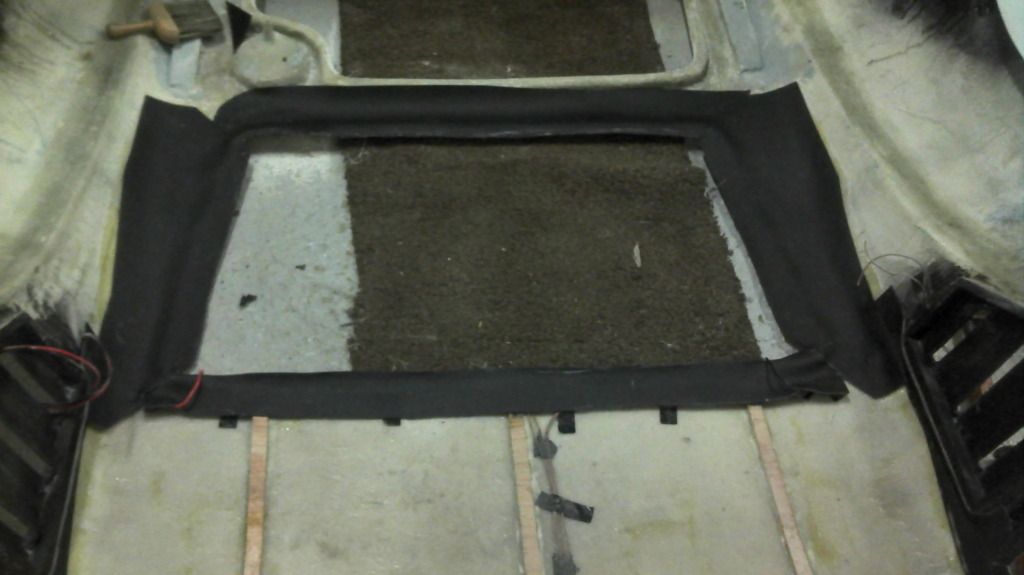 [/IMG]
[IMG]  [/IMG]
[IMG] 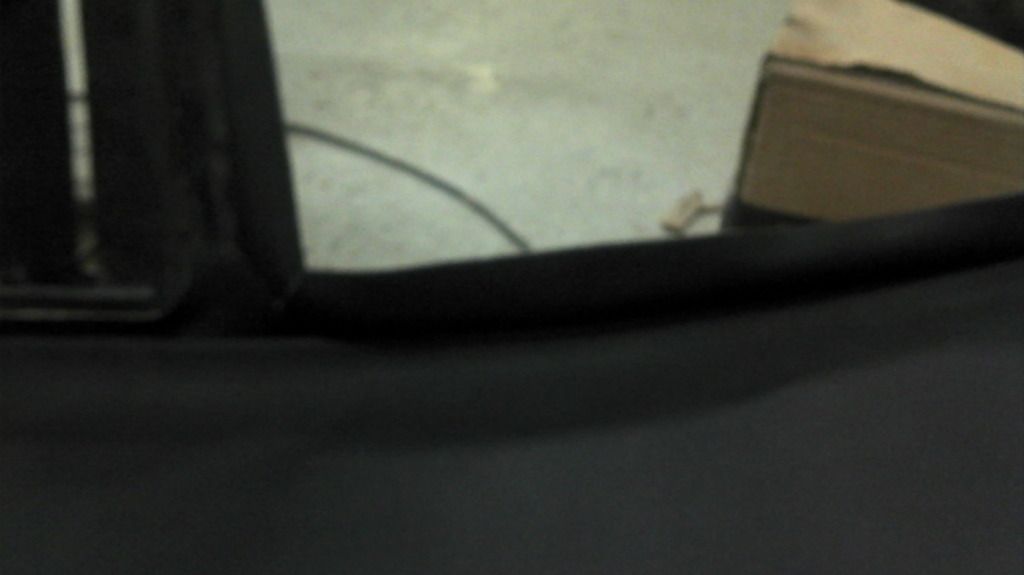 [/IMG]
The louvres will be covered with 5mm tinted perspex, which I have cut out, but not fitted.
[IMG] 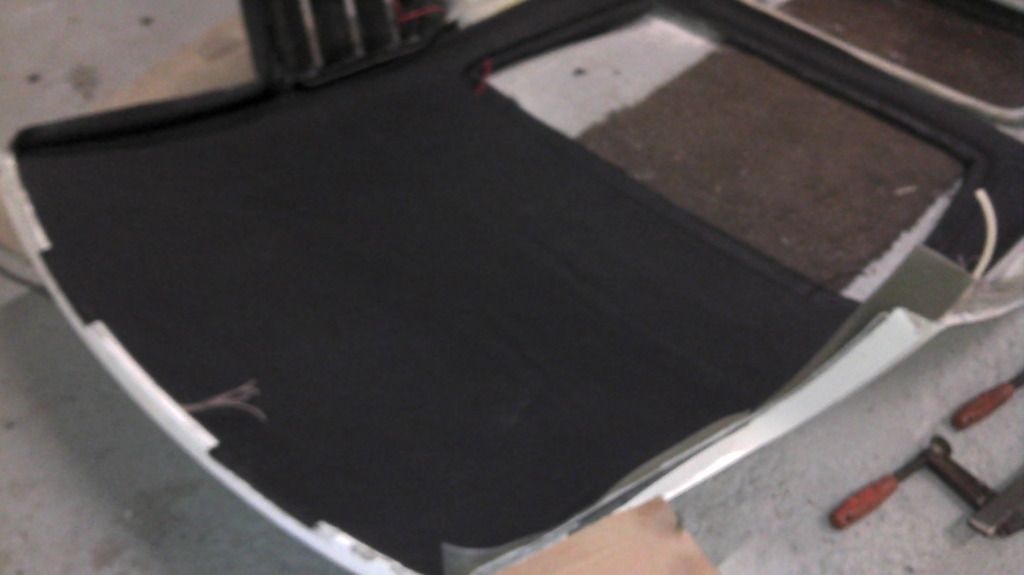 [/IMG]
[SIZE="3"Finally slotted it all together. Its held up by slotting into the front lip and the sides run above the door shuts so its a good firm fit.
Tomorrow is B day (bonding day)!
][/SIZE]
|
Nick
Will you be trimming the sides too or painting them mate? |
17th April 2013, 16:04
|
|
Senior Member
|
|
Join Date: Nov 2011
Location: Emsworth
Posts: 810
|
|
Ply and foam backed black stuff over the top. I think I have done this already. no visible GRP anywhere inside.
|
17th April 2013, 17:11
|
|
Senior Member
|
|
Join Date: Mar 2013
Location: Coventry and the Limousin
Posts: 549
|
|
Can the foam backed vinyl be stuck onto the grp directly?
|
17th April 2013, 17:24
|
|
Senior Member
|
|
Join Date: Nov 2011
Location: Emsworth
Posts: 810
|
|
It can be, and its what any sane person would do. However, I didn't because............
I wanted an air gap for insulation. Cool in summer, warm in winter.
I wanted to run the wires for interior lights and heated rear window under it.
It avoids possible wrinkles and compound curves on the lining.
Would I do it again? No, I would just stick the lining on !!
I also had to lower the roll bar a bit to make it fit!!
|
17th April 2013, 17:28
|
|
Senior Member
|
|
Join Date: Mar 2013
Location: Coventry and the Limousin
Posts: 549
|
|
OK, cheers for that, think I will glue the foam backed on.
I can see from the last 16 pages that you don't necessarily follow the easy route!
|
17th April 2013, 21:22
|
|
Senior Member
|
|
Join Date: Dec 2012
Location: Alton, Hampshire
Posts: 451
|
|
Quote:
Originally Posted by seanick
Ply and foam backed black stuff over the top. I think I have done this already. no visible GRP anywhere inside.
|
Cheers Nick I'm just trying to plan my fortnight off to the nth degree mate |
18th April 2013, 08:22
|
 |
Senior Member
Enthusiast
|
|
Join Date: Jun 2004
Location: Monza - Italy
Posts: 200
|
|
Quote:
Originally Posted by seanick
Out the shed this morning. Its now back home and under wraps for a few months untill I have time, space and enthusiasm to finish it.
[IMG] 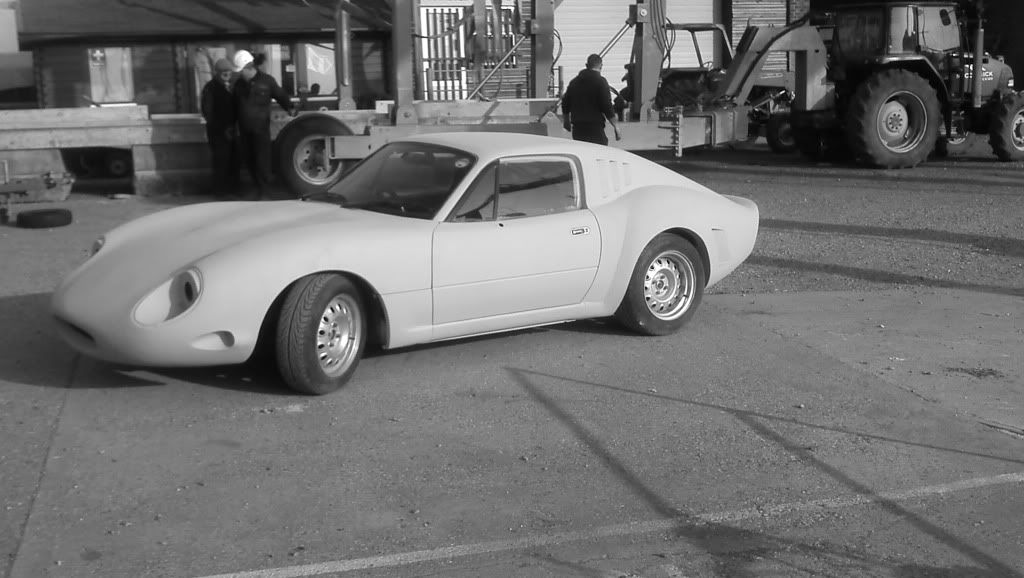 [/IMG]  [IMG] 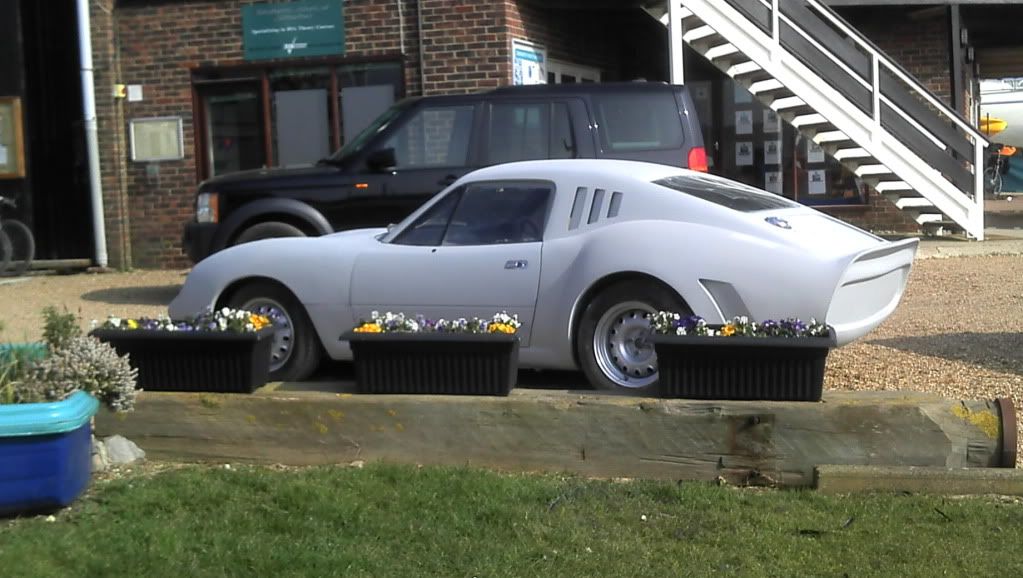 [/IMG]

[IMG] 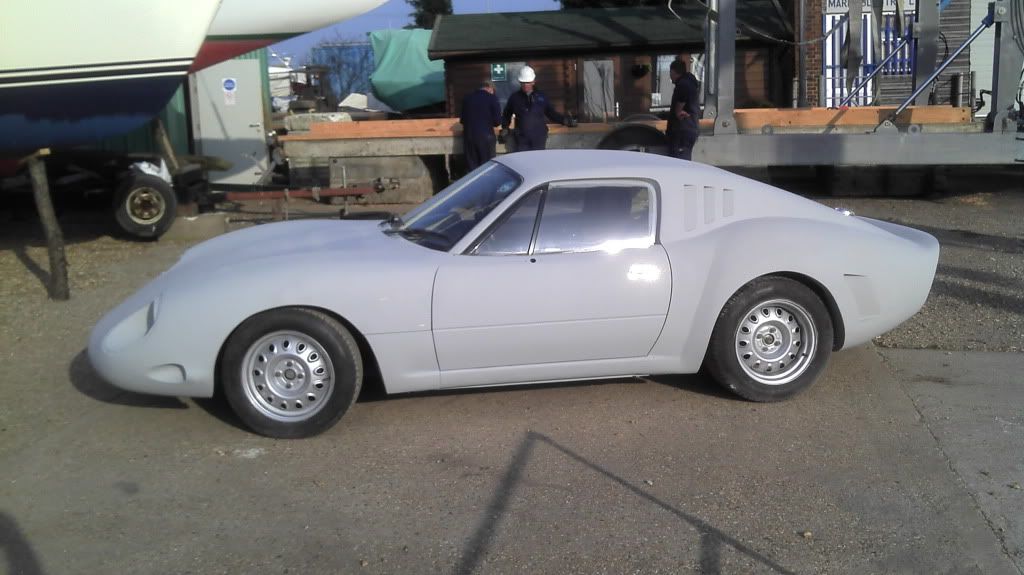 [/IMG] 
[IMG] 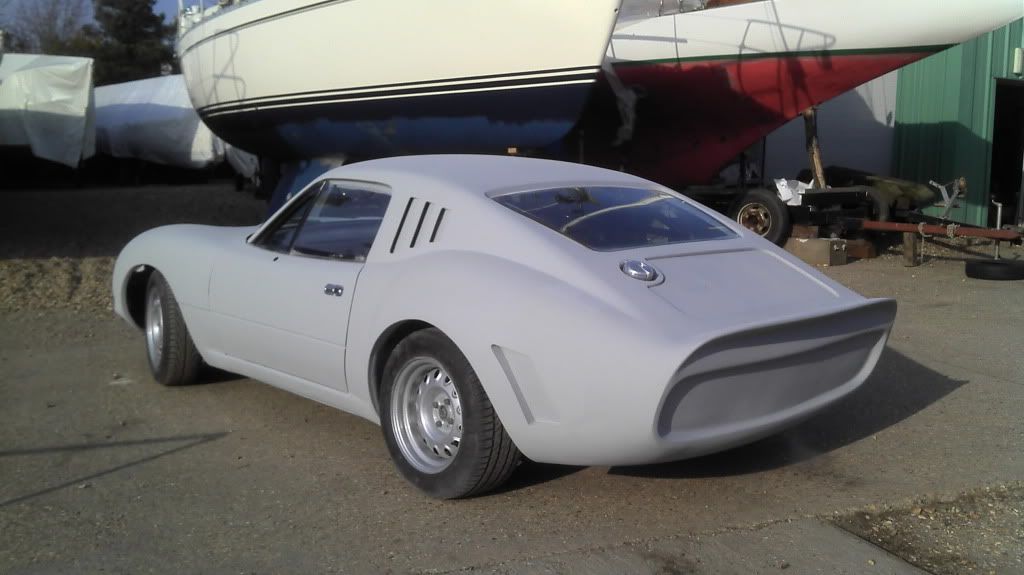 [/IMG]

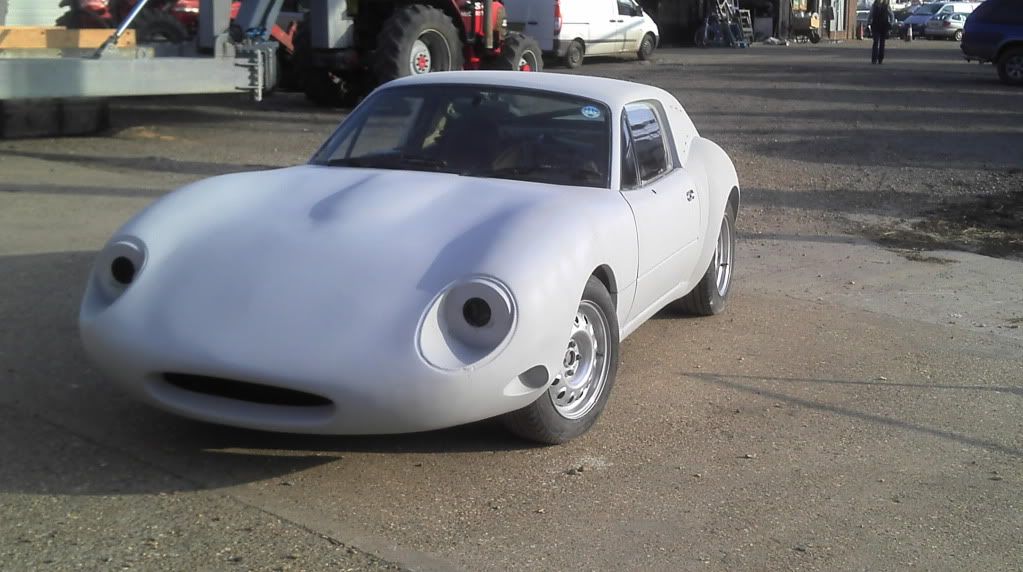

[IMG] 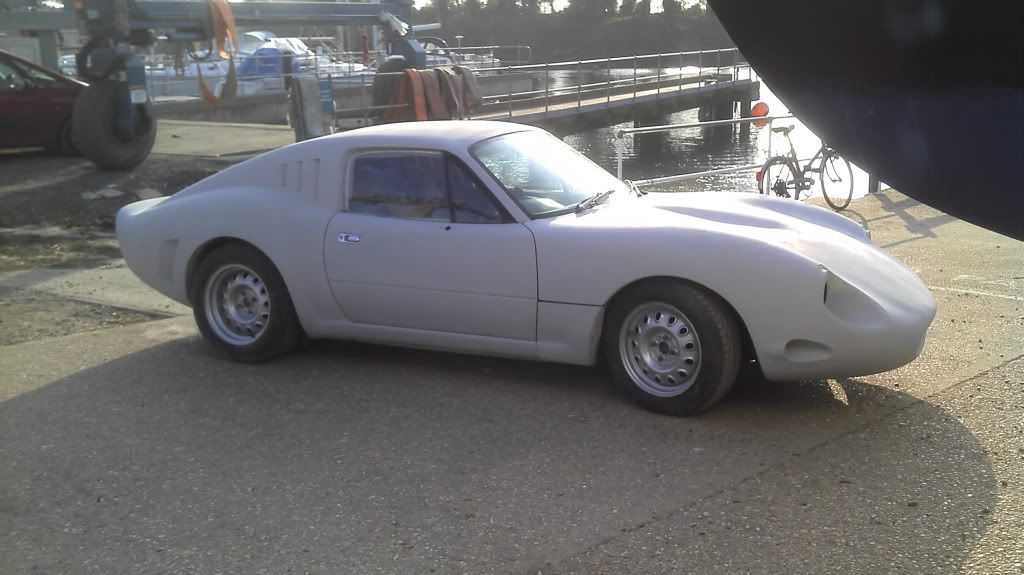 [/IMG]
Shut line on the lower bonnet is a bit shit here, please ignore that for now!! |
You have done a great Job and your kit looks really nice. |
9th June 2013, 22:34
|
|
Senior Member
Enthusiast
|
|
Join Date: Nov 2005
Location: Cheshire
Posts: 404
|
|
Hi Nick,
Long time no update...... how's it going? Can't wait to see the finished article (if a kitcar is ever finished!)
Rich
|
|
Currently Active Users Viewing This Thread: 1 (0 members and 1 guests)
|
|
|
 Posting Rules
|
You may not post new threads
You may not post replies
You may not post attachments
You may not edit your posts
HTML code is Off
|
|
|
All times are GMT +0. The time now is 11:53.
|


 Linear Mode

