|
|
| Tribute Automotive Builds Discuss your Tribute kit build |

7th July 2014, 23:31
|
|
Senior Member
|
|
Join Date: Feb 2014
Location: Sweden
Posts: 140
|
|
Dont be that Scottie, you really fabricate your own stuff to! I bet its a no brainer for you!
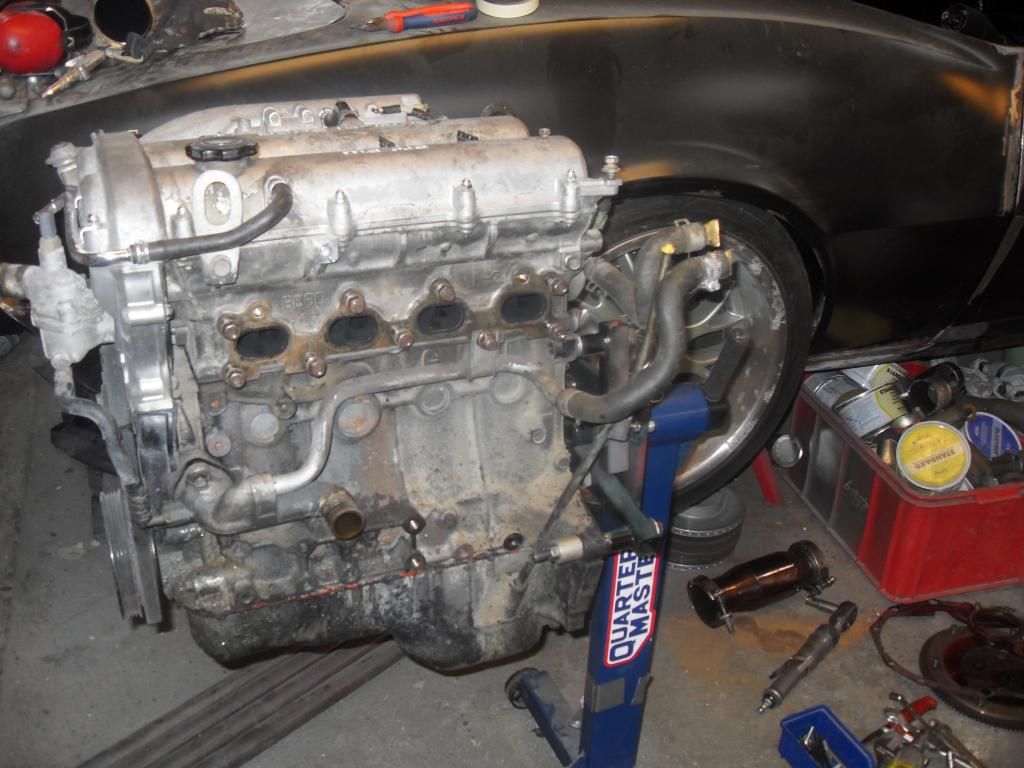
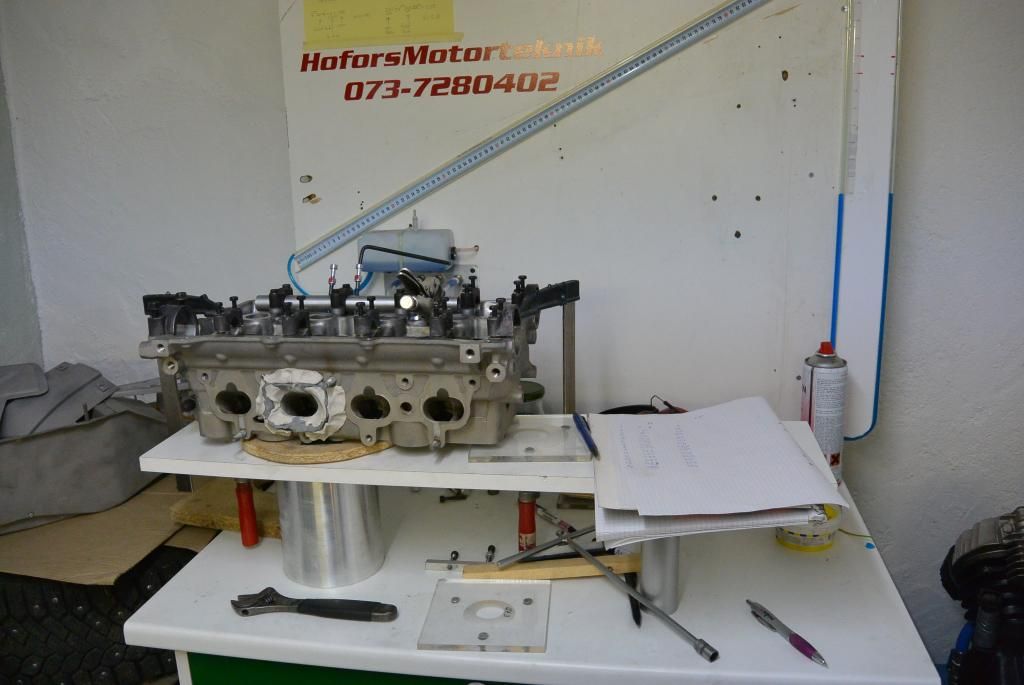
Well, i have been looking at this old lifter ticking lump for a while now. But finally i have come to the point where it got pulled out. Plan is to tune this one for a couple of more ponies.
 |
7th July 2014, 23:37
|
|
Senior Member
|
|
Join Date: Feb 2014
Location: Sweden
Posts: 140
|
|
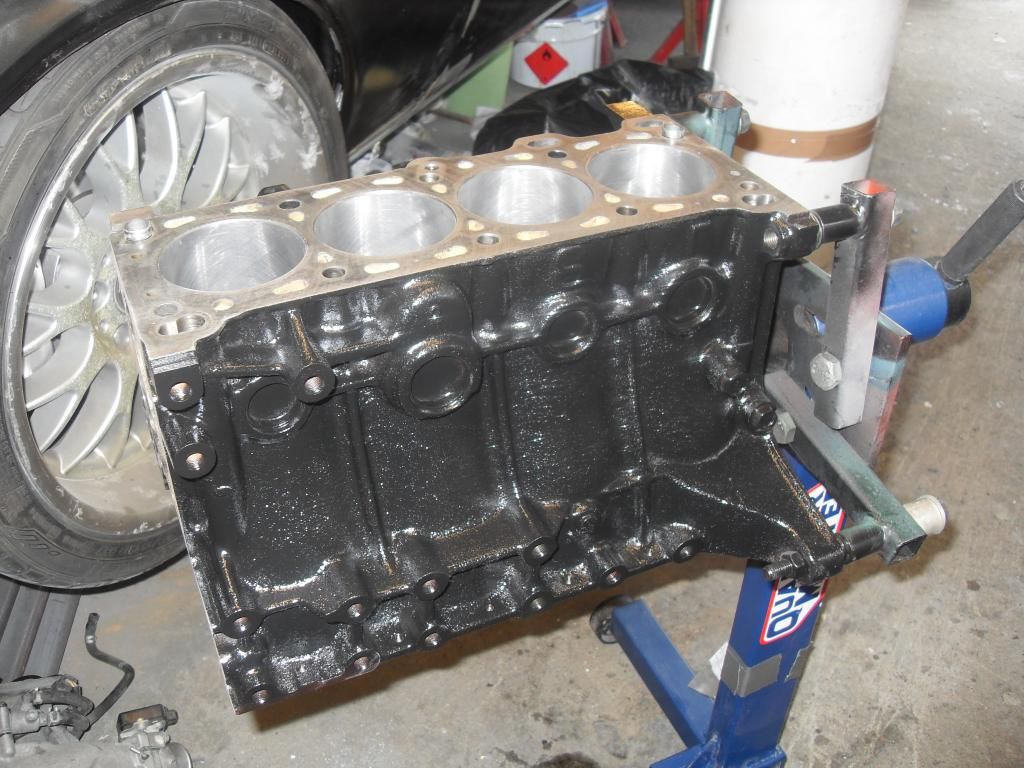
I cross honed the cylinders (they were almost no wear on them) with 400 grit stones with my sunnen hone.
Next i machine cleaned the block. Also opened up all the oil-ways and cleaned them to (with a special brush).
Some paint always look nice too 
 |
7th July 2014, 23:41
|
|
Senior Member
|
|
Join Date: Feb 2014
Location: Sweden
Posts: 140
|
|
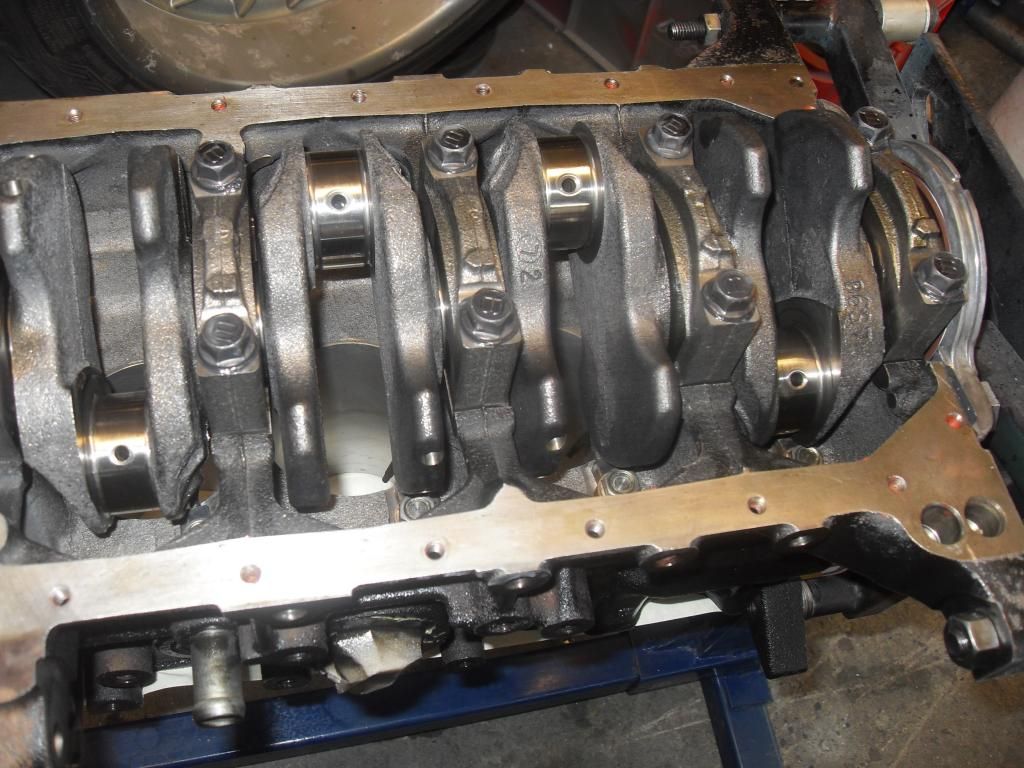
Cleaned and Micro-polished crank, otherwise stock. I didn´t mind balancing it as I talked to a couple of guys racing the miata, they are spot on as stock.
Bearing play is measured Before assembly, using internal and external micrometer. Mine is 0.08mm in the mains. That is just perfect.
Last edited by slangenracing; 8th July 2014 at 00:04..
|
7th July 2014, 23:42
|
|
Senior Member
|
|
Join Date: Feb 2014
Location: Sweden
Posts: 140
|
|
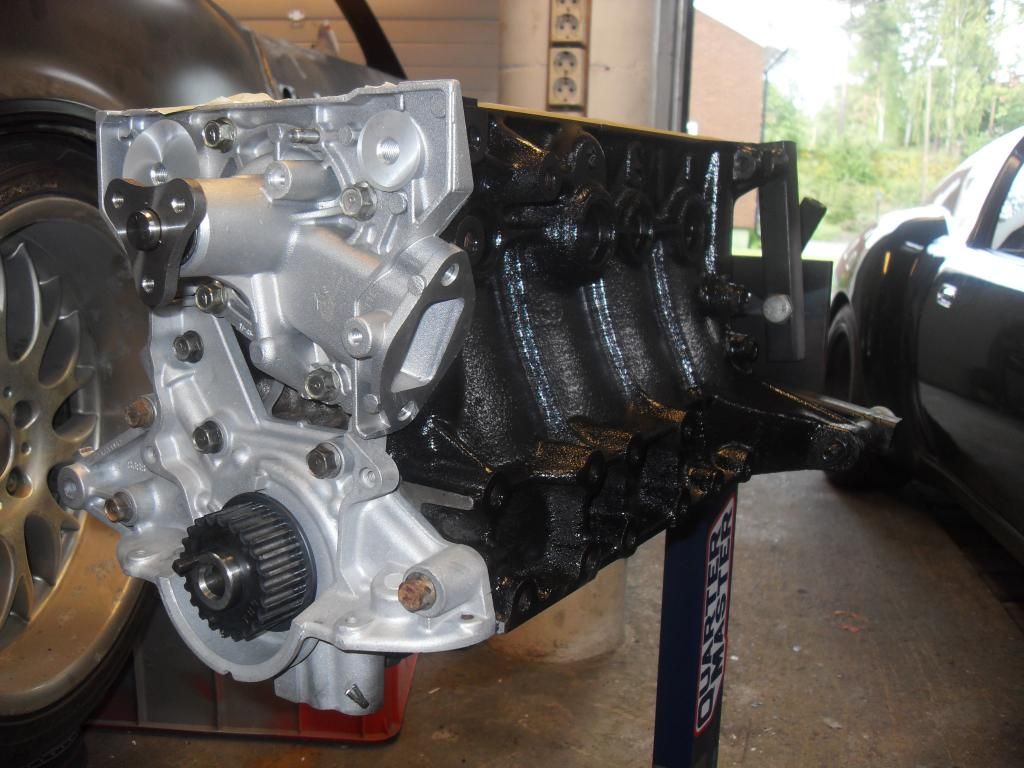
New waterpump, and oil pump is opened up and checked, but it was fine.
 |
8th July 2014, 00:03
|
|
Senior Member
|
|
Join Date: Feb 2014
Location: Sweden
Posts: 140
|
|

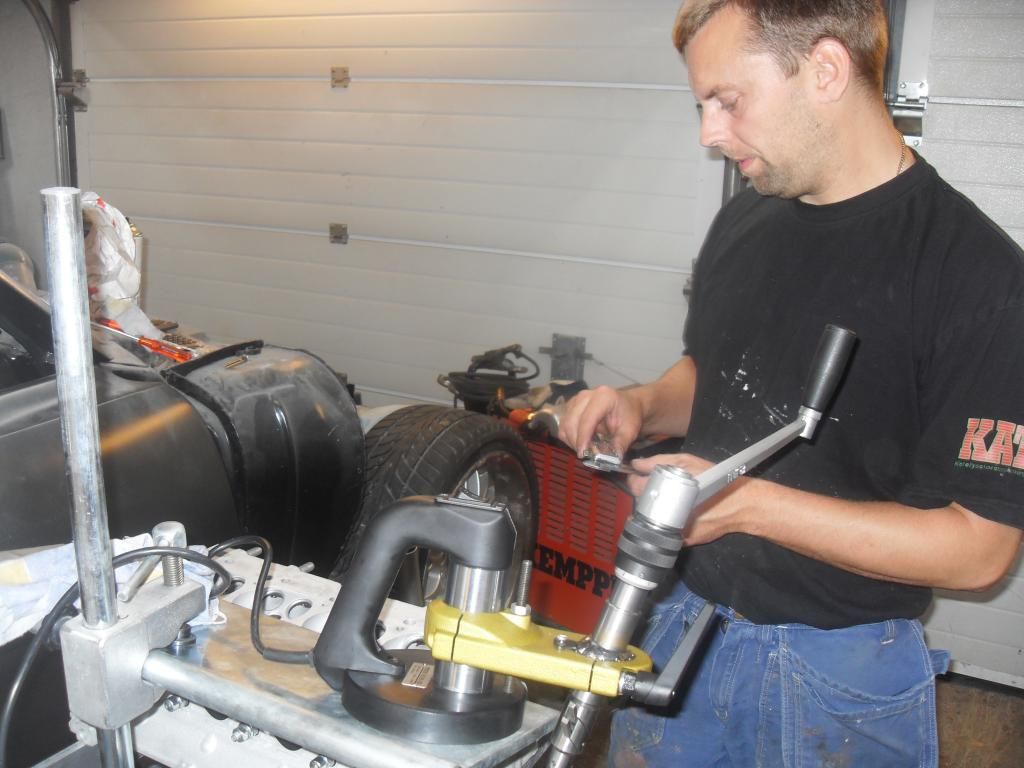
I am waiting for some new (better) rods to arrive. I will be swapping them out as i will rev 8K. So under meantime Ã* have started working on the Head.
The cylinder head, is really something to focus on when tuning an Engine. A good valvejob combined with porting will open up for a lot more Power. I will not get too Deep and technical with this, but i will show how i do it. There is a lot of math and calculations doing a proper Engine tuning.
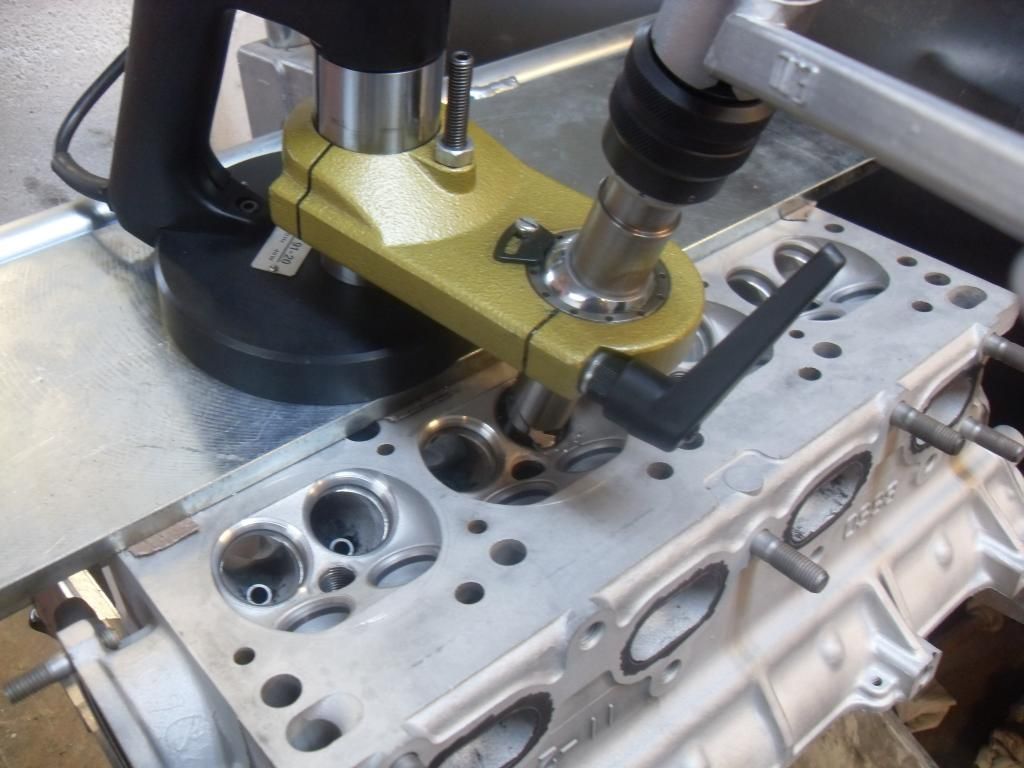
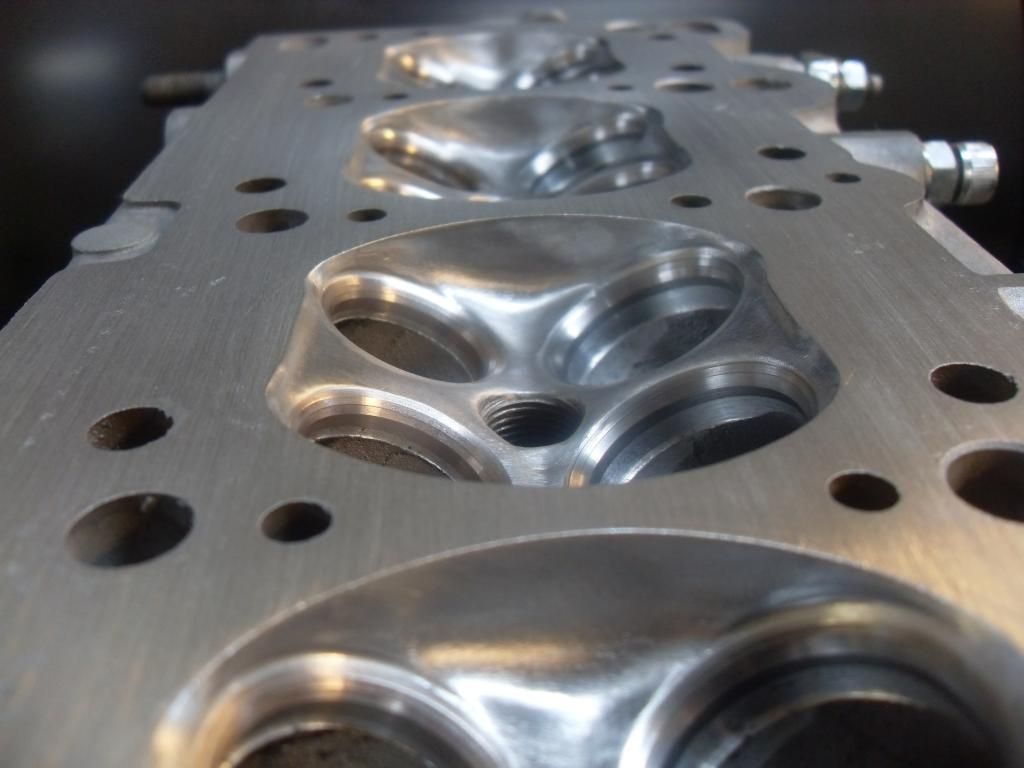
So i start out with new (1mm bigger valves. intake/exhaust) and a valve job in the head. So here i am with my MIRA valve seat cutter
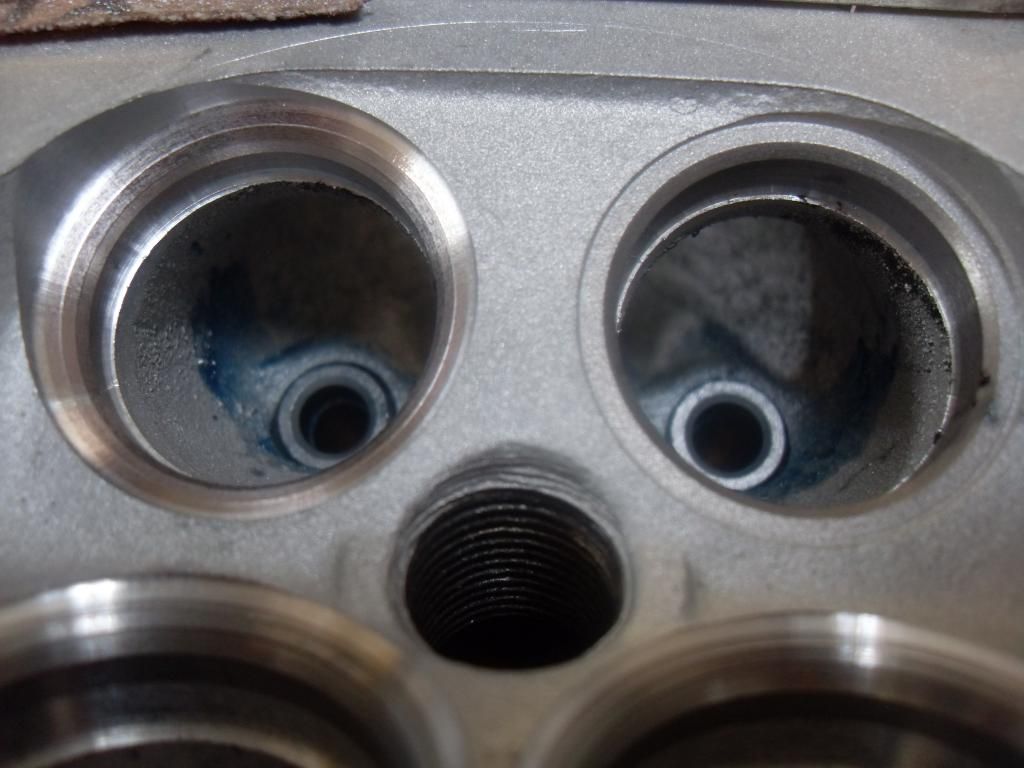
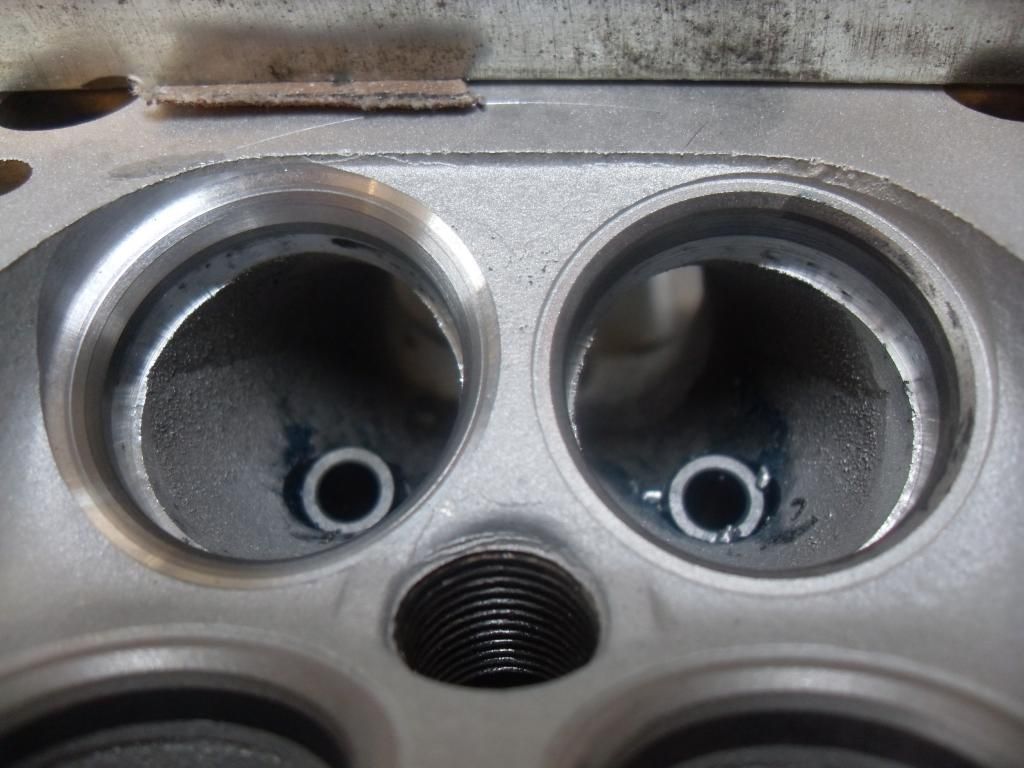
The "throat" under the valve i make 90% of the valve seat diameter, both intake and exhaust. This value does not work on them all, but on this one it will be perfect. I bore it out to correct diameter with the MIRA. Intake 28.62mm, exhaust 24.3mm diameter, as i will be running 32 and 27.2mm valves. Left one is bored out.
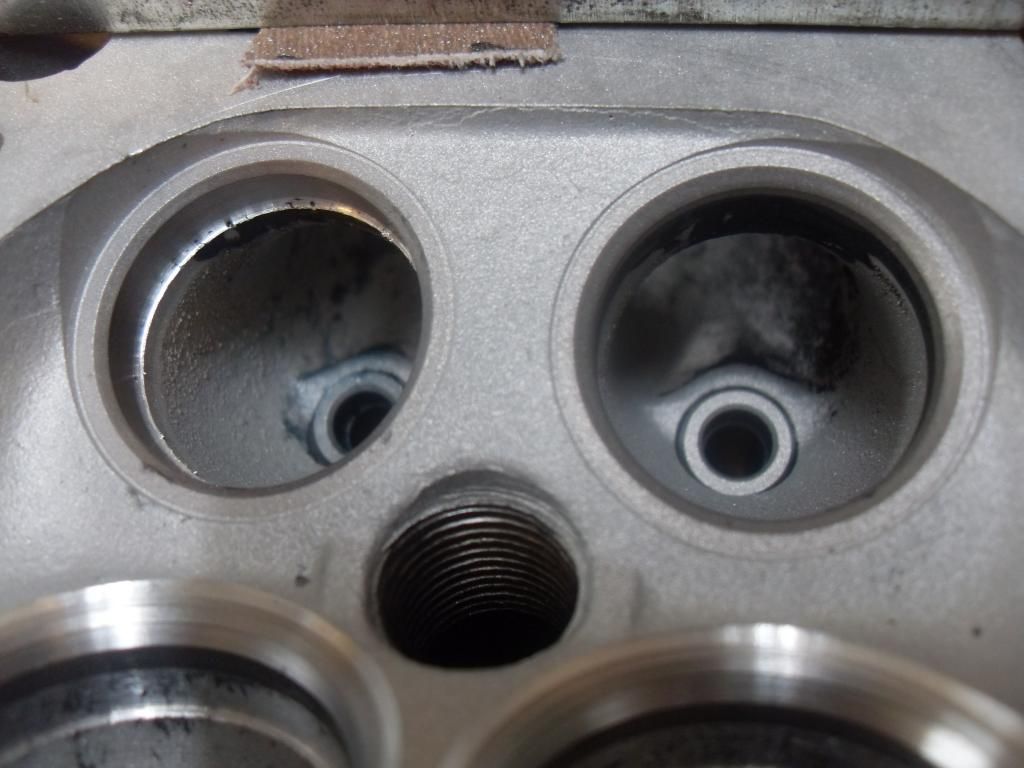
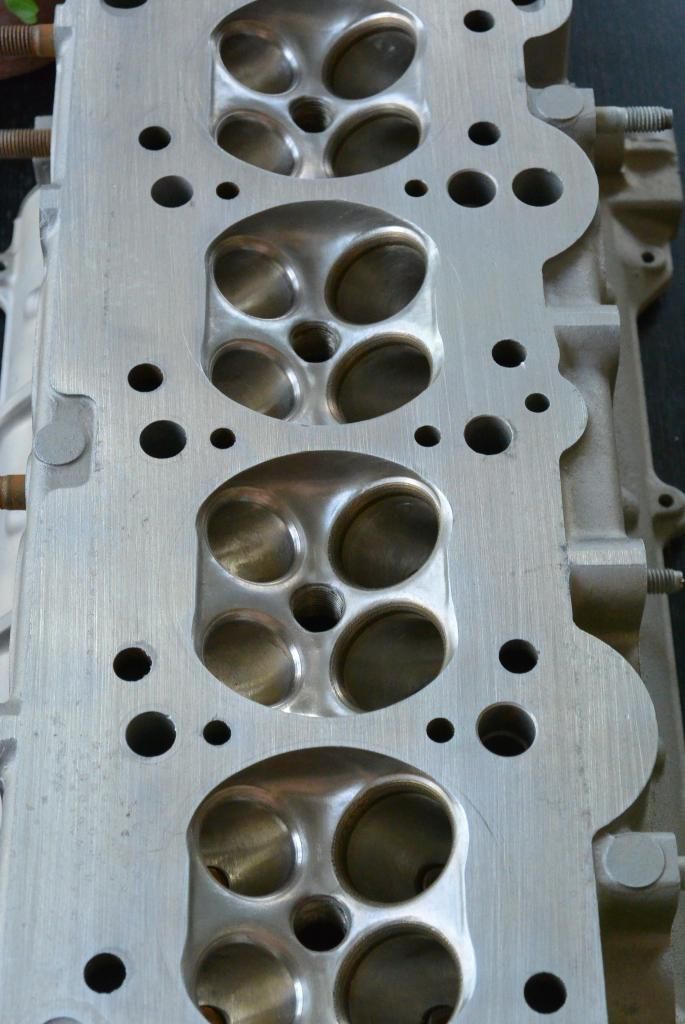
Then the actual seat is cut. So seat is 45 deg, top cut is 30 deg, and a 60 deg under the seat with a radius that smootes out in the throat. The topcut will be smoothed out in the combustion chamber later on by hand when the porting is done. Left one is cut and done (exhaust) It is really easy to see how much softer the actual turn is for the air to do around the new seat vs the stock on right. There is no multiple angles stock. This saves a lot energy for the air, so it can fill the cylinders even better (more Power).
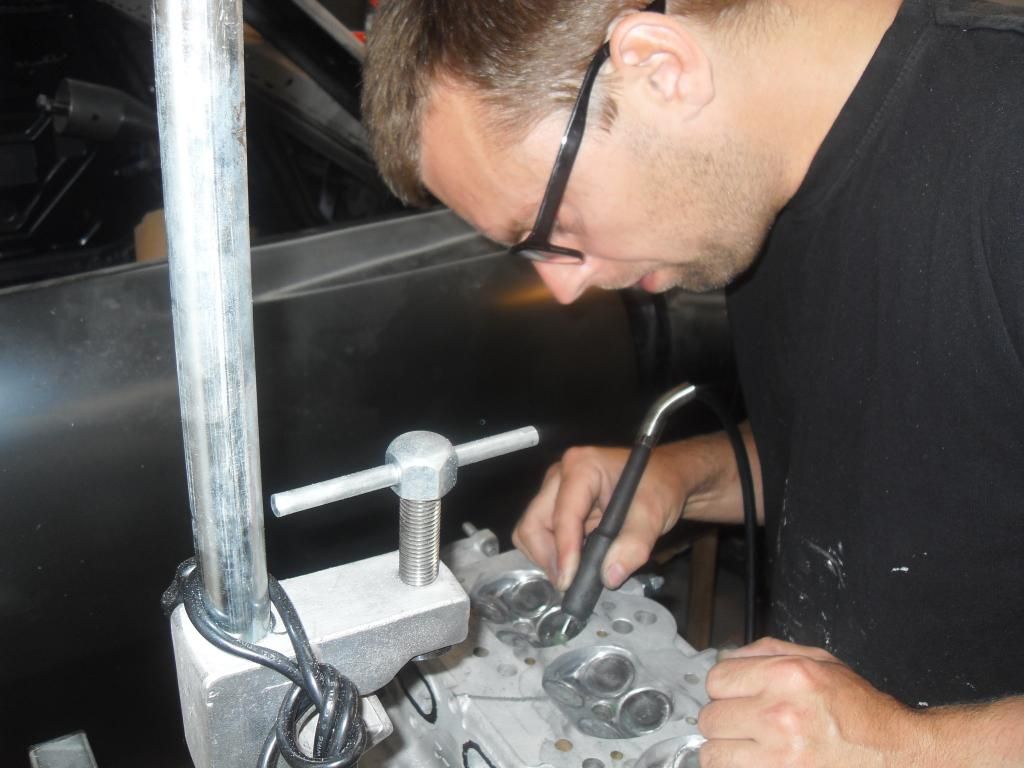
MIRA in action
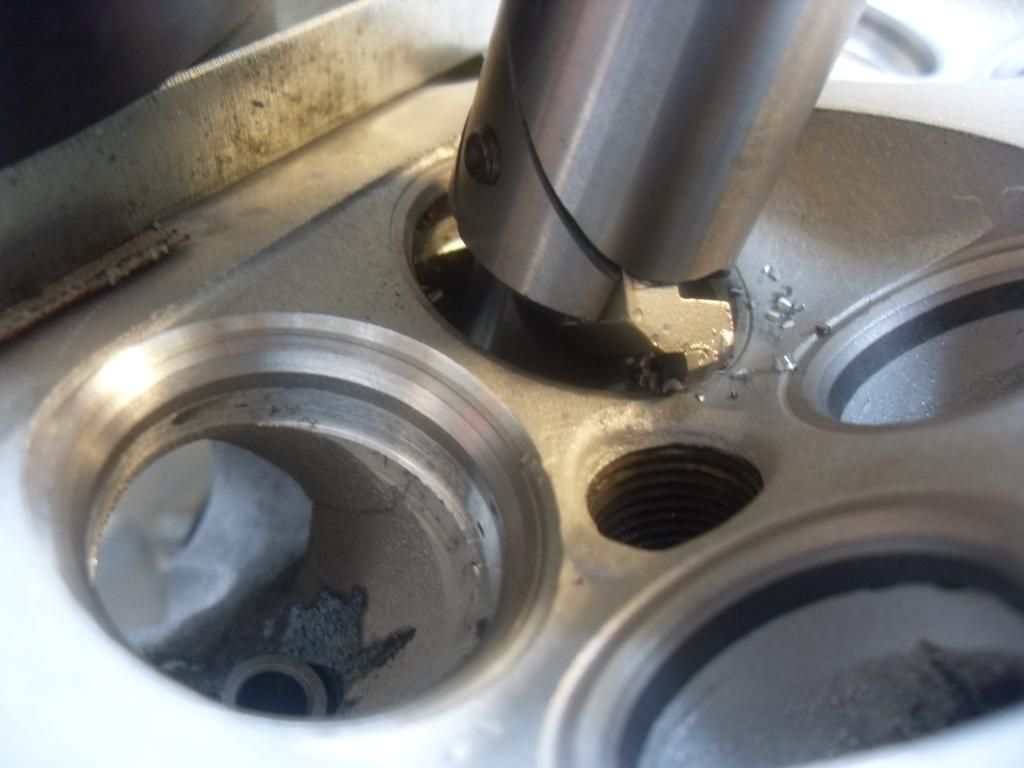
This is Intake, same procedure as exhaust.
Head with valvejob done

Last edited by slangenracing; 8th July 2014 at 00:12..
|
8th July 2014, 10:24
|
|
Senior Member
|
|
Join Date: Apr 2014
Location: Midlands
Posts: 405
|
|
Andreas I go away on holiday and I come back to find not only have you re-assembled the car post paint but put together all the interior you had prepped prior and now stripped down the engine and doing some incredible highly skilled work. IMPRESSIVE SIR! So when are you planning on bringing this completed beast to the UK? it looks great!
|
8th July 2014, 23:34
|
|
Senior Member
|
|
Join Date: Feb 2014
Location: Sweden
Posts: 140
|
|
Thank you Jones! Yes we have talked about going to UK, but if we do it will be for next year. Maybe we will attend to the KitCar show/meet?
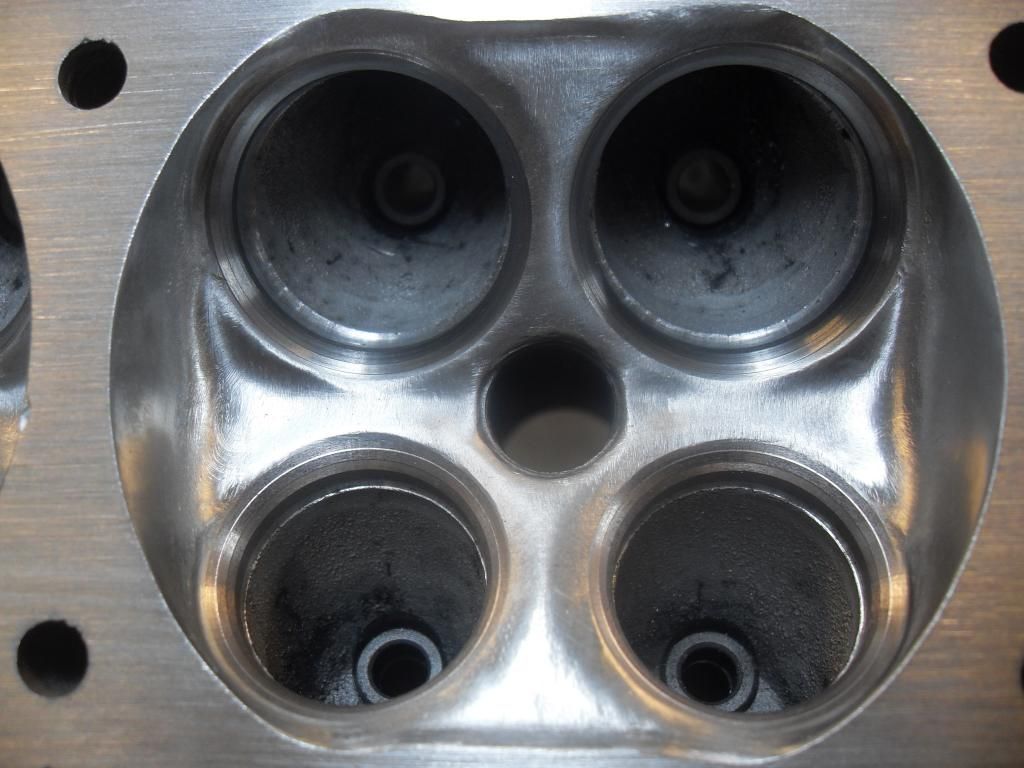
Todays work was to finish the combustion Chambers.
As seen i use the old valves as protection when i cut the combustion chamber.
I carfully unshroud the valves, cutting an "eyebrow" on each valve. This helpes up flow a bit, but it is important not to go wild and cut away to much material as the flat edges creates a squish area, this is when the pistons reaches top dead center, they simply squishes the gas mixture towards center of combustion chamber. When this happens there will be turbulence which helps the already ignited mixture to blend and speed up burn time, which gives you more Power!
Before i start with the head, it has been put on the empty Engine block. From there i mark the top of cylinders on the head to know where to work and not.
Finished combustion Chambers. (They will be cc´d when valves arrives)
|
9th July 2014, 20:32
|
 |
Senior Member
|
|
Join Date: Oct 2010
Posts: 1,622
|
|
Impressive stuff.
|
24th July 2014, 11:25
|
|
Senior Member
|
|
Join Date: Apr 2014
Location: Midlands
Posts: 405
|
|
Andreas, how are you getting on with the engine tuning? you have been quiet of late! :-)
|
9th September 2014, 18:58
|
|
Senior Member
|
|
Join Date: Apr 2014
Location: Midlands
Posts: 405
|
|
So summer came and then went... what have you been up to andreas?
|
9th September 2014, 21:33
|
 |
Senior Member
|
|
Join Date: Dec 2013
Posts: 839
|
|
Neat work slagenracing, very impressive.  |
15th September 2014, 20:32
|
|
Senior Member
|
|
Join Date: Feb 2014
Location: Sweden
Posts: 140
|
|
I am very sorry for a very low activity on the forum. The beginning of summer i was working very late with the car, got the car inspection done so it is now road legal, went on a asphalt sprint competition, and surprisingly i won it! Had another track day to sort chassie out even more, works really well now, very fast car. I will be posting photos of the engine build.
Cheers Andreas!
|
15th September 2014, 20:54
|
|
Senior Member
|
|
Join Date: Apr 2014
Location: Midlands
Posts: 405
|
|
I like your response... so not a quiet summer, just out winning! I look forward to seeing more pictures.
glad to hear the car is going well too.
|
15th September 2014, 20:56
|
|
Senior Member
|
|
Join Date: Feb 2014
Location: Sweden
Posts: 140
|
|
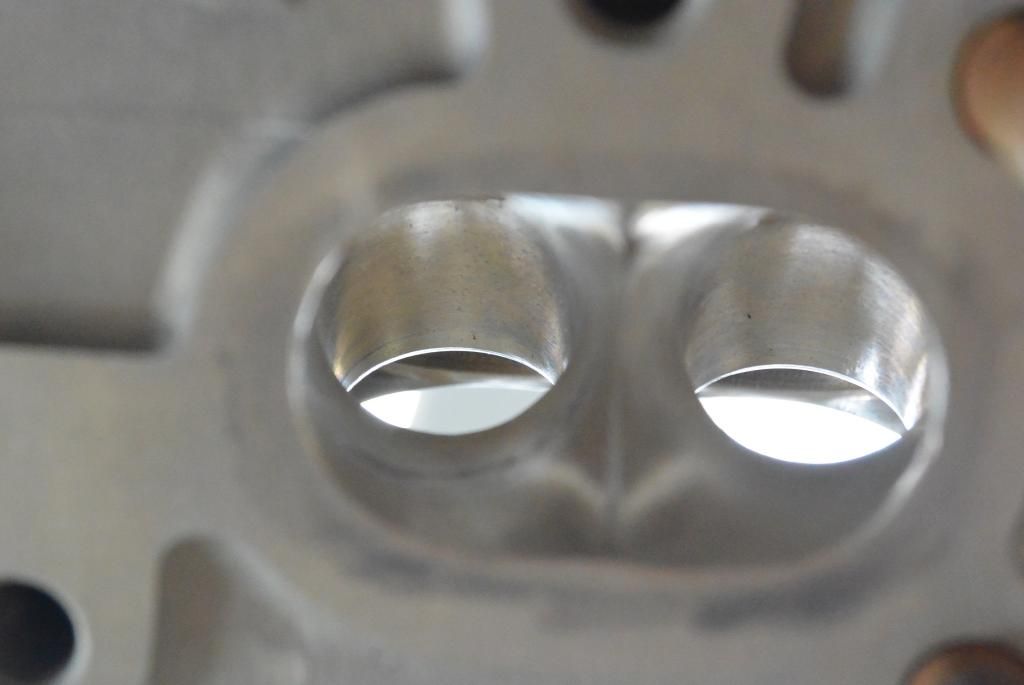
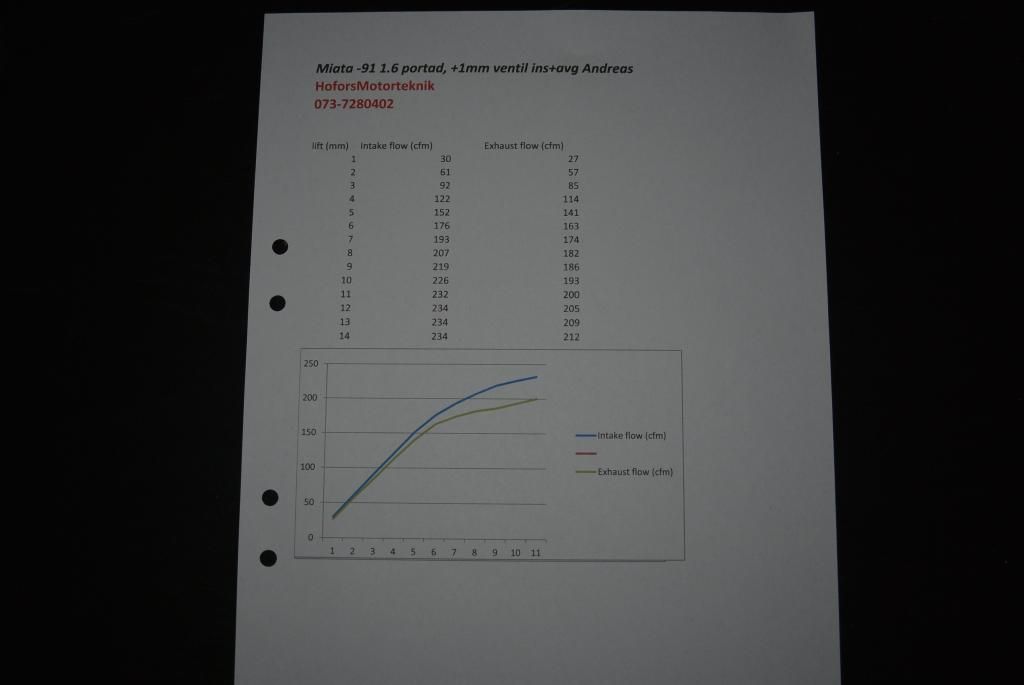
So here is all the runners ported, all cross sectional areas are calculated to match my use.
intake port
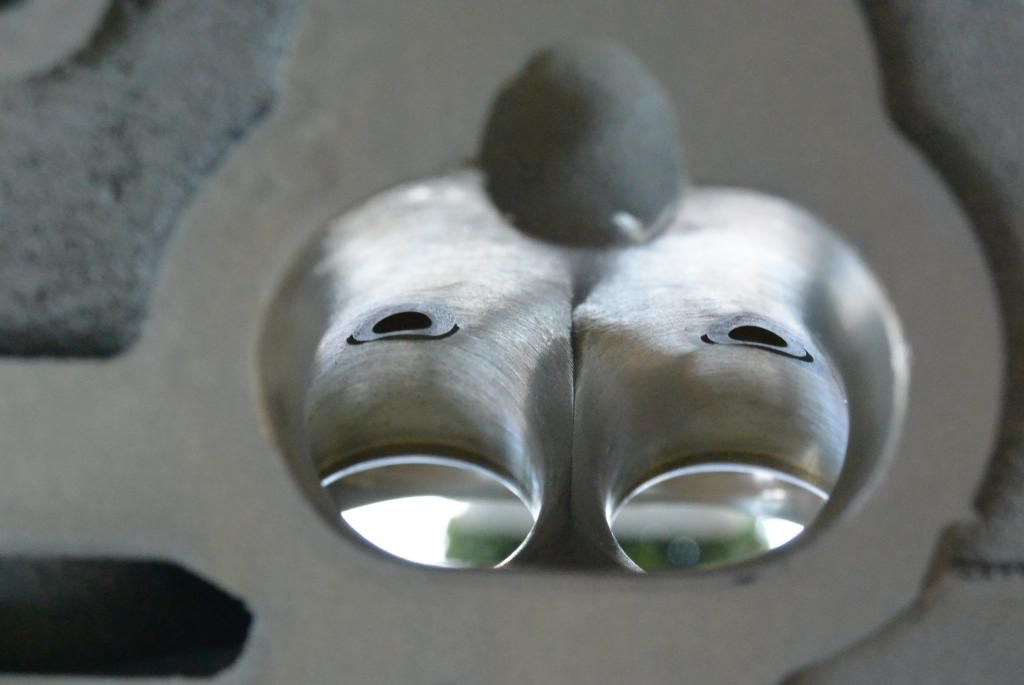
exhaust port
 |
15th September 2014, 20:59
|
|
Senior Member
|
|
Join Date: Feb 2014
Location: Sweden
Posts: 140
|
|
Head is up on my cylinder head flowbench... Flows at 28" watercolumn
Flowresult...
 |
15th September 2014, 21:04
|
|
Senior Member
|
|
Join Date: Feb 2014
Location: Sweden
Posts: 140
|
|
Checking valve spring pressure. CompCams valve spring. (i use custom grund cams to my specs, 248 degrees @ 0.050" lift, and 11mm lift).
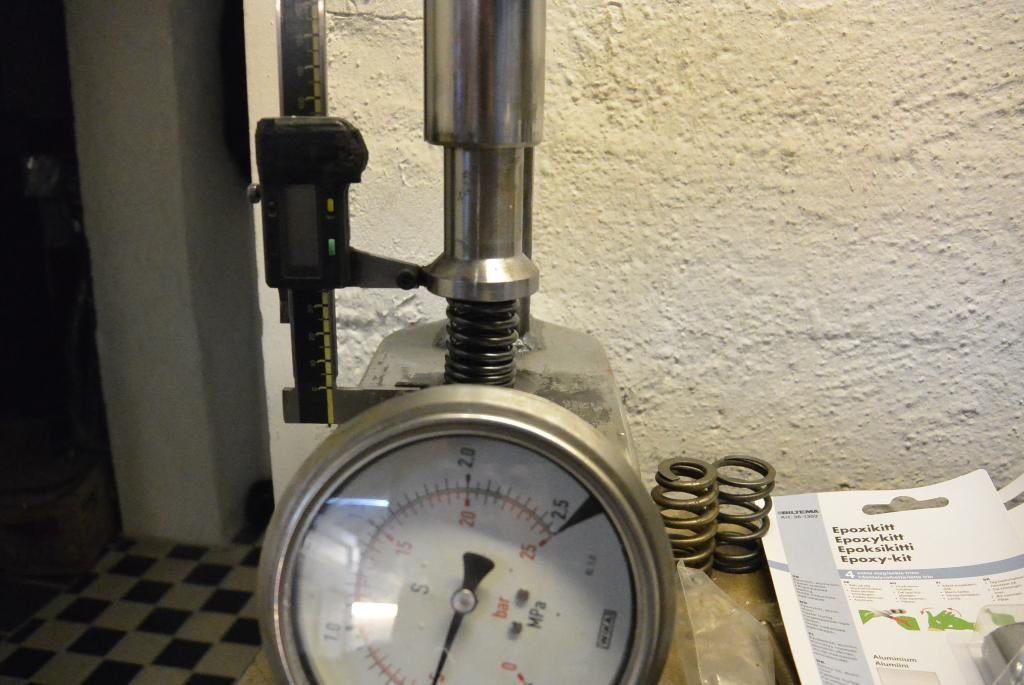
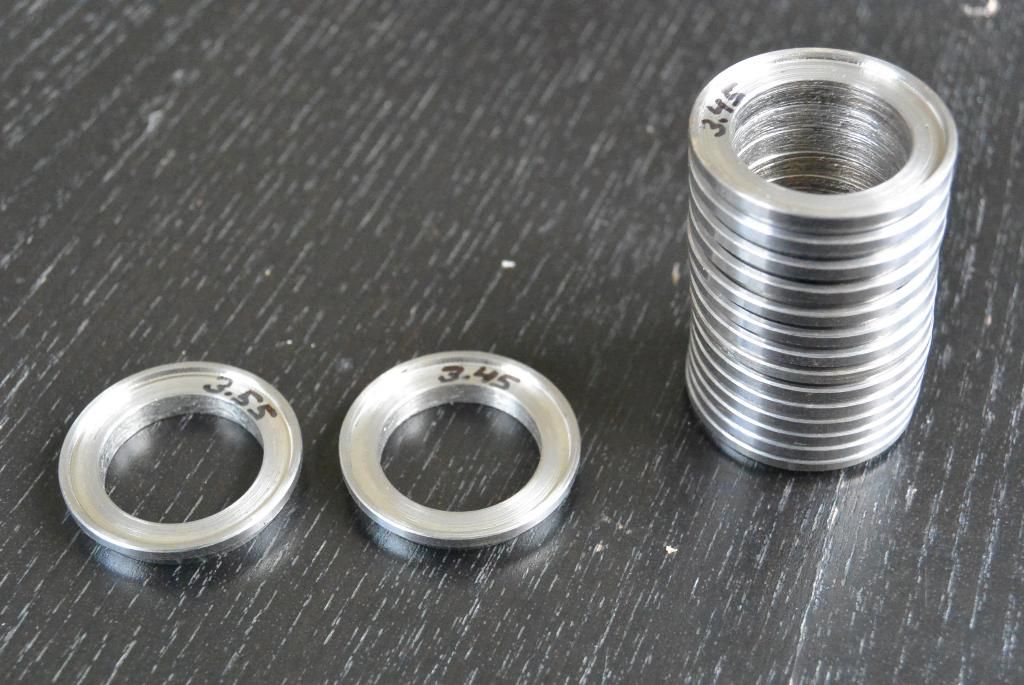
Made these valvespring shims to get the right seatload. (58#)
Supertech 1mm oversized valves
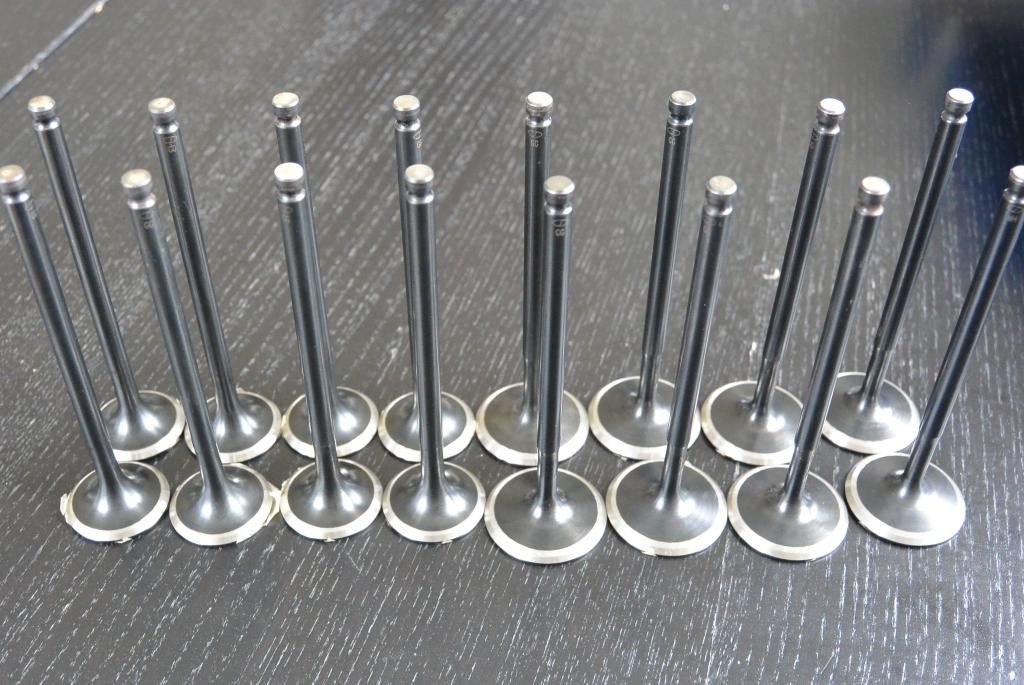
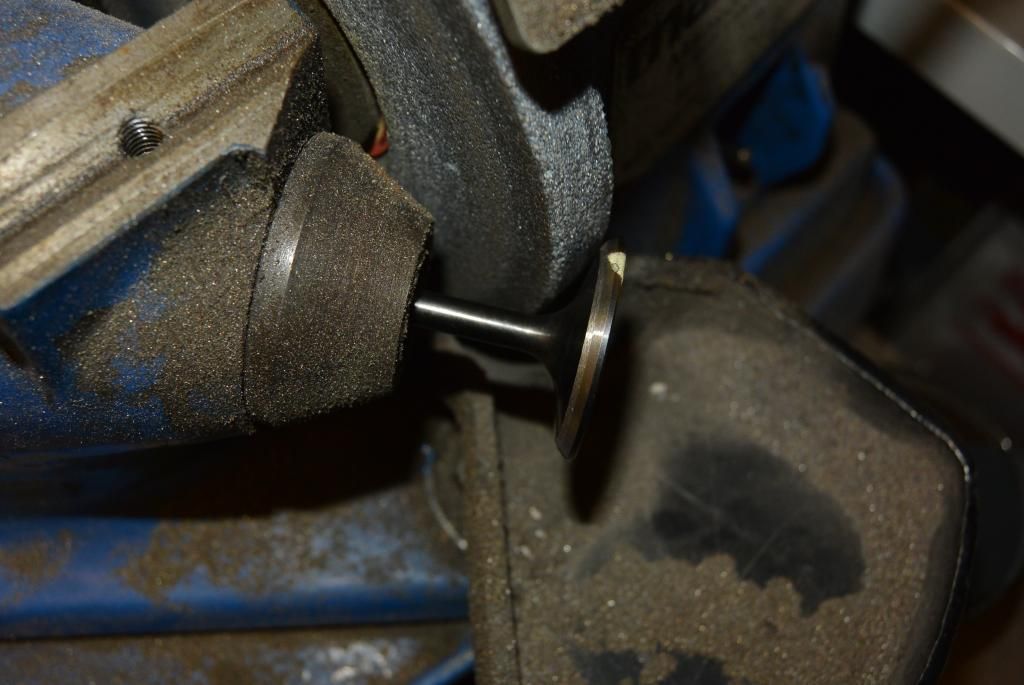
Backcutting valves
Using ford zetec black top lifters, converting it from hydraulic lifters to solid as max rpm is 8500...
 |
15th September 2014, 21:08
|
|
Senior Member
|
|
Join Date: Feb 2014
Location: Sweden
Posts: 140
|
|
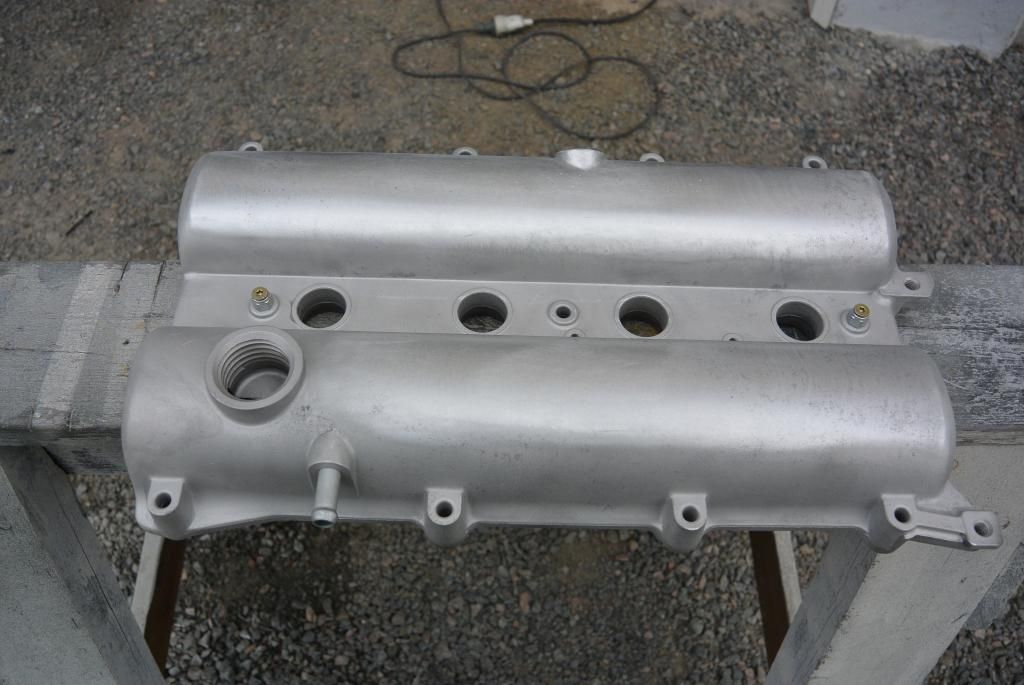
Wanted my own style on valve covers, so cut away timing belt cover part an welded the "mazda" text
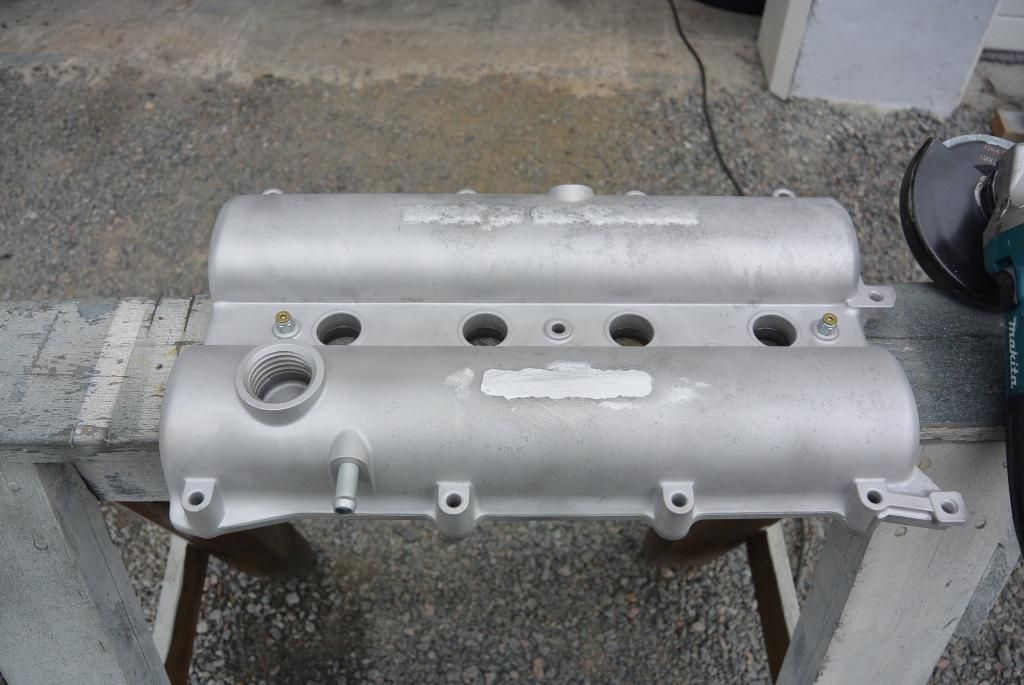
Sanded down...
 |
15th September 2014, 21:10
|
|
Senior Member
|
|
Join Date: Feb 2014
Location: Sweden
Posts: 140
|
|
lighter flywheel
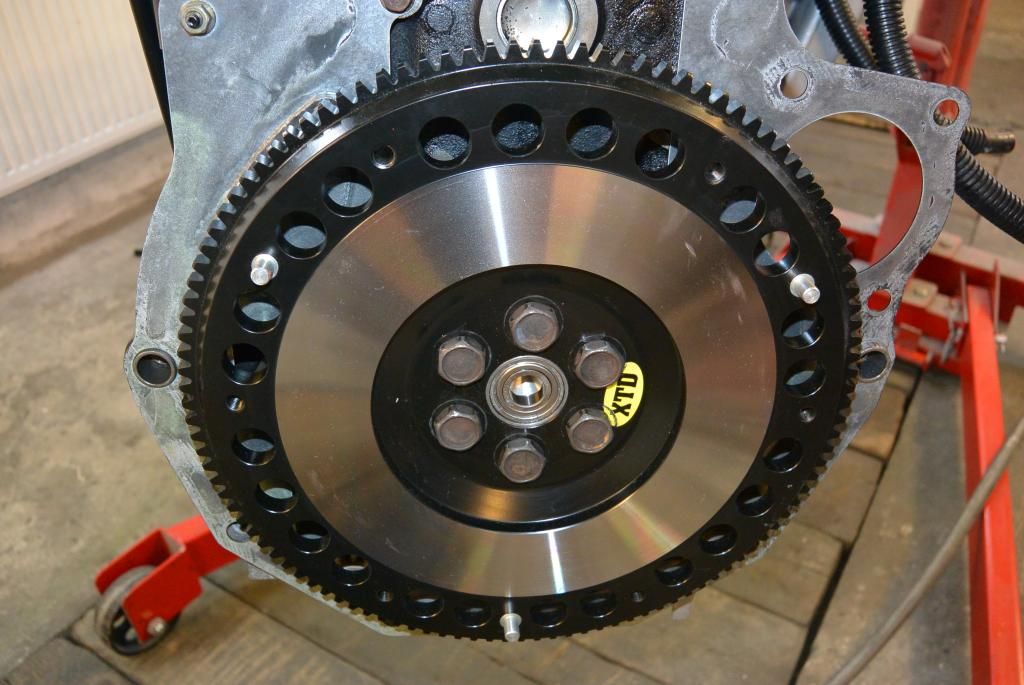
some aggressive cluth
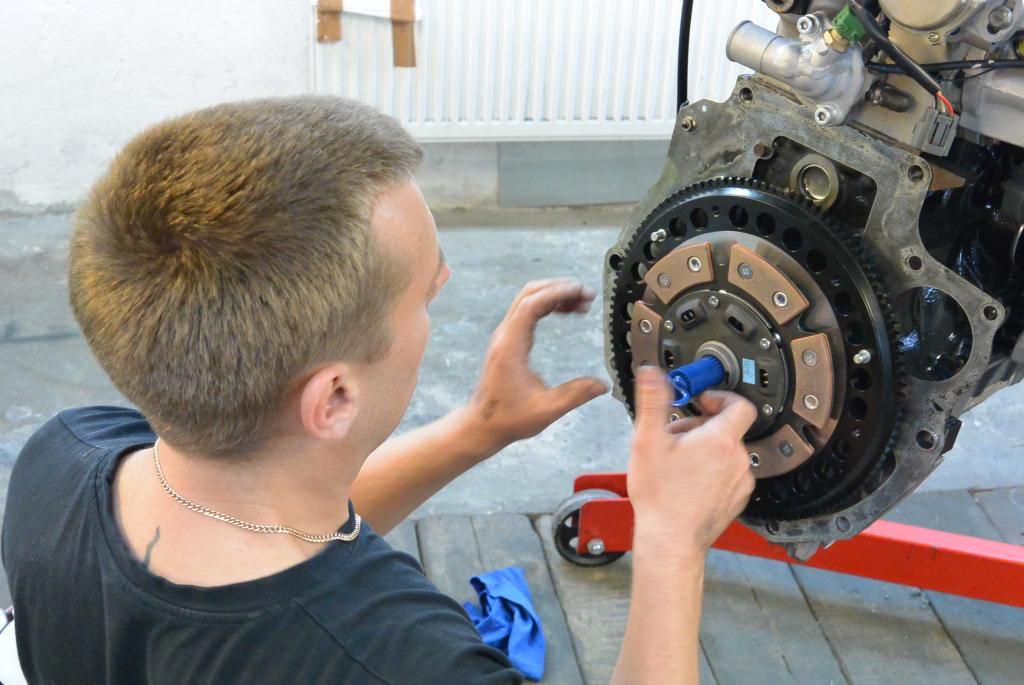

Getting there...
 |
15th September 2014, 21:15
|
|
Senior Member
|
|
Join Date: Feb 2014
Location: Sweden
Posts: 140
|
|
Last edited by slangenracing; 16th September 2014 at 21:15..
|
15th September 2014, 21:56
|
 |
Senior Member
|
|
Join Date: Sep 2011
Posts: 1,446
|
|
You have too many skills my friend.
What sort of increase in power would this achieve?
Always fancied a supercharged version myself
|
|
Currently Active Users Viewing This Thread: 1 (0 members and 1 guests)
|
|
|
 Posting Rules
|
You may not post new threads
You may not post replies
You may not post attachments
You may not edit your posts
HTML code is Off
|
|
|
All times are GMT +0. The time now is 13:19.
|


 Linear Mode

