Are you madabout kit cars      
 "We've Got Kit Cars Covered" Information about Madabout-Kitcars.com Contact Madabout-Kitcars.com         Home of UK kit cars - madabout-kitcars.com Various kit car write ups All the latest kit car news Kit car related and general discussion

Search
Manufacturers
Kit Cars
Kit Car Data sheets
Picture Gallery
SVA Knowledgebase
Clubs & Communities
Build cost estimator
Kit cars for sale
Knowledge Base 
KitcarUSA.com
Classic-Kitcars.com
 

Go Back   Madabout Kitcars Forum > Mad Build Area > Sammio Builds and discussions

Sammio Builds and discussions Sammio bodied car builds and specials

Reply
 
Thread Tools Display Modes
  #1  
Old 25th April 2015, 06:43
Paul L's Avatar
Paul L Paul L is offline
Senior Member
 
Join Date: Feb 2012
Location: Wembley, London
Posts: 5,058
Paul L is on a distinguished road
Default

Ed - There is a bit of work left on the boot lid, but getting past yesterday's problems was a big step in the right direction.

Although at some point I need to make some final decisions about how this build will progress:
- Working moon rover before bonding body shell vs. bond body shell on & then make it all work.
- Present it for an MOT (i.e. get it on the road) in primer vs. finish the body work & paint it first.

This last option may actually be my best hope of actually driving this car before the year is out.
It may also be a practical option, as I fear the MOT will throw up some more construction work.

In particular, I am convinced the headlights will need to minor "cut & shut" work to point in the right direction.
( But this is something I can't really test properly myself. )

Similarly, as far as the MOT is concerned the boot lid is done, as it is now firmly secured in place.
Whereas there is a lot of filler work required to blend in all the edges so they line up across the gaps.
( As there was slight distortion to the hump profiles on both the body shell & the lid during construction. )

Anyway, as usual, there is lots to think about and plenty of other things to do first.

Although as it is raining outside & the forecast is a bit hit & miss, I might stick with non car stuff this weekend.

Cheers, Paul.
Reply With Quote
Available from eBay
  #2  
Old 25th April 2015, 08:03
8 Valve Ed 8 Valve Ed is offline
Senior Member
 
Join Date: Dec 2013
Location: Sunny Cumbria
Posts: 470
8 Valve Ed is on a distinguished road
Default

Quote:
Originally Posted by Paul L View Post

In particular, I am convinced the headlights will need to minor "cut & shut" work to point in the right direction.
( But this is something I can't really test properly myself. )
It's very easy to check the headlamp alignment Paul.

All you need is a white board about two feet by three, a black marker and some chalk or string. It's probably even more accurate than the MOT beam aligner although slower of course!

If you shine the DIP beam against the white board it should project an arrow pattern, if it lacks a distinct arrow pattern the reflector or lens is stuffed, should fail.

With the car sat on flat ground, with a chalk line in front of and centred on the car, place the white board on the ground and in front of the headlamp and mark the horizontal and angle lines of the beam pattern on the board with your marker pen. Then move the white board further away from the headlamp at the same distance from the cars centreline and check that the beam arrow pattern is still in exactly the same place. Repeat for the other side, job done. The beam pattern can be a little lower than horizontal but not higher, nor may it be pointing to the right. You need to move the board at least cars length away to get a reasonable check but with care you will get a good idea of how well the lamps are aligned at very little cost.

I normally drive up to a white wall, note the location of the beam then reverse away a cars length, adjusting as required so the beam stays in the same place, I have never had an issue with beam alignment at MOT time.

I realise you have limited space and a crooked paved drive to contend with but I would have thought it could be done, at least to check if it's reasonably within limits.

A couple of washers and a little filler could be all that's needed to get them pointed in the right direction.
Reply With Quote
  #3  
Old 27th April 2015, 16:50
Paul L's Avatar
Paul L Paul L is offline
Senior Member
 
Join Date: Feb 2012
Location: Wembley, London
Posts: 5,058
Paul L is on a distinguished road
Default

8 Value Ed - Thanks for the headlight testing tips, hopefully only minor adjustments will be required.

- - - - - - - - - - - - - - - - - - - - - - - - - - - - - - -

A Small Restart:
I didn't do any car work at the weekend and didn't have much time available today either.

But at least I managed to get some Tetroseal on the frame/floors/arches combo.


I had to use a wooden spatula to spread this stuff into the small gaps here, that the brush wouldn't reach.


These photos were taken after the first coat and thankfully I also managed to get a second coat on today.

But I will leave these "fresh" sections to dry overnight before putting a final coat over the whole area.

I know these "after" photos don't look very different to this "Before" one.


But it has been quite a time consuming job to seal up all the gaps and I'm glad the underside is finally done.

Until next time, take care, Paul.
Reply With Quote
  #4  
Old 28th April 2015, 18:37
Paul L's Avatar
Paul L Paul L is offline
Senior Member
 
Join Date: Feb 2012
Location: Wembley, London
Posts: 5,058
Paul L is on a distinguished road
Default

Tiresome Tuesday - Part 1:
It was bloody cold working on the front driveway this morning, as it takes a few hours for the sunshine to reach it.


- - - - - - - - - - - - - - - - - - - - - - - - - - - - - - -

Gear Box Cover:
The mess you can see is my attempts to work out how the rubber seal was going to cover these angles.


Eventually I had made cardboard templates for both sides.


Although in a rare moment of clarity, I realised the width of the seal would cover the small kink in the driver's side.


So I cut the rubber seal to the right length for the starting point on both sides.


At this point other stuff got in the way, but at least there was some sunshine when I returned...

- - - - - - - - - - - - - - - - - - - - - - - - - - - - - - -

Frame/Arches/Floors:
Put the final coat of Tetroseal onto the underside of this area.


Which means this is finally ready to be bolted back on to the chassis.

As the rest of the work to be done on this area can still be reached when it is back in position.

- - - - - - - - - - - - - - - - - - - - - - - - - - - - - - -

Gear Box Cover:
I wanted to mark up the first vertical holes in the bulkhead, but realised the rubber seal would be in the way.

So I fixed the cover into position with just a section of the seal under the cover near the front of the bulkhead.


This allowed me to roughly mark up the position of the hole, before I could fit the "catch" and fine tune the position.


Then I worked my way along the rubber seals, opening up all the holes required in the right place.


Eventually the rubber seals on both sides were done.


So the cover when back on again and the first screws on the vertical face now fitted.


End of Part 1...
Reply With Quote
  #5  
Old 28th April 2015, 18:38
Paul L's Avatar
Paul L Paul L is offline
Senior Member
 
Join Date: Feb 2012
Location: Wembley, London
Posts: 5,058
Paul L is on a distinguished road
Default

Tiresome Tuesday - Part 2:
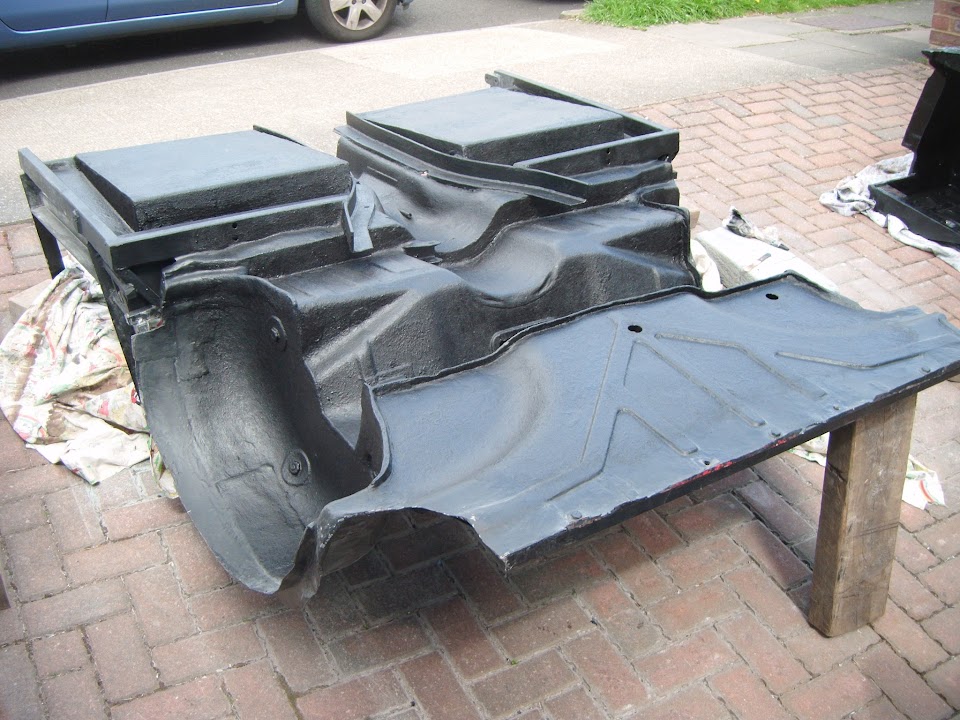
Gear Box Cover:
However, I wanted to add an extra screw on the horizontal face, so the cover came off again.

And a "catch" was added to both sides.


Before the cover went on again.


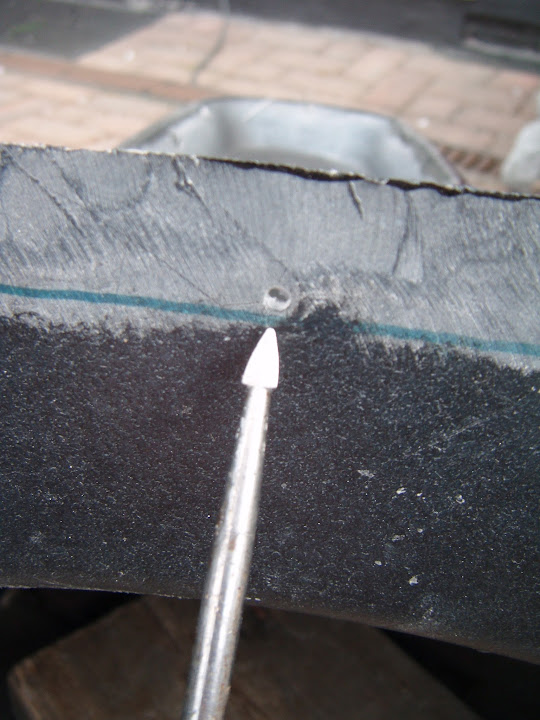
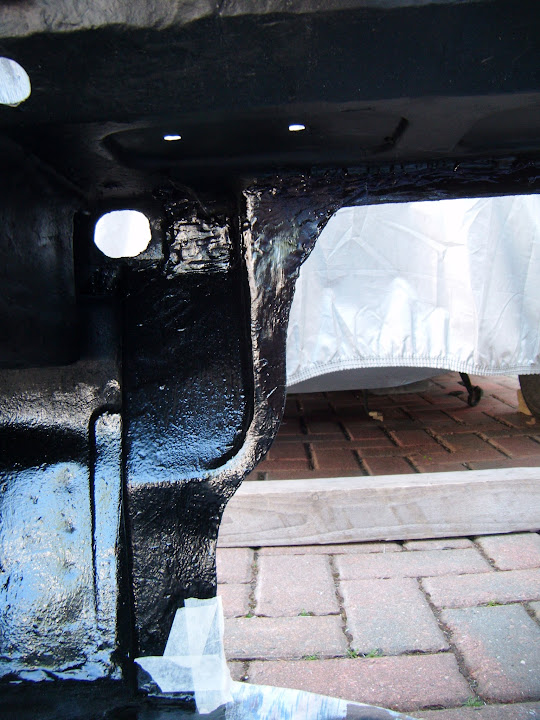
And the bulkhead was propped up.


So I could drill a pilot hole through the catch and the cover.


Then it the cover had to come off again, so I could remove the catch and drill out the holes to the right size.

Then I could refit the cover yet again to test fit the extra screws.


While the bulkhead had been propped up, I also marked the position of the top edges of the bulkhead onto the cover.


The cover comes with 3 pilot holes drilled in this top area and the two outside ones were going to be no problem.


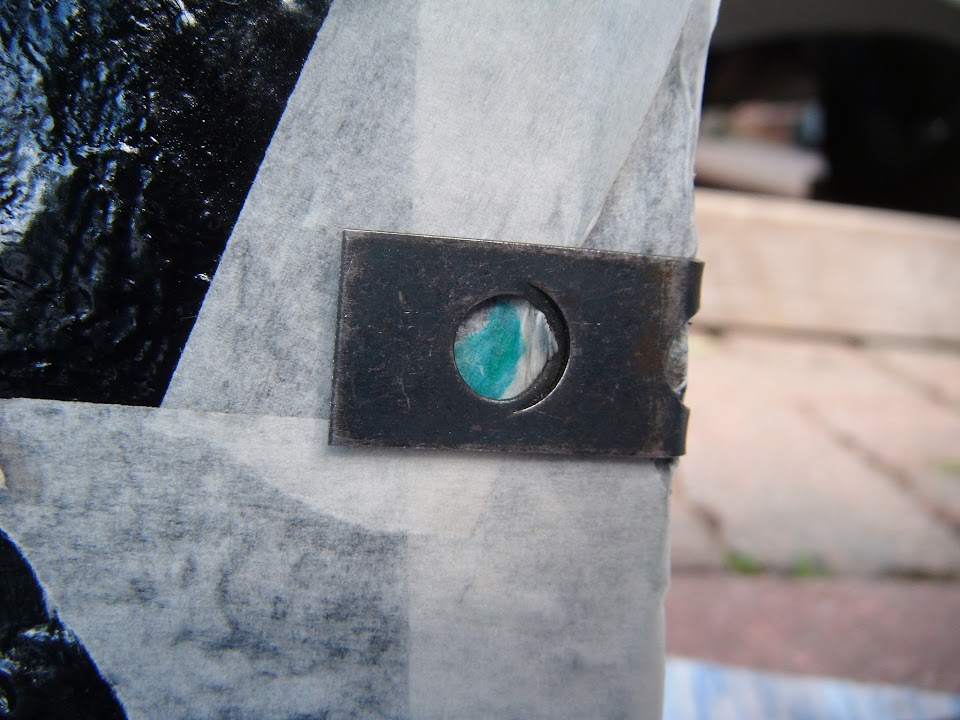
But the centre one was too low compare to the metal available to screw into.


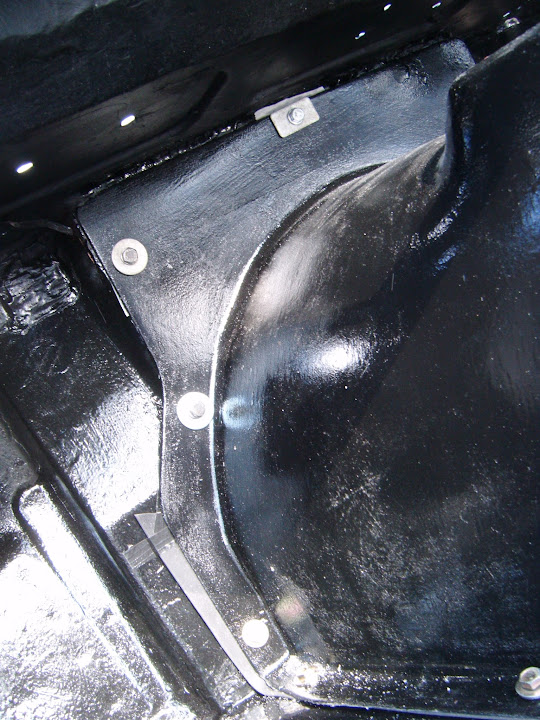
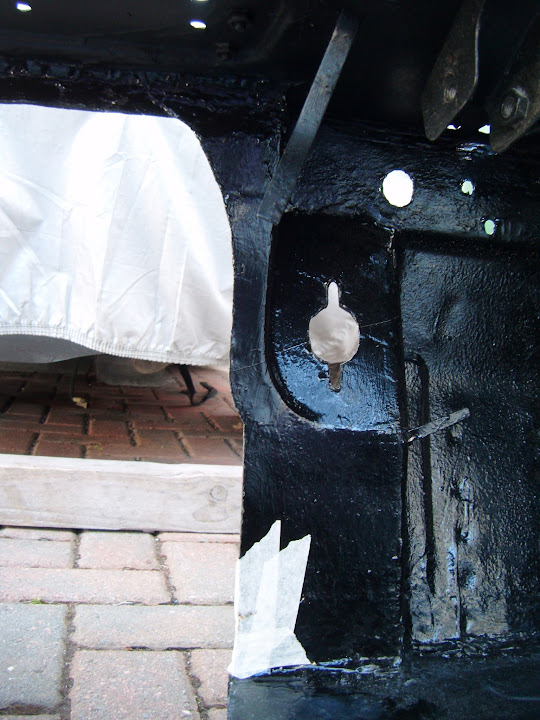
My donor car came with this small plate for this hole, so I used that to mark up the cover.


Then the three holes were drilled out to the right size in both the cover and the bulkhead.


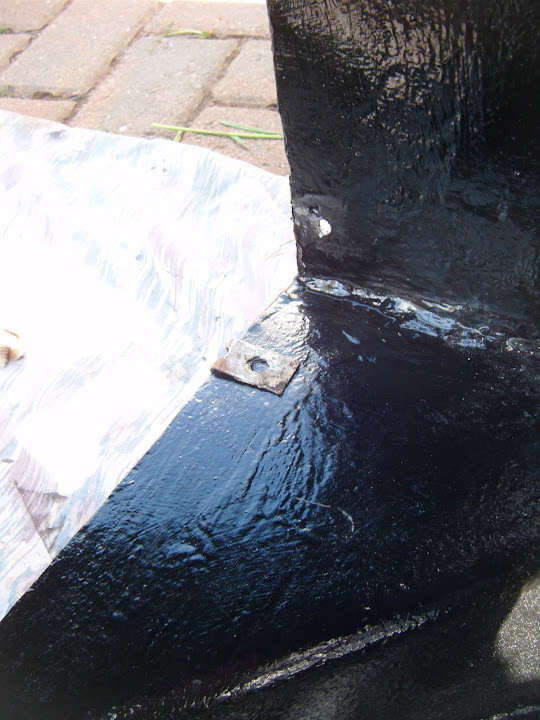
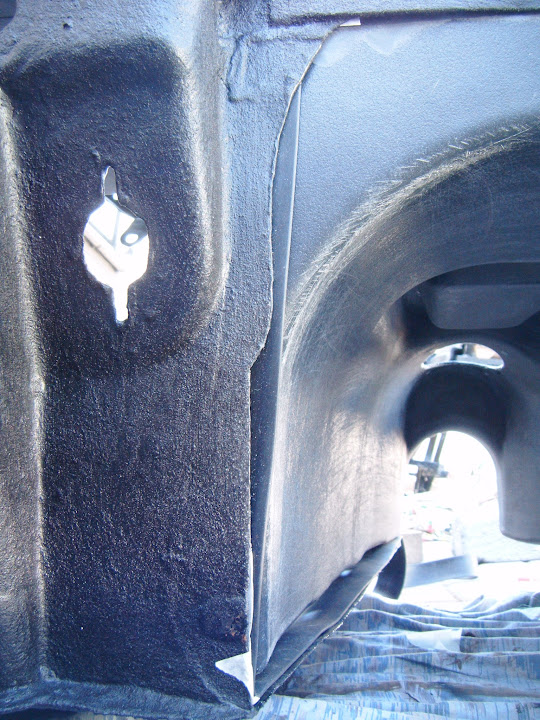
Then I decided to add an extra bolt in the middle of this vertical face around here as well.
( As this ties in with the number of fixings my donor car had on the cover. )


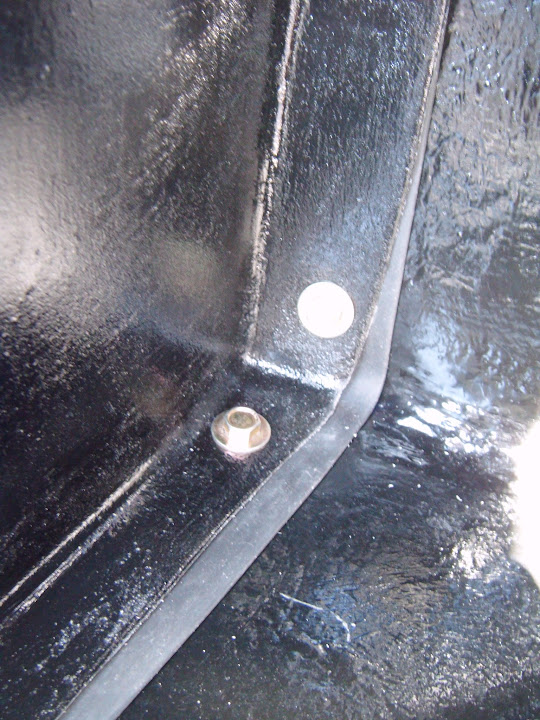
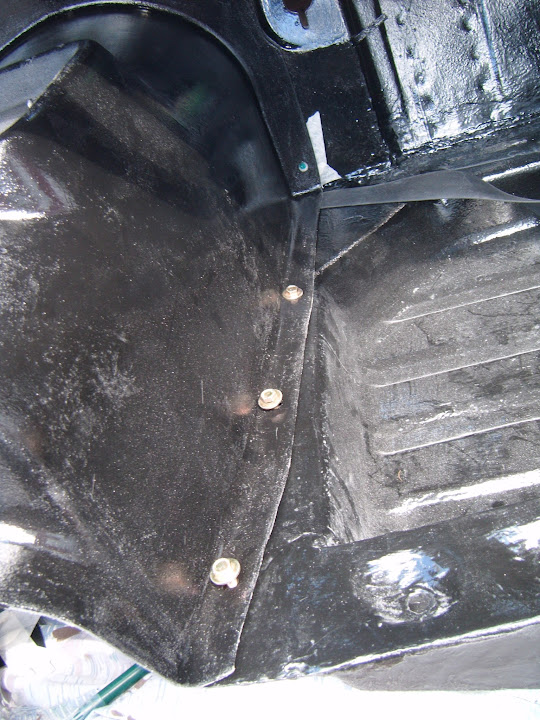
With the holes drilled out, the bolts will look like this when fitted.


So after messing about for a very long time, all the holes required to fit the cover are finally done.

Now I just need to tidy up all these new holes and touch up the surrounding paint work, plus clean up some of the old catches.

Note:
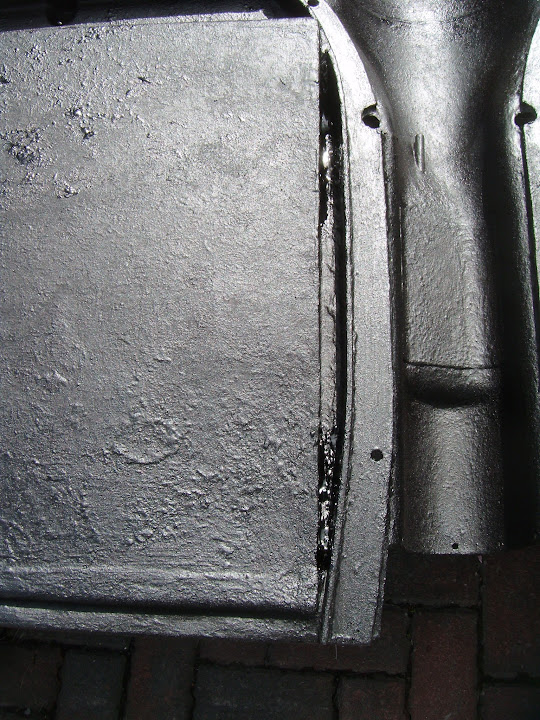
I've trawled through this build thread to find these photos of the original bulkhead holes for the cover.
( Sorry the first photo is rubbish. )


Most of this mess was simply cut out and new metal was welded in.

Which is why I had to drill every hole required for the cover at this stage.

At least this job was a lot easier to do with the bulkhead off the chassis.

- - - - - - - - - - - - - - - - - - - - - - - - - - - - - - -

Overall this was definitely another slow progress day, but at least it was still some progress.

Until next time, take care, Paul.
Reply With Quote
  #6  
Old 28th April 2015, 19:29
Thurcroft flyer Thurcroft flyer is offline
Senior Member
 
Join Date: Dec 2013
Location: thurcroft, Rotherham South Yorkshire
Posts: 196
Thurcroft flyer is on a distinguished road
Default

gearbox cover looks very neat keep up the good work
Reply With Quote
Reply


Currently Active Users Viewing This Thread: 8 (0 members and 8 guests)
 

Posting Rules
You may not post new threads
You may not post replies
You may not post attachments
You may not edit your posts

BB code is On
Smilies are On
[IMG] code is On
HTML code is Off

Forum Jump


All times are GMT +0. The time now is 01:53.

copyright © madabout-kitcars.com 2000-2024
terms and conditions | privacy policy