|
|
| Sammio Builds and discussions Sammio bodied car builds and specials |

30th November 2013, 12:15
|
|
Senior Member
|
|
Join Date: Jun 2011
Location: birchington, kent
Posts: 1,769
|
|
me too...
|
30th November 2013, 17:30
|
|
Senior Member
|
|
Join Date: Apr 2012
Posts: 1,163
|
|

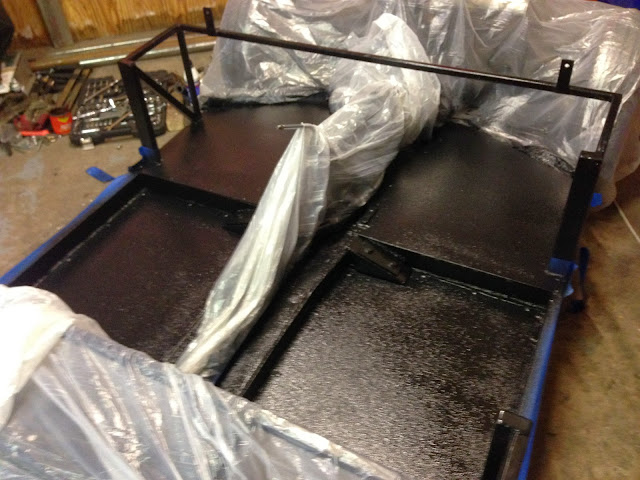
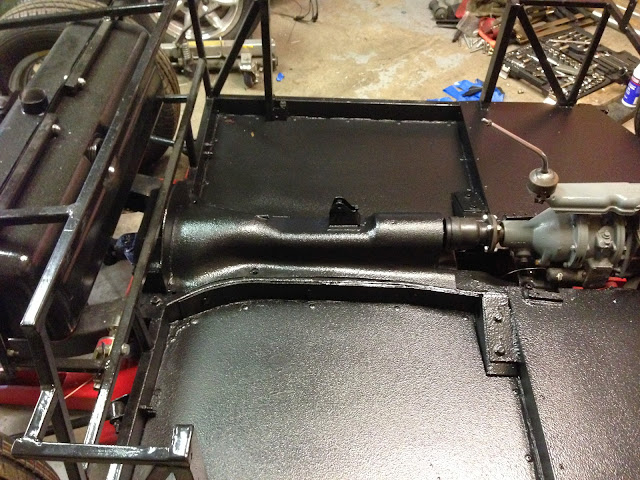
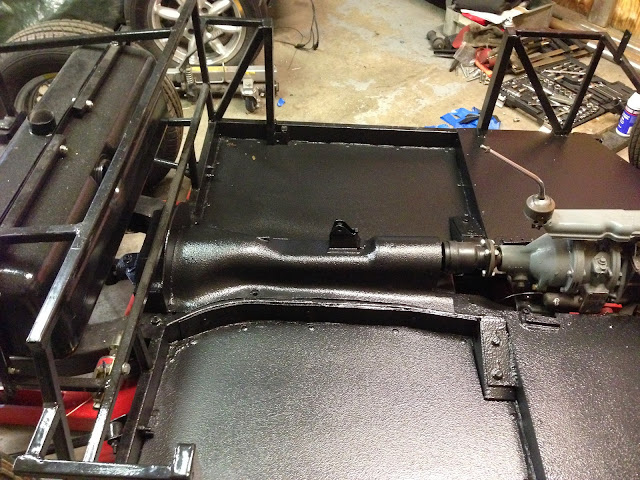
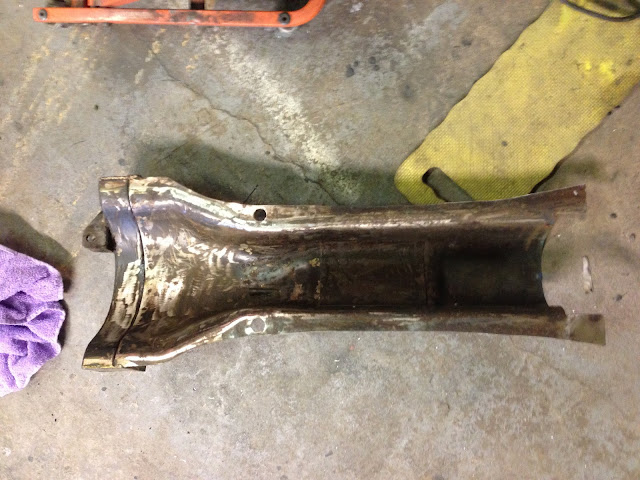
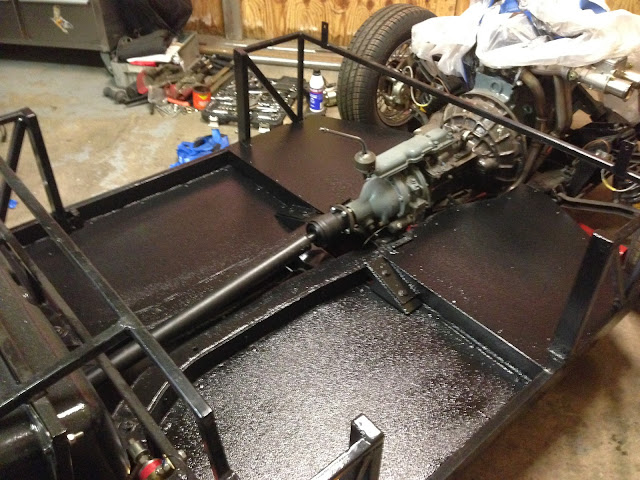
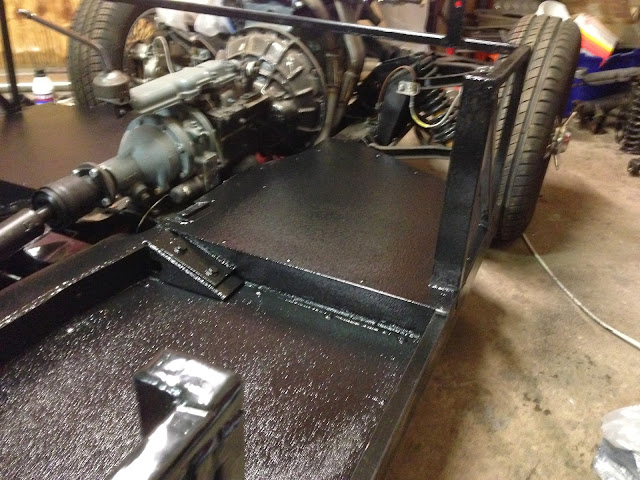
Good day today got the other chassis mounted floor support installed and both rear floors in, also got the prop shaft fitted and the tunnel stripped ready for painted / bed lining.


As you can see we prepped the floors on both sides for the bed lining as its easier to do them before fixing.
More of my lovely orange rivets again! Shame they will be covered in bed liner next week :-(
The day finished on a bit of a downer as we had hoped to get the steering column in but I'm just not happy with the angle the wheel ends up at using the stock parts so am off to Des Shelley shafts again on Monday to pick up some weld on U/J's and have just ordered a 5/8" Rose Joint from Mcgill Motorsport and plan to copy the system we have on the race car which is simple but has worked well for many years. This should allow me to have the steering column exactly parallel with the centreline of the car.
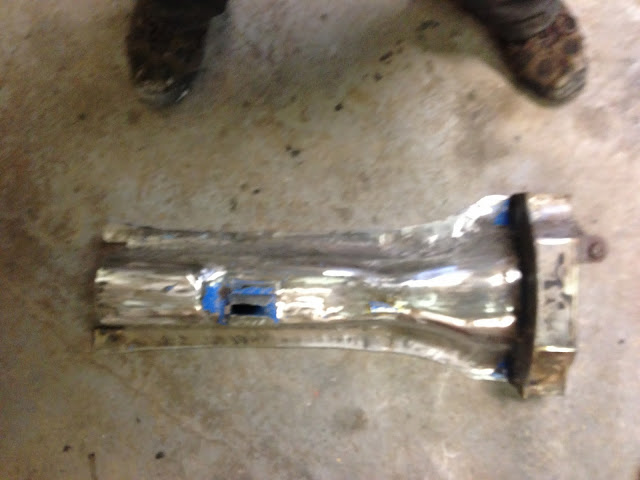
Also tried the pedal box and despite hoping i wouldn't have to I'm going to have to tig up an alloy box for it to sit up against as the angle at the bottom of the firewall just wont work, not a big deal but just one more modification.....am i being too fussy?........
TTFN
Mac

|
30th November 2013, 19:21
|
 |
Senior Member
|
|
Join Date: Jul 2011
Posts: 5,328
|
|
No such thing as too fussy on these cars. 'Bit like the subway tag line- have it your way.  |
2nd December 2013, 11:06
|
|
Senior Member
|
|
Join Date: Apr 2012
Posts: 1,163
|
|
|
2nd December 2013, 12:04
|
|
Senior Member
|
|
Join Date: Apr 2012
Posts: 1,163
|
|
Right so finished scuffing all the surfaces using 80 grit flap wheel then wiped down with acetone. Have masked it up to protect everything I don't want coated, a bit of overspray on the frame wont worry me as this will all be hidden but don't want it on the engine etc!


Just about to mix and apply the first coat, fingers crossed there is no going back now!!! GULP
TTFN
Mac |
2nd December 2013, 12:21
|
|
Senior Member
|
|
Join Date: Jul 2011
Posts: 5,328
|
|
Good luck  |
2nd December 2013, 12:30
|
|
Senior Member
|
|
Join Date: Apr 2012
Posts: 1,163
|
|
First coat done but I'm going to keep you hanging!!!!
Mixing the Raptor Liner is as easy as adding the Hardner

Up to the swage line on the bottle
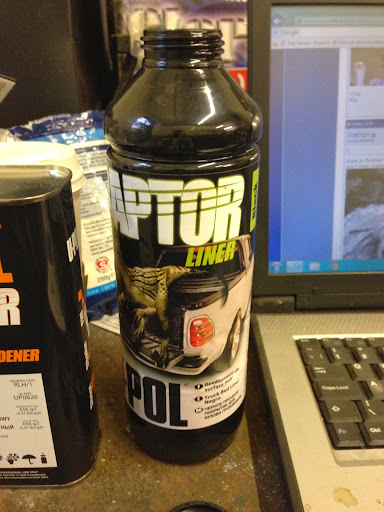
Only problem is that even with a torch I cant accurately see where this is! Luckily I have a selection of syringes for removing oil etc so cracked open a nice new fresh one.

Reading the instructions filling to the swage line is equal to 250 ML so as the syringe, handily, is a 100ML one just added 2 1/2 and then walked around for the span of a fag shacking it to death to make sure it was fully mixed, the instructions say 2 minutes but it must have been 4 or 5 I reckon.
TTFN
Mac |
2nd December 2013, 13:01
|
|
Senior Member
|
|
Join Date: Apr 2012
Posts: 1,163
|
|
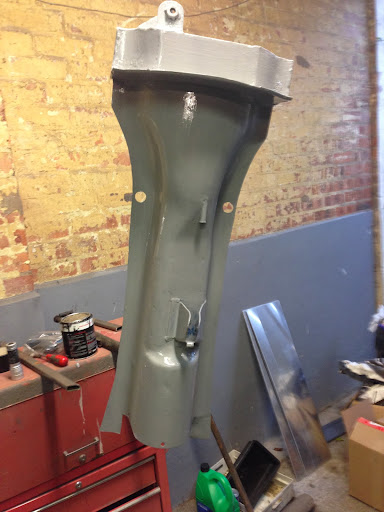
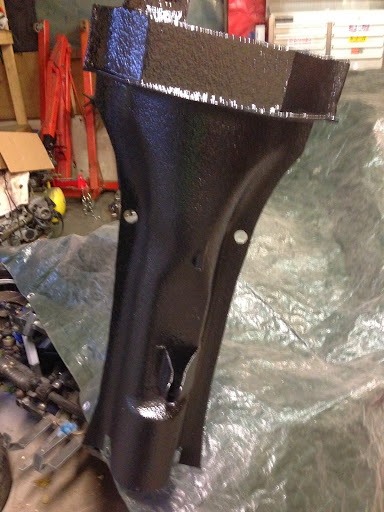
So here it is!
Played around on a piece of card for a minute or 2 and settled on 55psi with the volume knob on the gun set to around 50%. Best I found was spraying from approx 10", I got good coverage but also got the textured effect I have been craving!
And the result is:
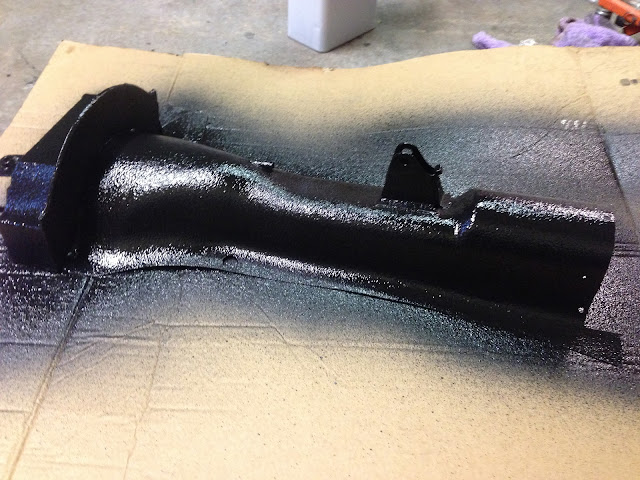


Have to say im very happy with the finish, its exactly what I wanted, black shiny and textured, going to do a second coat in about 30 minutes then de mask it and leave it overnight to cure.
:-)
Mac |
2nd December 2013, 14:10
|
|
Senior Member
|
|
Join Date: Apr 2012
Posts: 1,163
|
|
|
2nd December 2013, 14:12
|
 |
Senior Member
|
|
Join Date: Dec 2011
Posts: 656
|
|
That's looking really good Mac. How did you get on cleaning the gun afterwards?
|
2nd December 2013, 14:15
|
|
Senior Member
|
|
Join Date: Apr 2012
Posts: 1,163
|
|
No probs, just ran about a litre of gun cleaner (£10 for 5 litres) through it and it seams fine.
|
2nd December 2013, 17:01
|
|
Senior Member
|
|
Join Date: Mar 2012
Posts: 159
|
|
Hi Mac,
It sure looks nice and the stuff seems to be very durable. All in all a very nice build so far.
I'm looking for this kind of finish for my dashpanel (which I still have to make BTW)
Michiel
|
2nd December 2013, 17:04
|
 |
Senior Member
|
|
Join Date: Feb 2012
Location: Wembley, London
Posts: 5,056
|
|
Mac - Your build is really taking shape now & that bed liner stuff does look good. 
|
2nd December 2013, 18:17
|
|
Senior Member
|
|
Join Date: Apr 2012
Posts: 1,163
|
|
Thanks guys, im happy im making so much progress working on trimming the body tomorrow, hoping to have it in on by the weekend
Mac
|
3rd December 2013, 11:10
|
|
Senior Member
|
|
Join Date: Apr 2012
Posts: 1,163
|
|
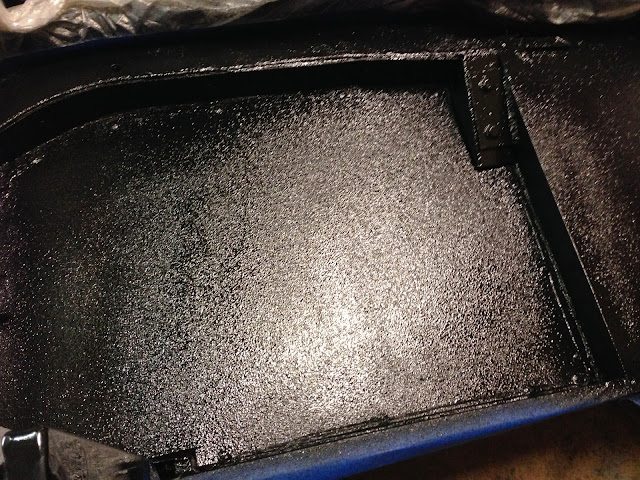
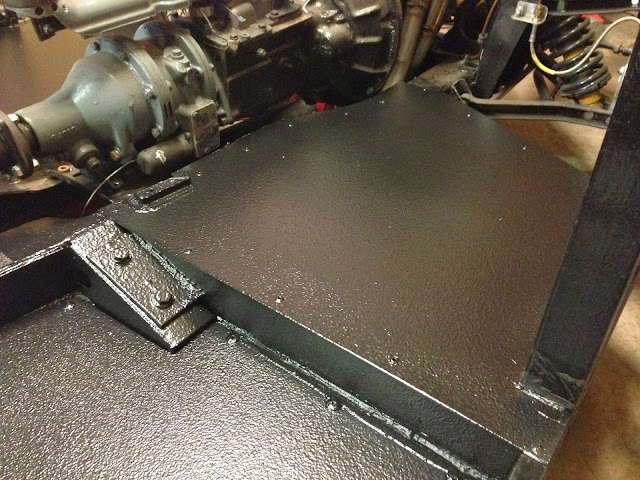
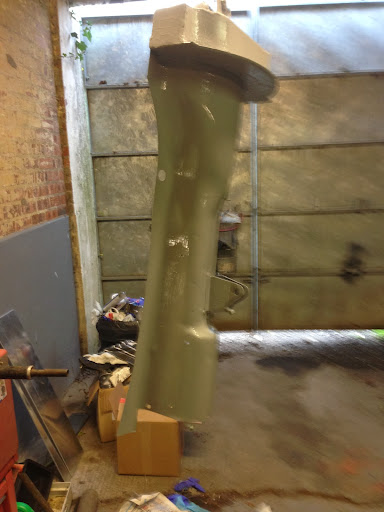
Well back in today and the bed liner has dried out nicely, its lost just a touch of its gloss but I think it actually looks better for it. It still needs a another day or so to fully cure but feels good and the texture is just what I was looking for. Was hoping to get the tunnel fitted but the spitfire handbrake that I had convinced myself I had has gone AWOL so just bought another off EBay....arse!
Just off to start trimming the body now so expect to be covered head to toe in white dust before days end, all good fun!

TTFN
Mac |
3rd December 2013, 11:45
|
|
Senior Member
|
|
Join Date: Jun 2011
Location: birchington, kent
Posts: 1,769
|
|
looks very neat, are you having mats or carpet or is it on show? How do you bond your body to the sides of the floors?
|
3rd December 2013, 12:02
|
|
Senior Member
|
|
Join Date: Apr 2012
Posts: 1,163
|
|
Gary, my initial though is to leave it bare to be honest. I will be mounting my body in a different way to the standard in that it will mostly be attached using Aluminium closing panels and a couple of T panels front and back details of which I hope to have posted later this week.
Thanks for the interest
Mac
|
3rd December 2013, 12:39
|
 |
Member
|
|
Join Date: May 2013
Posts: 40
|
|
I mounted my body using alu closing panels and supports branching from the frame, keeps it very tidy but also quite rigid. :-)
it looks really good so far :-)
|
3rd December 2013, 13:14
|
|
Senior Member
|
|
Join Date: Jun 2011
Location: birchington, kent
Posts: 1,769
|
|
Cabbage, do you have photos?
|
3rd December 2013, 13:24
|
|
Member
|
|
Join Date: May 2013
Posts: 40
|
|
A link to my thread is below, and you can see in a few places where the joints are made, however i could do some close ups for you if you want along with a list of where i make the supports. :-)
http://www.madabout-kitcars.com/foru...ead.php?t=4271 |
|
Currently Active Users Viewing This Thread: 2 (0 members and 2 guests)
|
|
|
 Posting Rules
|
You may not post new threads
You may not post replies
You may not post attachments
You may not edit your posts
HTML code is Off
|
|
|
All times are GMT +0. The time now is 15:03.
|


 Linear Mode

